
Outdoor Patio Transformation: Fireplace & Pergola Before and After
Spring is just around the corner and I can’t wait to start spending time outside again. Today I’m sharing the full story behind our outdoor patio transformation, including the design process, building our outdoor fireplace, and installing the pergola.
If you’re planning your own outdoor patio renovation, I hope this post gives you helpful ideas and inspiration. And if you’re just here for the visuals, feel free to scroll down for the before and after photos!


When We First Saw the House
The first time we toured this home was in the spring of 2011. The house had been on the market for a while, and my brother-in-law actually sent us the listing. We booked a showing and instantly fell in love with it.
Like so many Tudor style homes, it had so much character and charm. While the house itself was beautiful, the outdoor space left a lot to be desired. The backyard was almost non-existent and both the front and side yard sloped significantly, which meant we had very little usable outdoor space. Still, we had a vision—and over the years we slowly worked to bring that vision to life.
Creating Our Outdoor Patio Space (2013)
In the summer of 2013 we started a much larger renovation project. The plan was to:
-
Convert our attached garage into a kitchen
-
Build a detached garage
-
Turn the space between them into an outdoor patio/courtyard

Once the project was complete, we finally had a functional outdoor patio where we could relax and eat outside.
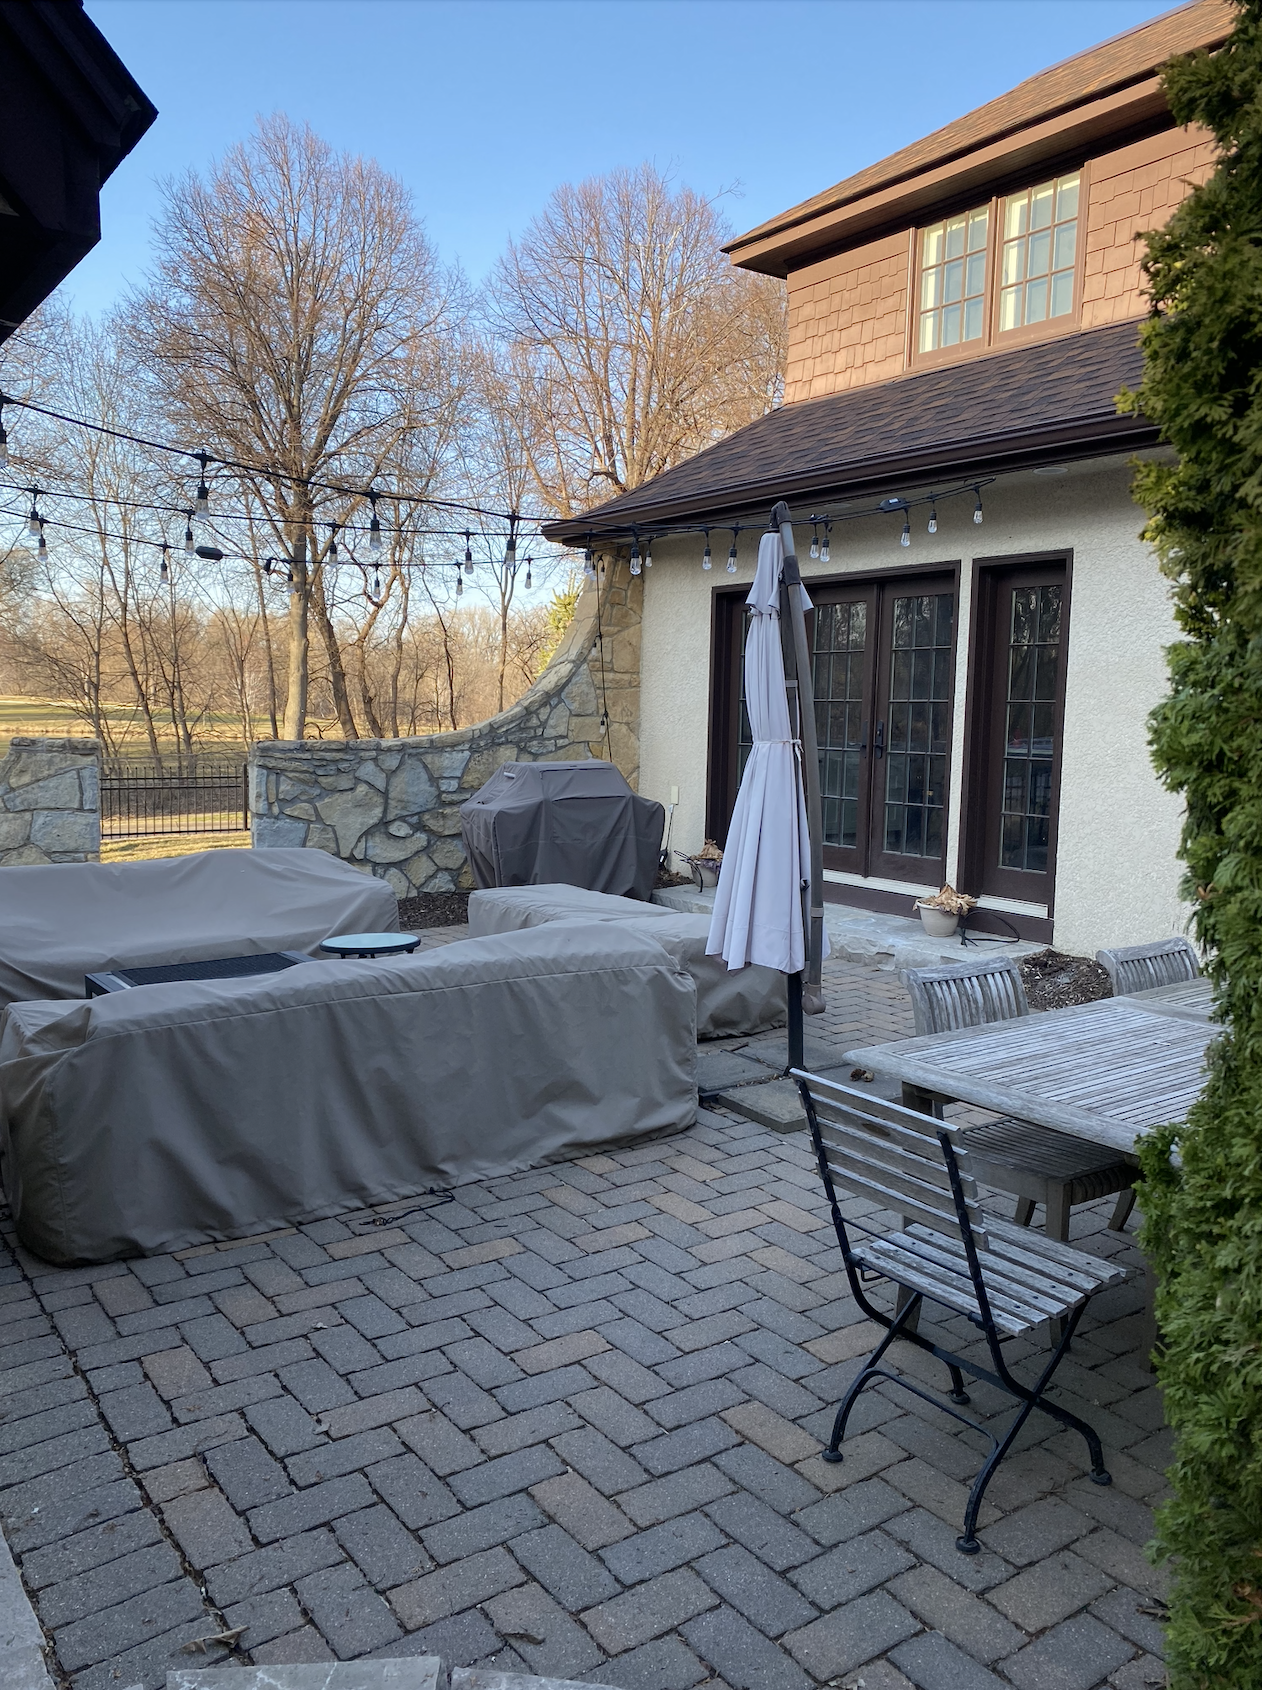
Even though we loved having the patio, we always envisioned something more—specifically an outdoor fireplace and pergola.
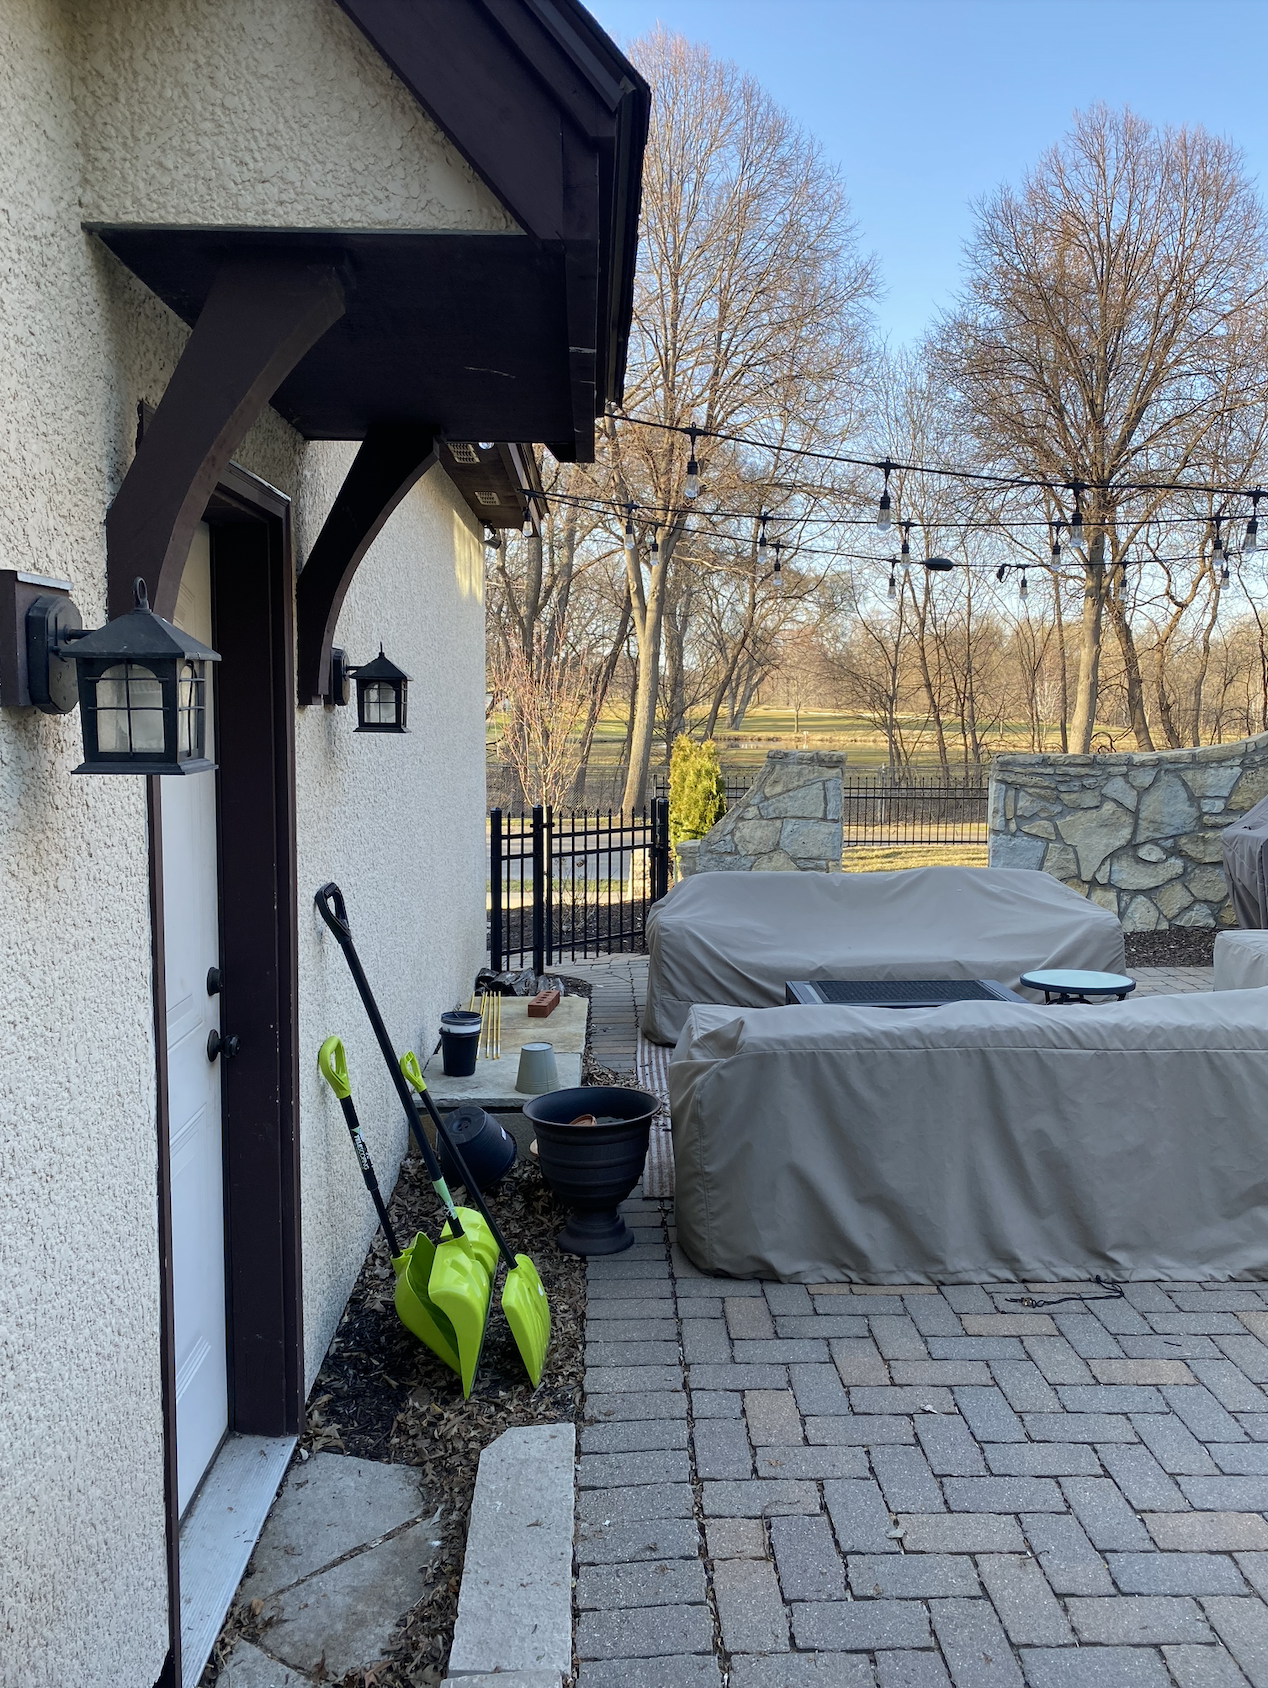
Because of budget limitations, we knew those features would take time. But we tried to plan ahead whenever possible.
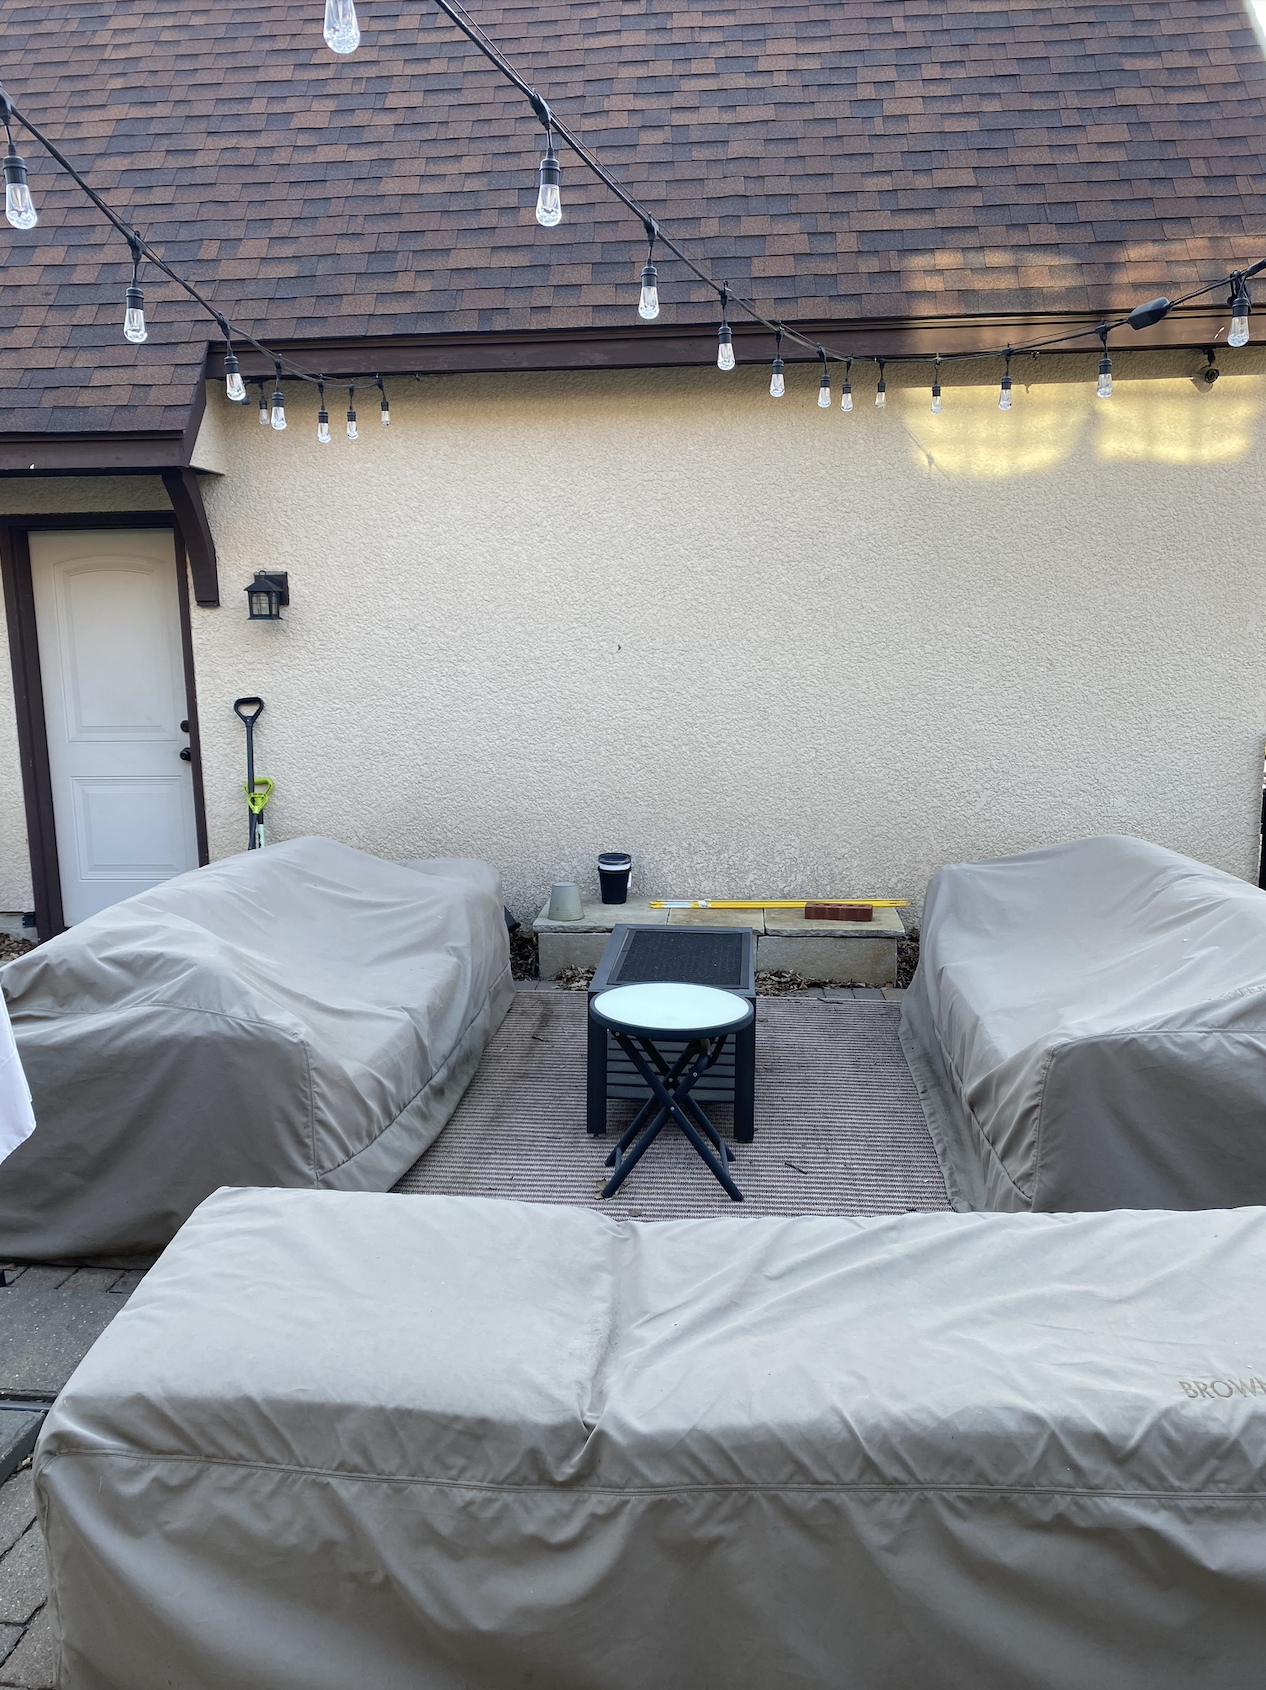
One smart decision we made was roughing in a gas line for a future outdoor fireplace. This way we didn’t have to spend more money to dig up the patio when the time came. You can see the footing against the garage below.
Designing the Outdoor Fireplace (2022)
By 2022 we had finally saved enough to install the fireplace. But first we had to decide on a design.
Our home is a 1927 Tudor, so we wanted the fireplace to feel timeless and integrated—as if it had always been there.
Personally, I find designing outdoor spaces even more challenging than interiors. You have to consider weather exposure, materials, and even plant hardiness zones. For reference, we live in Zone 4B.
To help us kickstart the design, we worked with Yardzen for landscape renderings. They provided their service in exchange for an Instagram post, and honestly, it was incredibly helpful.
If you’re unsure where to start with a landscape project, I highly recommend them.
We sent them:
-
Measurements of the space
-
Inspiration photos
-
Ideas for both the pergola and fireplace
They created three design options.
Option 1: Stone
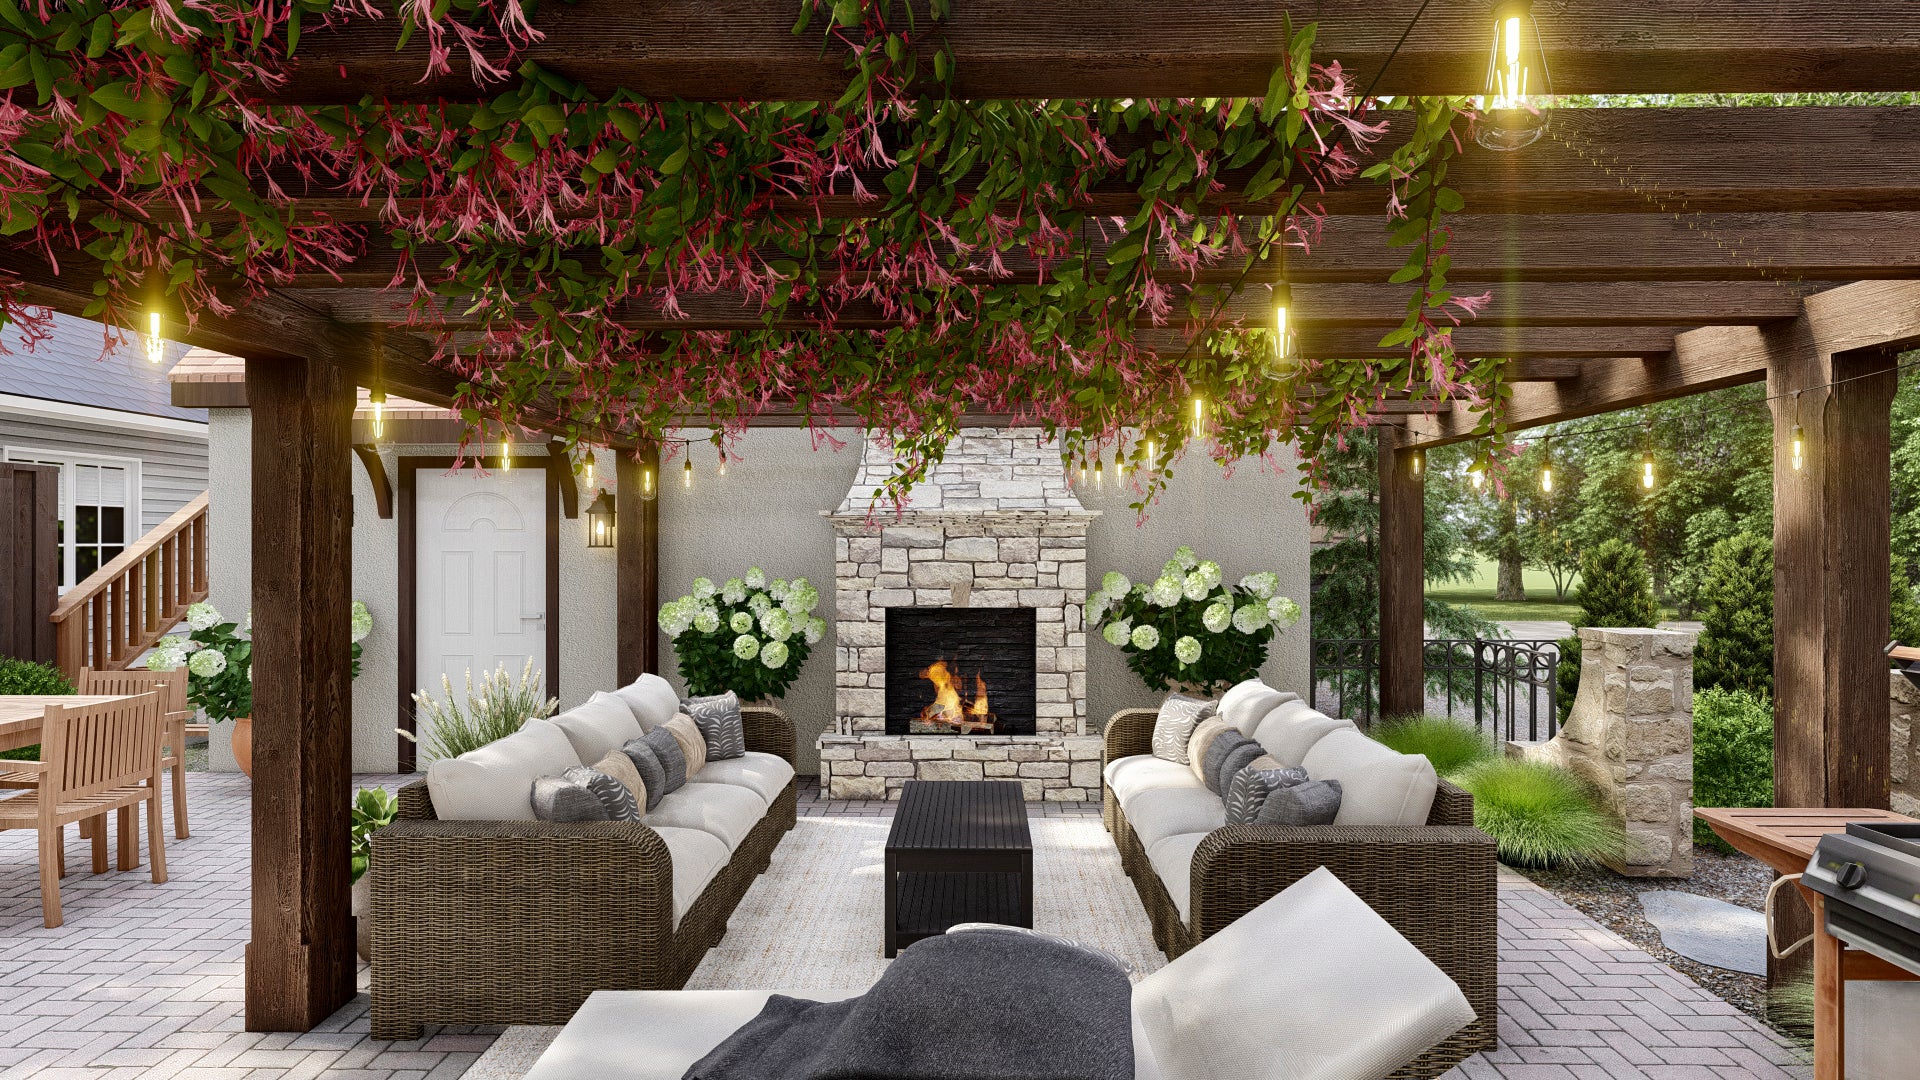
Option 2: Limestone with Stucco
Option 3: Stone with Stucco and Curve Details
After a feedback session, we landed on the final design and were so excited!
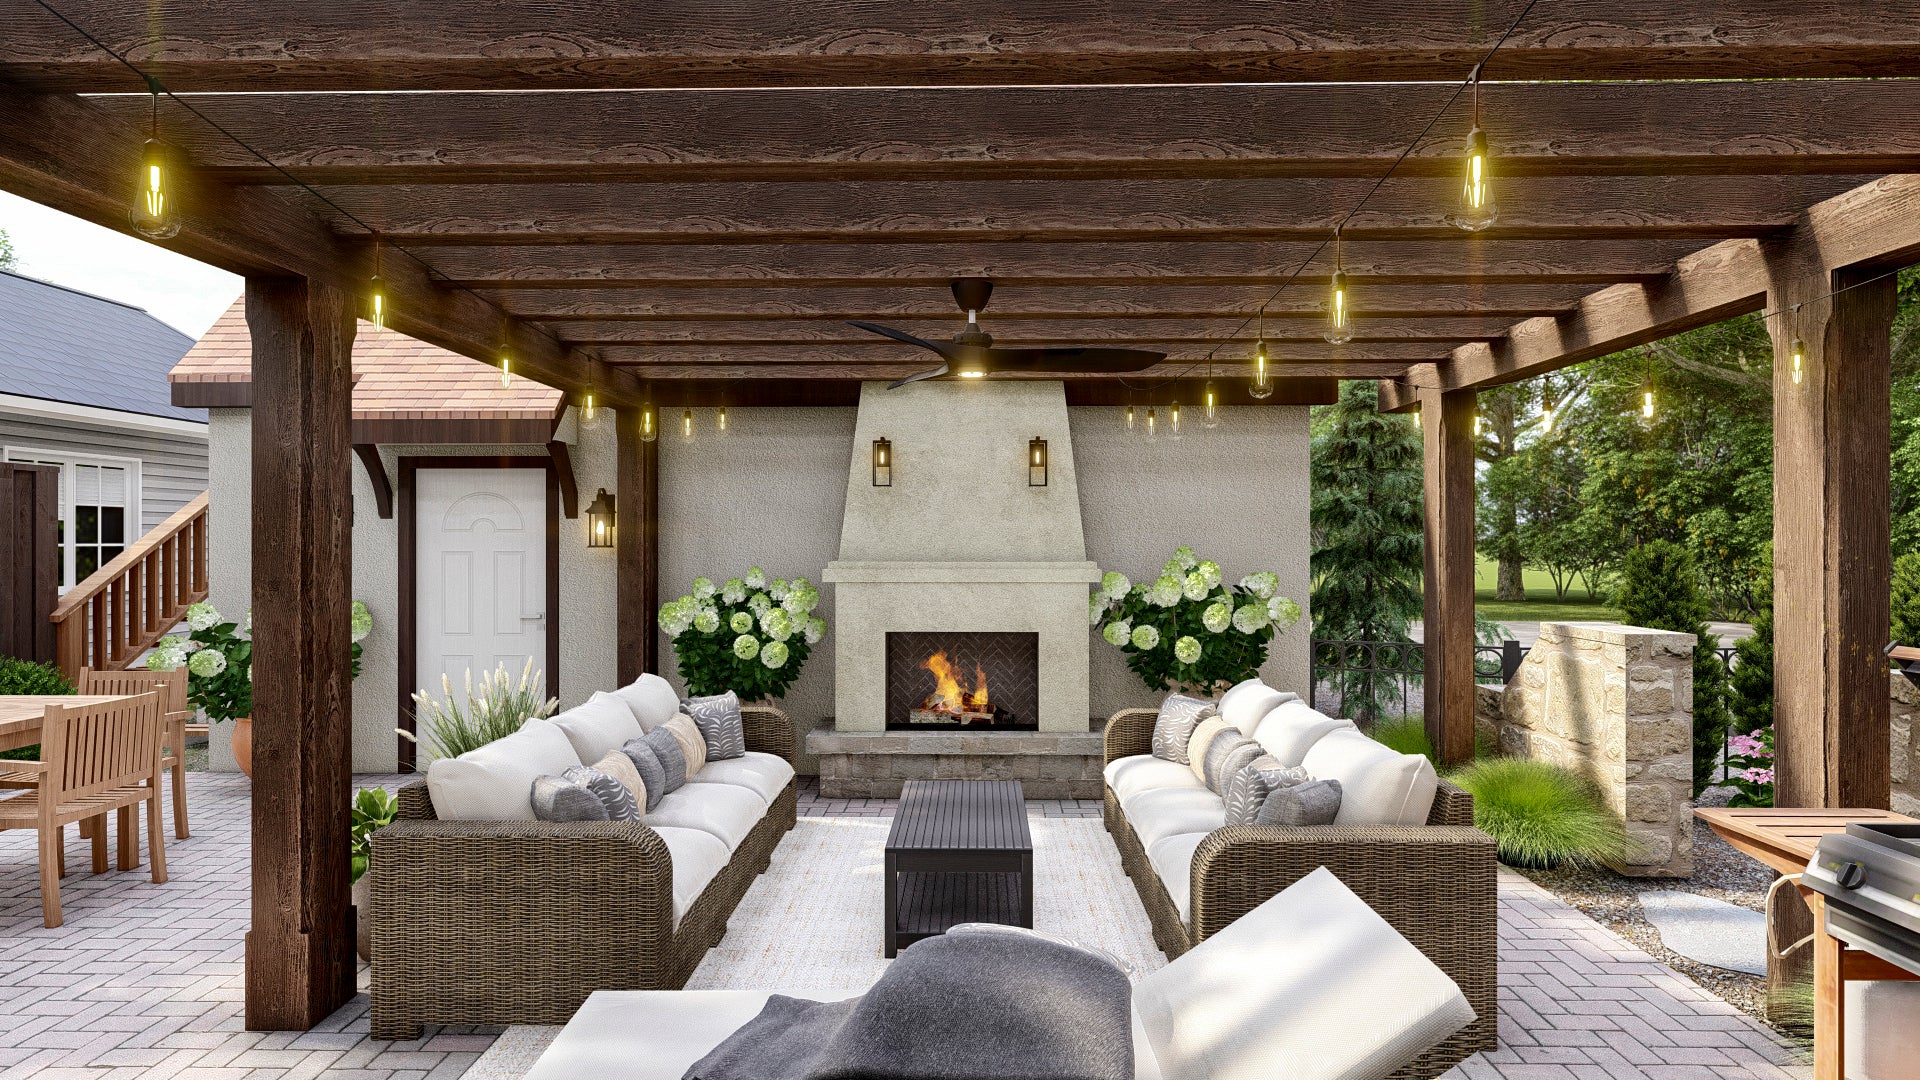
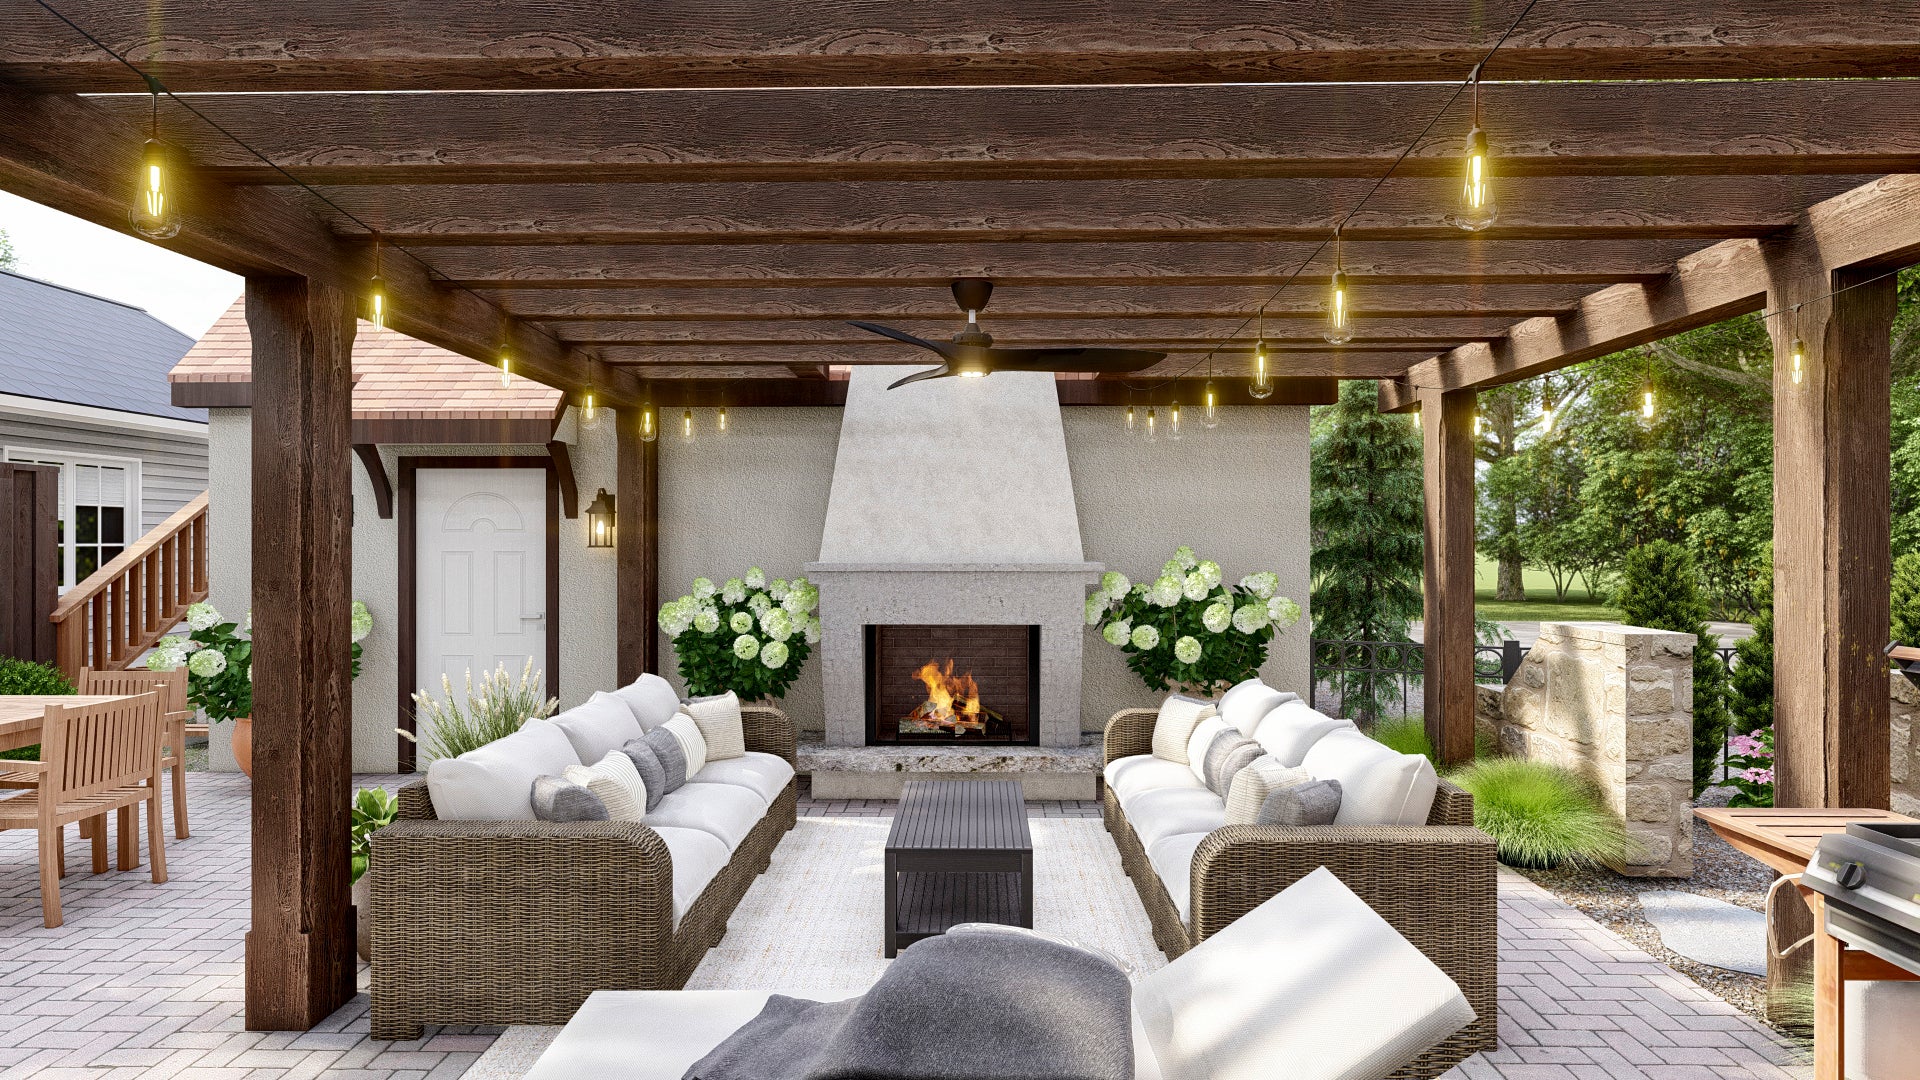
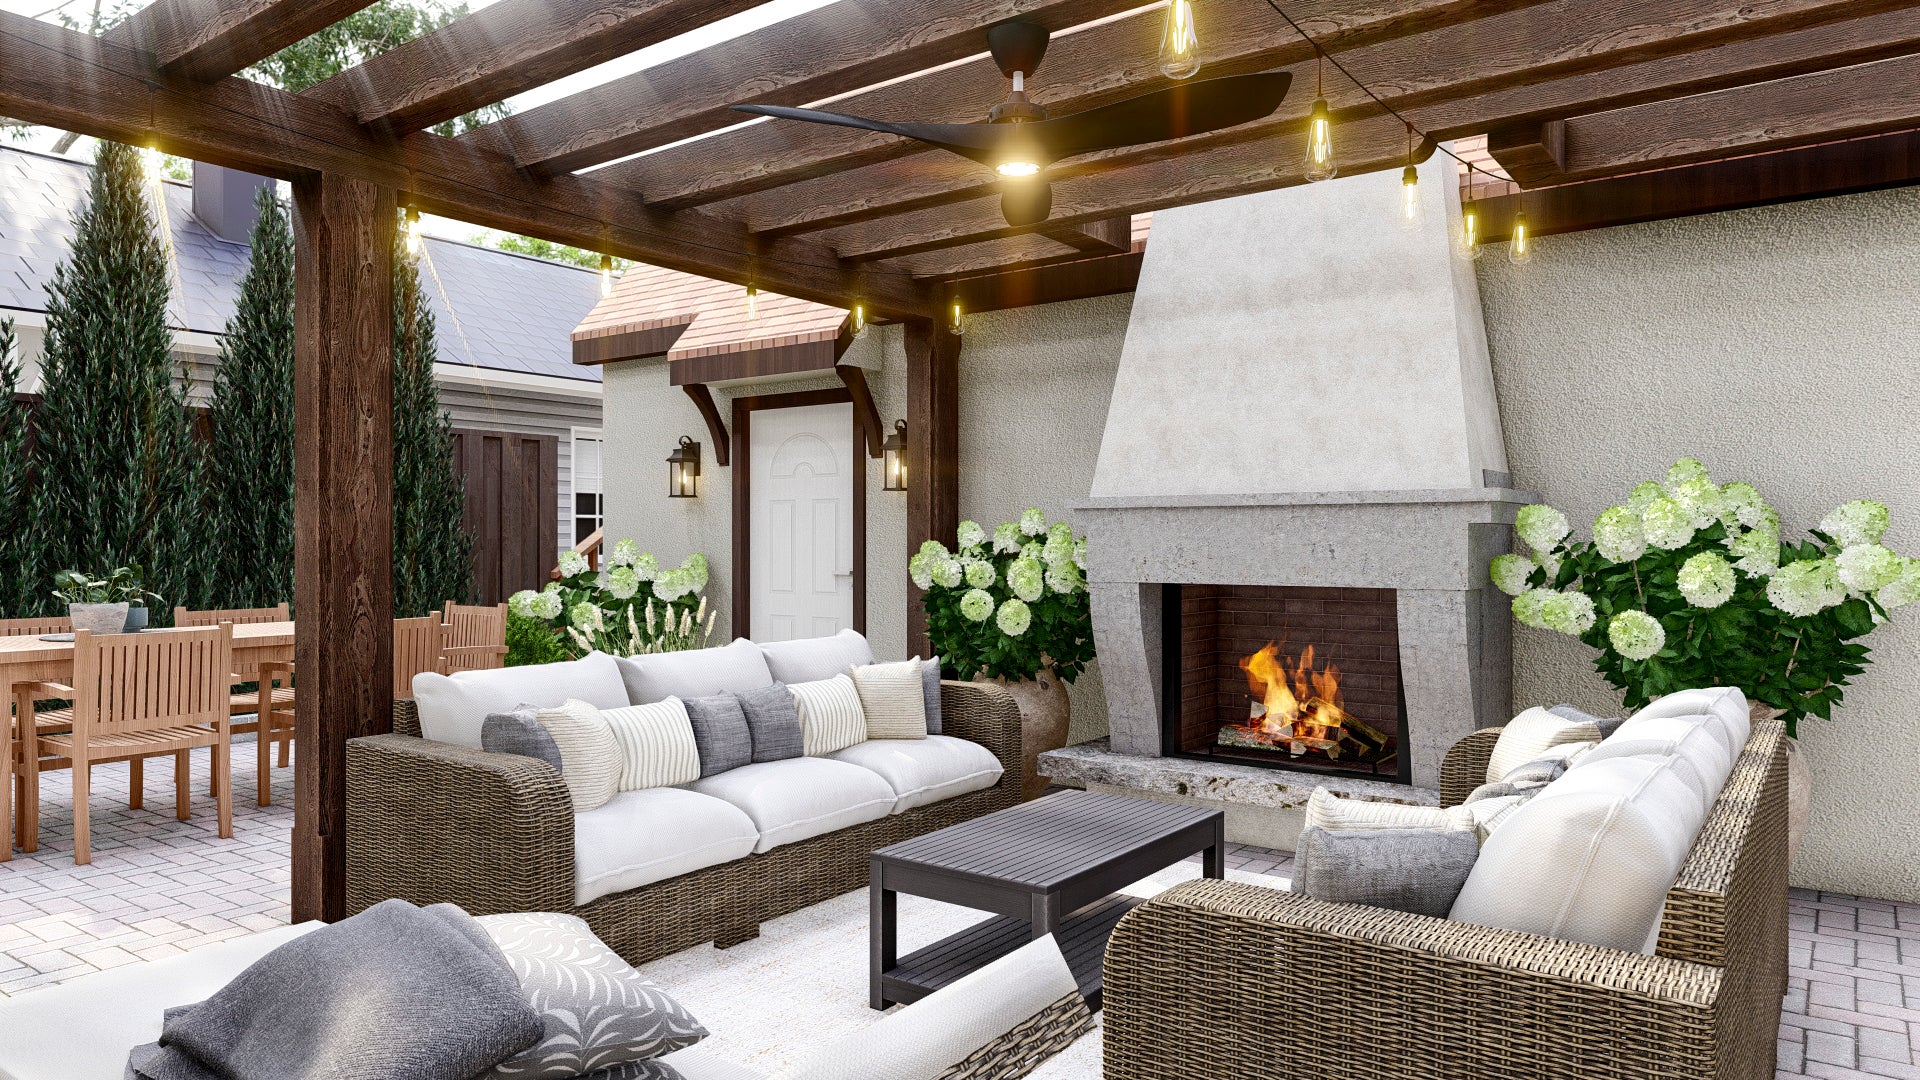
The Final Design
The design featured:
-
A stucco fireplace
-
A brick insert
-
A limestone base
Since the fireplace sits against the detached garage, it feels intentional and architecturally grounded. We also have limestone steps throughout the house, so the material choice felt very cohesive.
Huge thanks to Yardzen for helping us refine the vision!
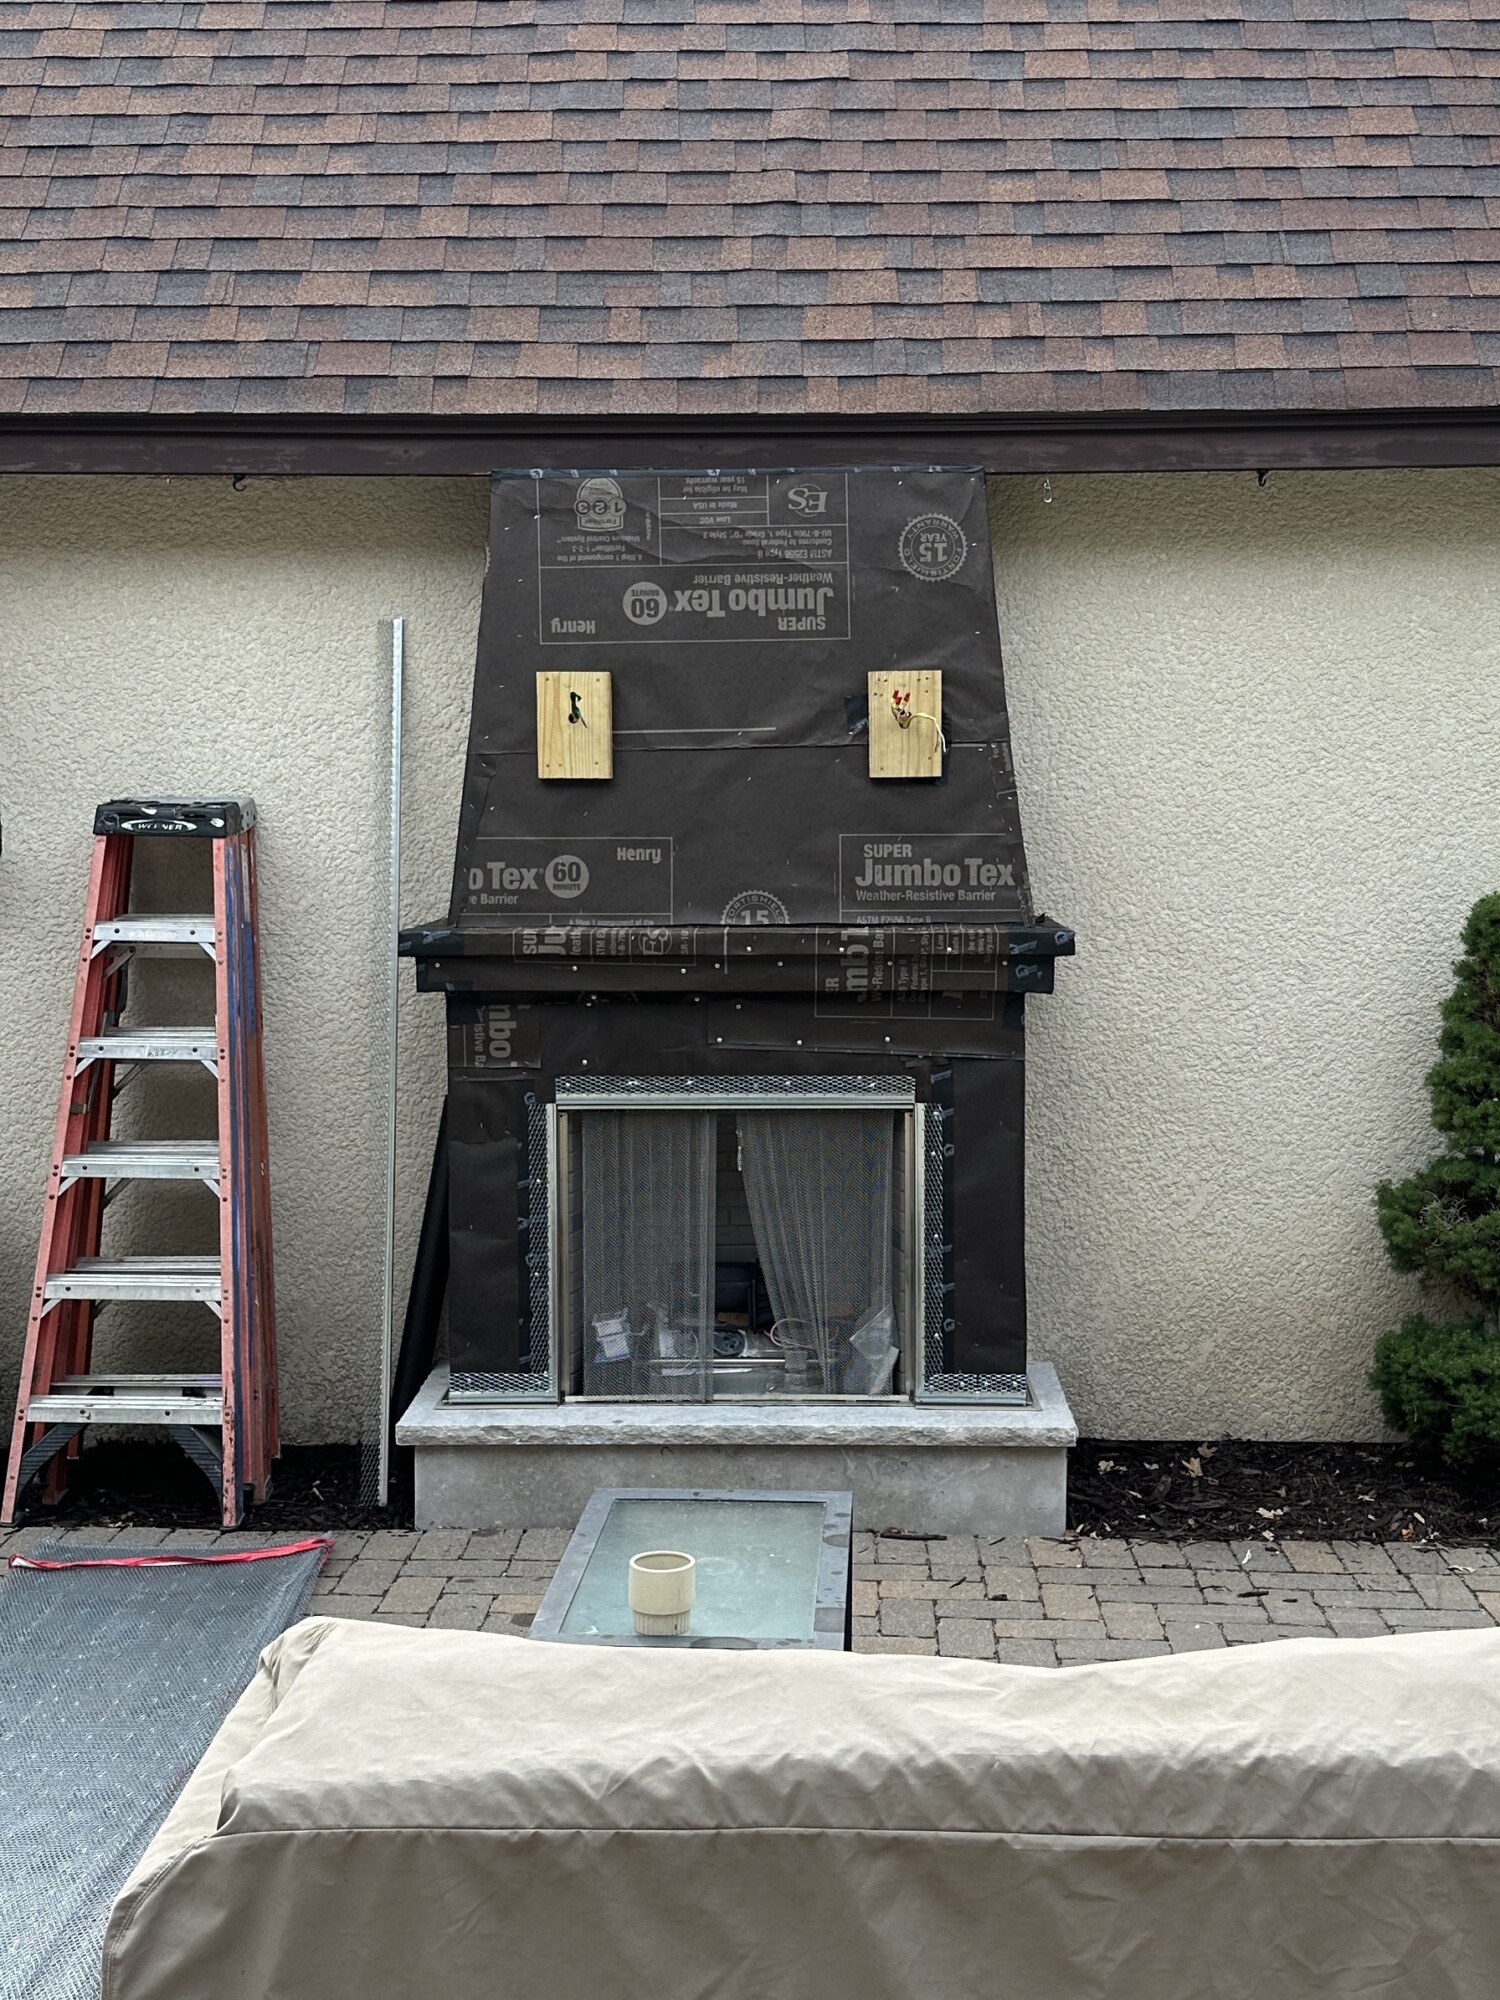
Building the Fireplace
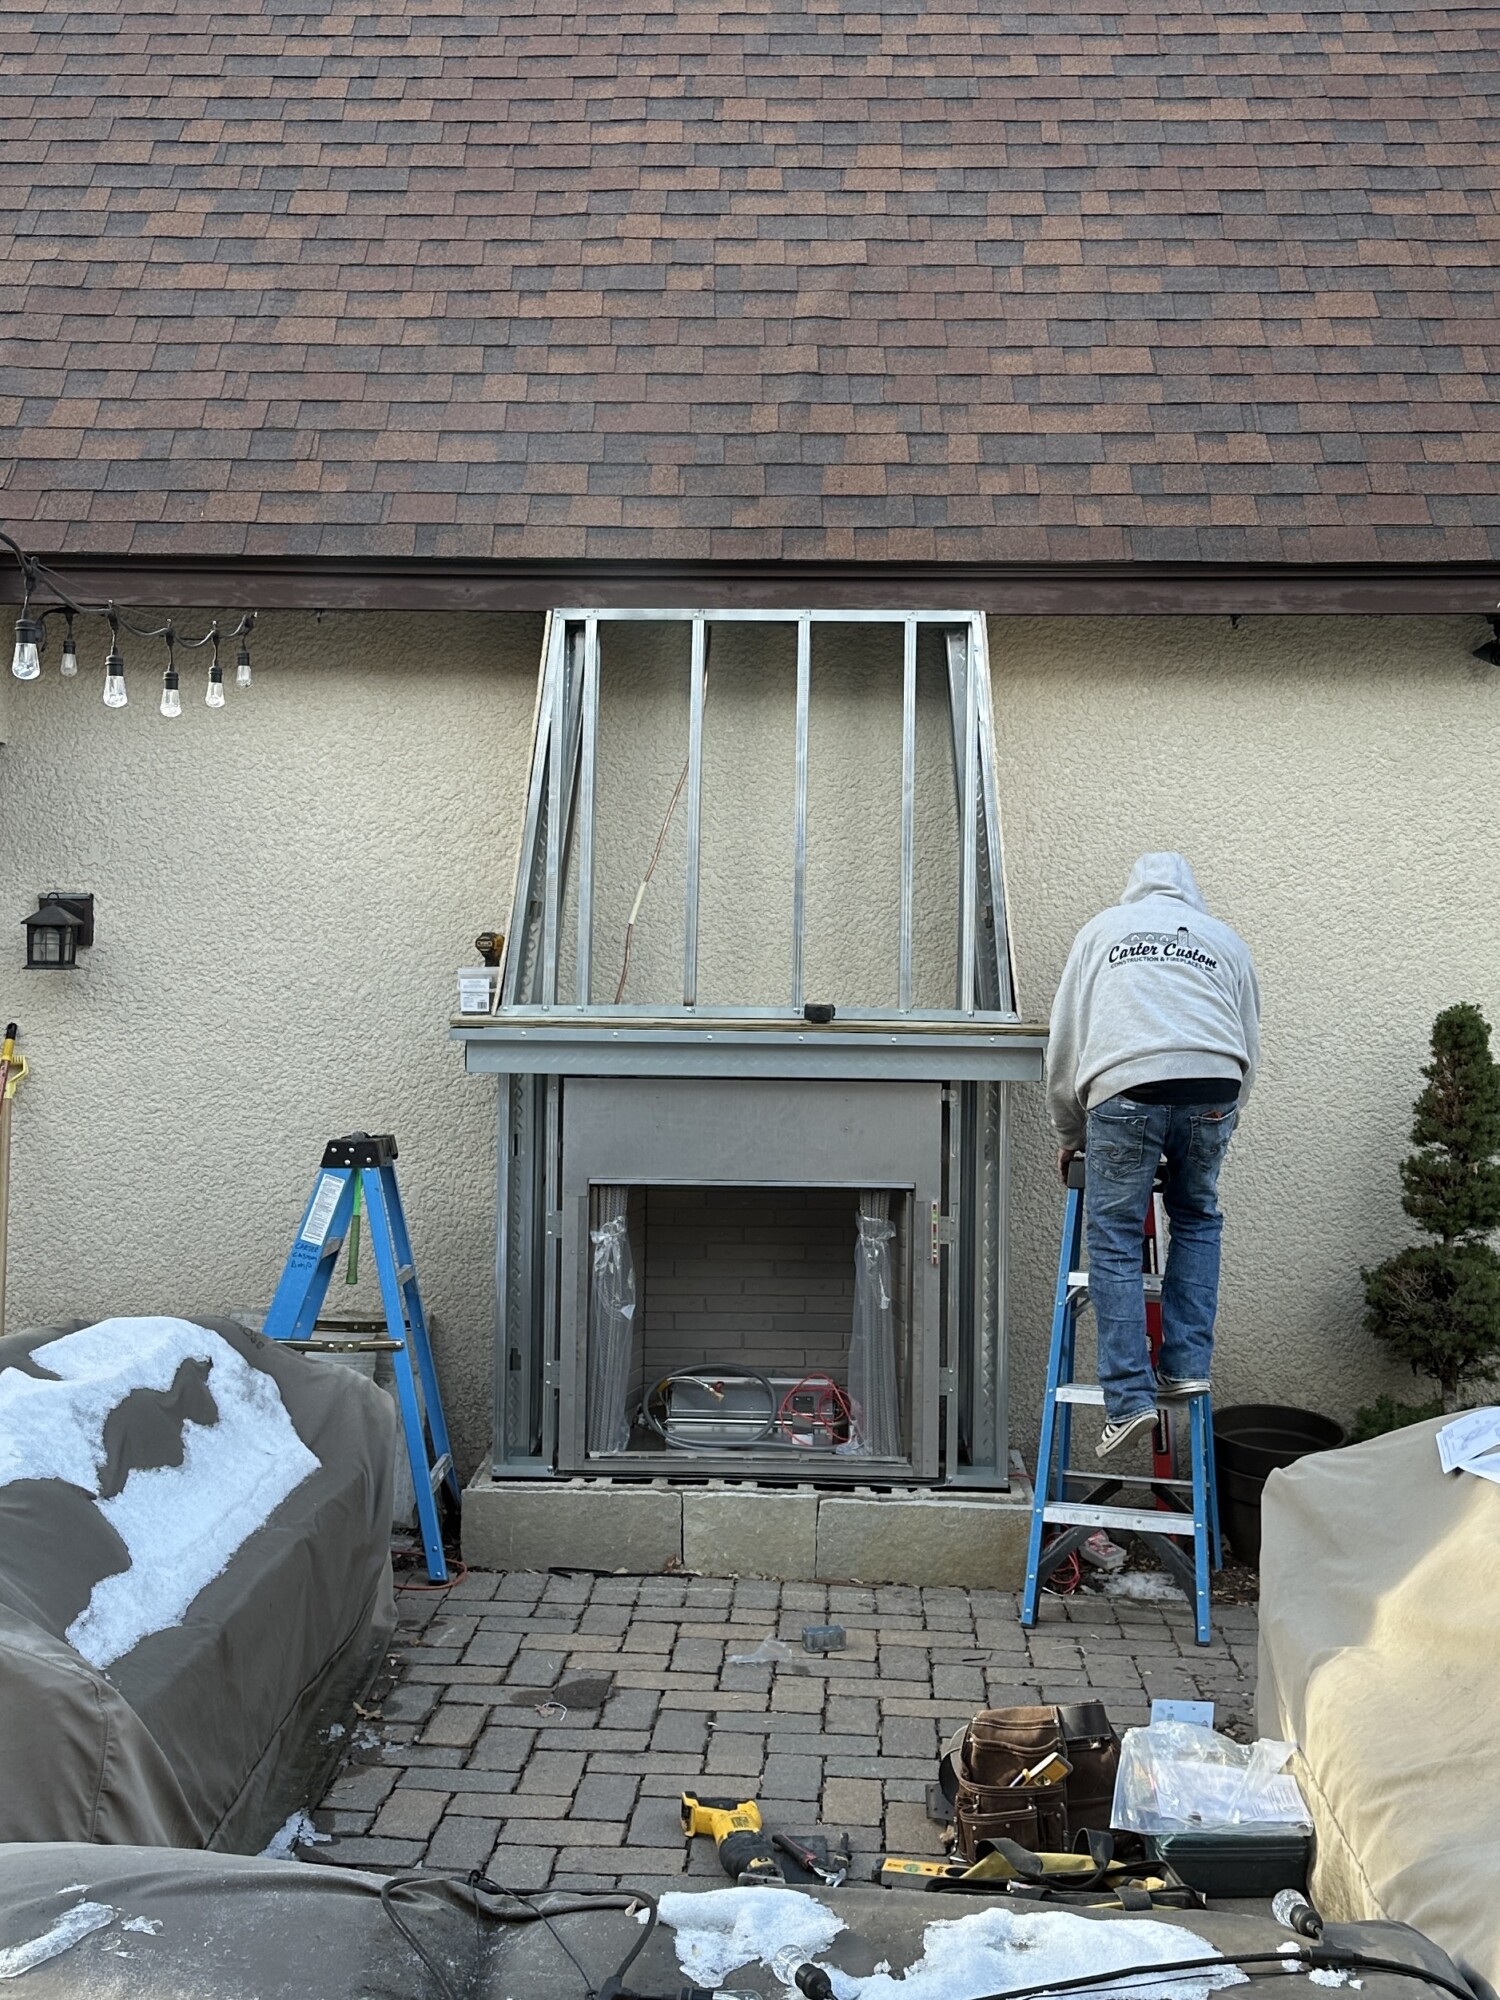
Once the design was finalized, we gave the renderings to our contractor, Carter Custom Construction, who had worked with us on previous projects.
Construction started in November 2022.
The renderings were extremely helpful for the build, although the project didn’t start perfectly. The initial framing wasn’t symmetrical—clearly a measurement issue.
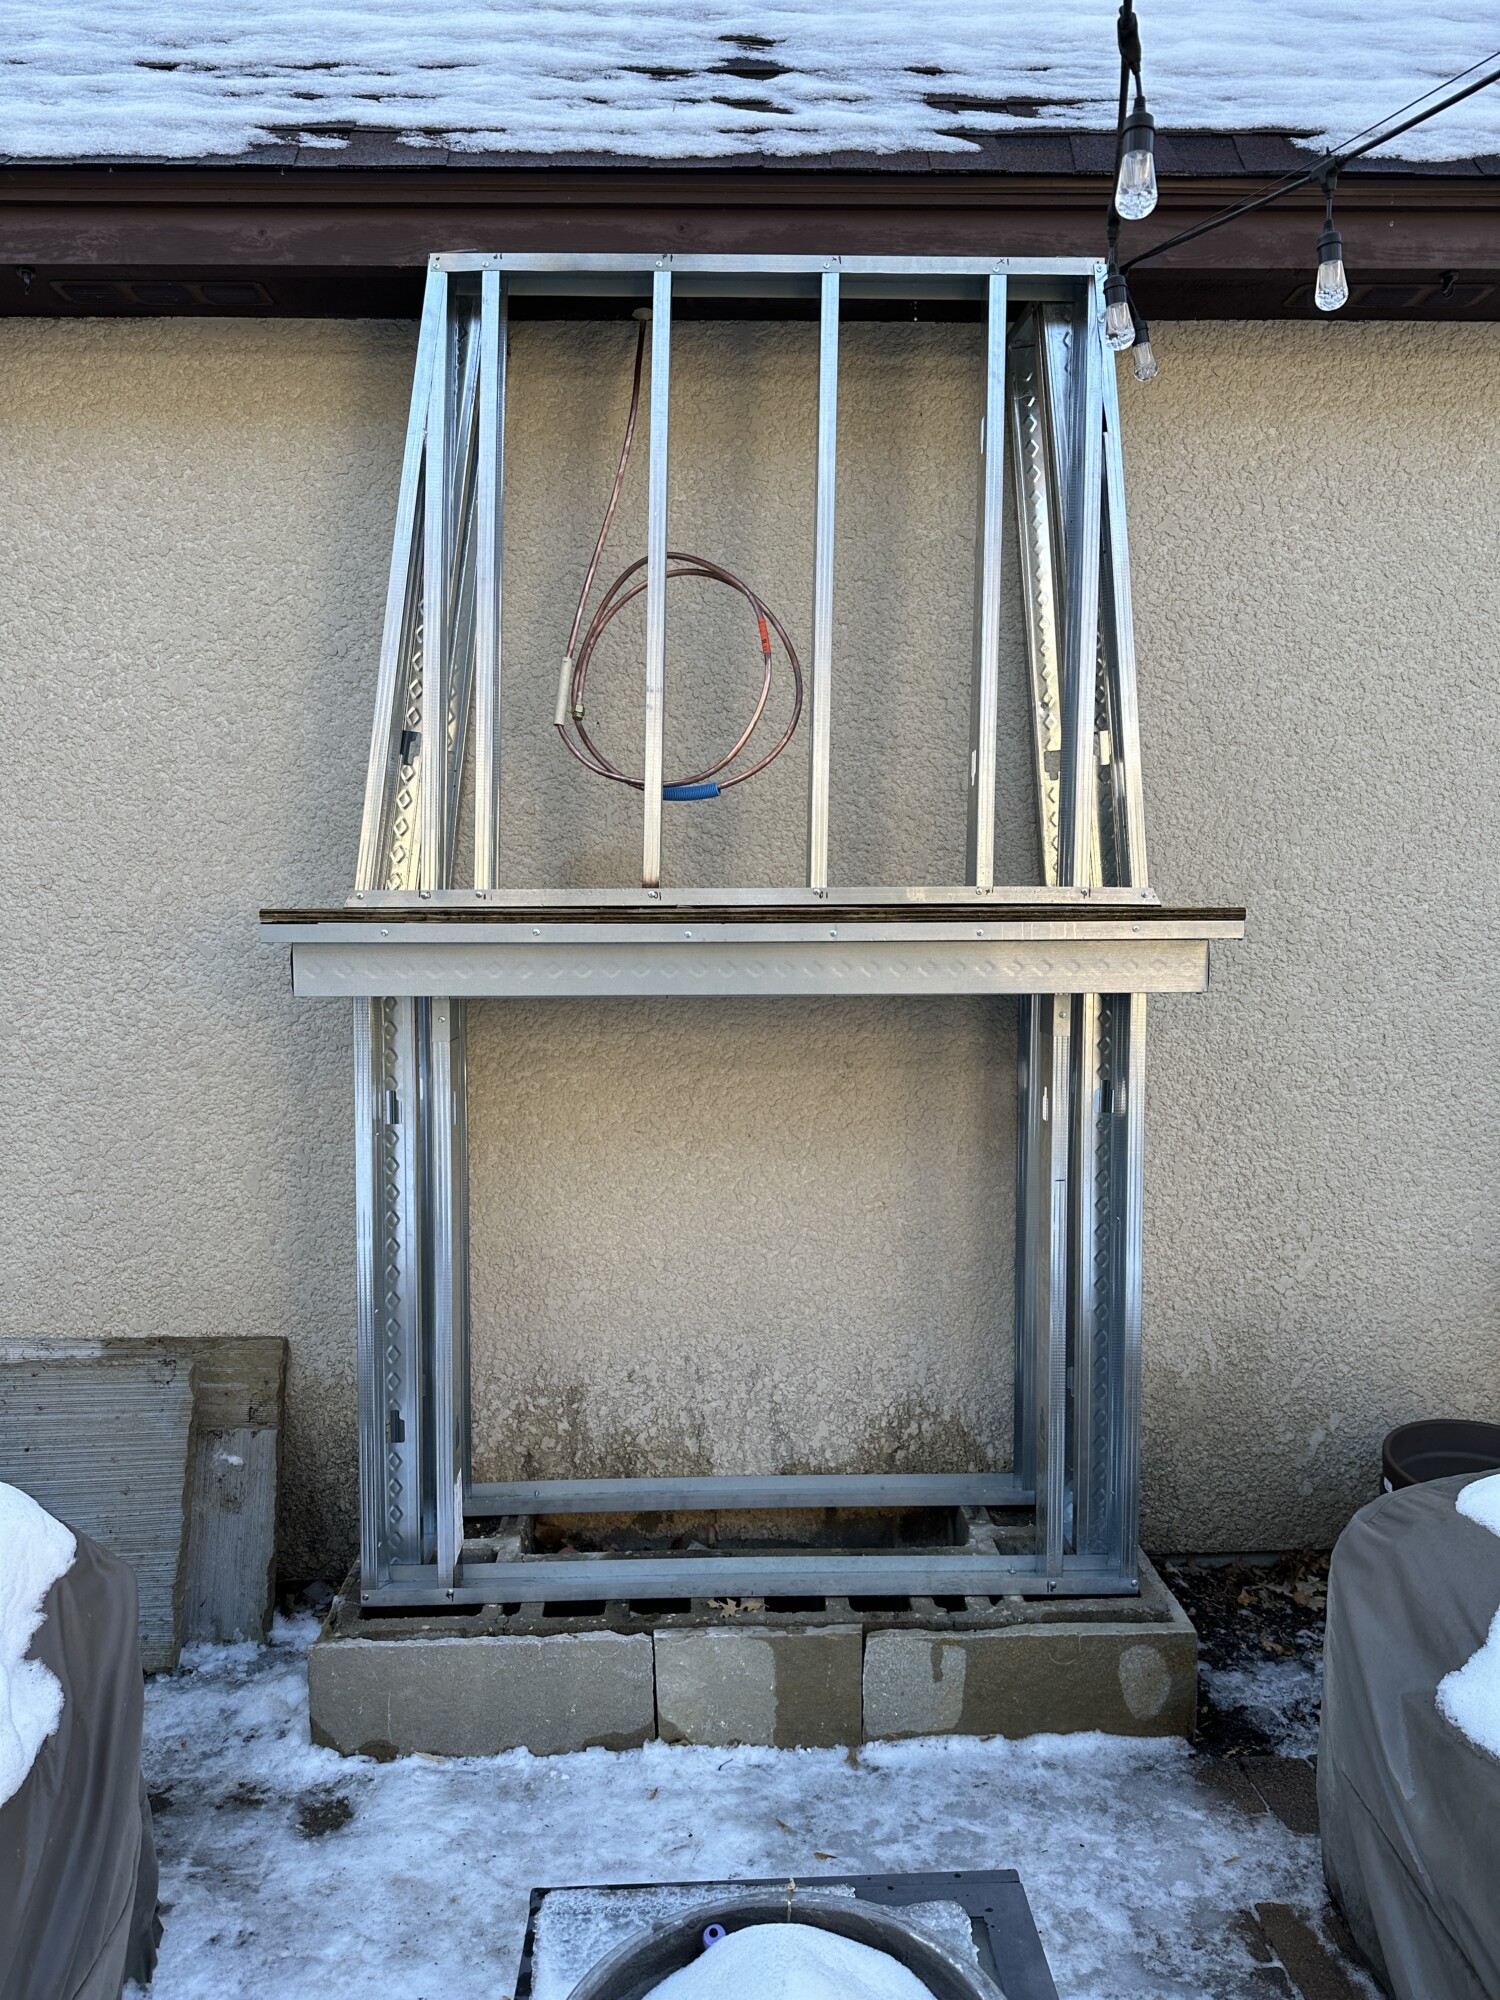
Thankfully it was corrected quickly and things went smoothly after that.
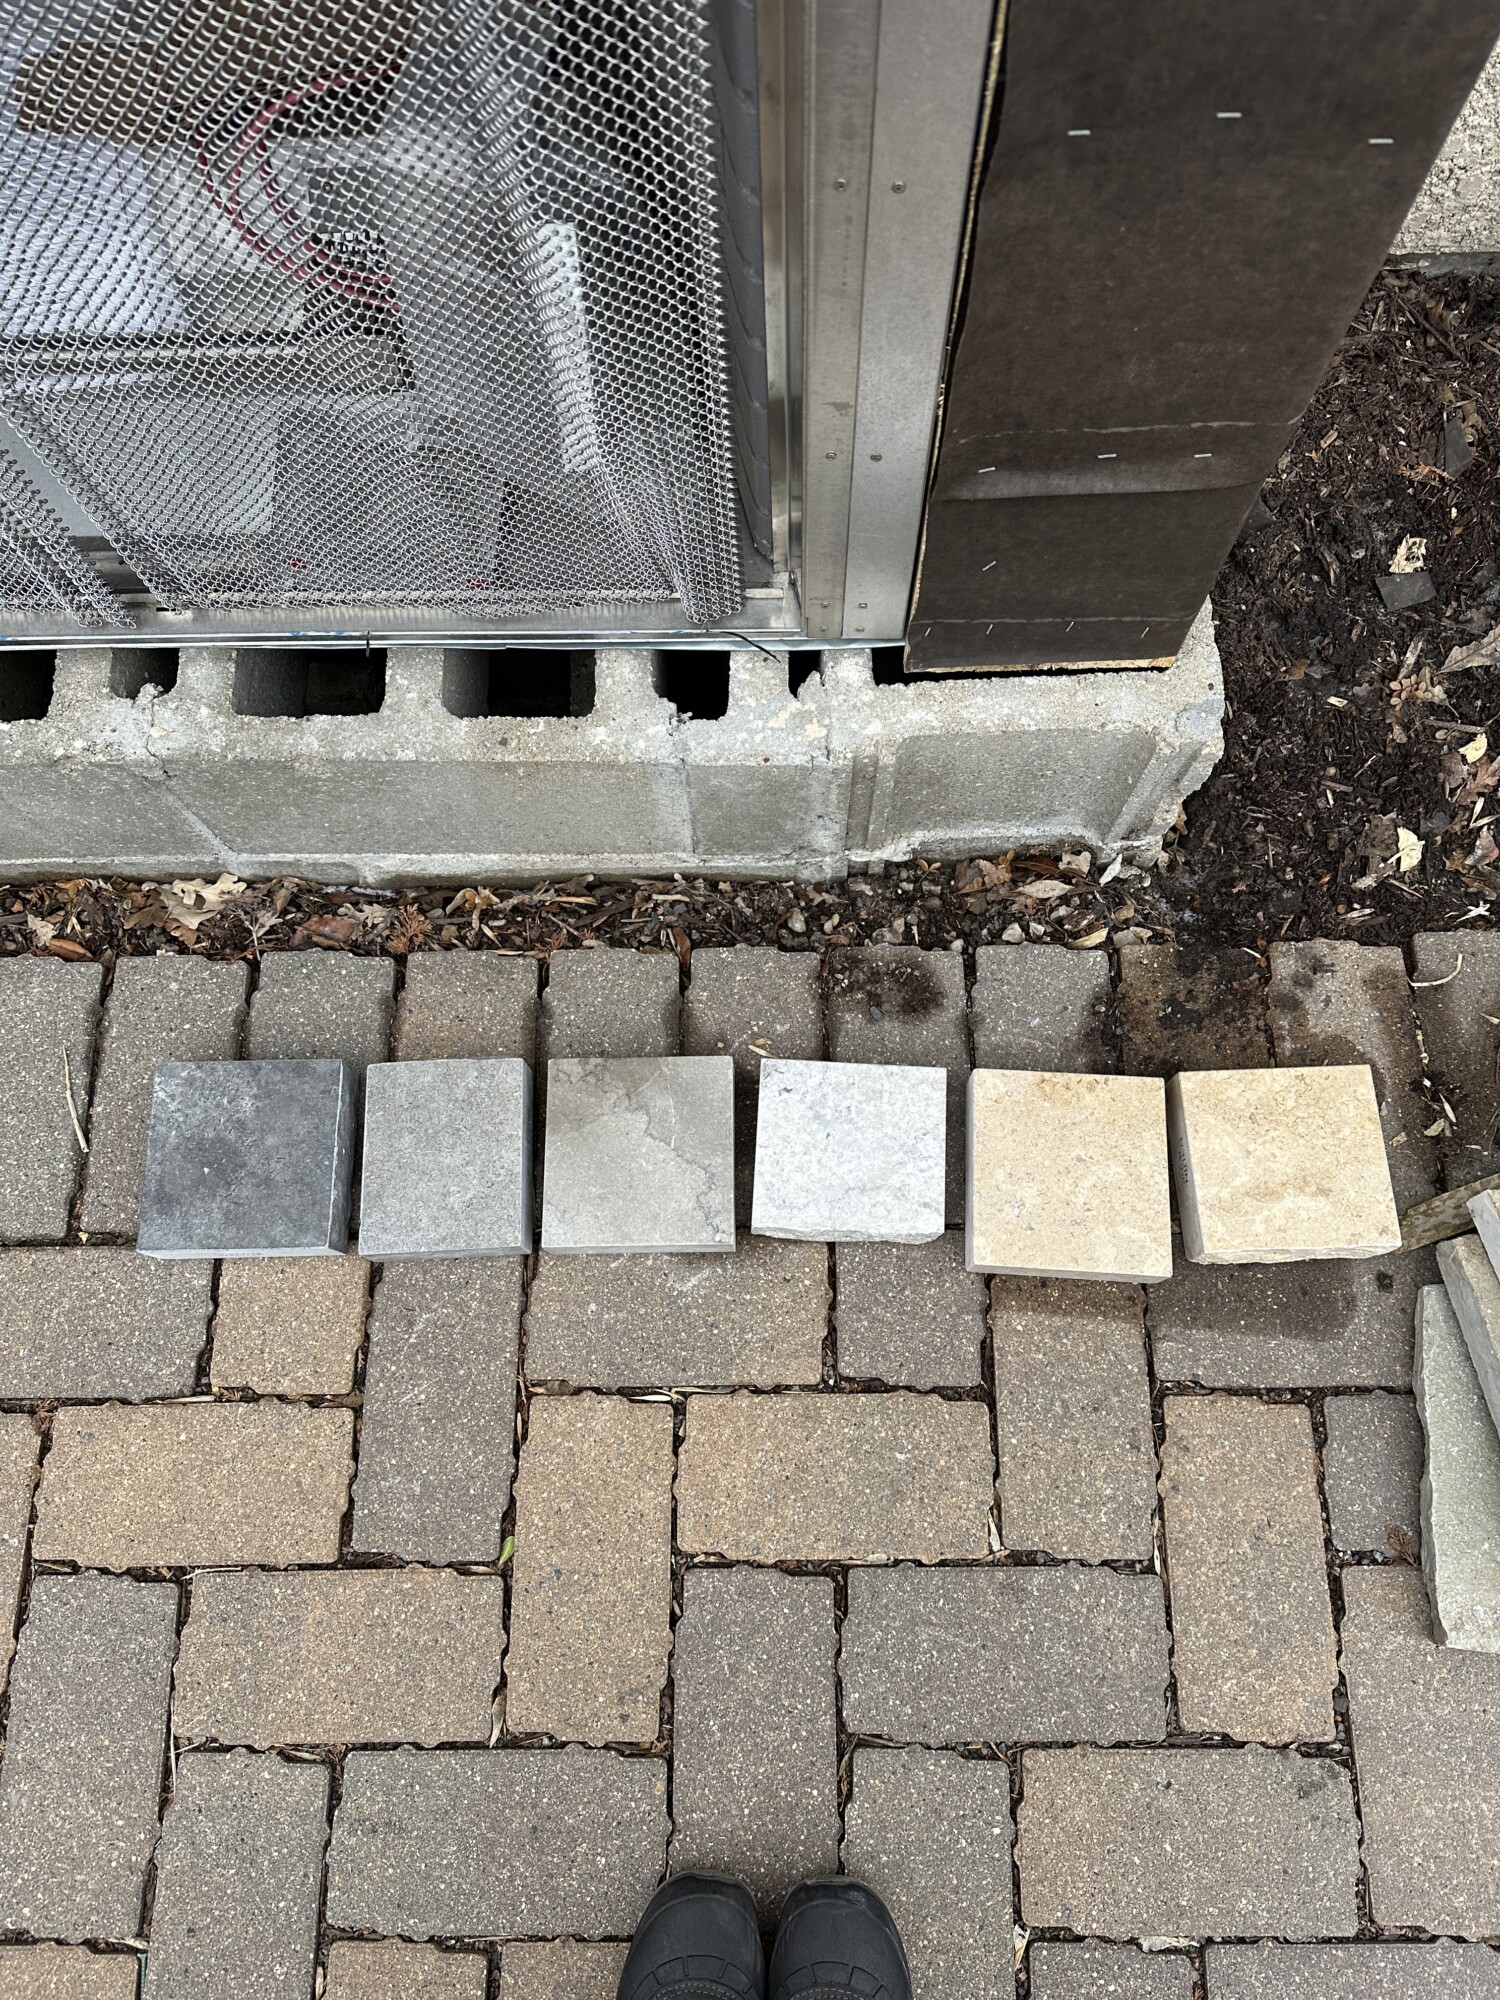
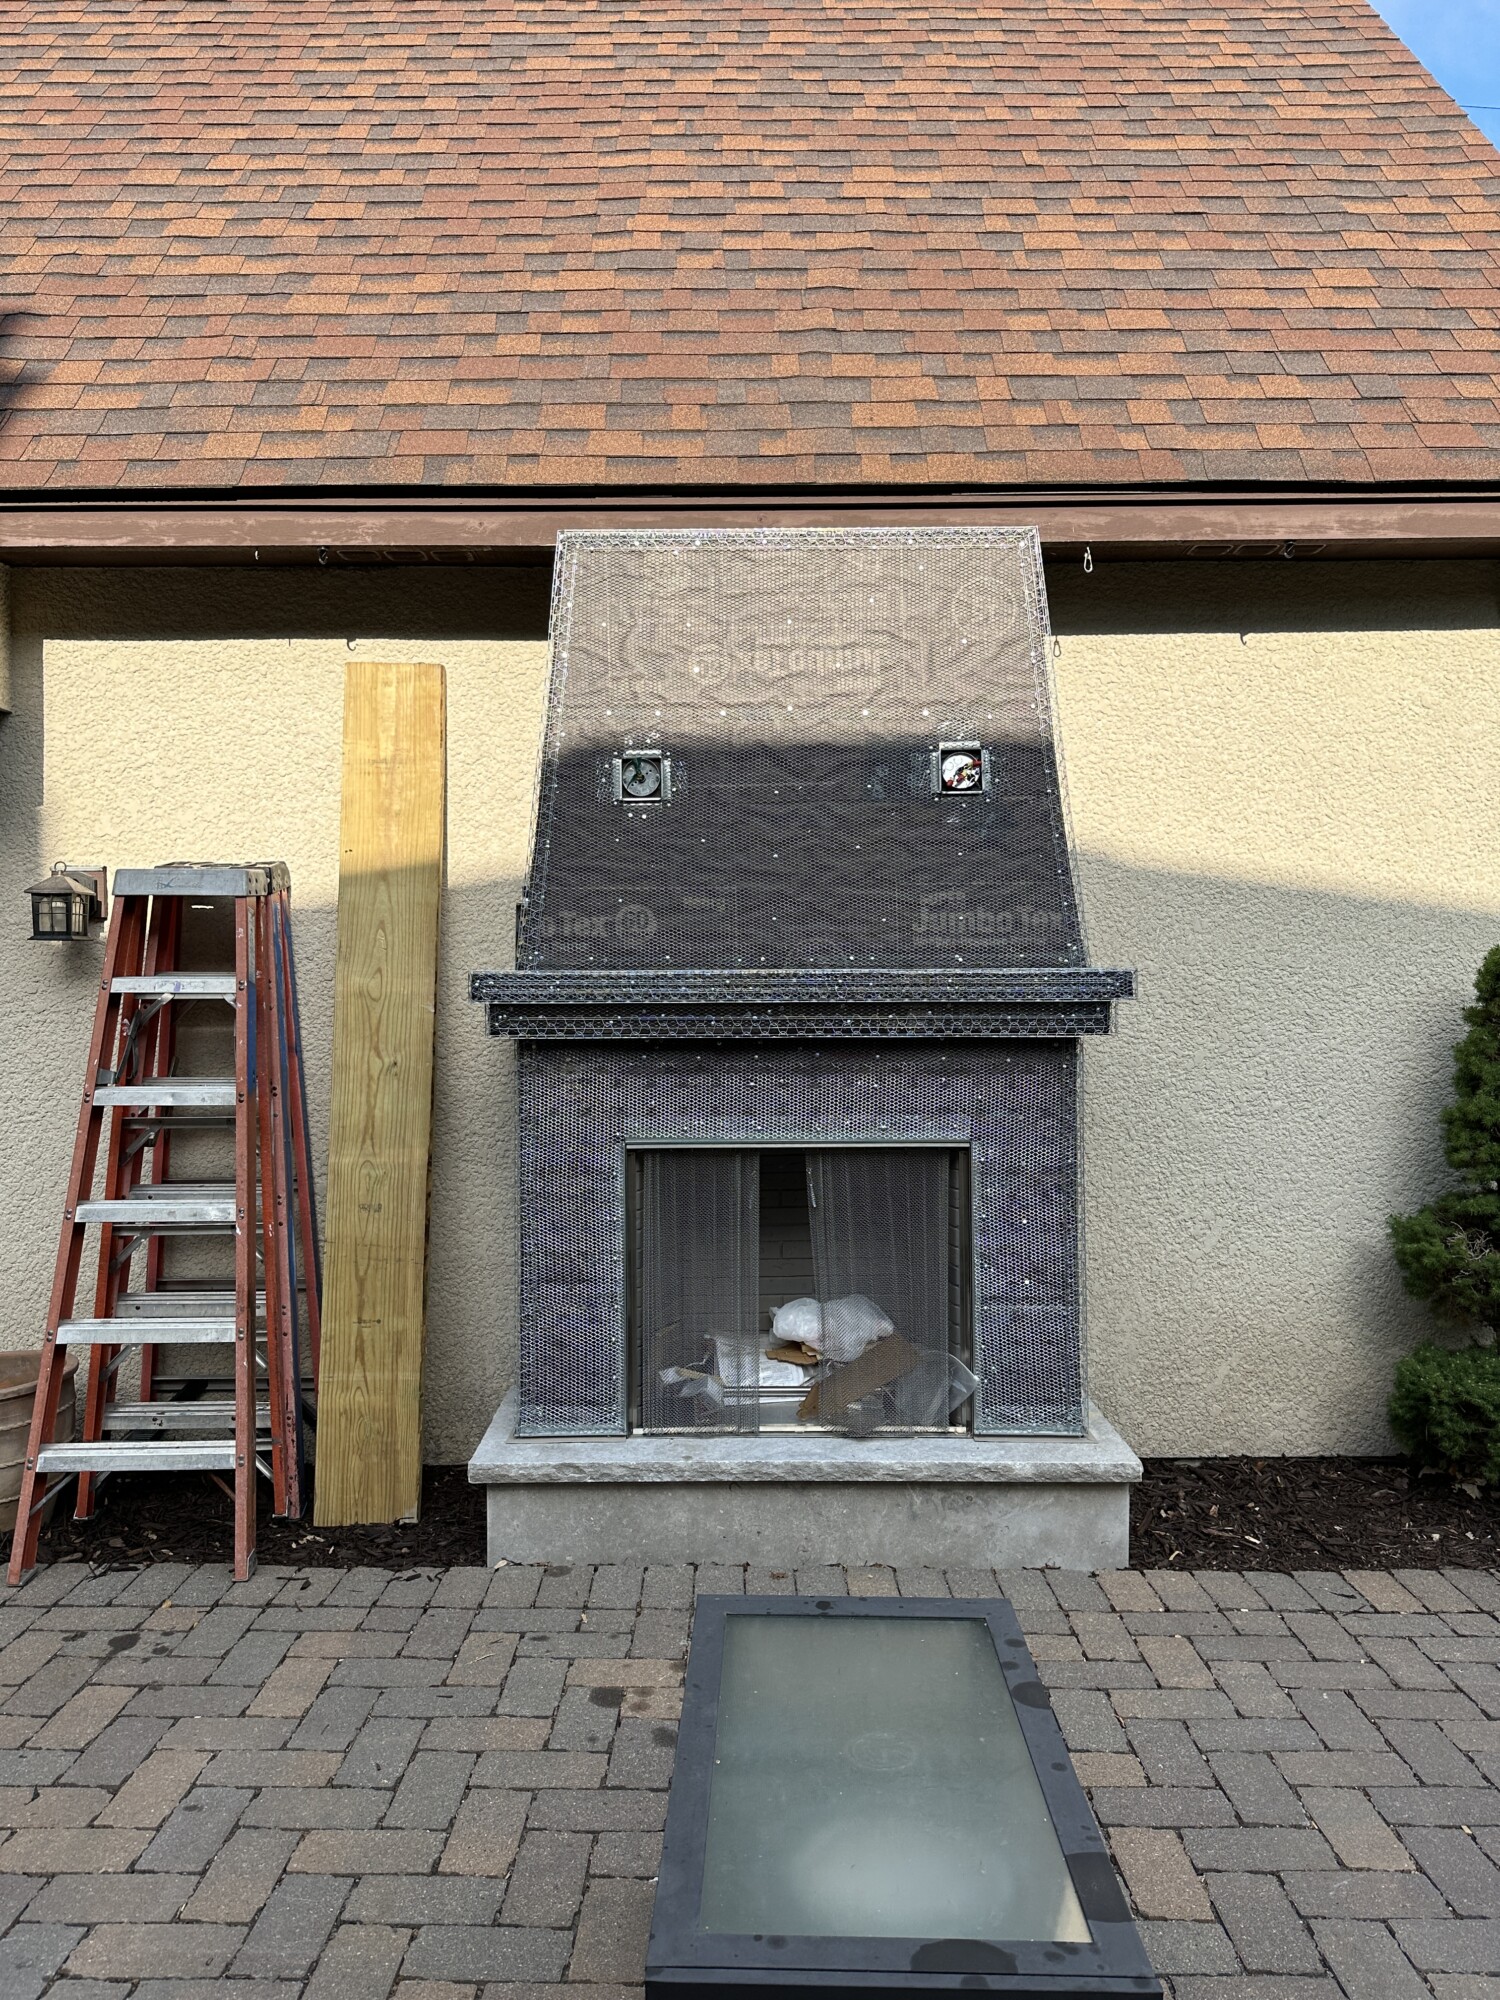
Choosing the Limestone
Once framing was finished, we hired a professional mason to install the limestone base.
After reviewing several samples, we selected the lightest, cooler-toned limestone which created a beautiful contrast with the stucco and stone pavers.
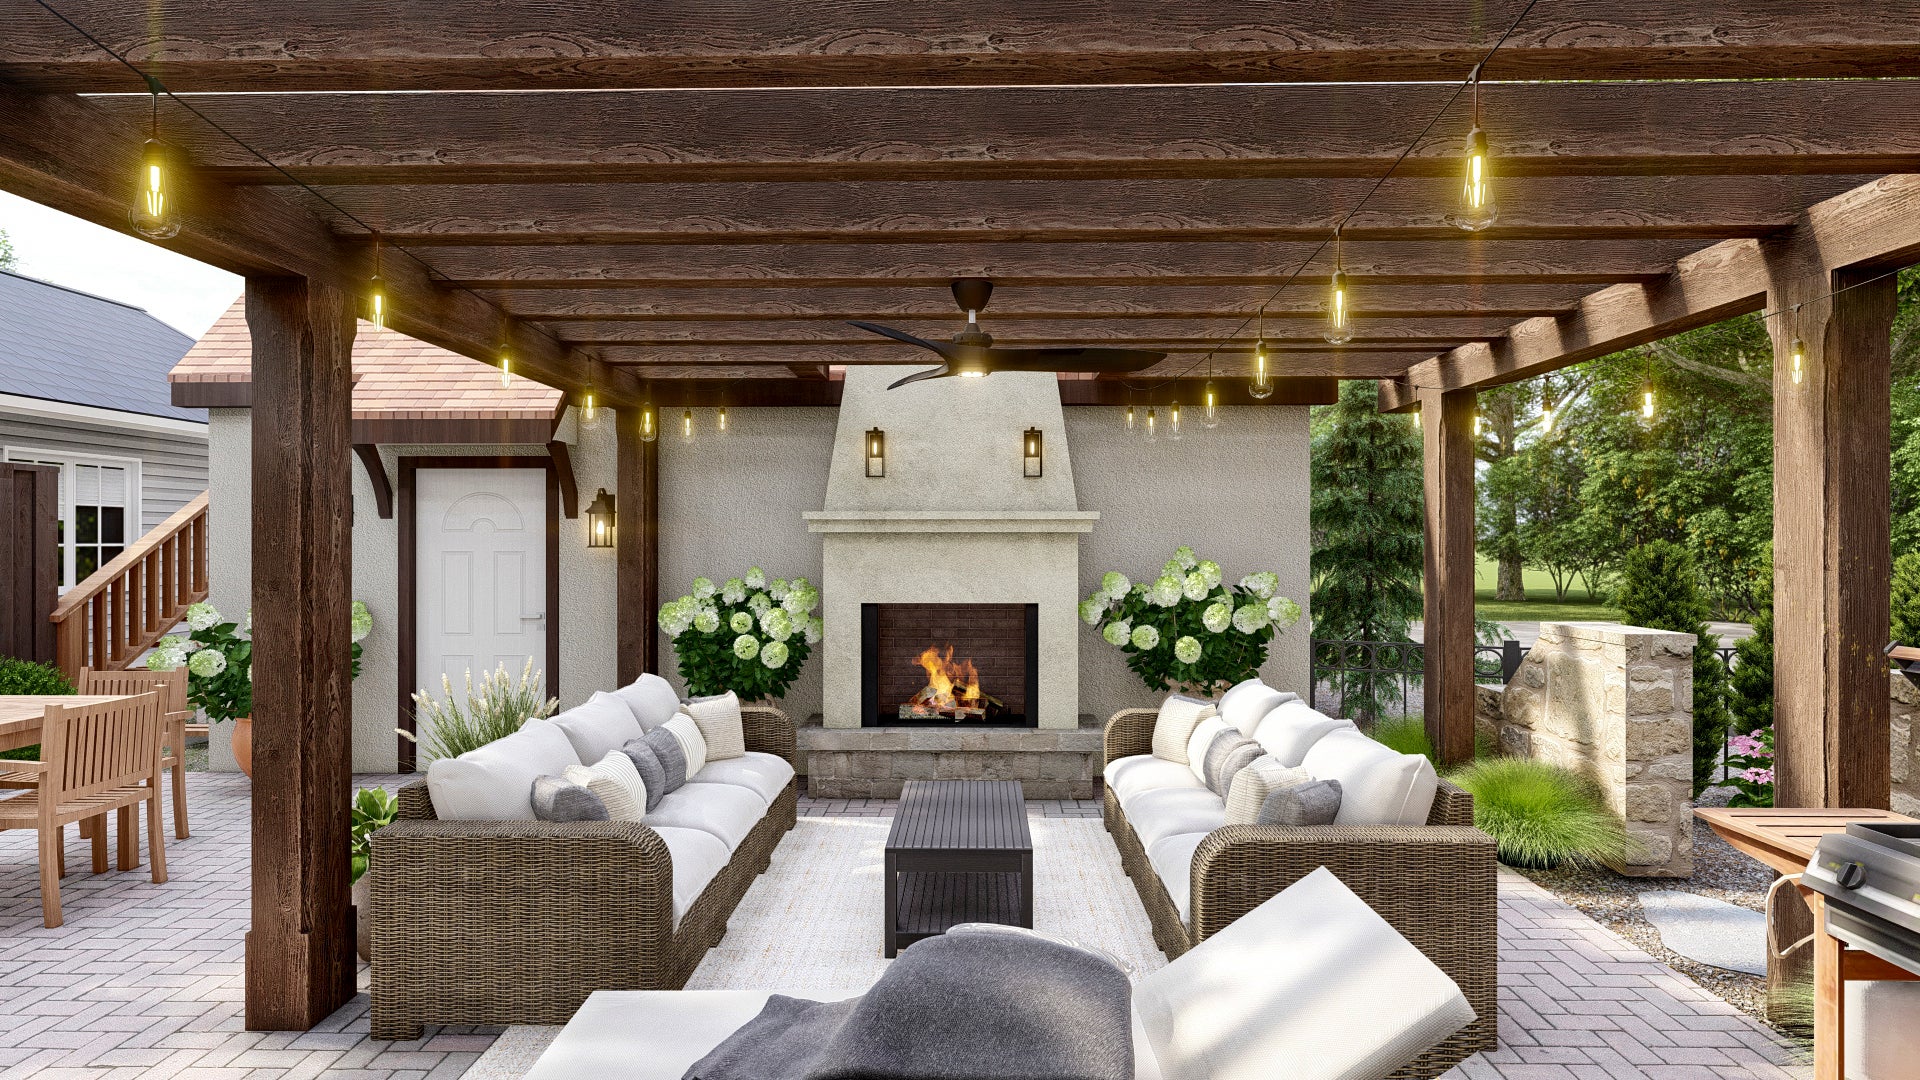
Sconce Placement Challenge
During construction we also had to decide on sconce placement.
The initial plan included a rectangular bump-out for the electrical box.
While this would have been the easiest solution, we pushed back and worked with the team to find a cleaner option that didn’t interrupt the design. I always recommend being open, honest and respectful with your contractors to advocate for the best solution. Communication is key.
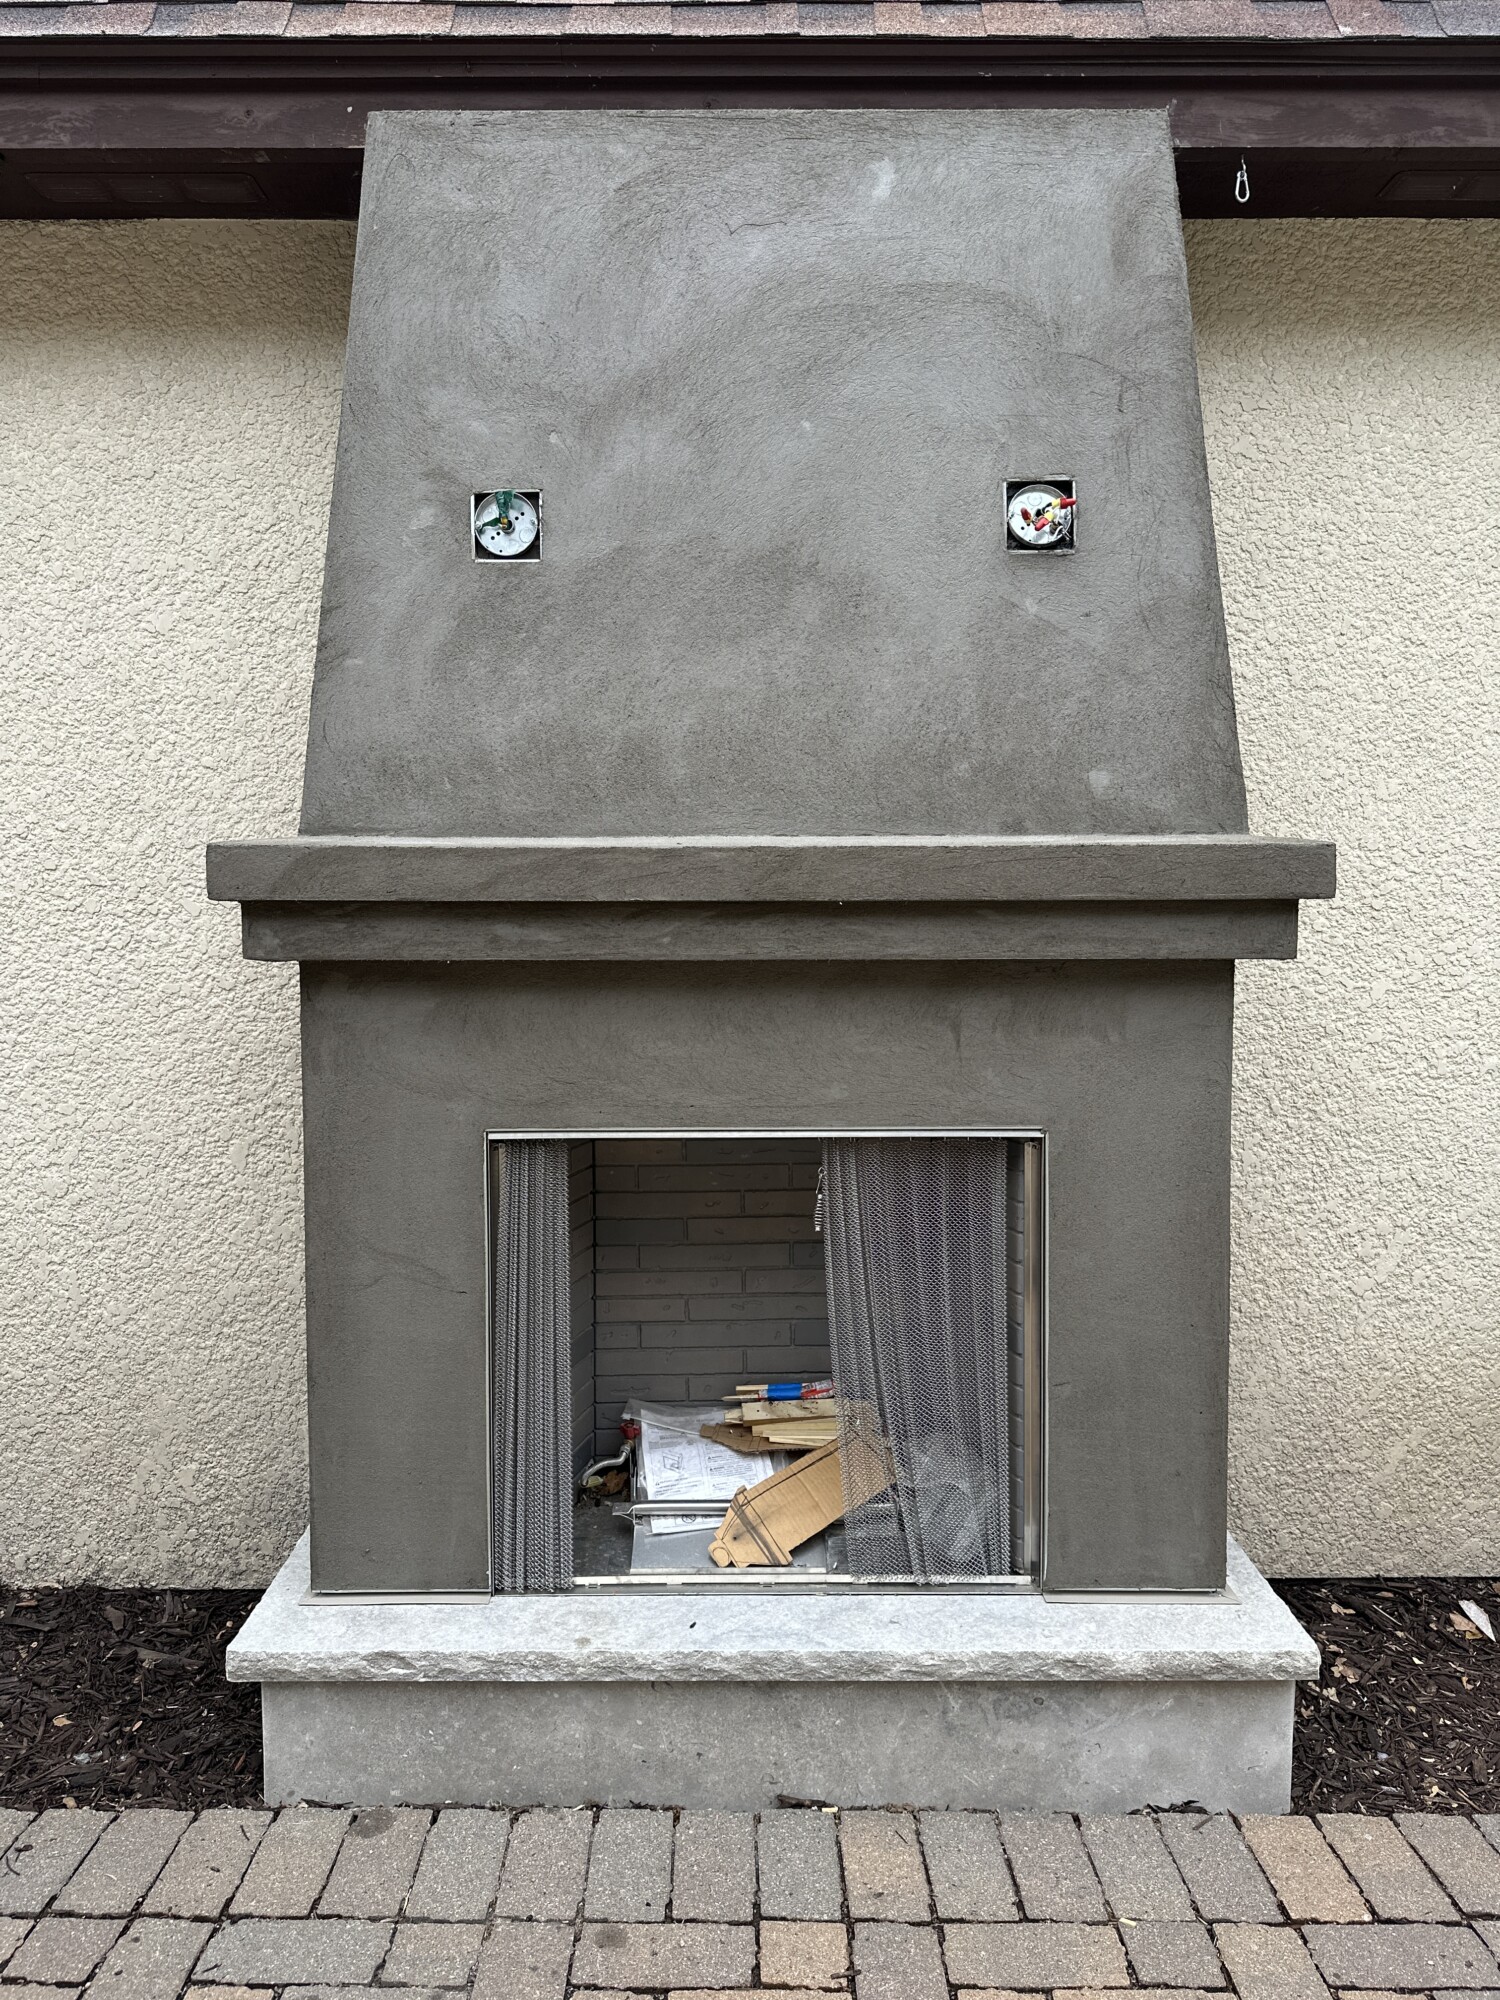
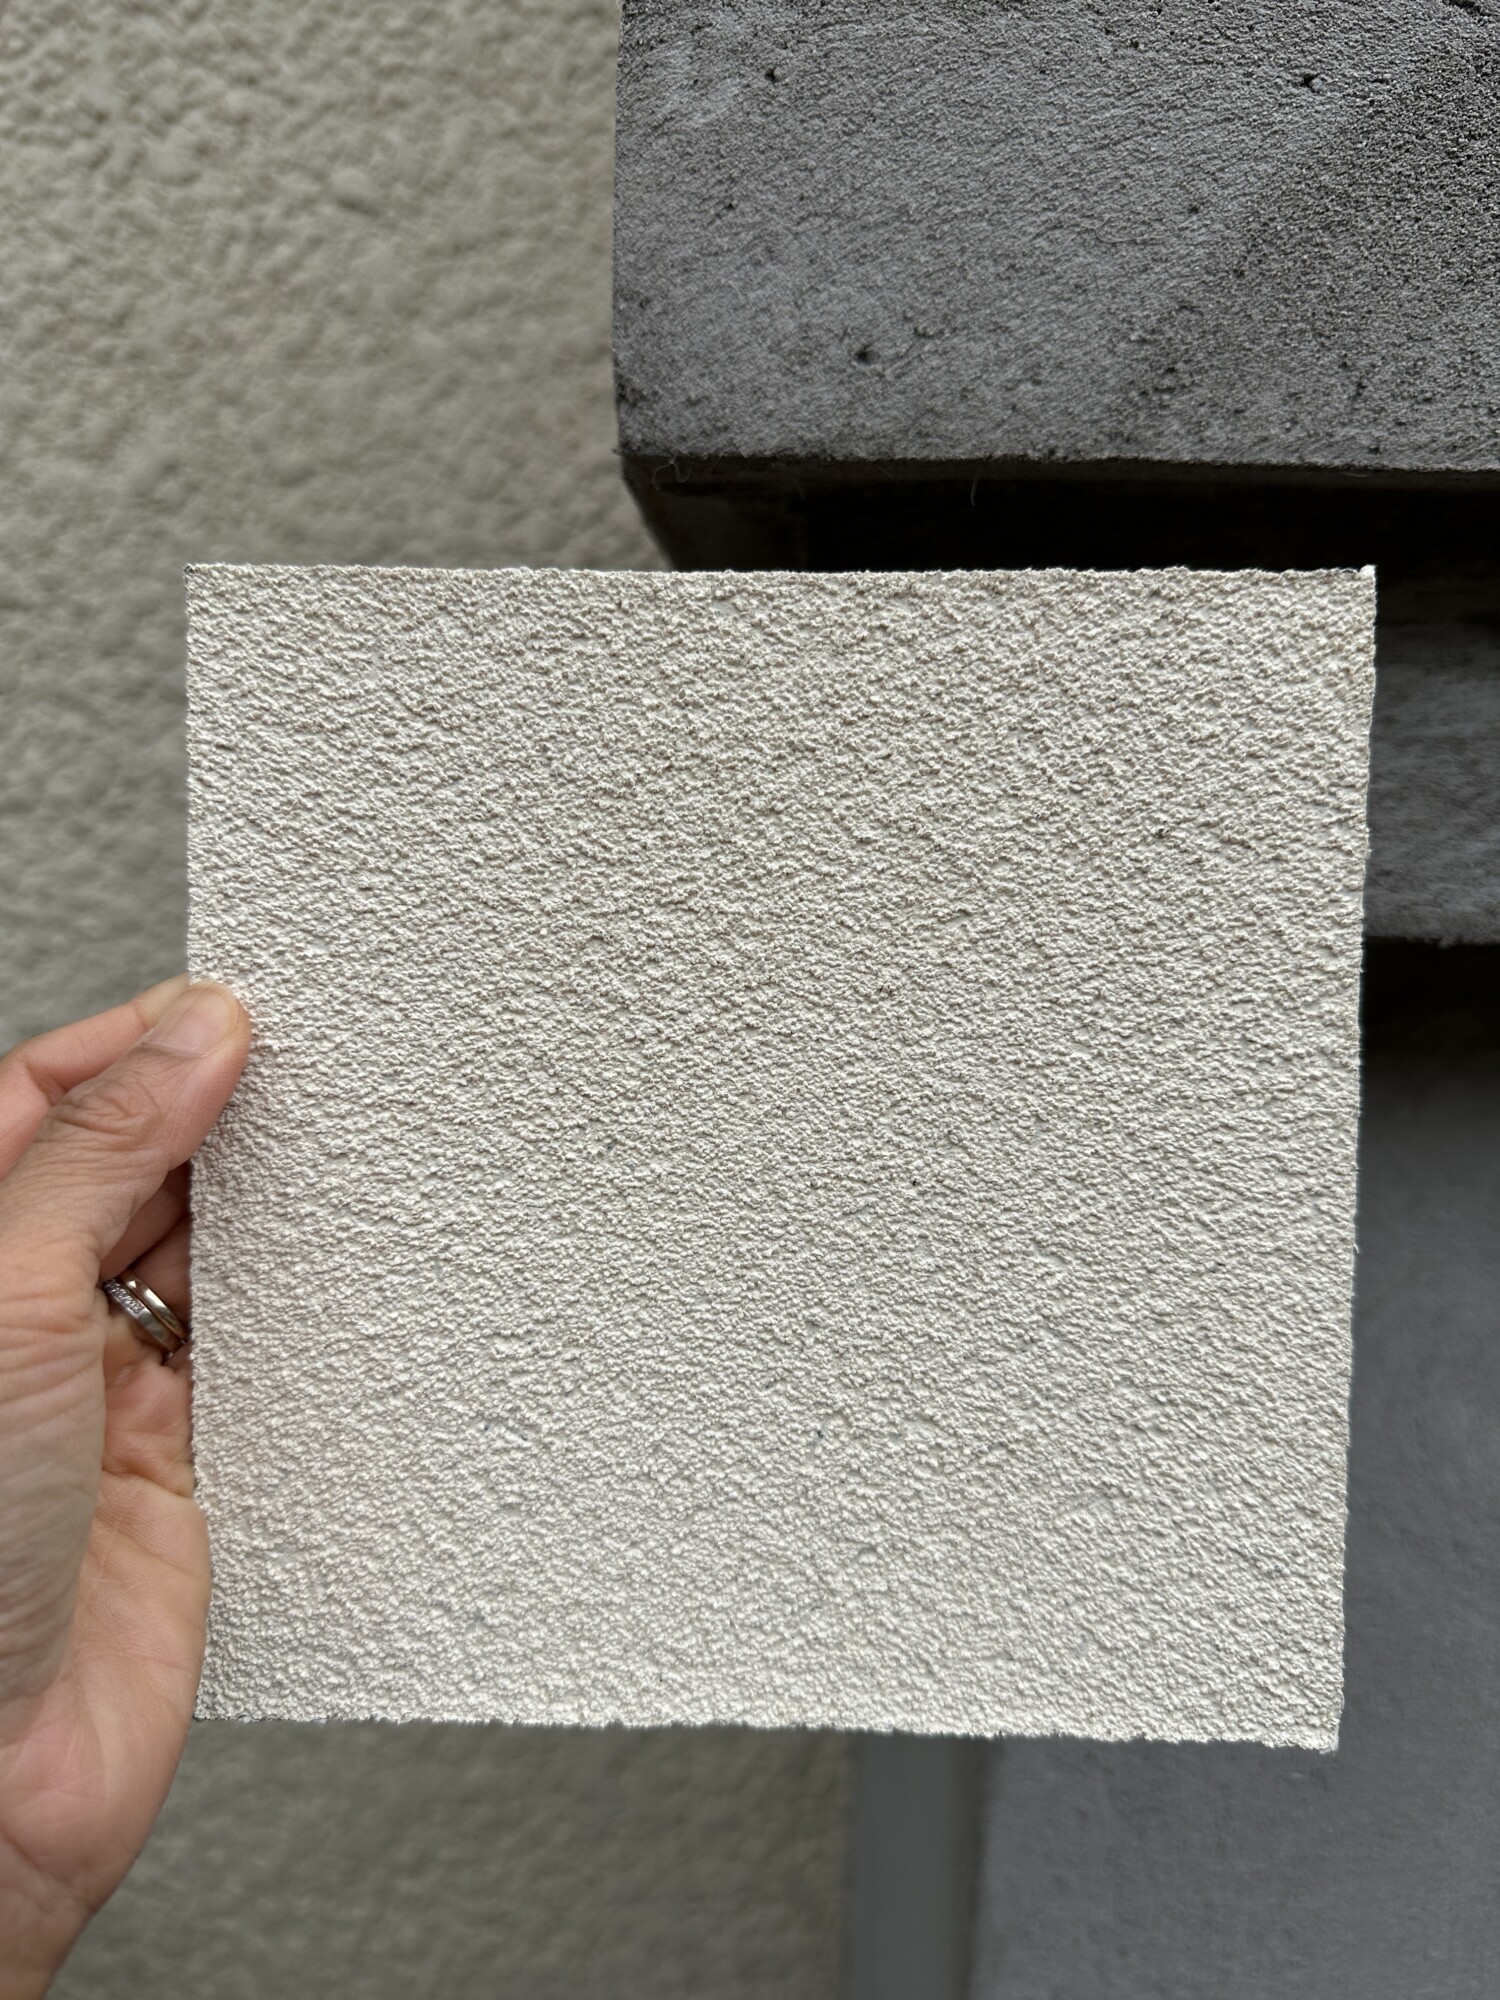
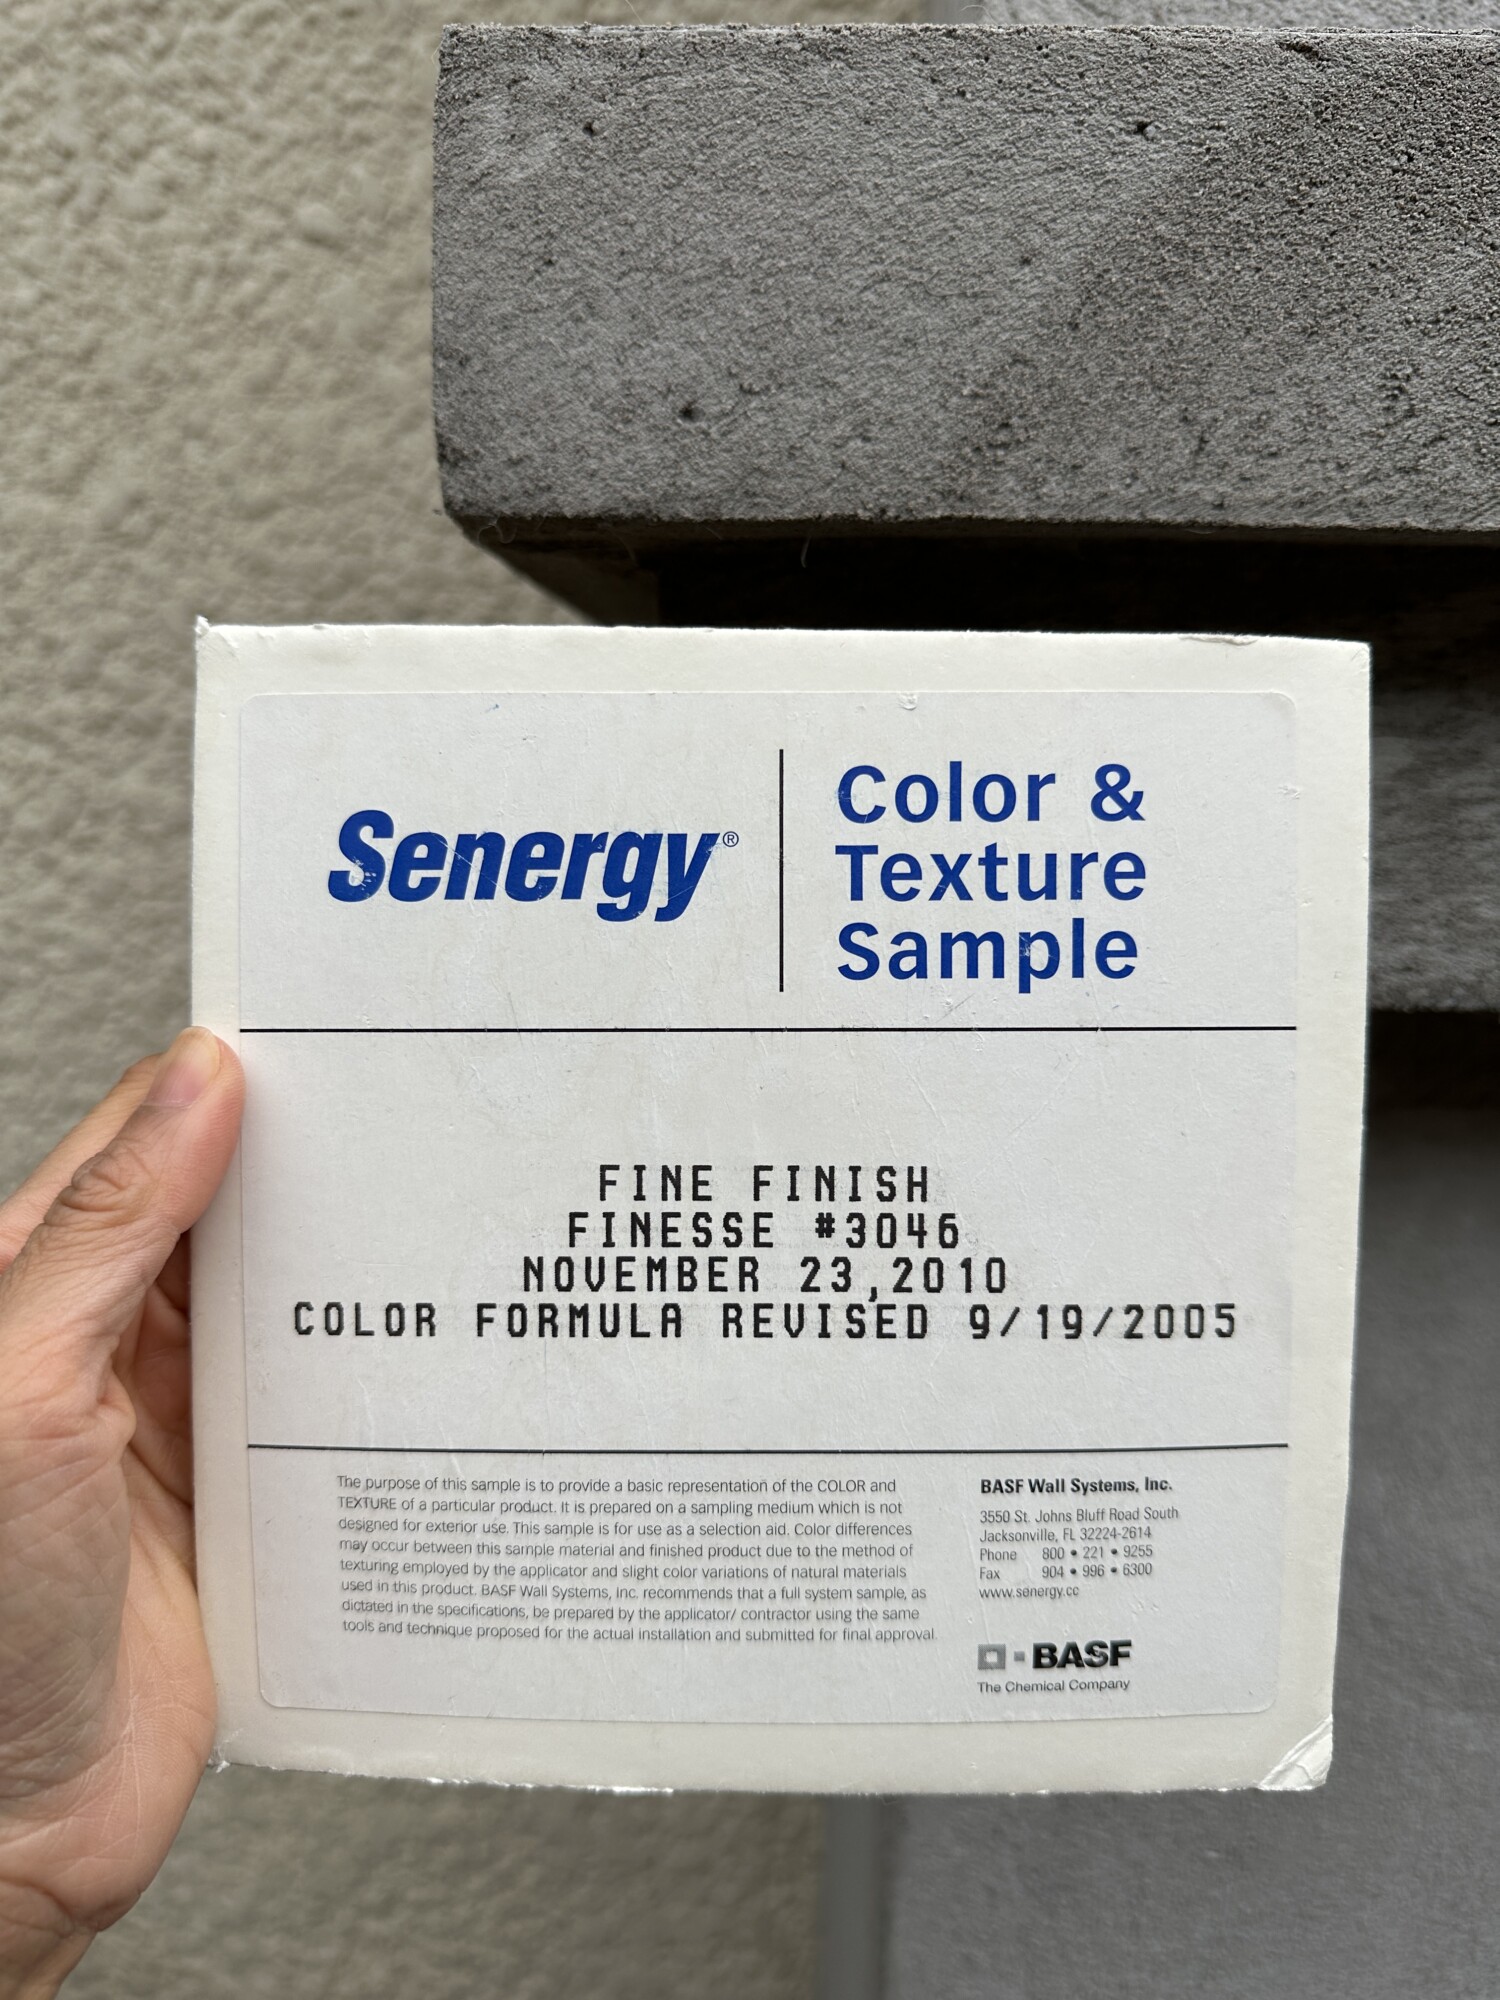
Choosing the Stucco Color
Next came the stucco color.
After reviewing several samples, we selected Finesse #3046.
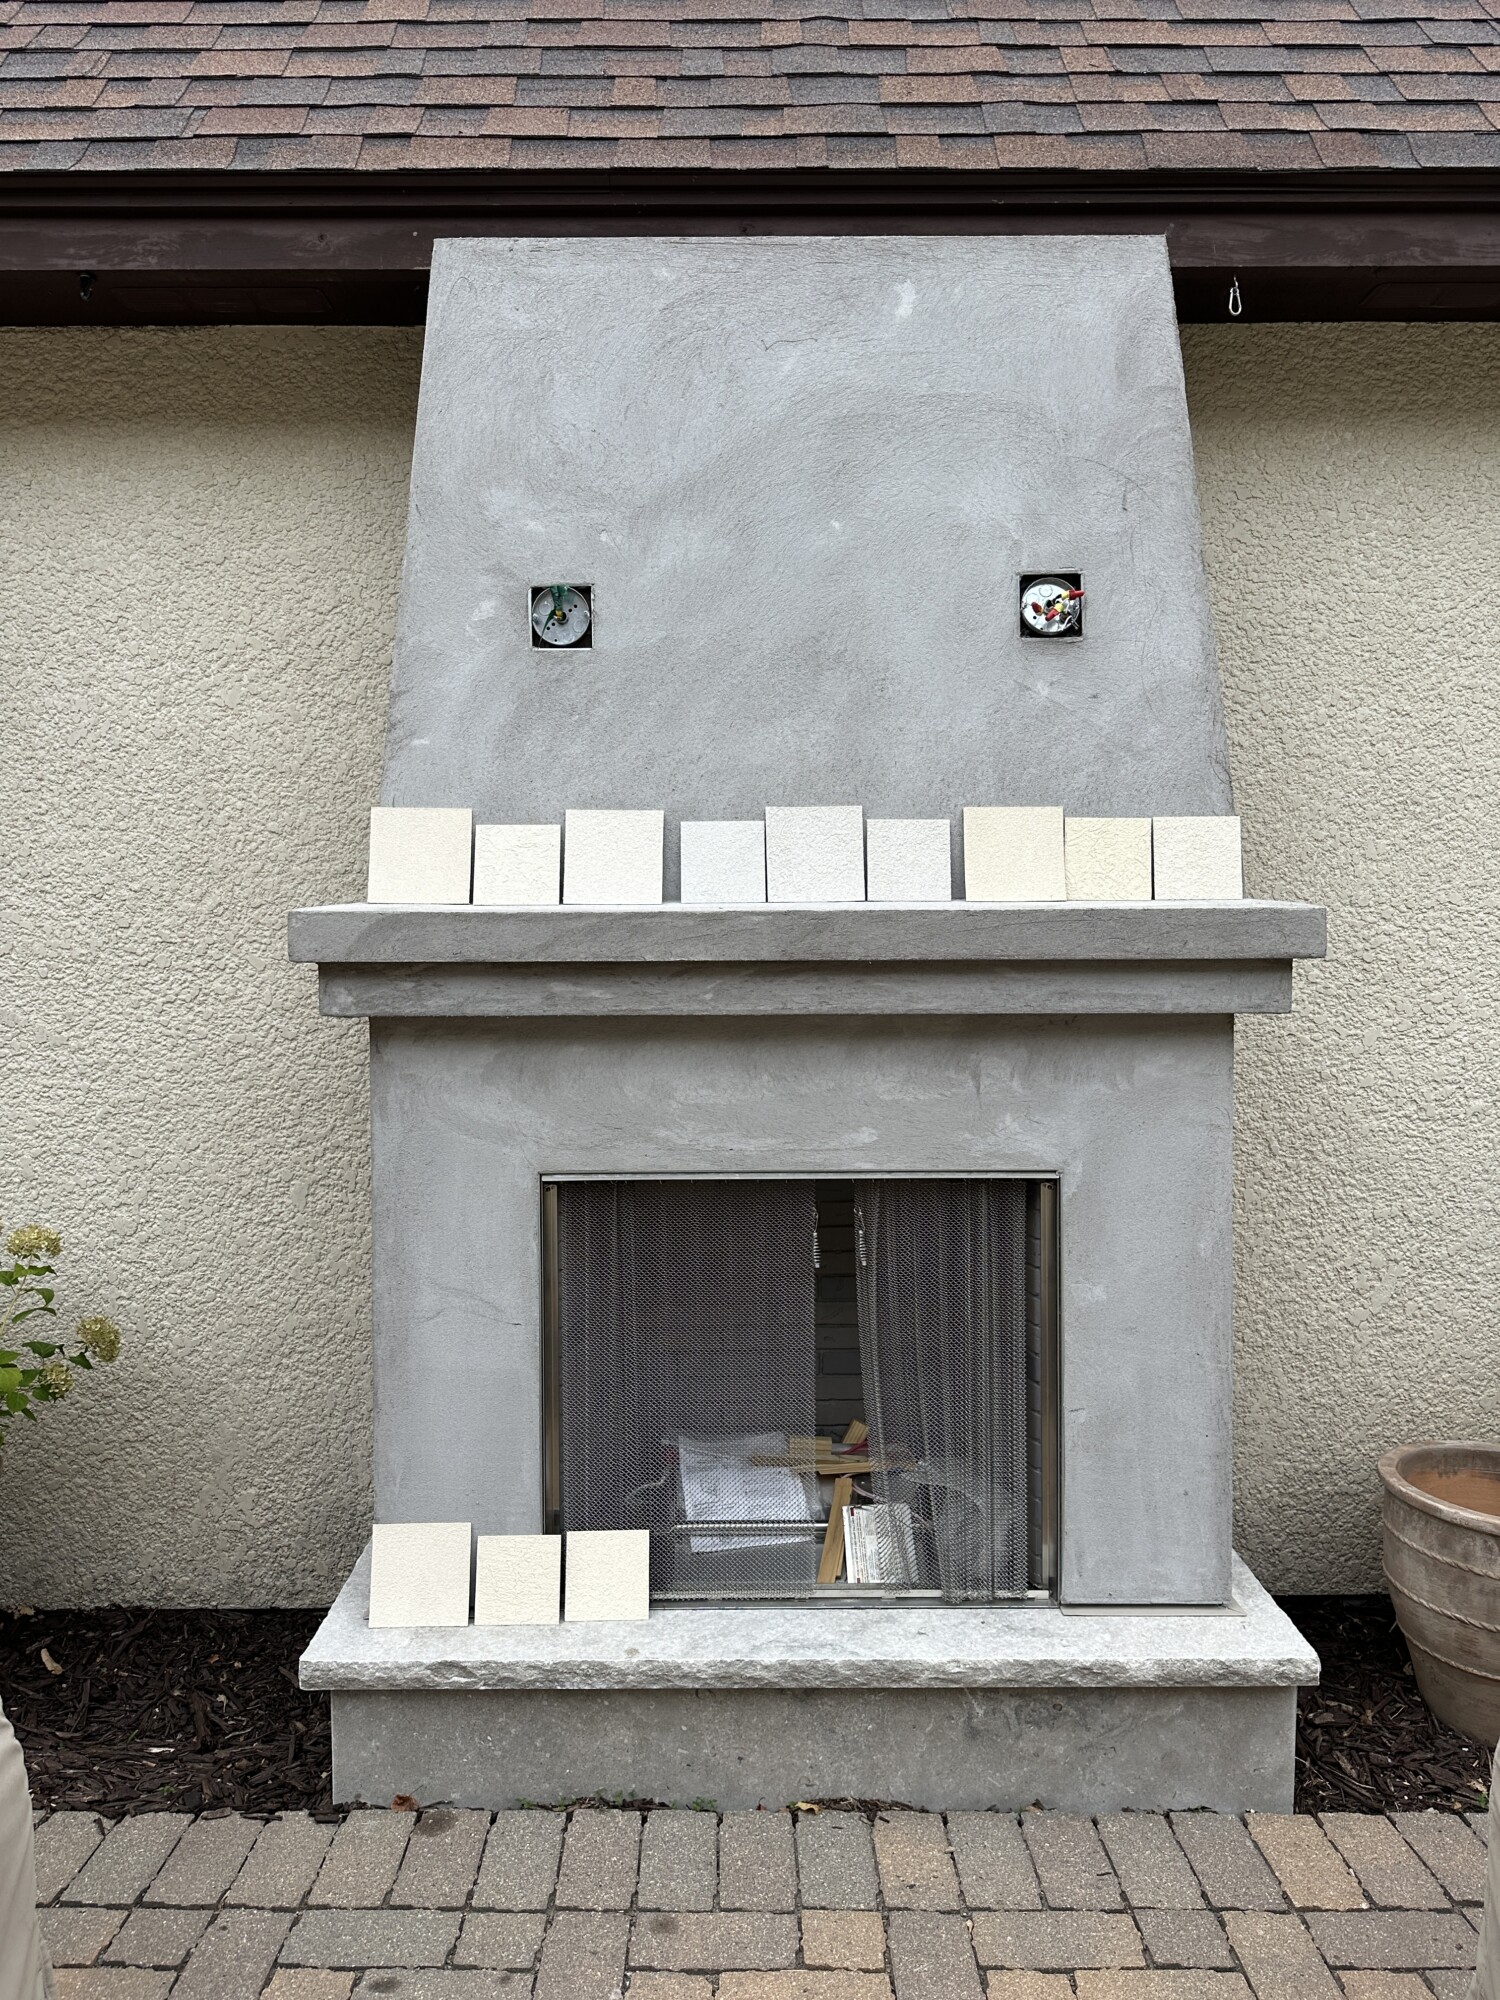
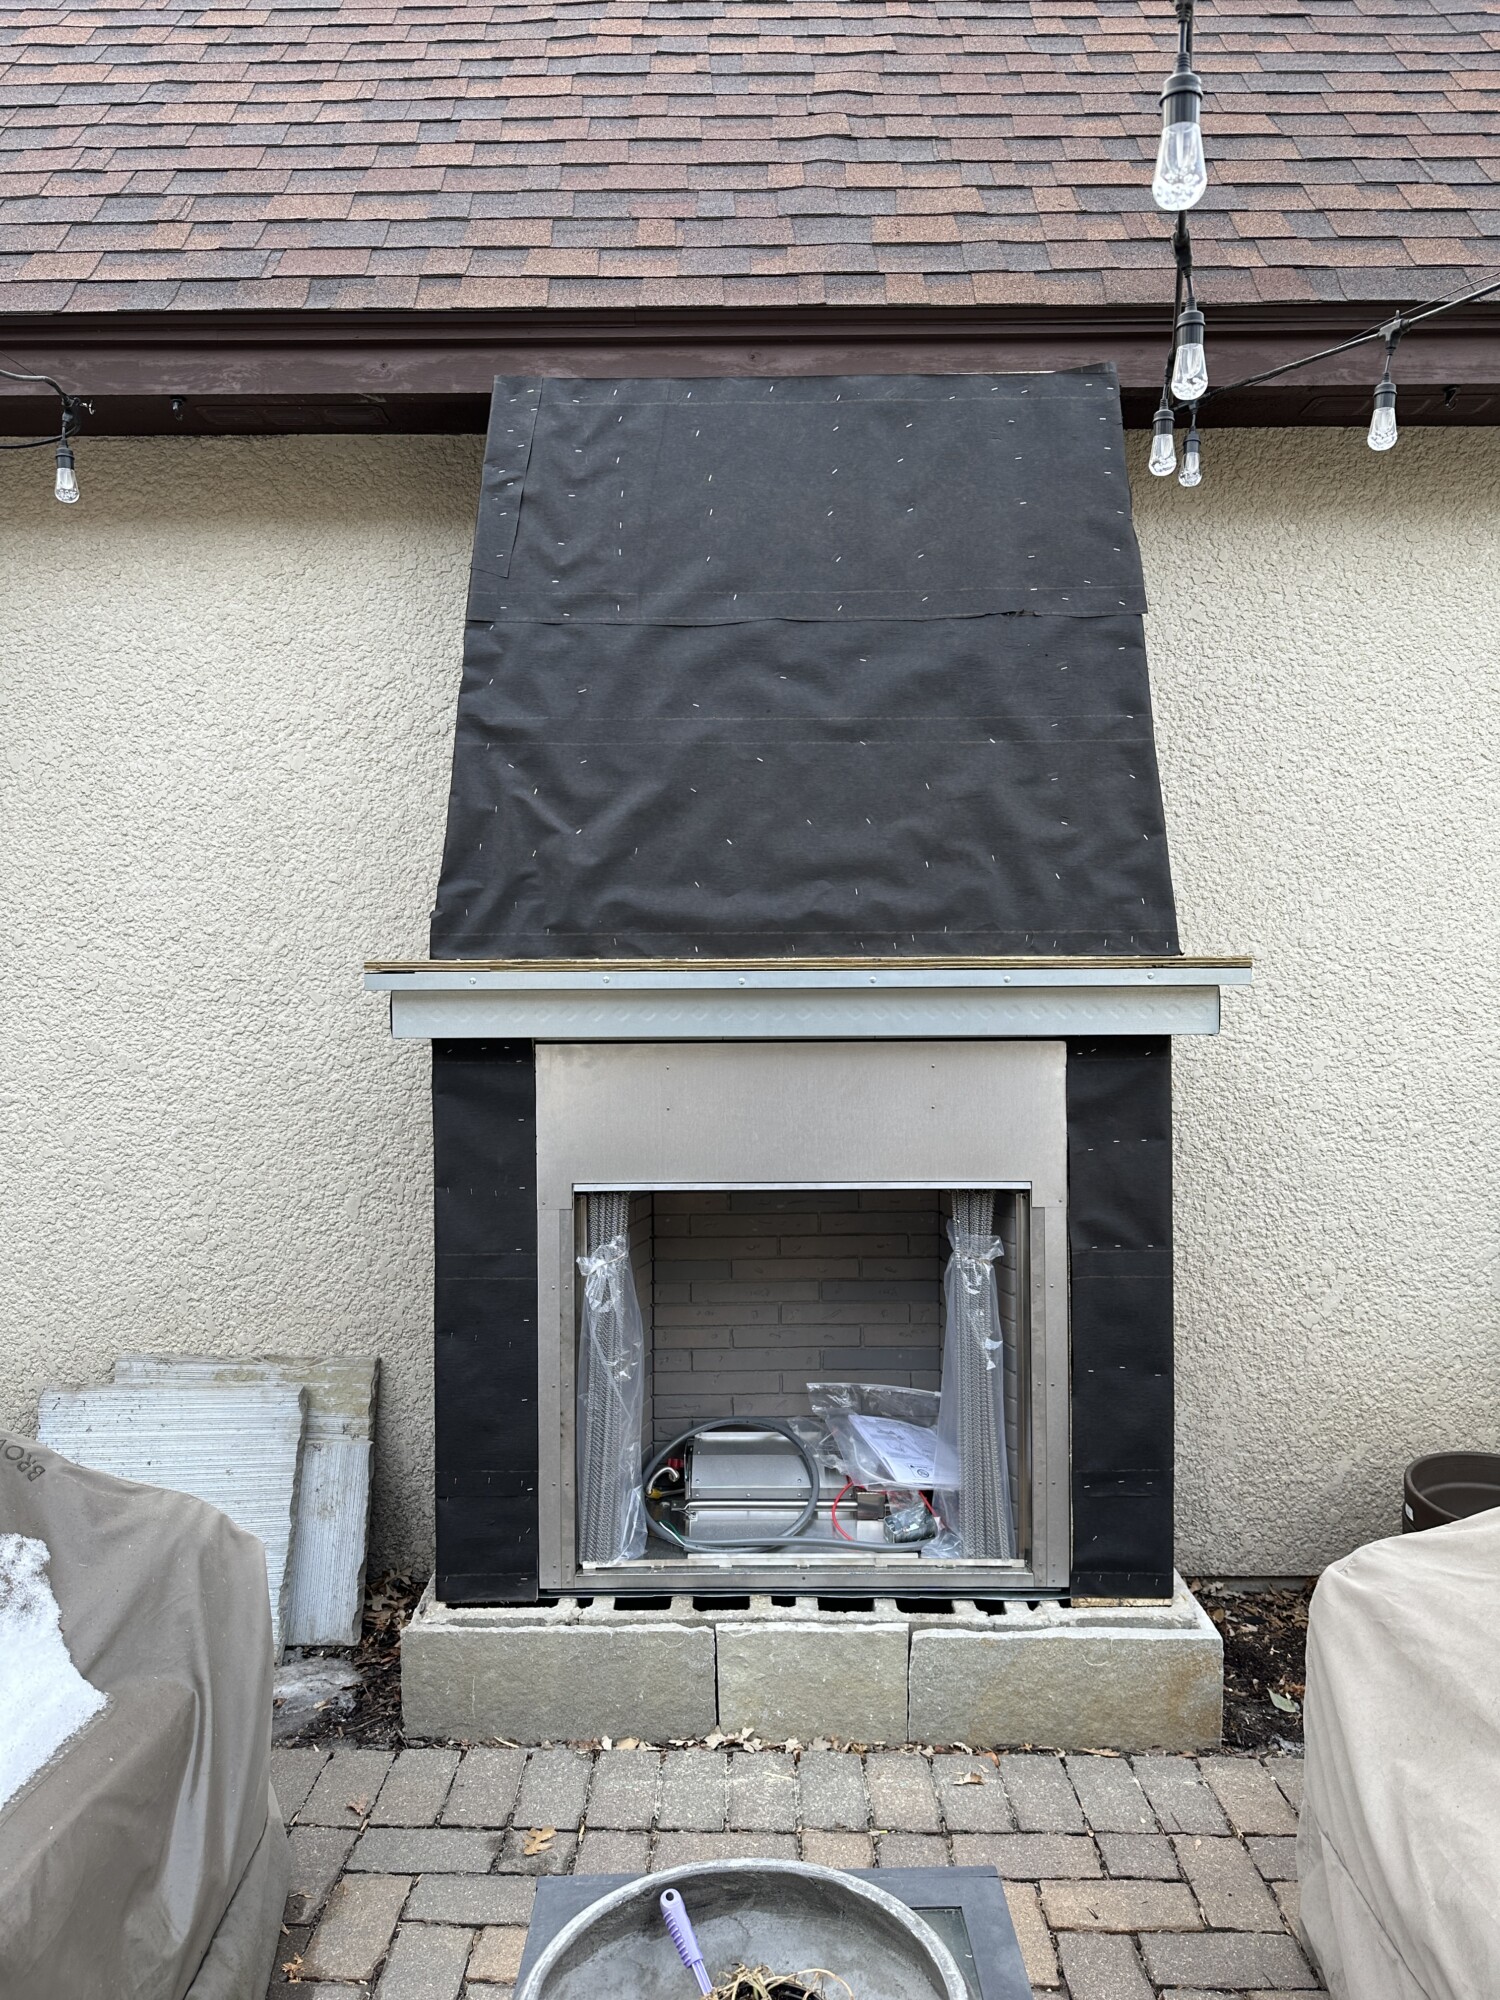
By September 2023, the outdoor fireplace was finally complete—and we absolutely love how it turned out.
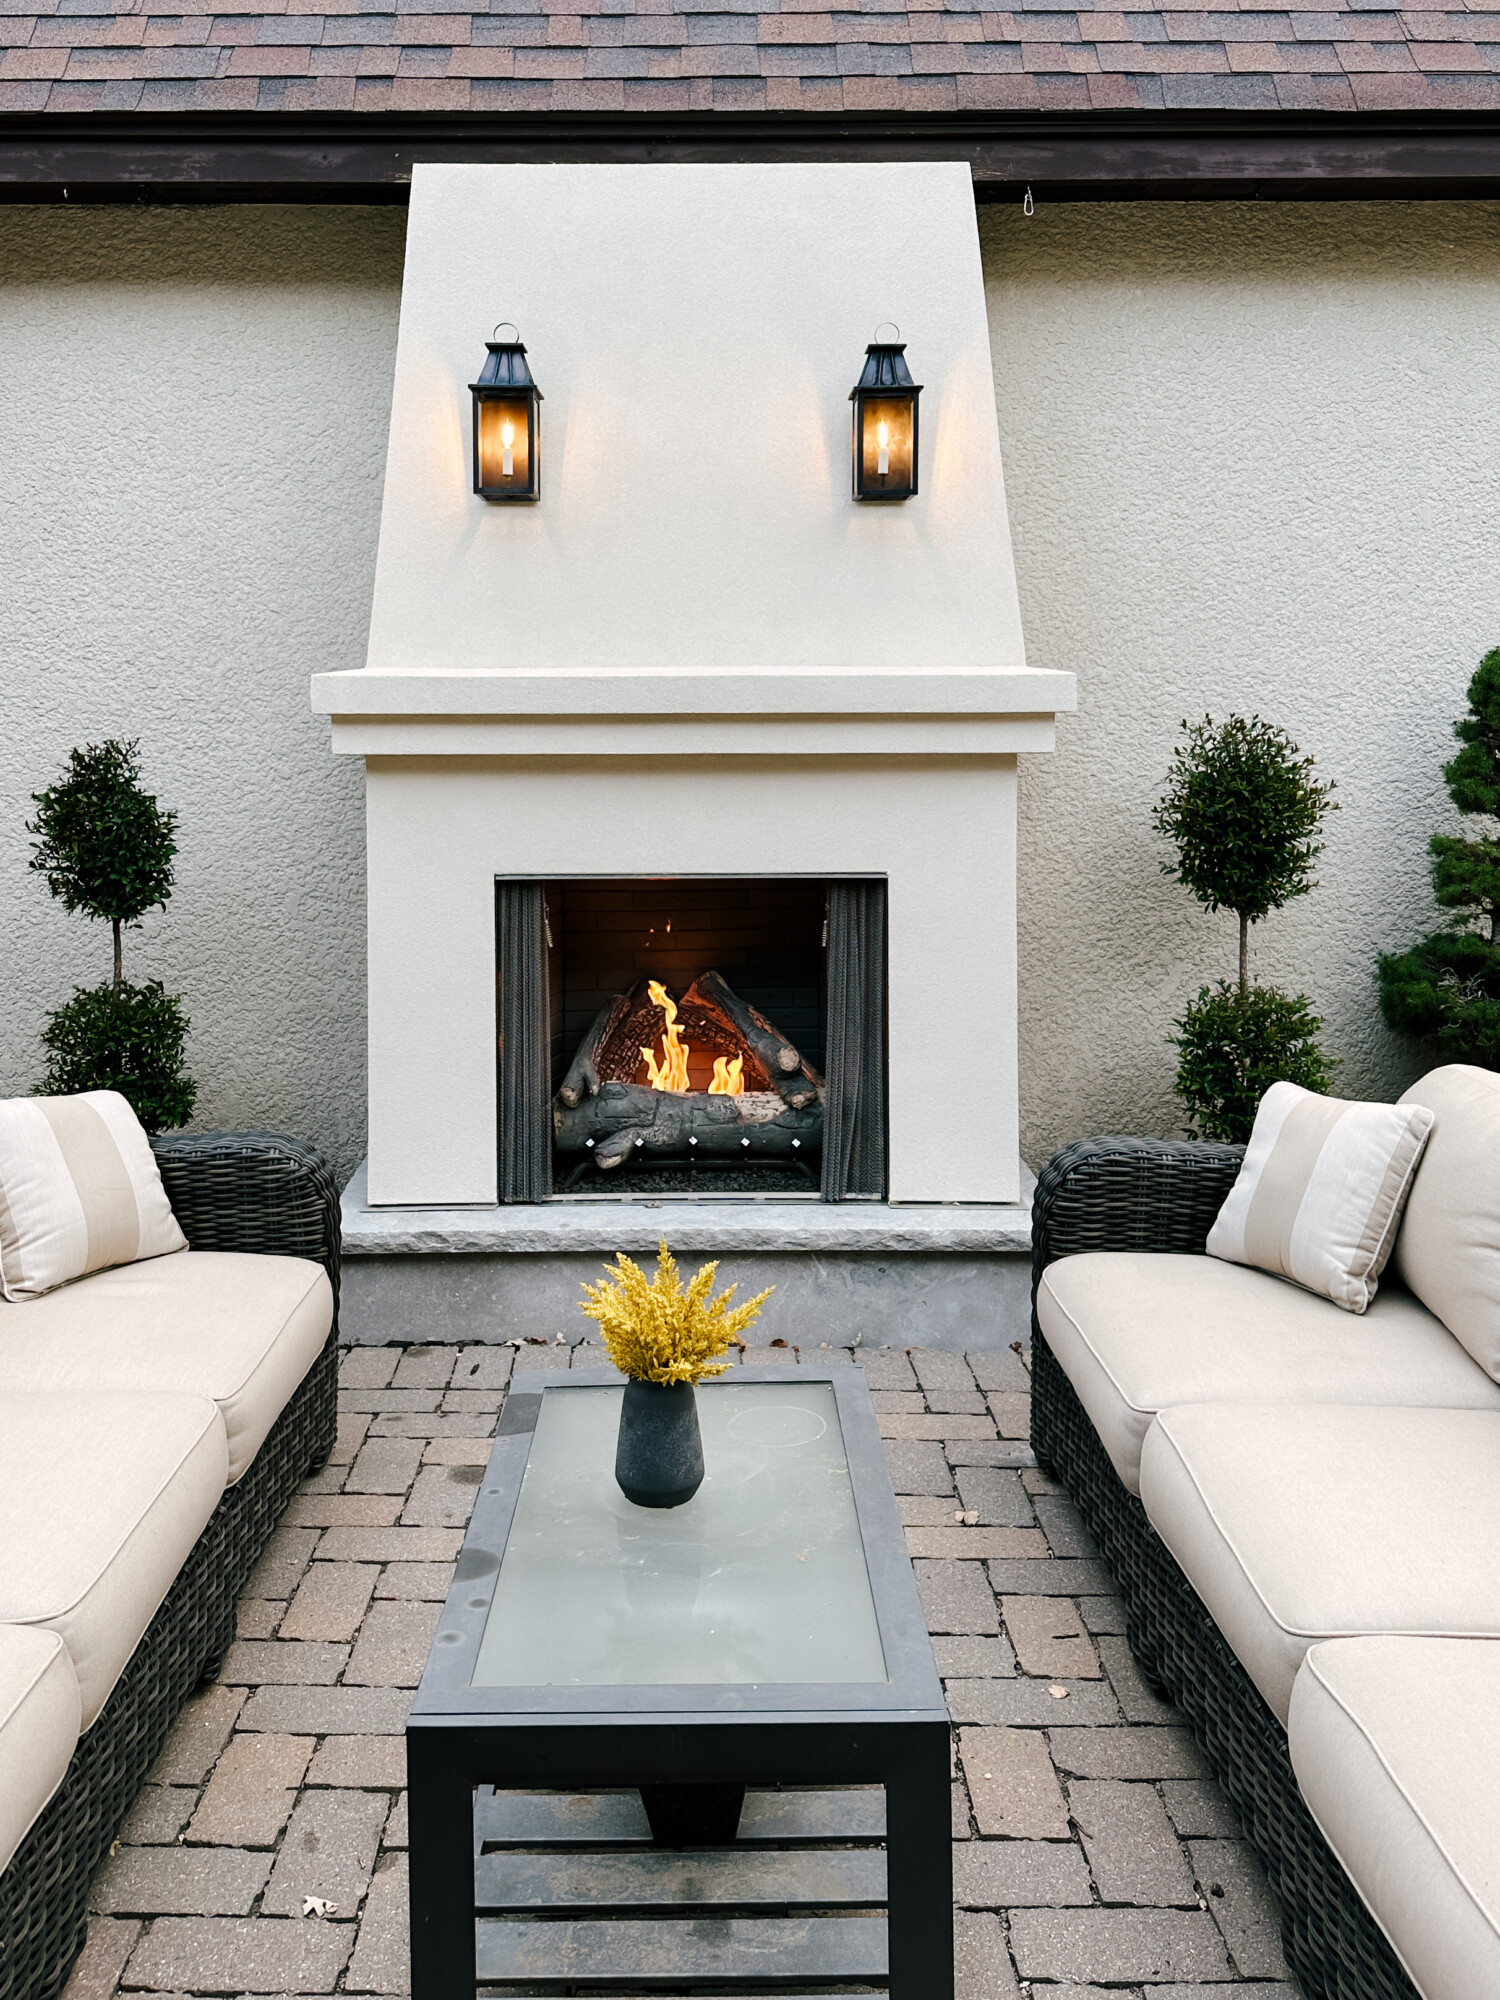
For the fireplace insert, we used Heat & Glo (style Courtyard), which we’ve also used for our indoor gas fireplaces. Their inserts have been incredibly reliable.
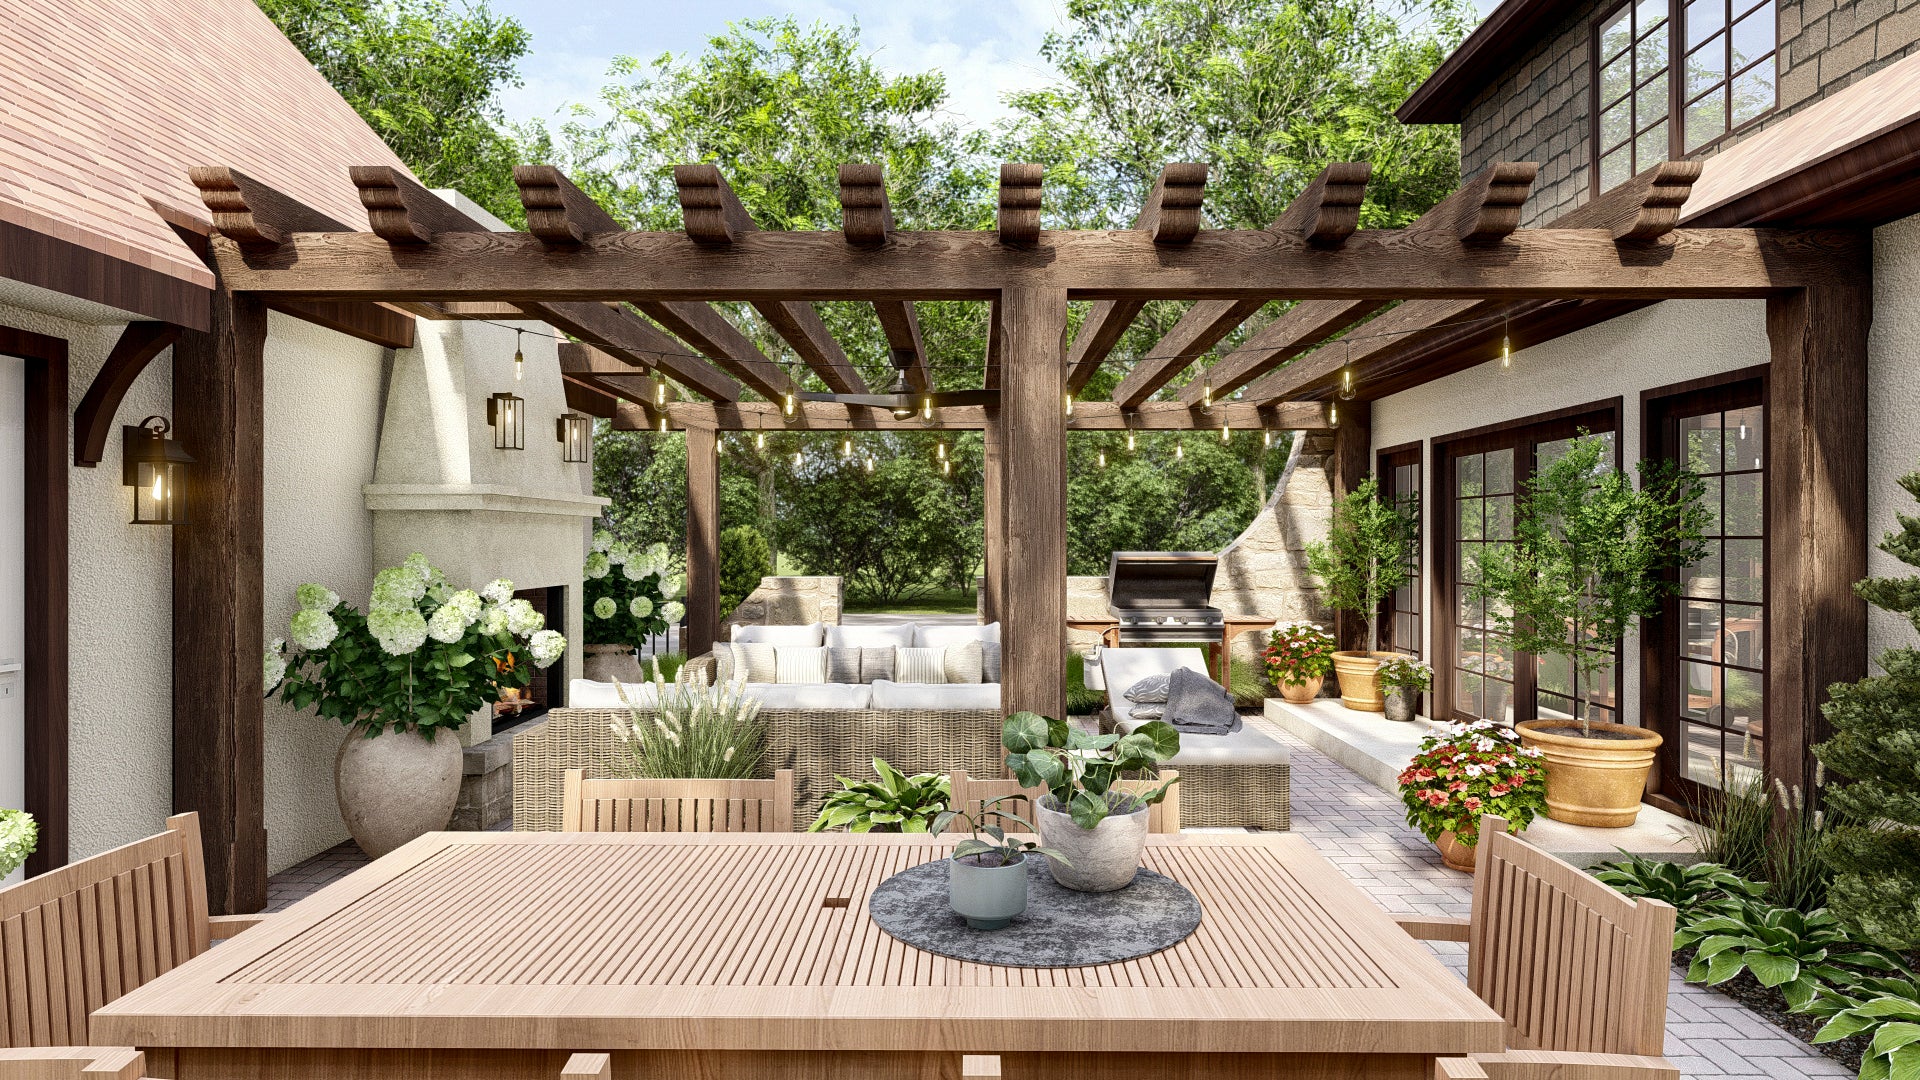
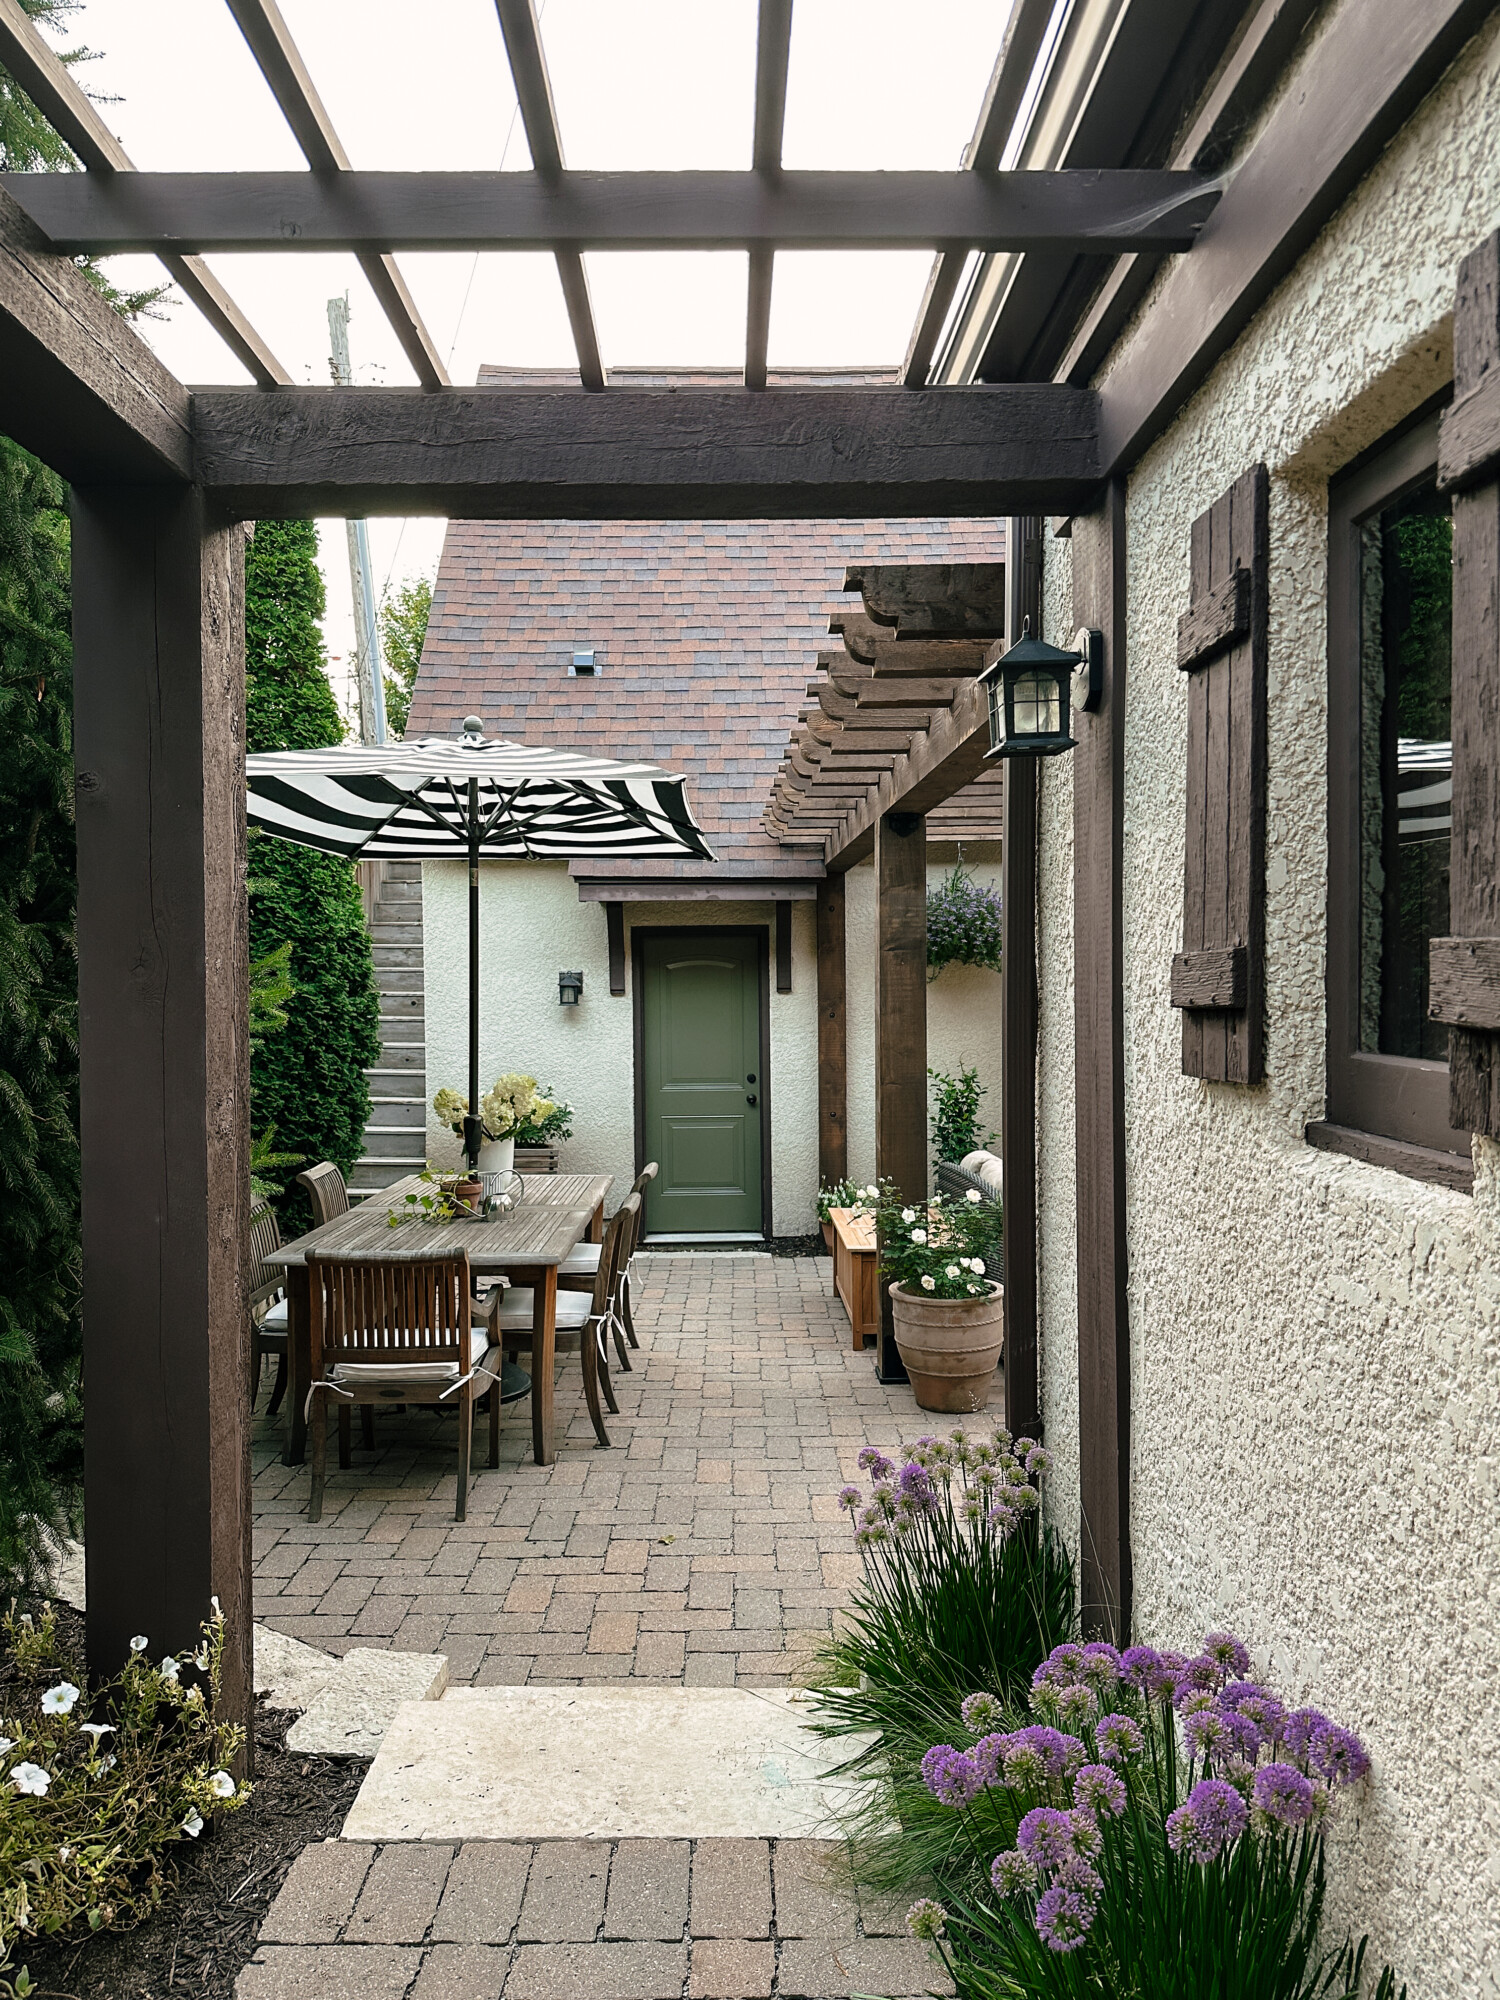
Building the Pergola (2024)
In the spring of 2024, we were ready to move forward with the pergola.
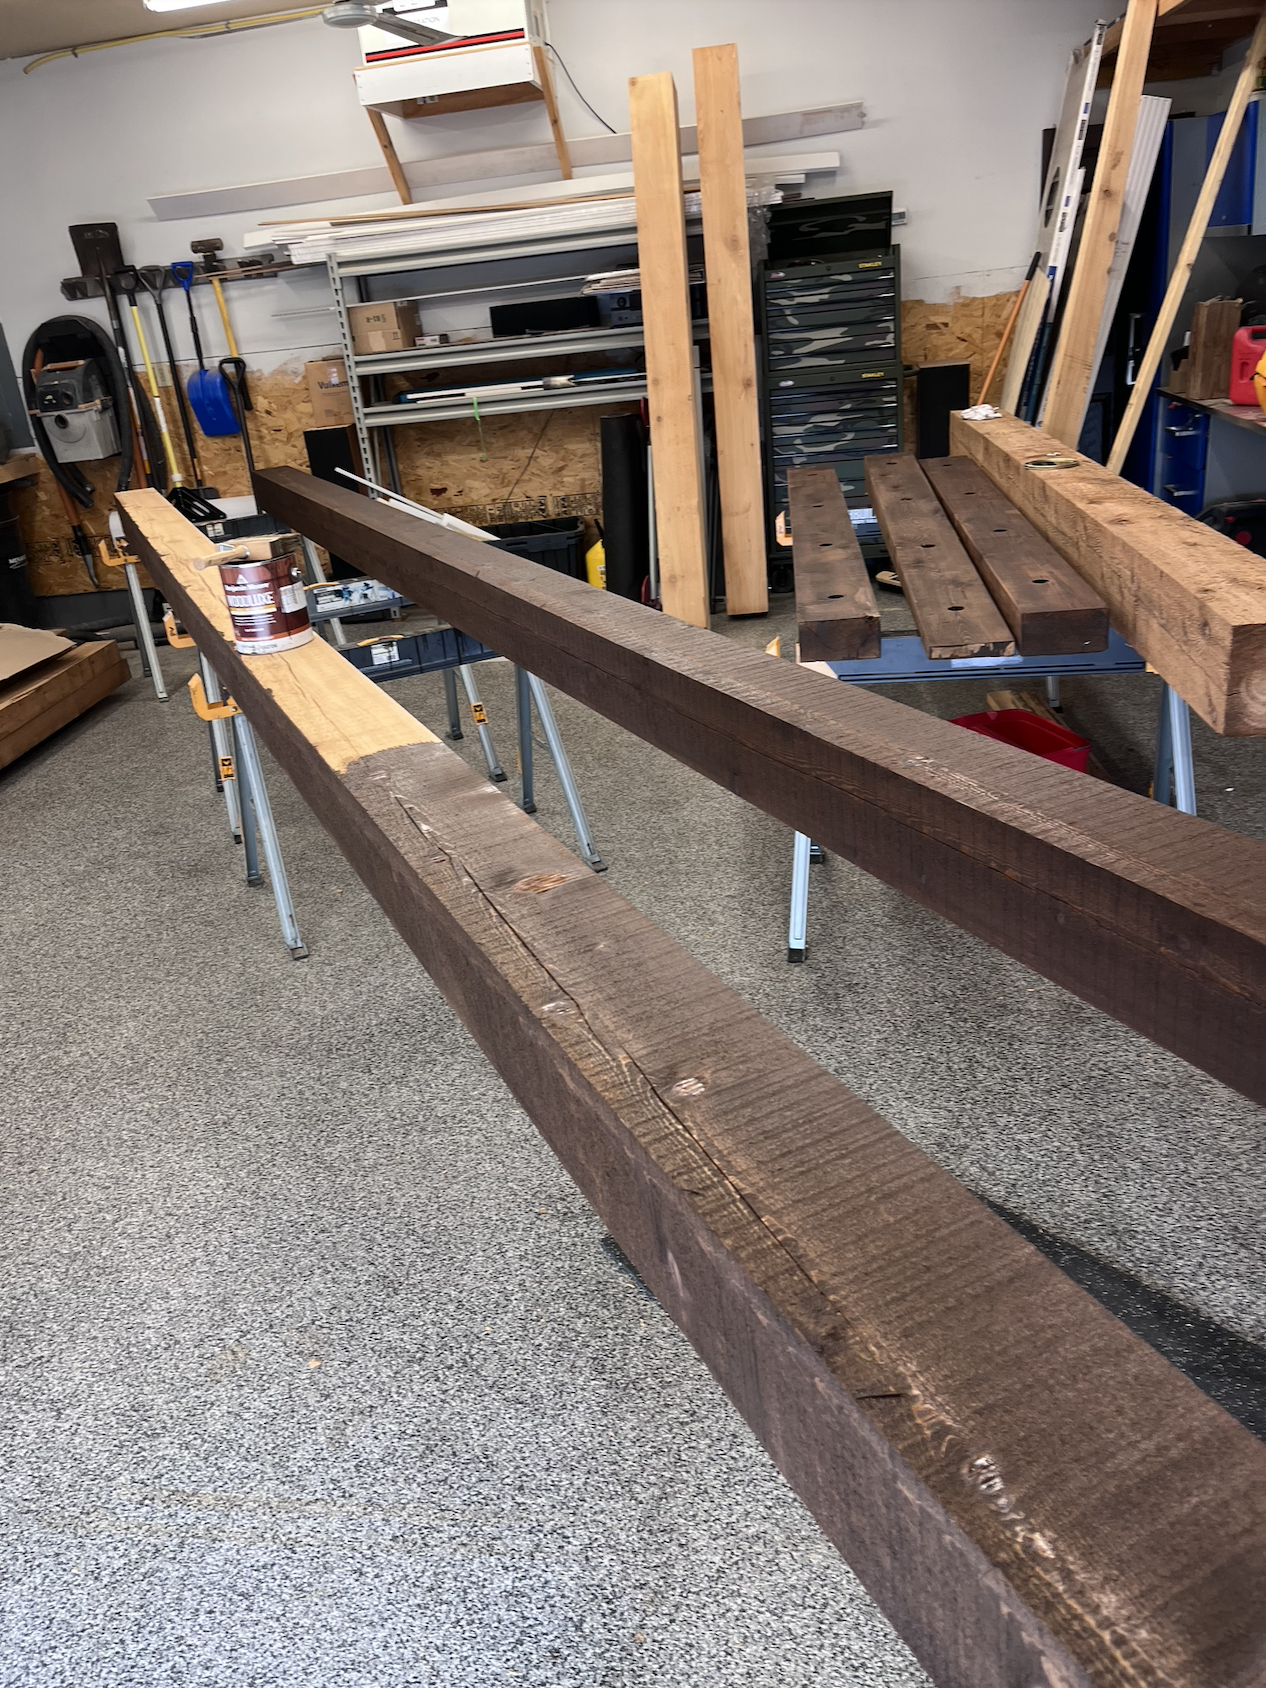
We worked with our friend Ben from Local Lakes Construction. After measuring the space and discussing design ideas, we decided to use rough-sawn cedar for its durability and natural character.
Next came stain testing.
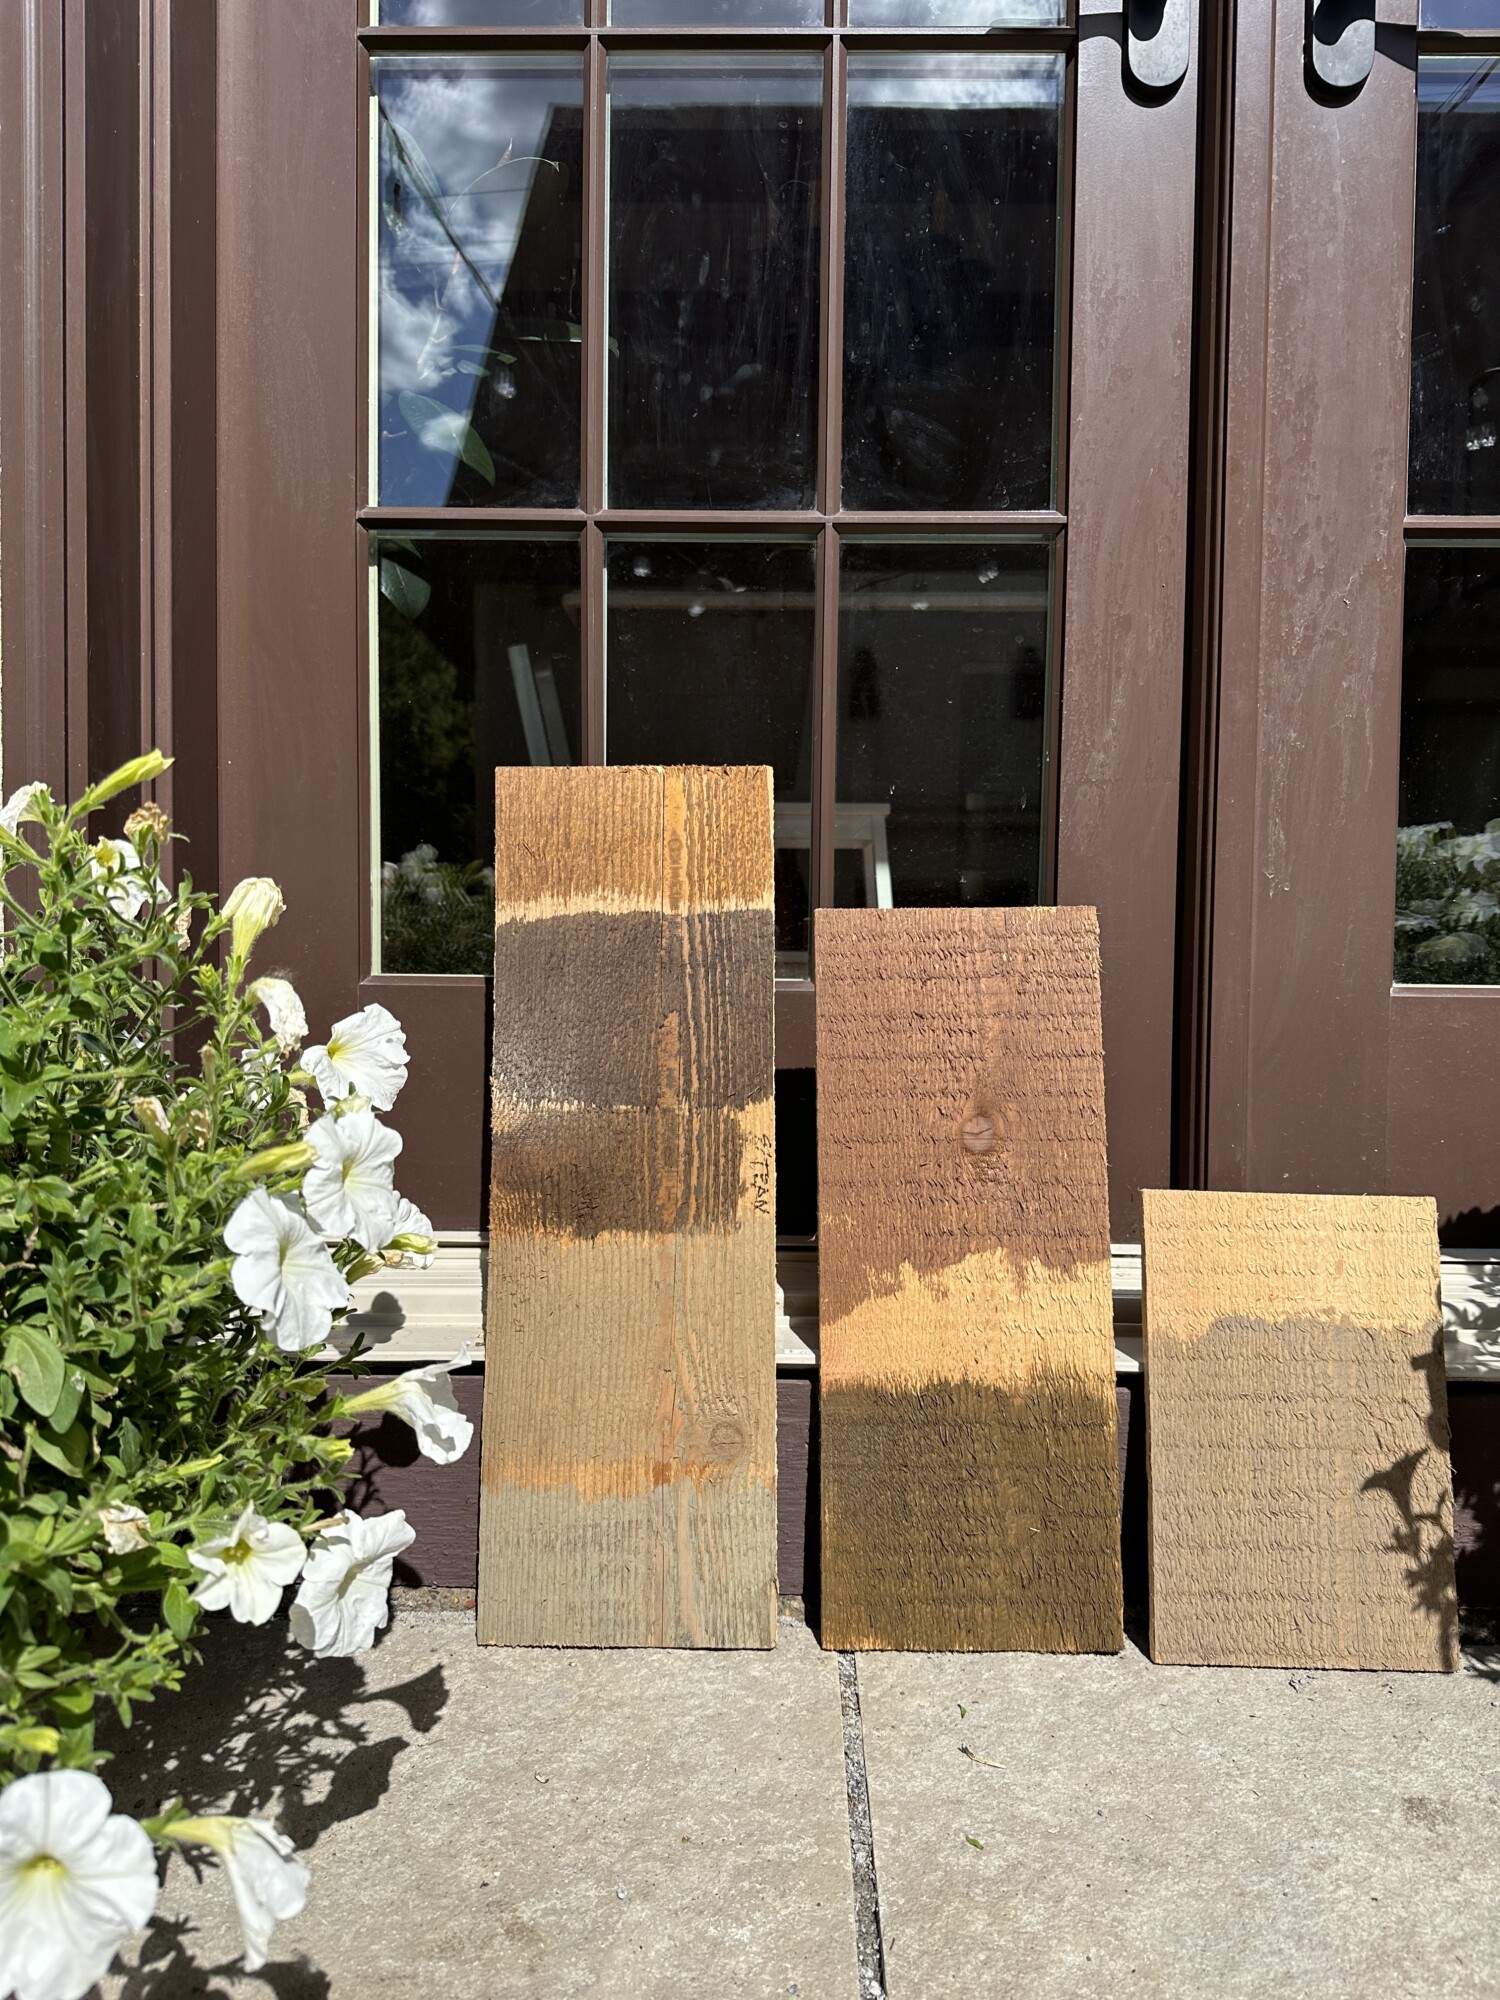
After trying several options, we chose Oxford Brown (semi-transparent) from Woodluxe.
Ben sent us a preview from his wood shop and the cedar took the stain beautifully.
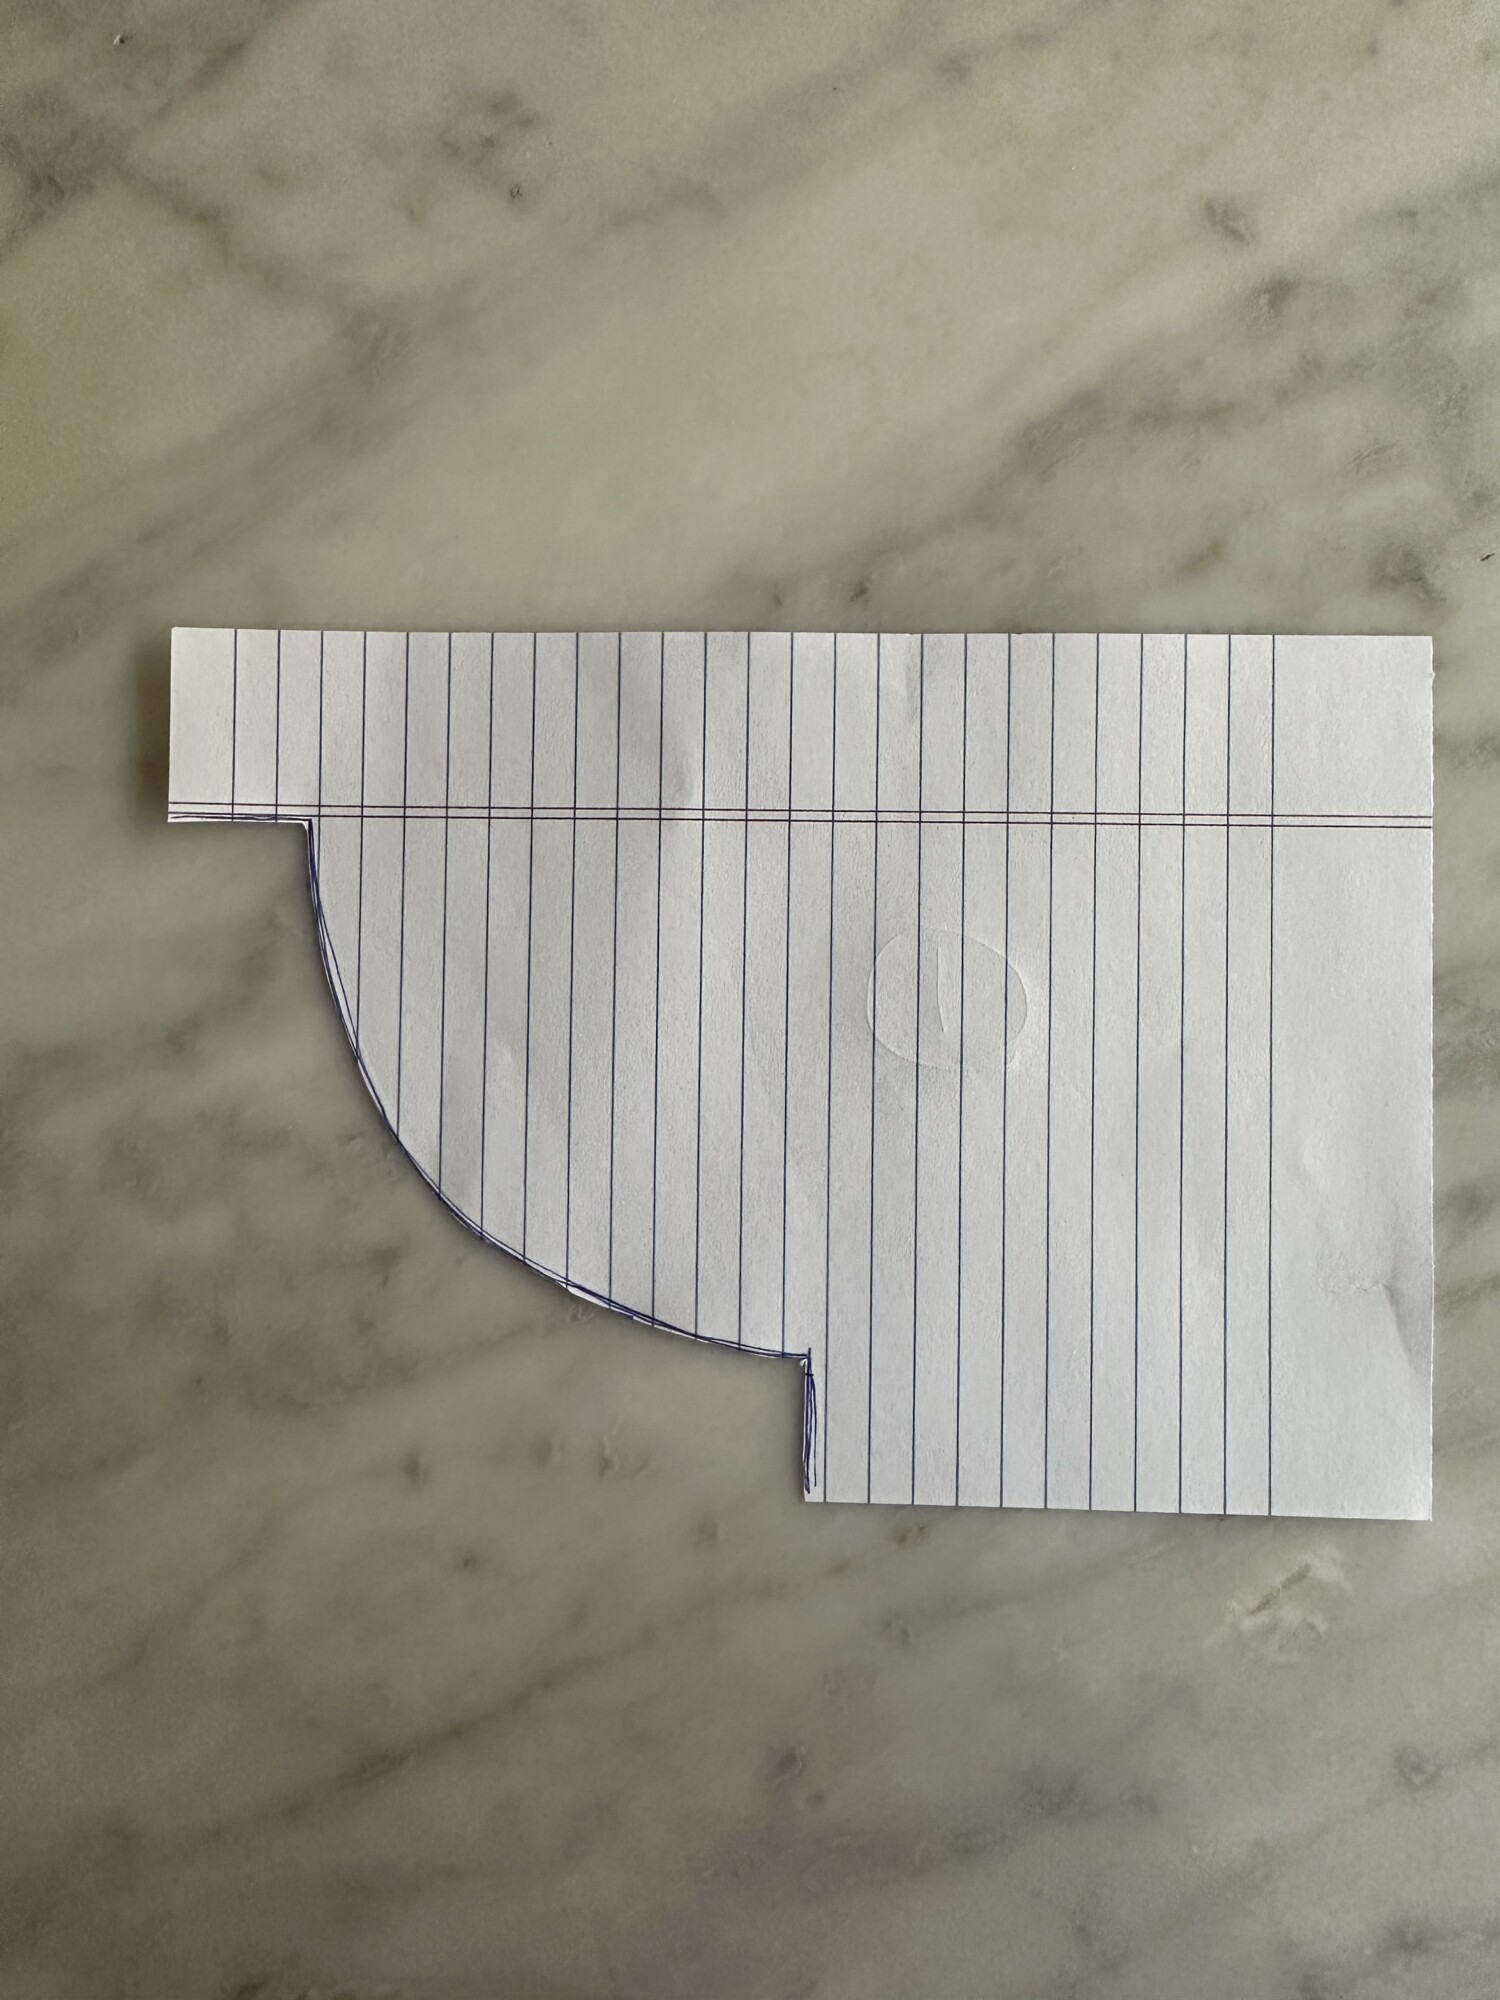
Custom Rafter Tail Design
Brian and I also wanted the pergola to have a little architectural personality, so we designed a few custom rafter tail profiles. We mocked up our favorite one and sent it to Ben.
Once the pergola was installed, I was completely blown away. It added so much character and structure to the patio.
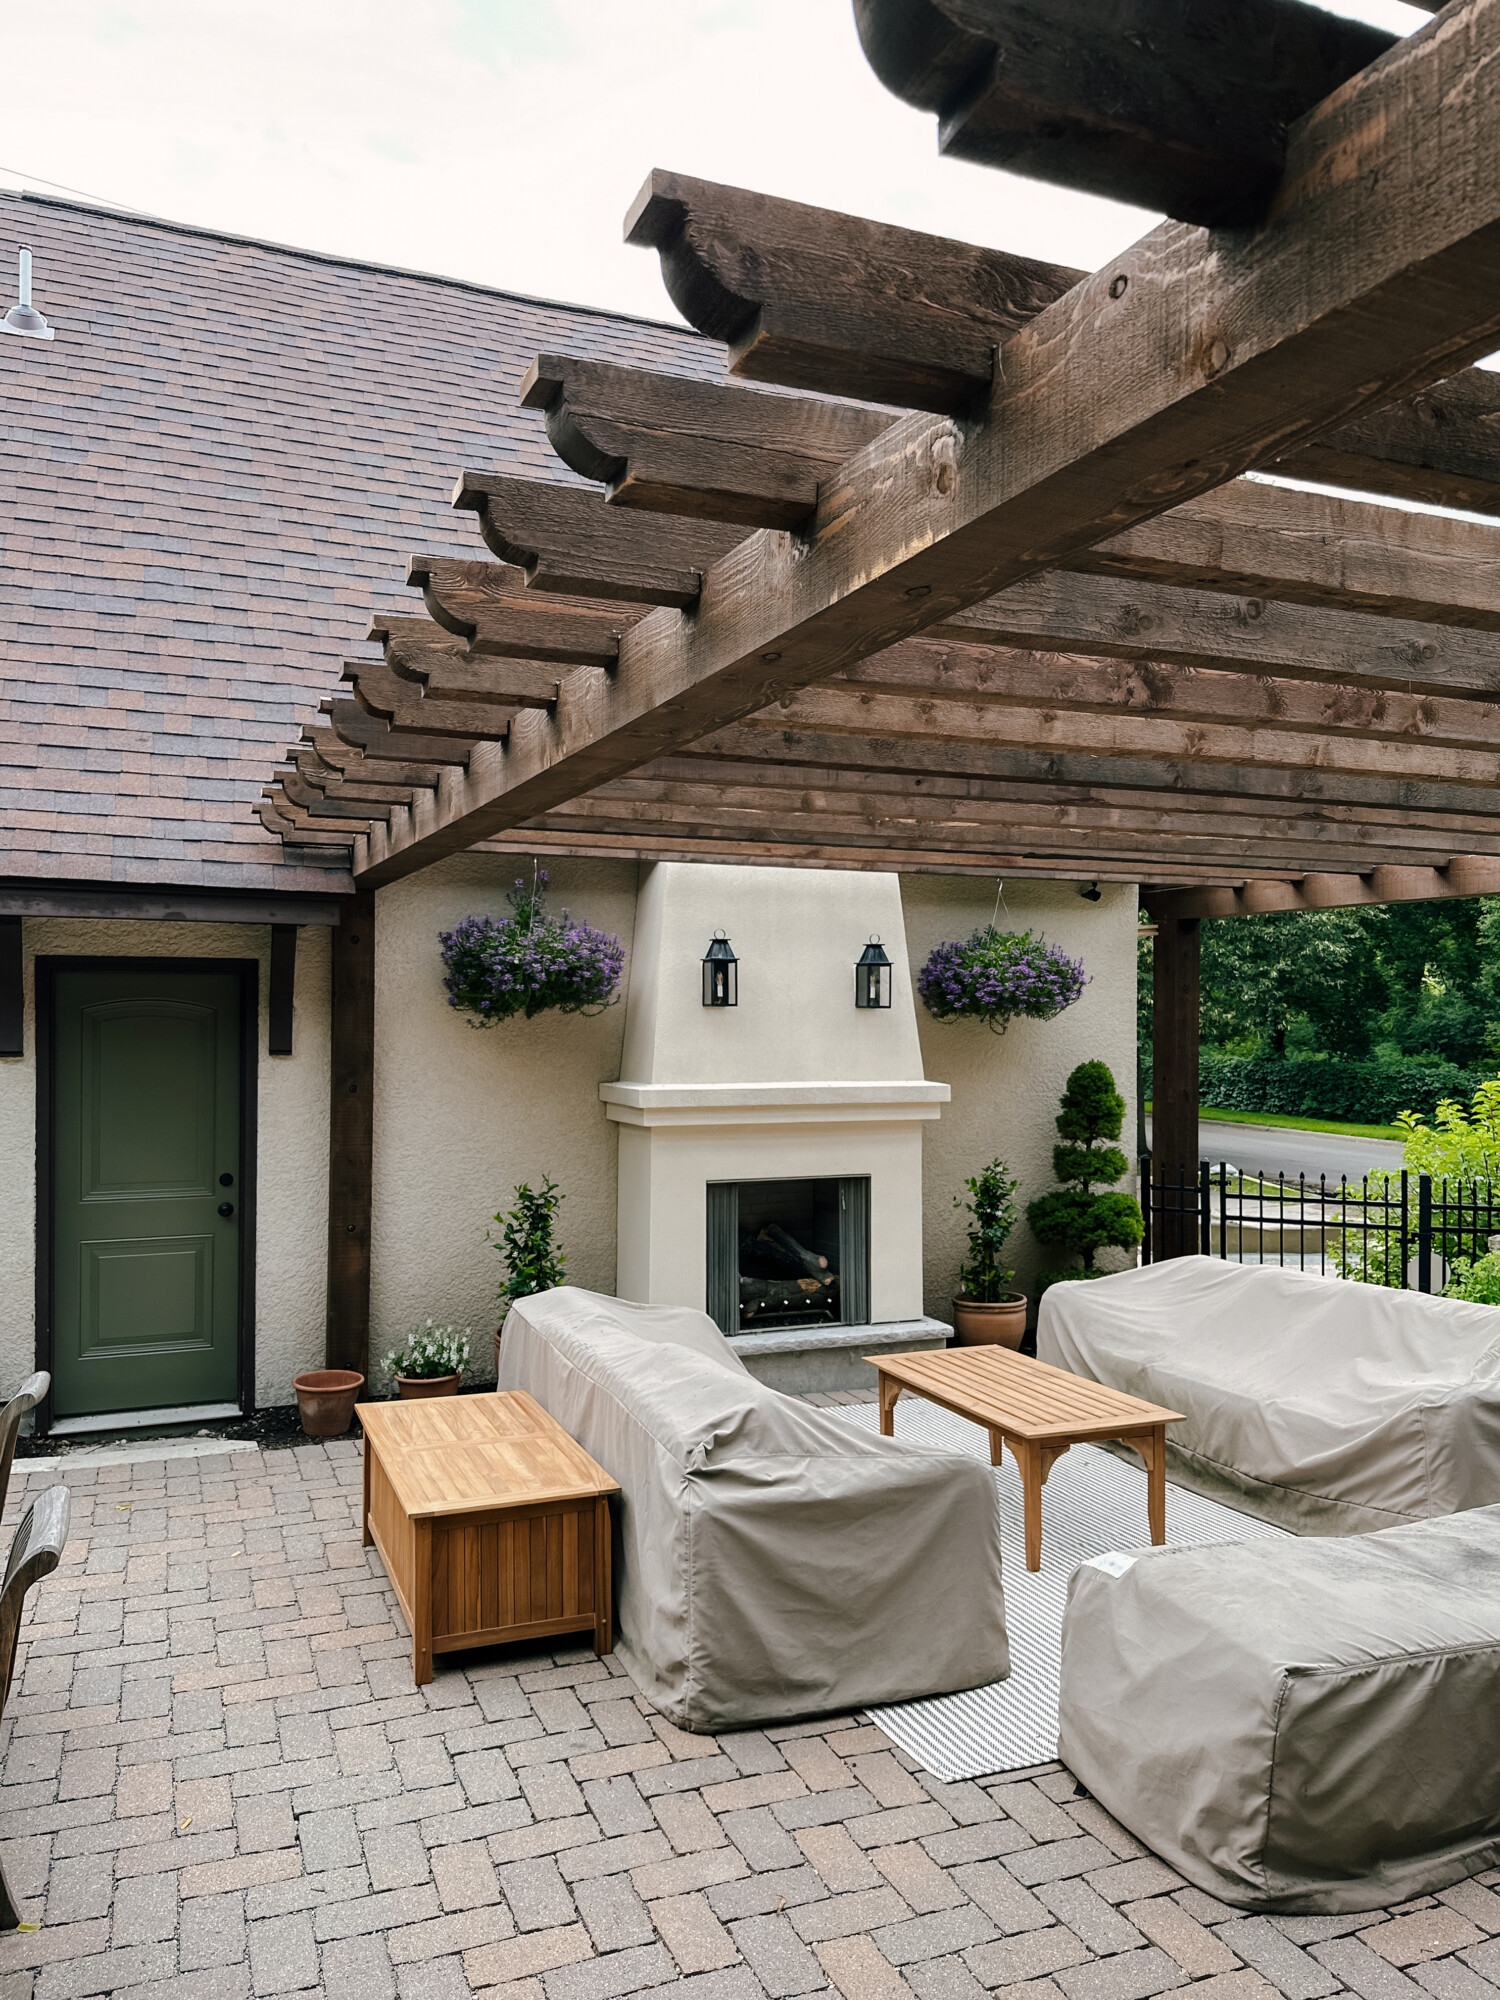
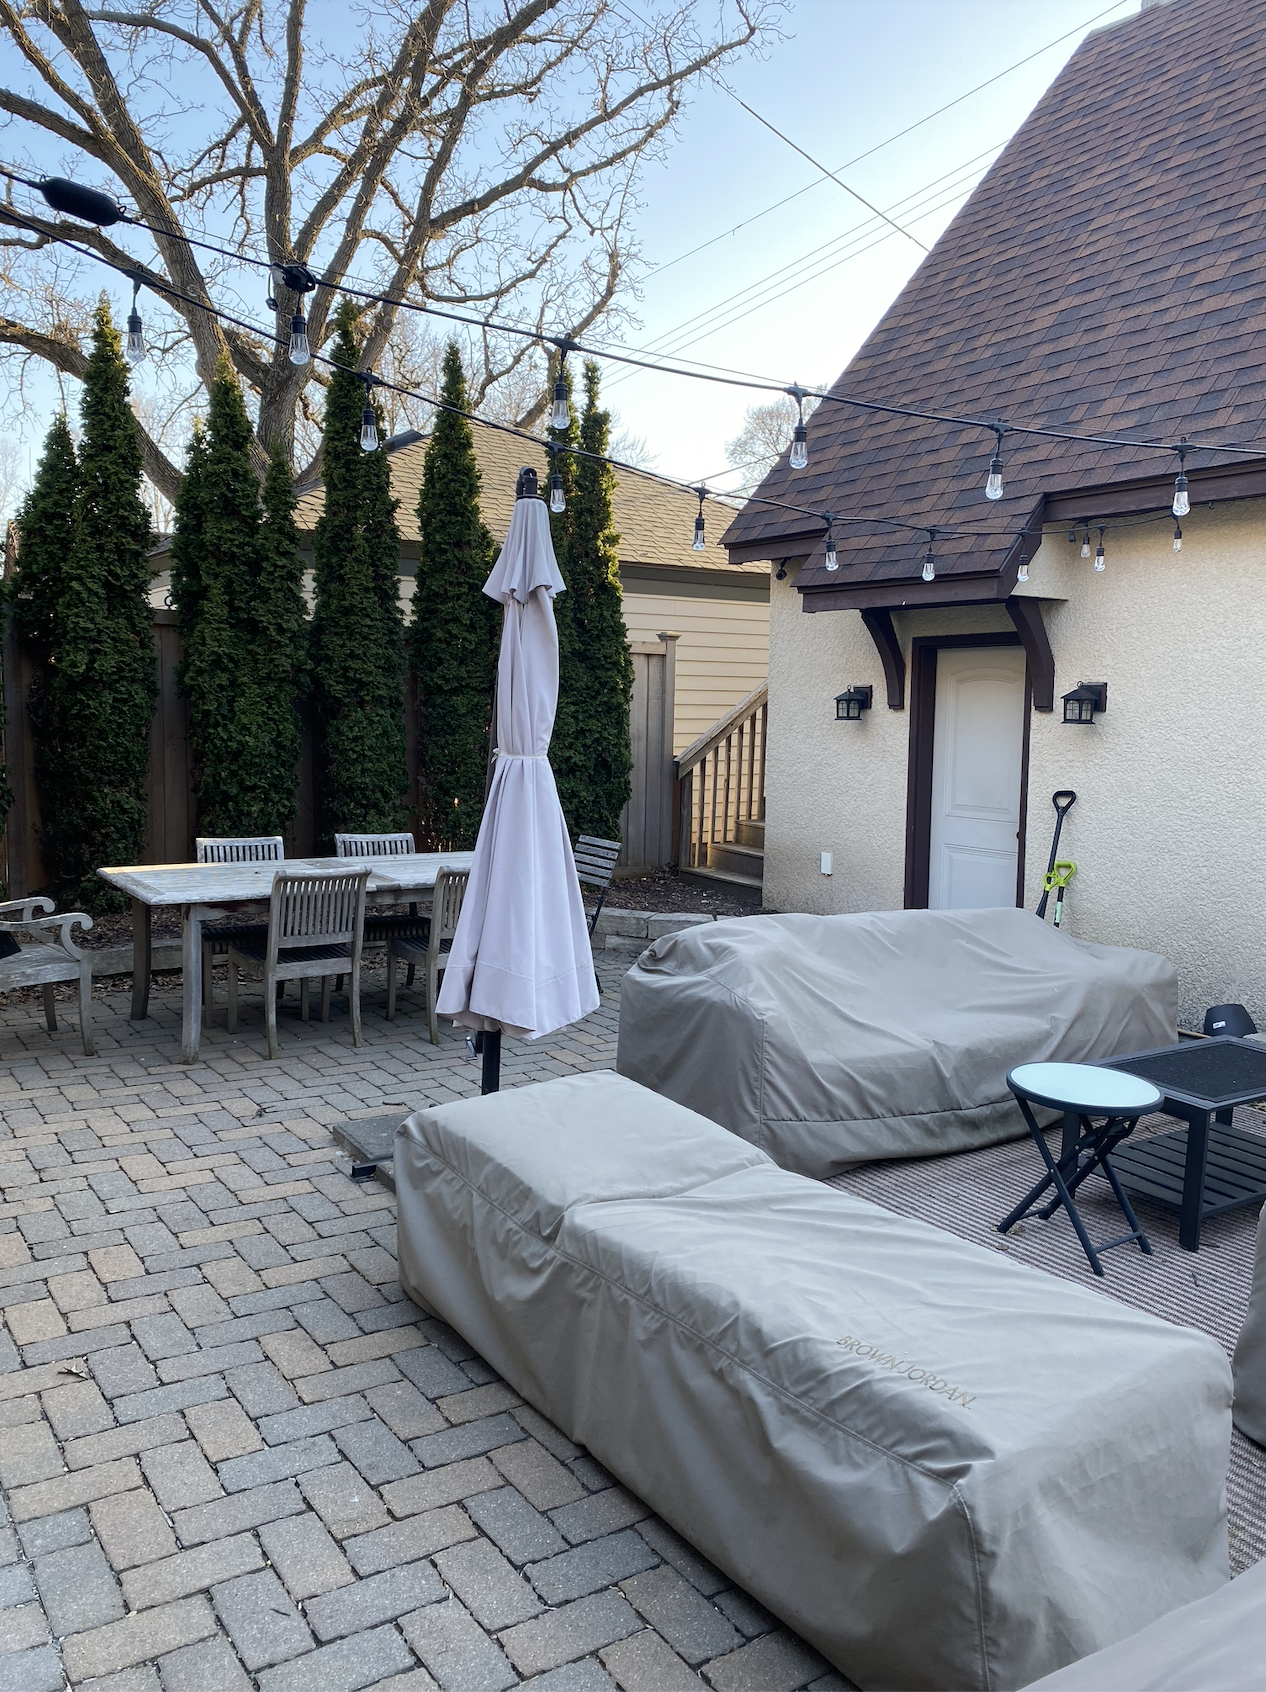
Outdoor Patio Before and After
And now for the transformation!
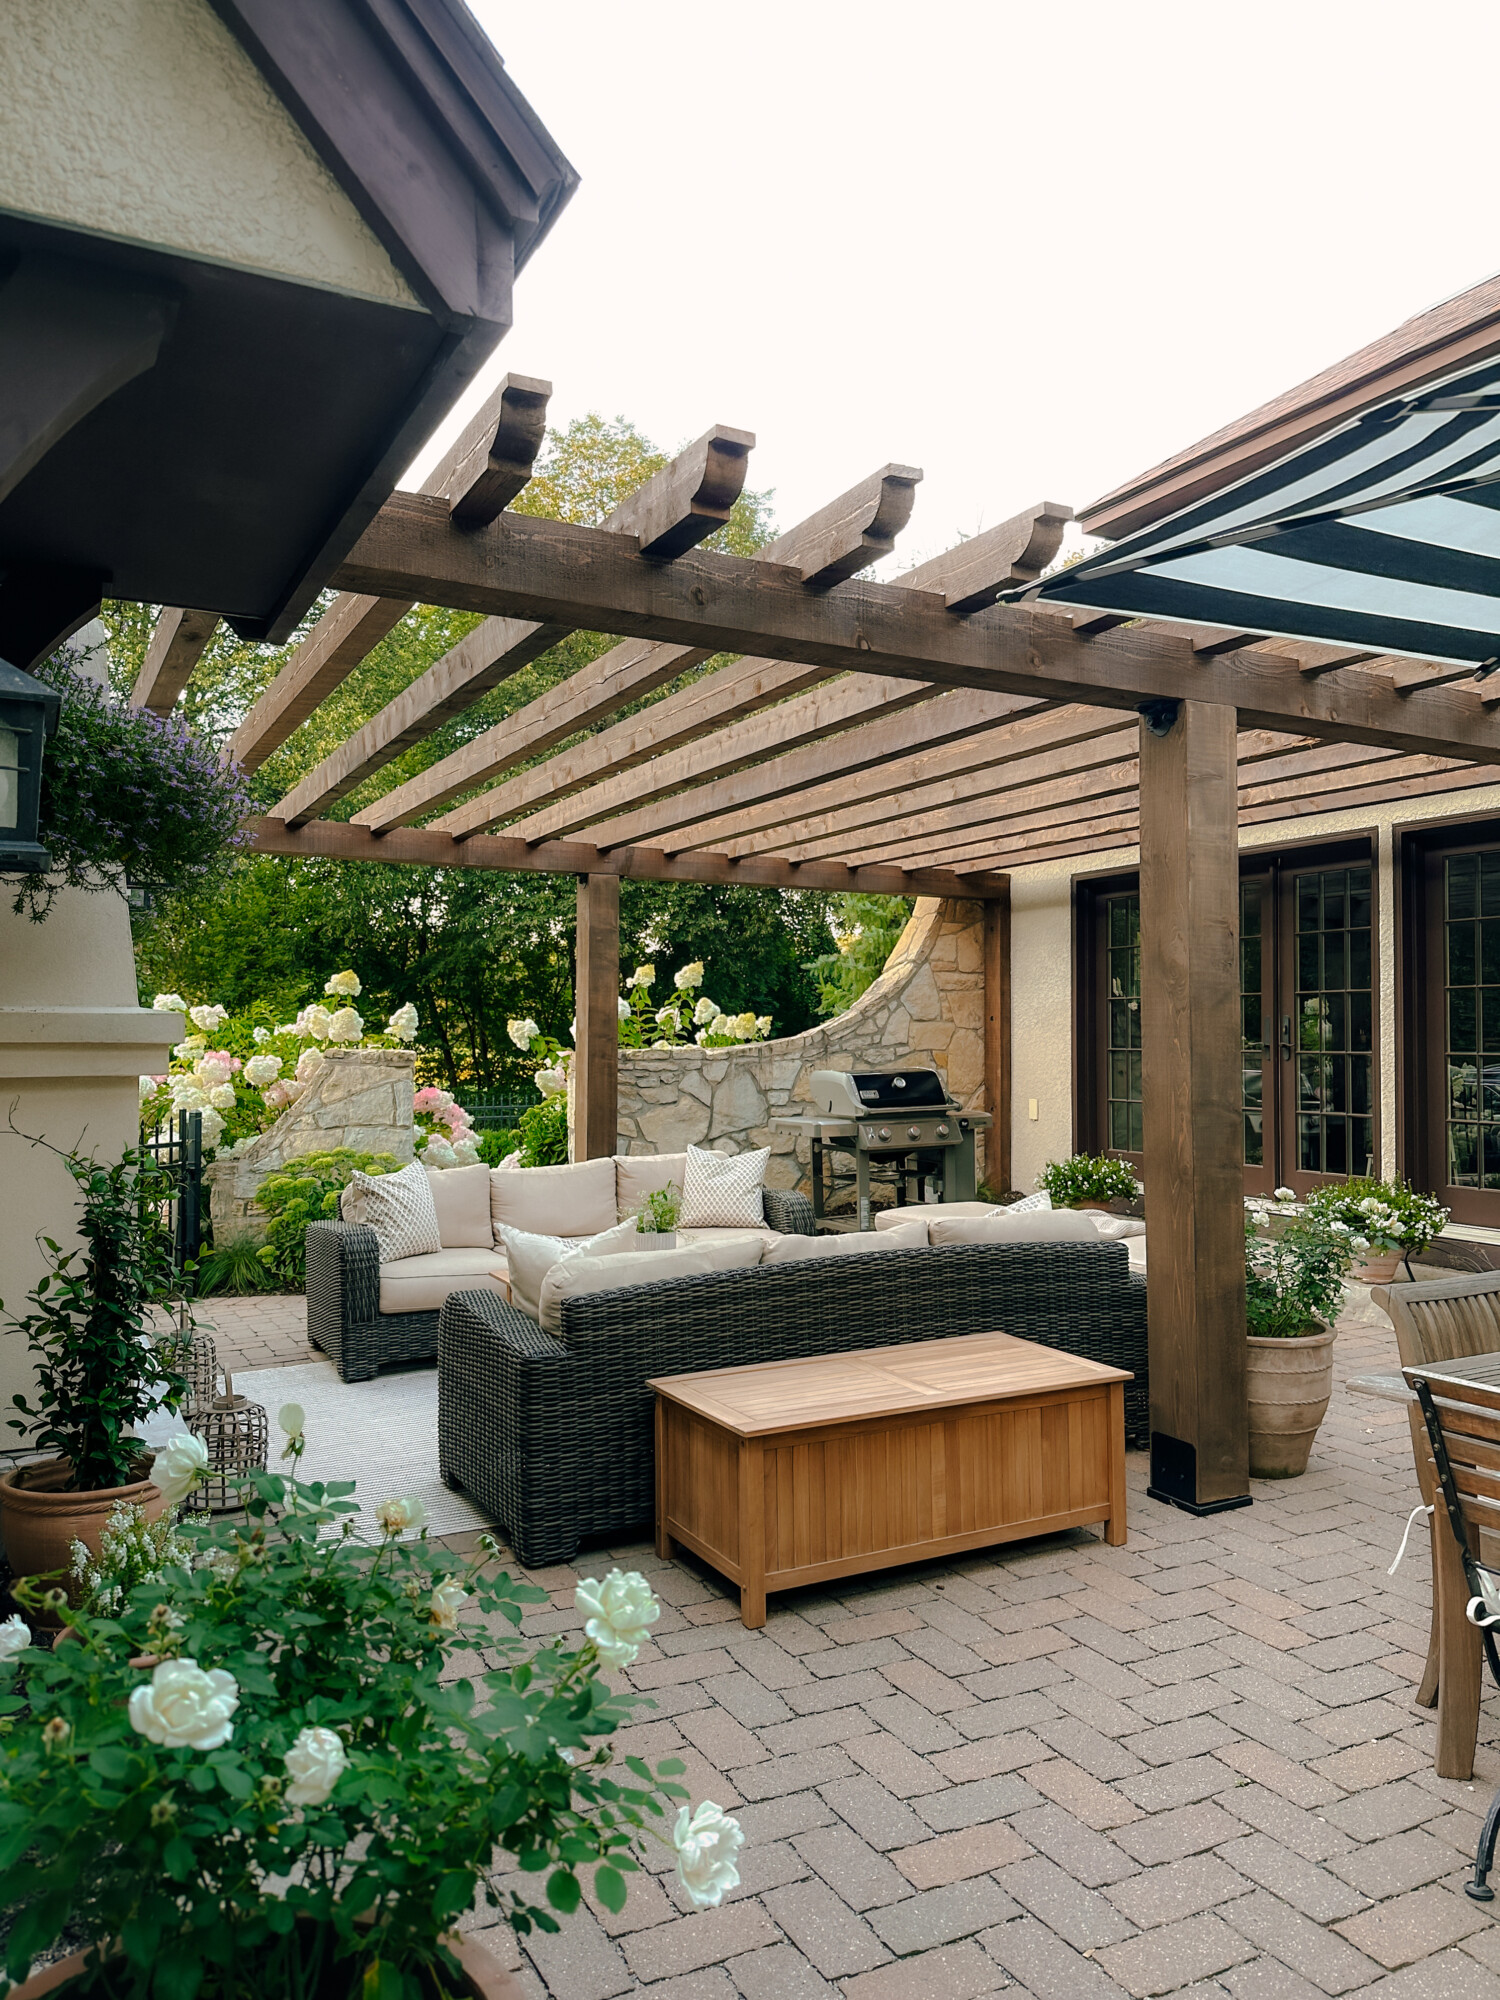
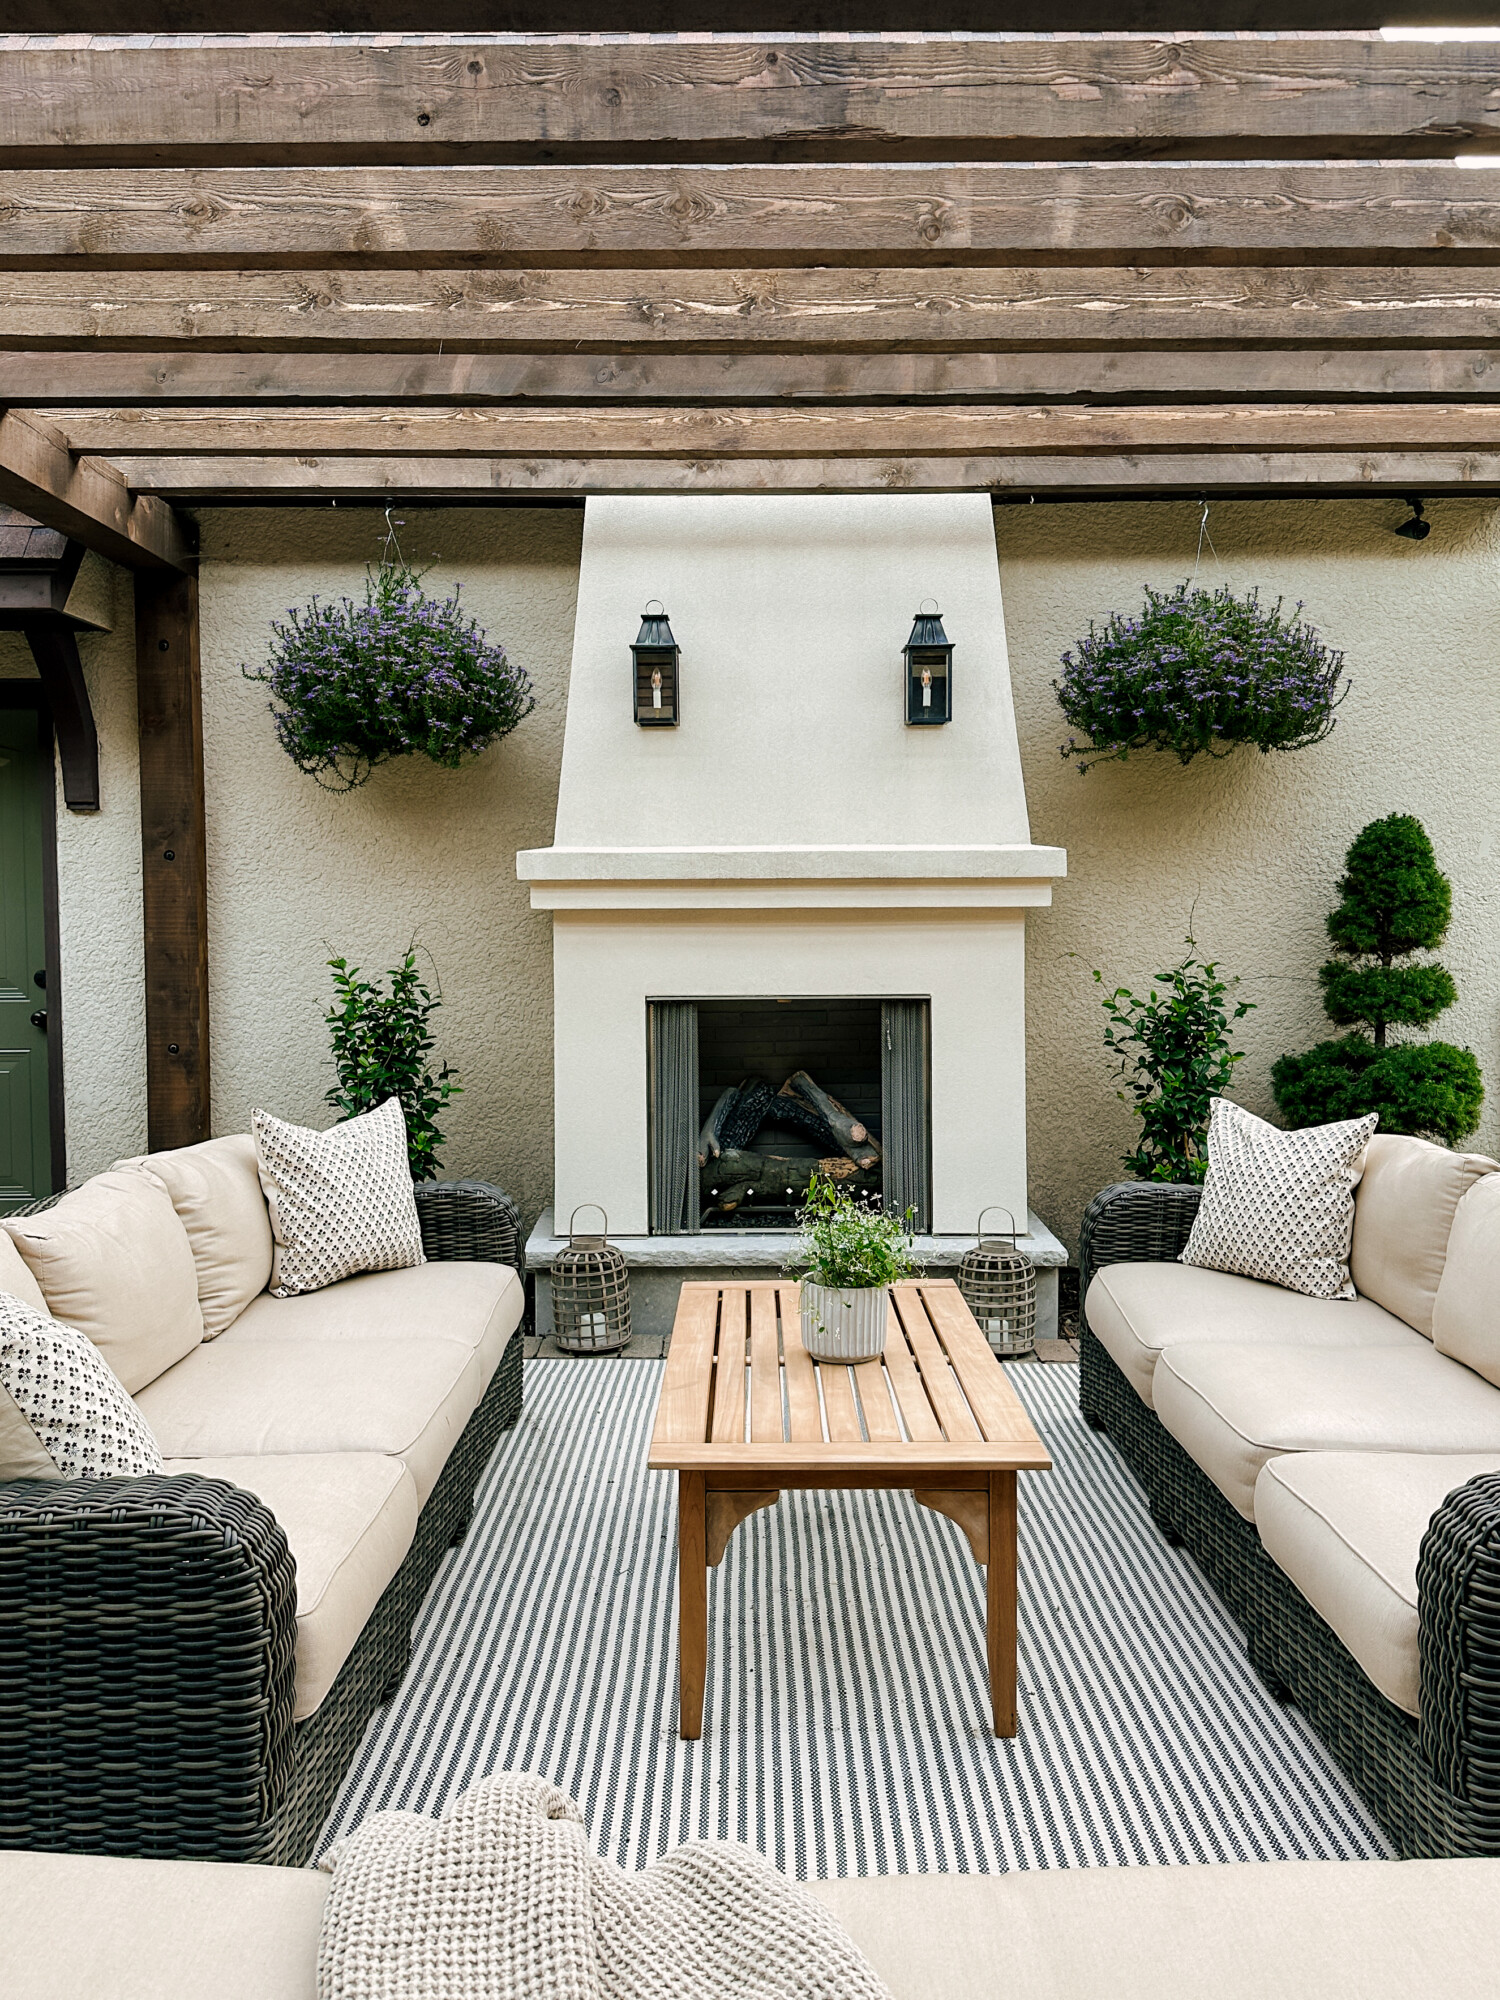
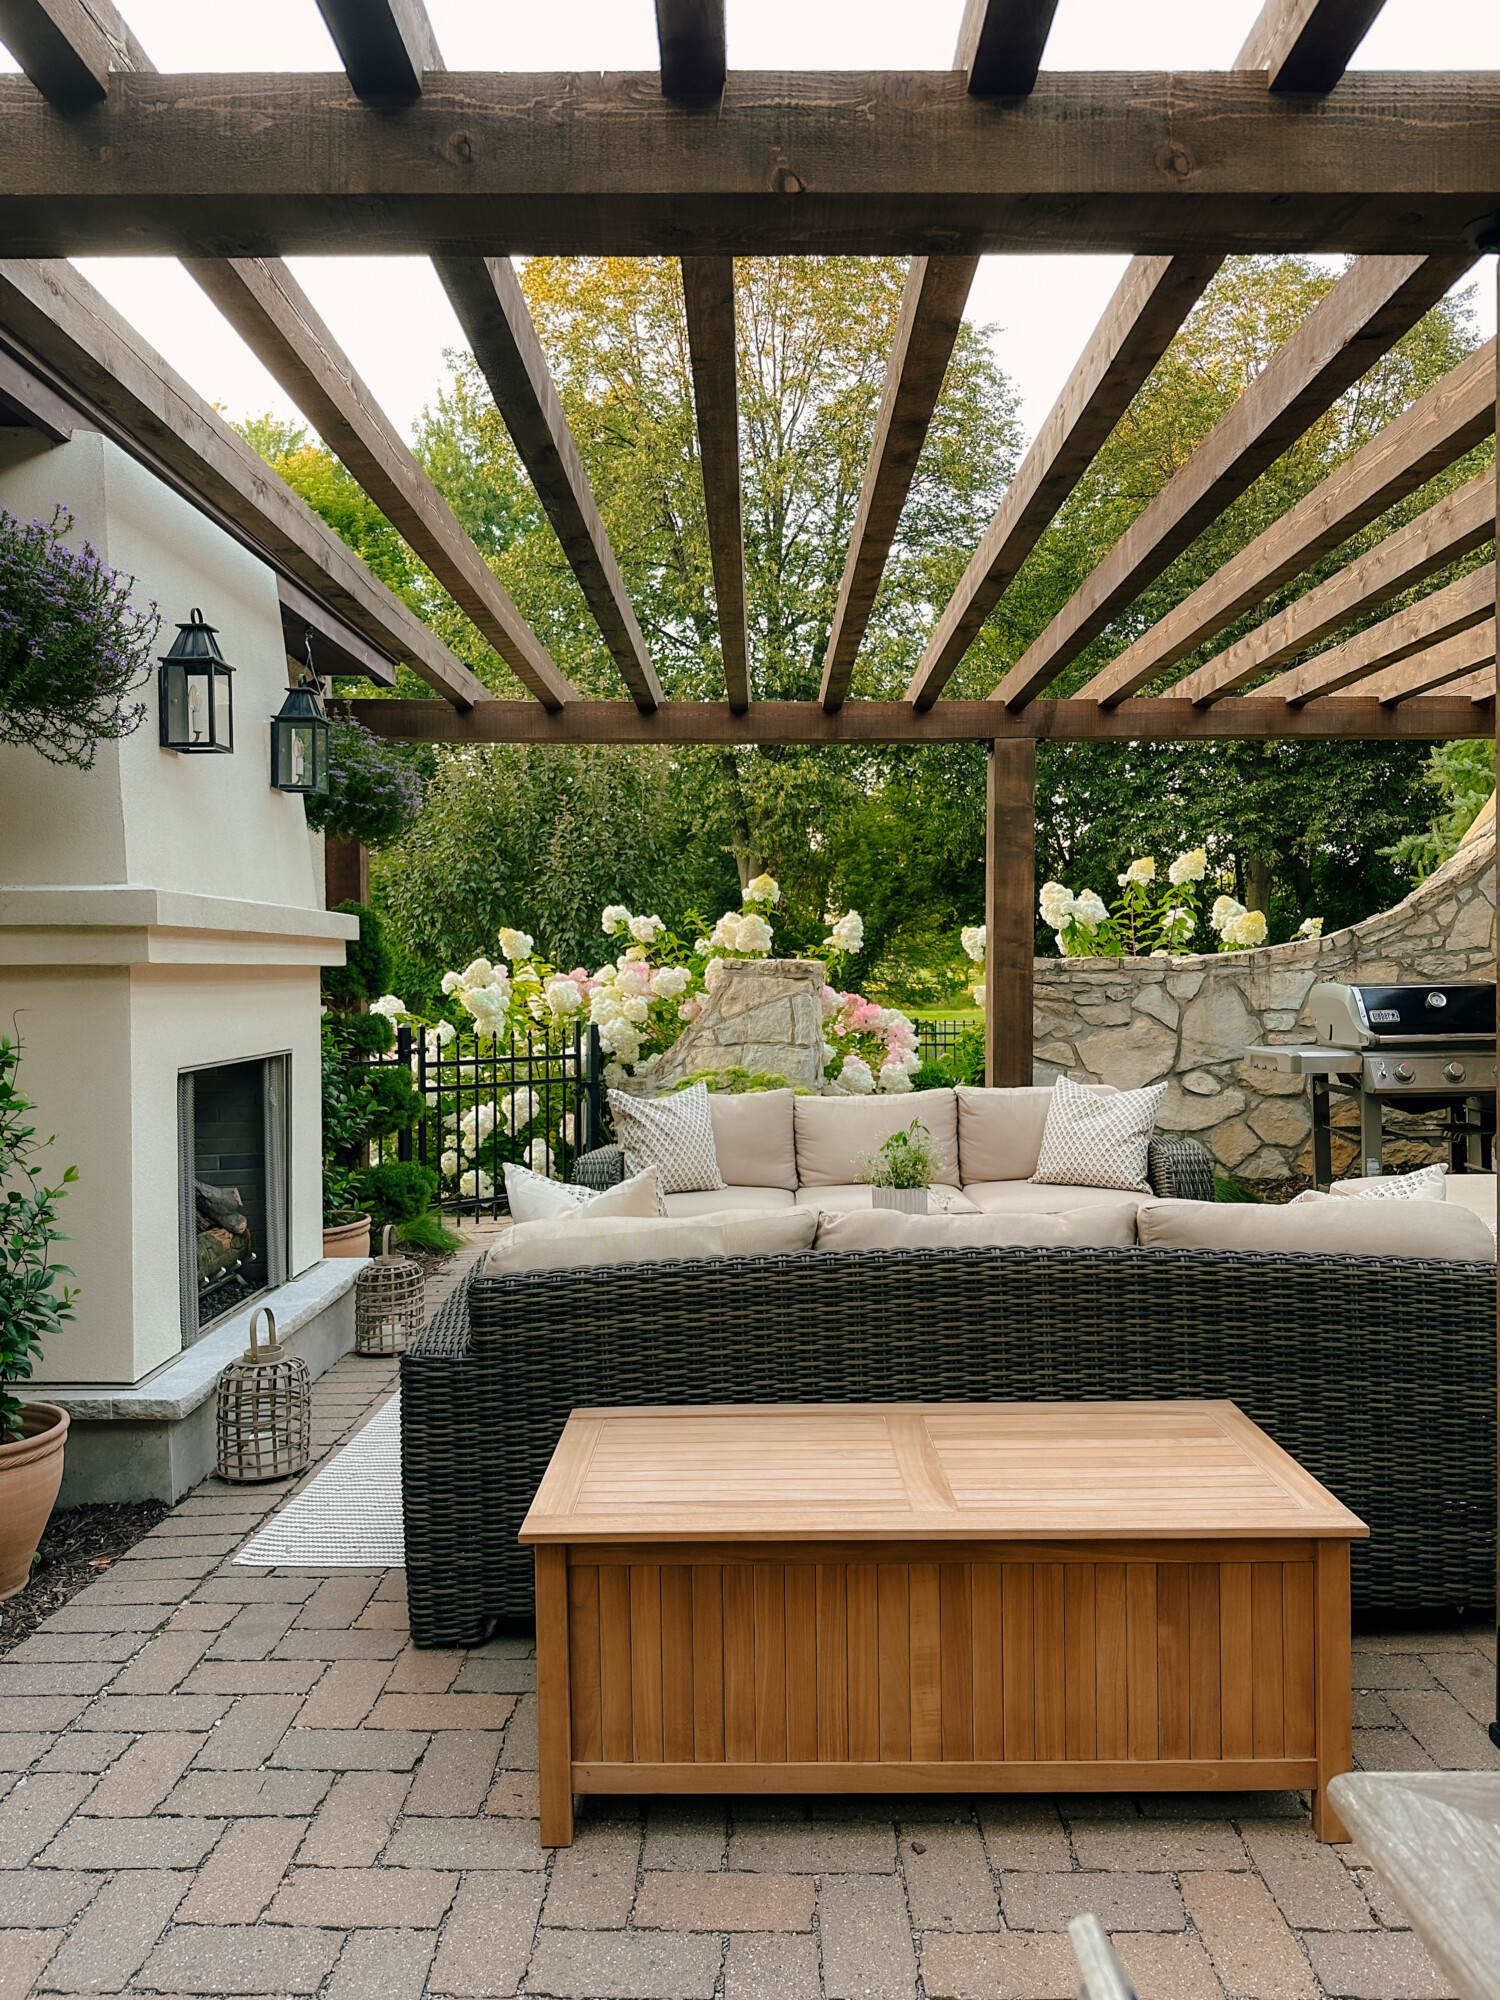
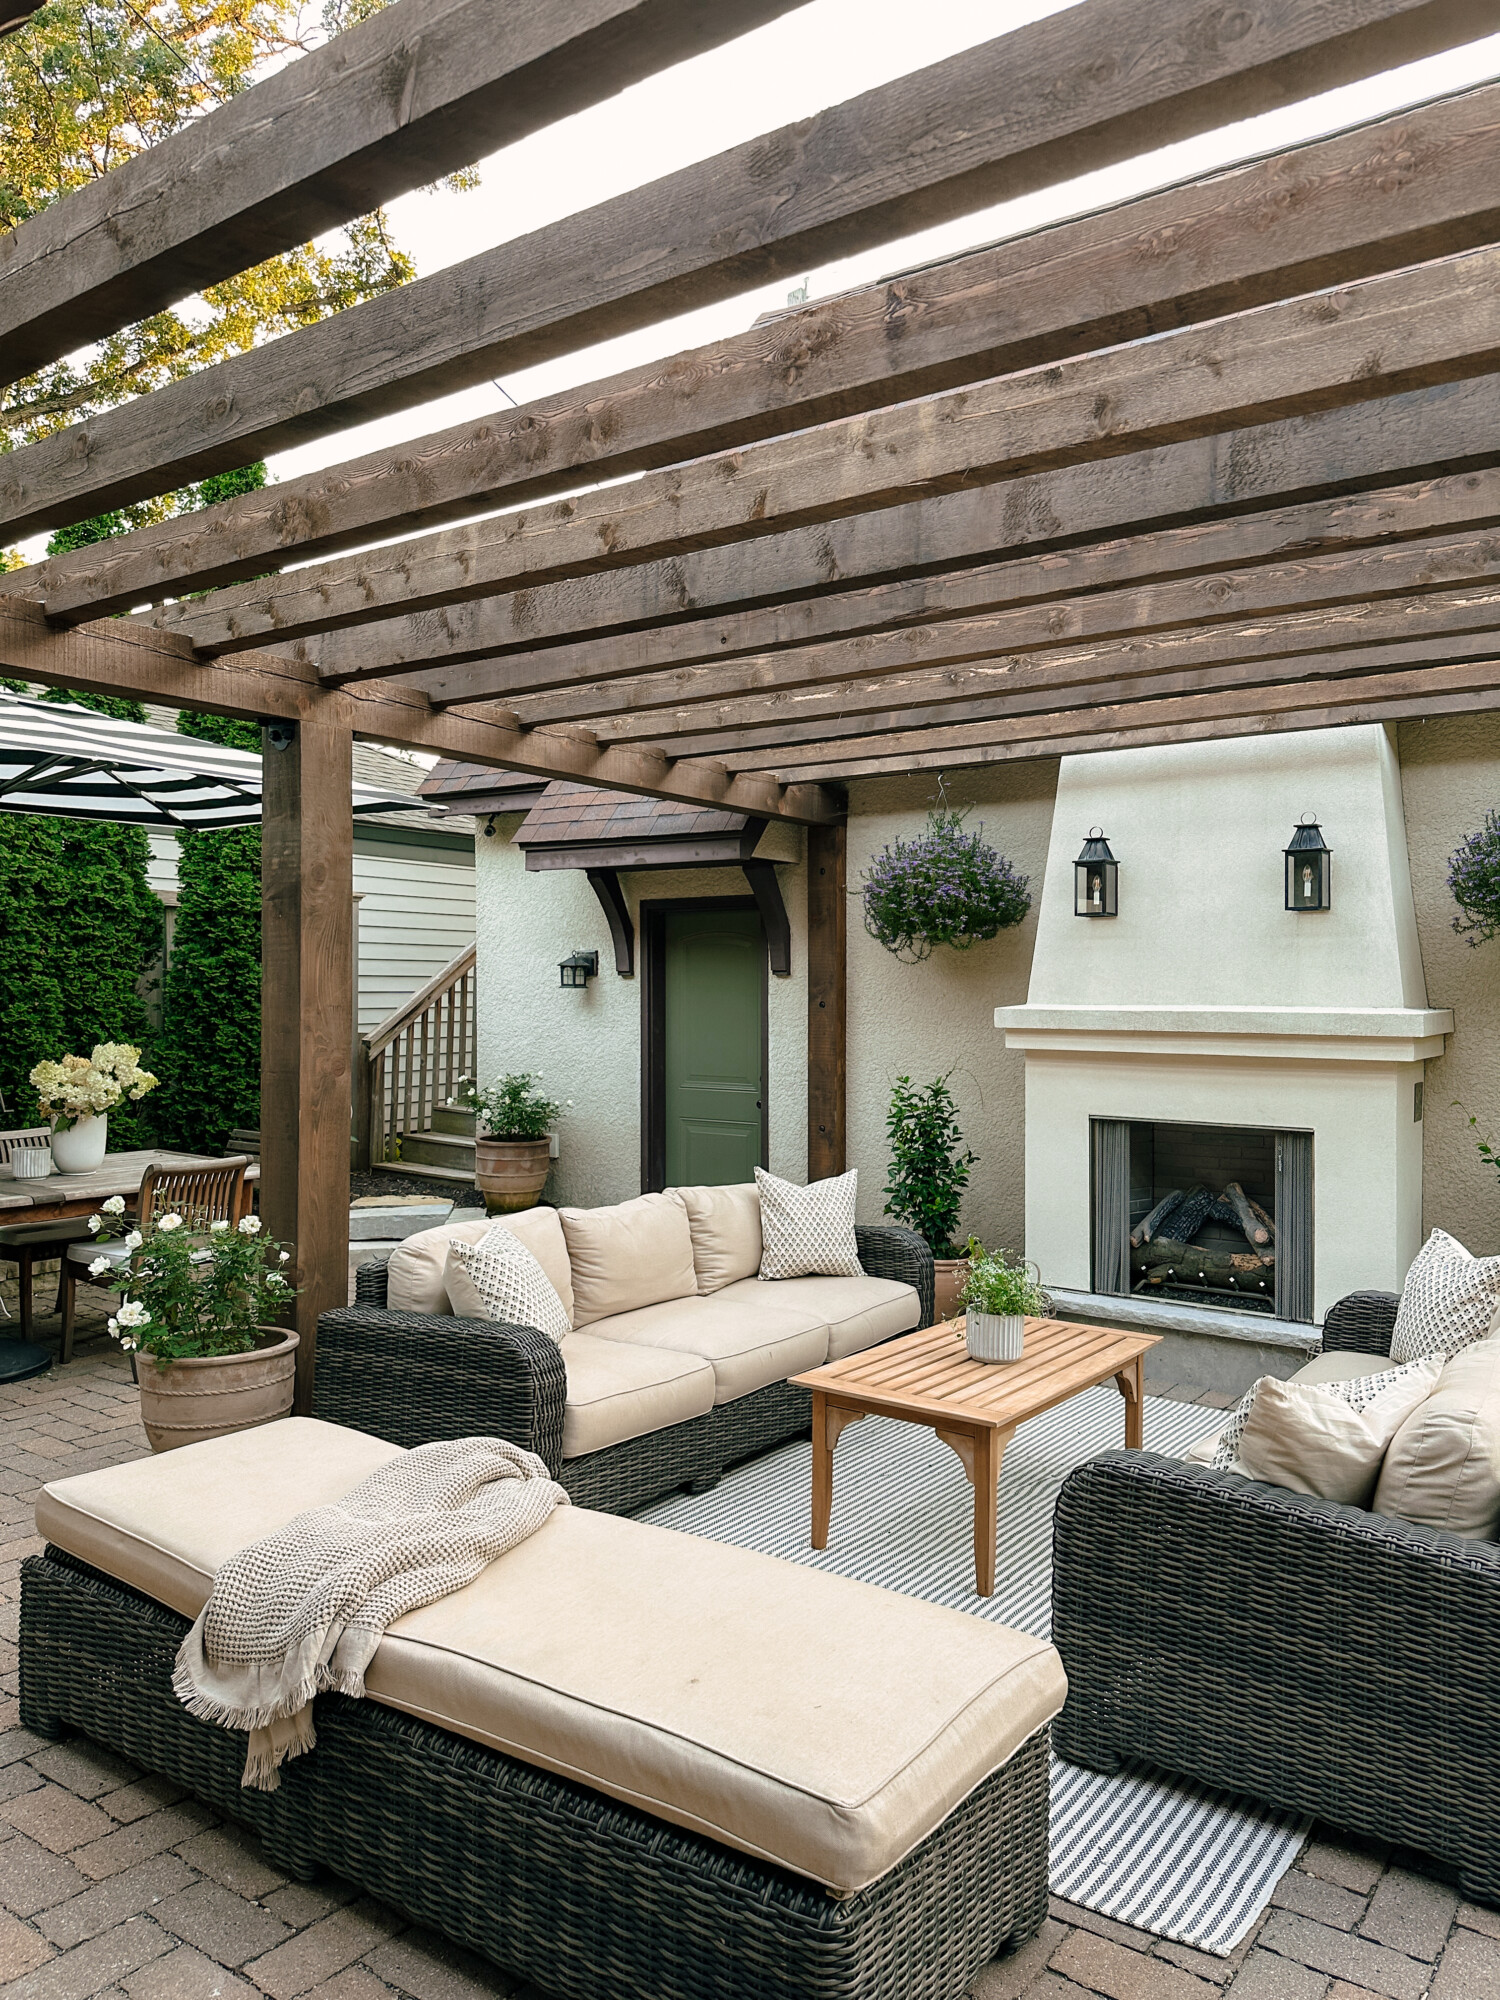
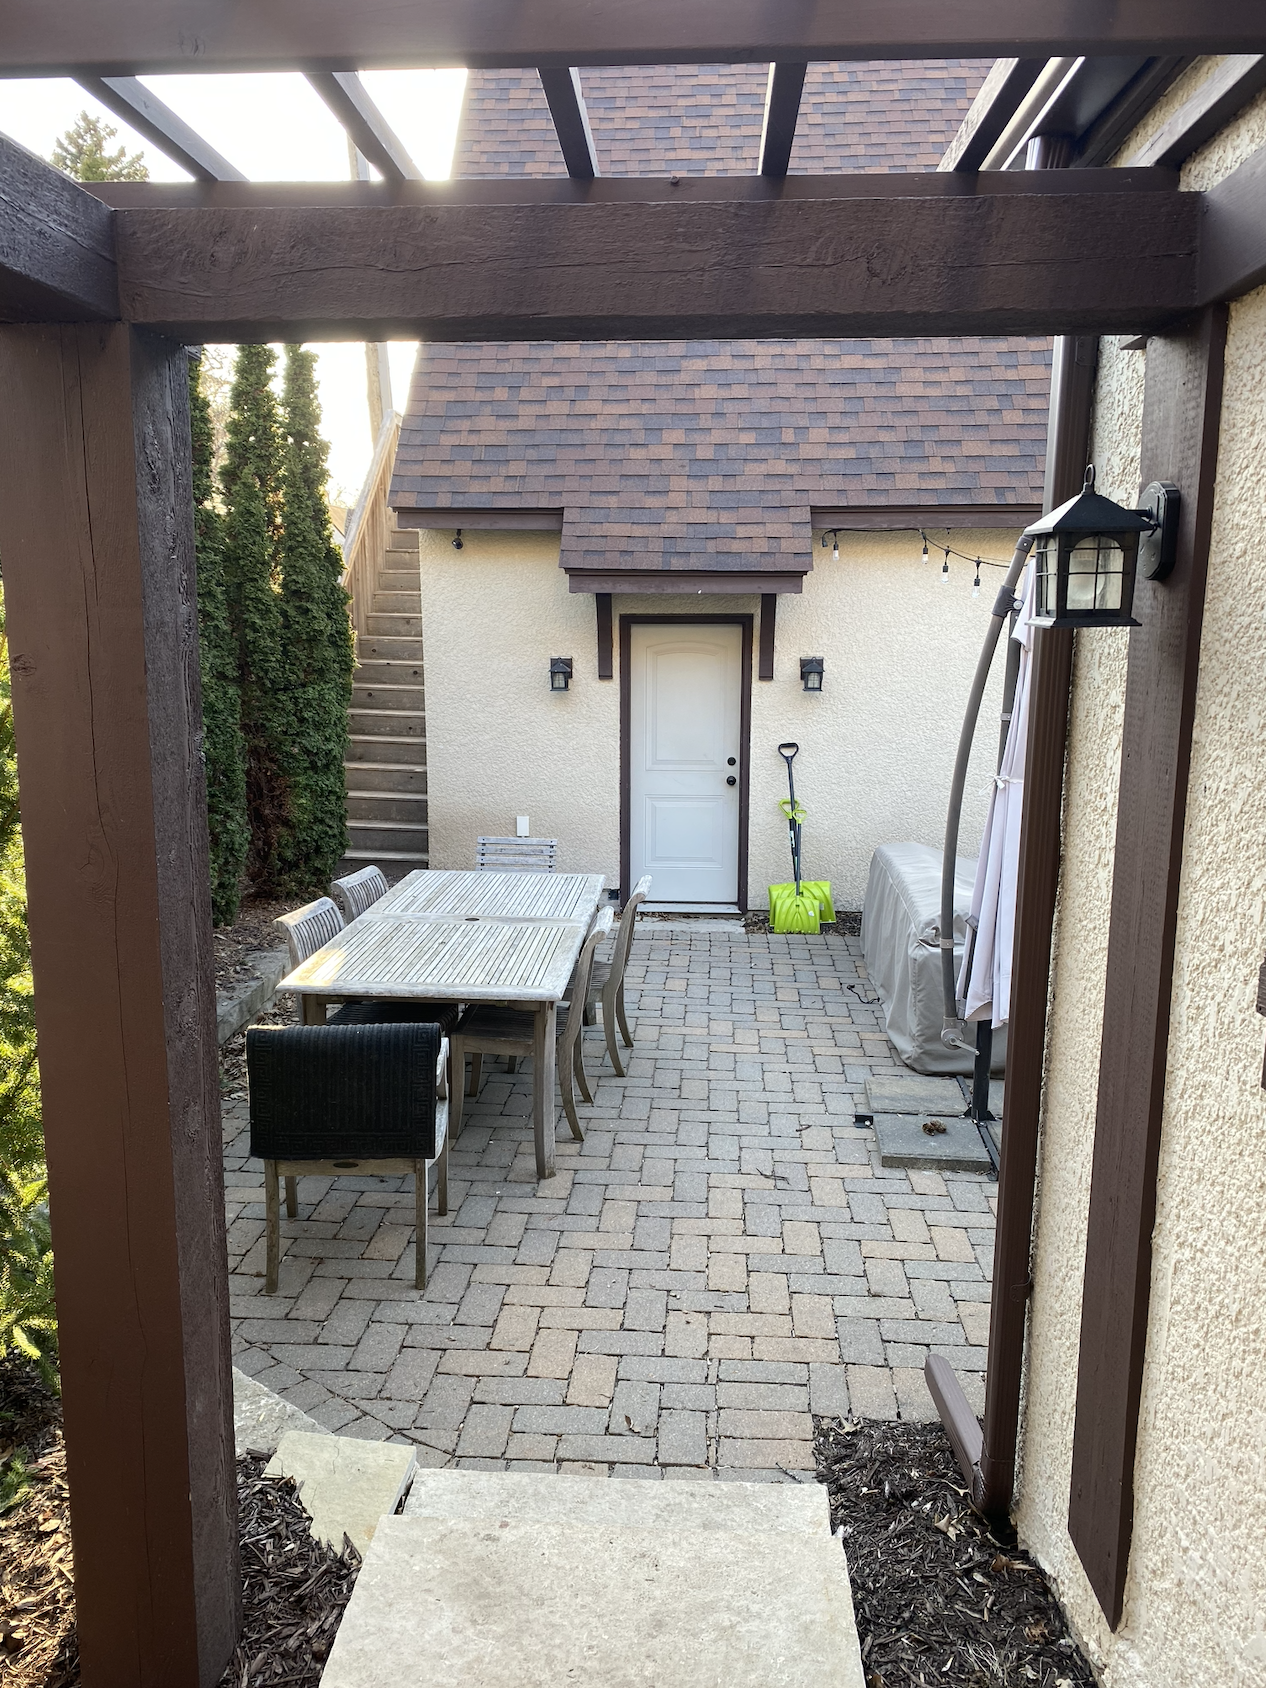
Seeing how far this space has come over the years makes us appreciate it even more. What started as an underwhelming outdoor space is now one of our favorite places to relax, entertain, and enjoy Minnesota summers.
If you’re planning your own outdoor patio renovation, I hope this post gave you some helpful ideas and inspiration.
Sources and product details are listed below.
Product Sources
Dining Table and Chairs – from Smith & Hawken but no longer sold. Linked similar here
Patio Sofas – from Brown Jordan x Home Depot but no longer sold. Linked similar here.
Plant Types
Hanging Plants: Scaevolas
Roses in Large Planters: Icecaps
Alliums
Vanilla Strawberry Hydrangeas
Local Contractors:
Patio Pavers: W Design Landscapes
Fireplace: Carter Custom Construction
Pergola: Local Lakes Construction
If you enjoyed reading this, you may also enjoy reading about our other outdoor projects below:
Midwest Plant Recommendations for a Drought-Proof, Hardy, Rabbit Proof and Low Maintenance Landscape
How We Created a Beautiful, Low-Maintenance Backyard Garden in Less than Two Days

