
Lifestyle
March 7, 2023
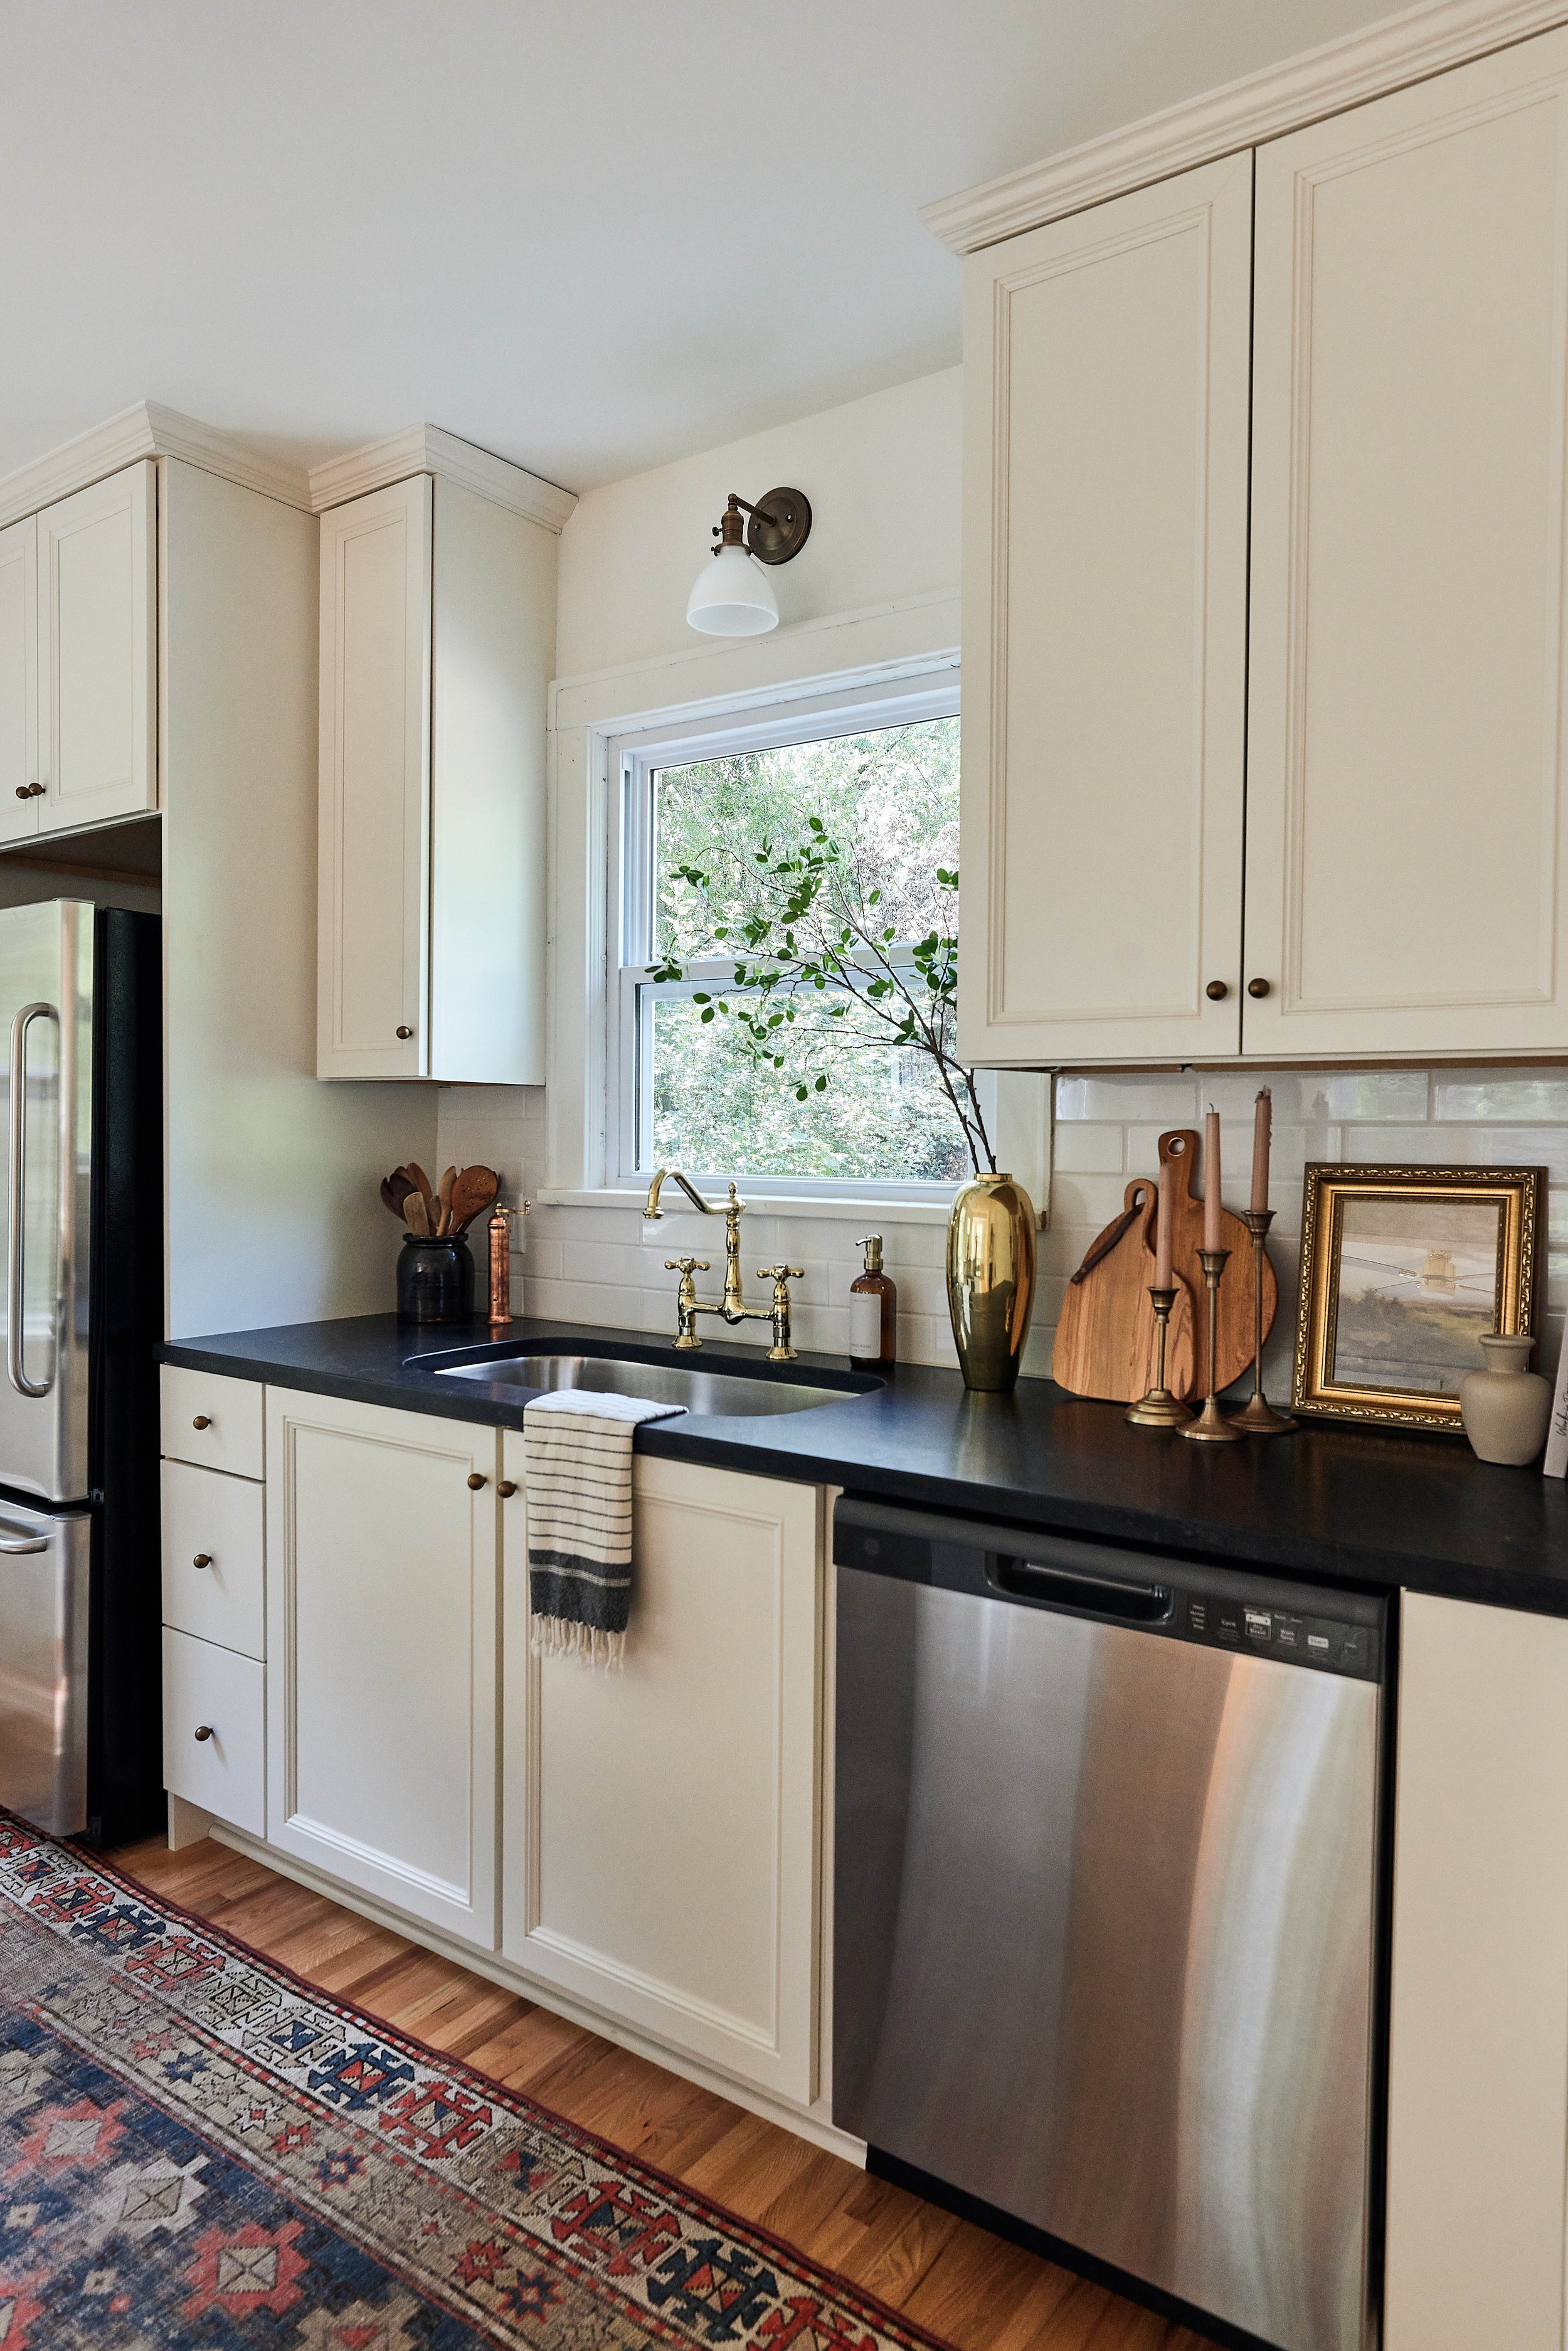
February Favorites
The most loved items from February.
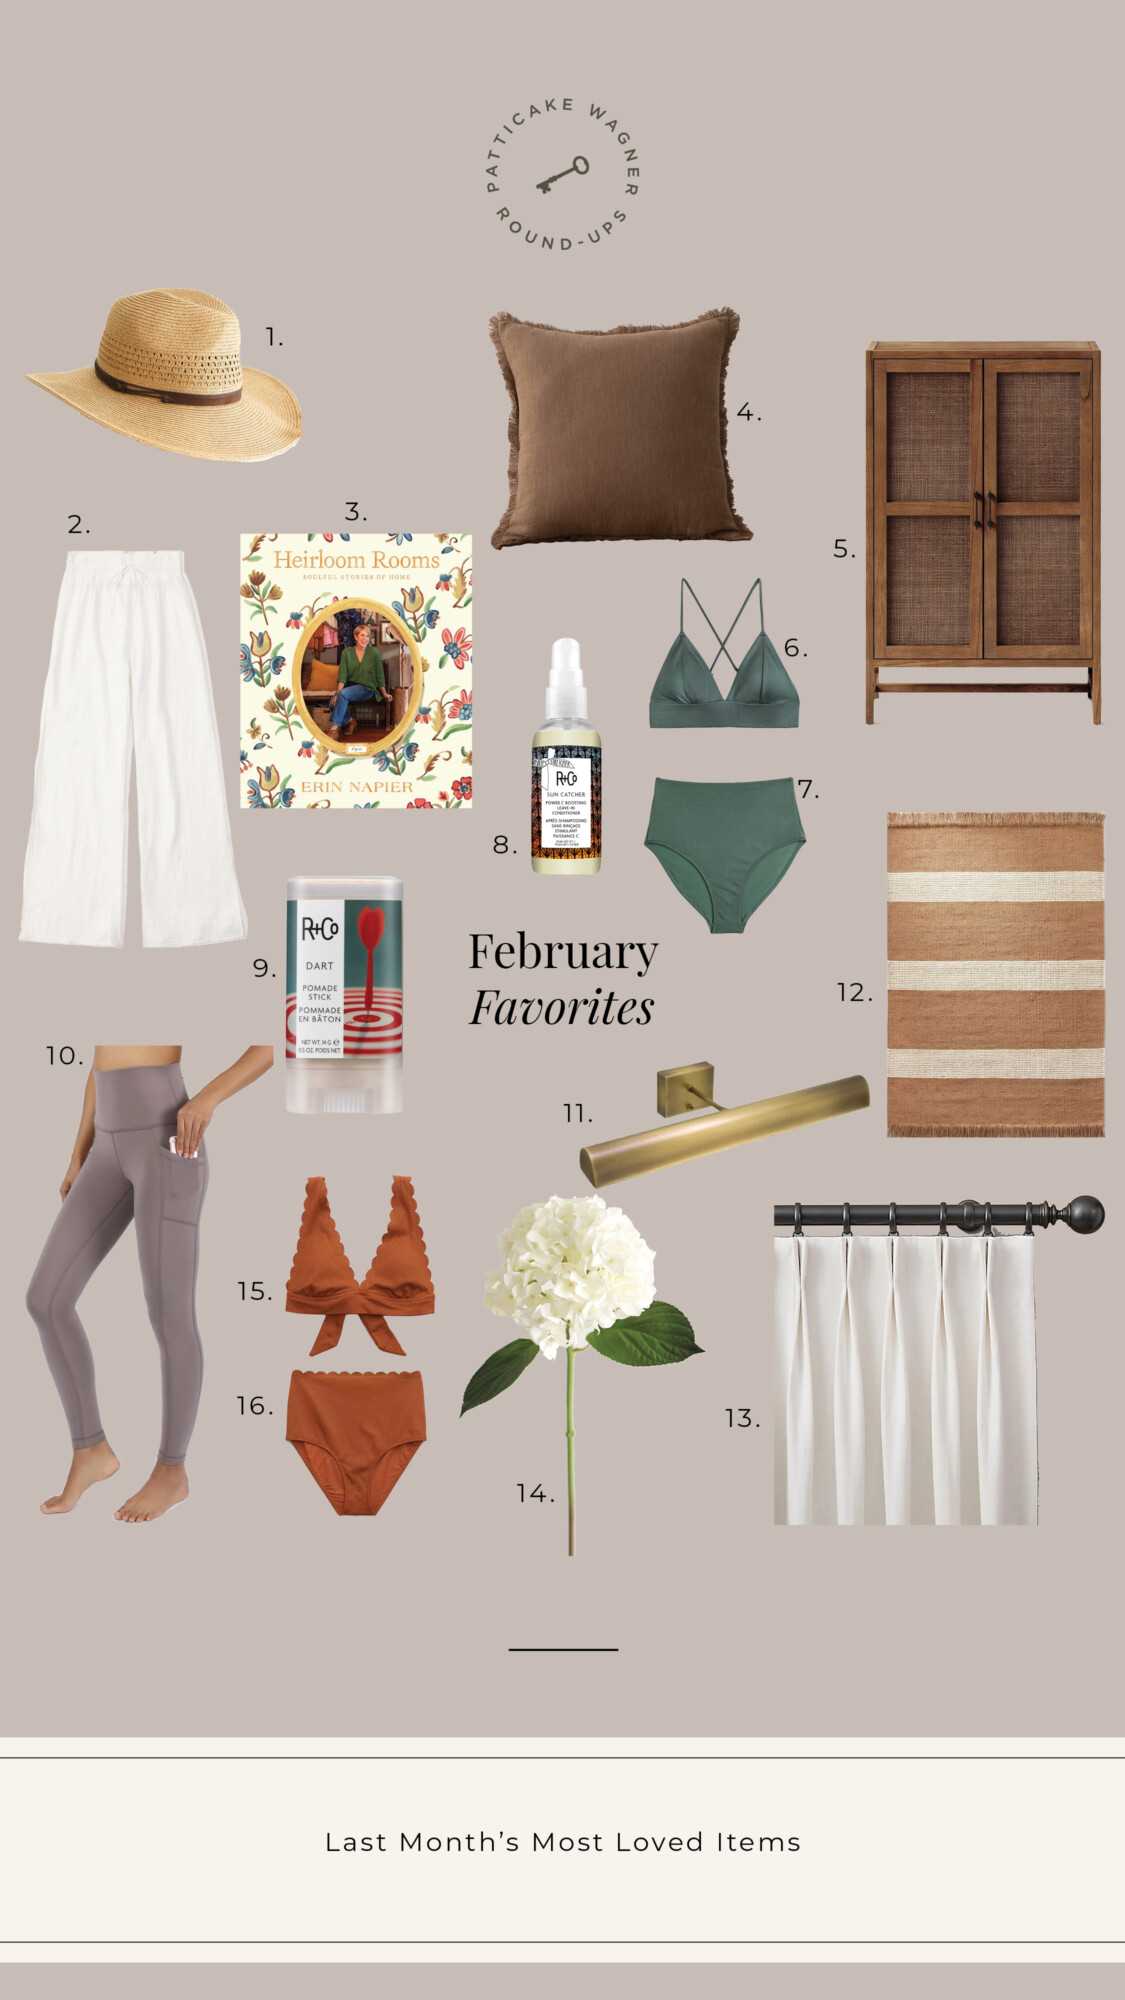

Products:
- Ventura hat
- Linen white pants
- Heirloom Rooms book by Erin Napier
- Linen blend brown pillow cover
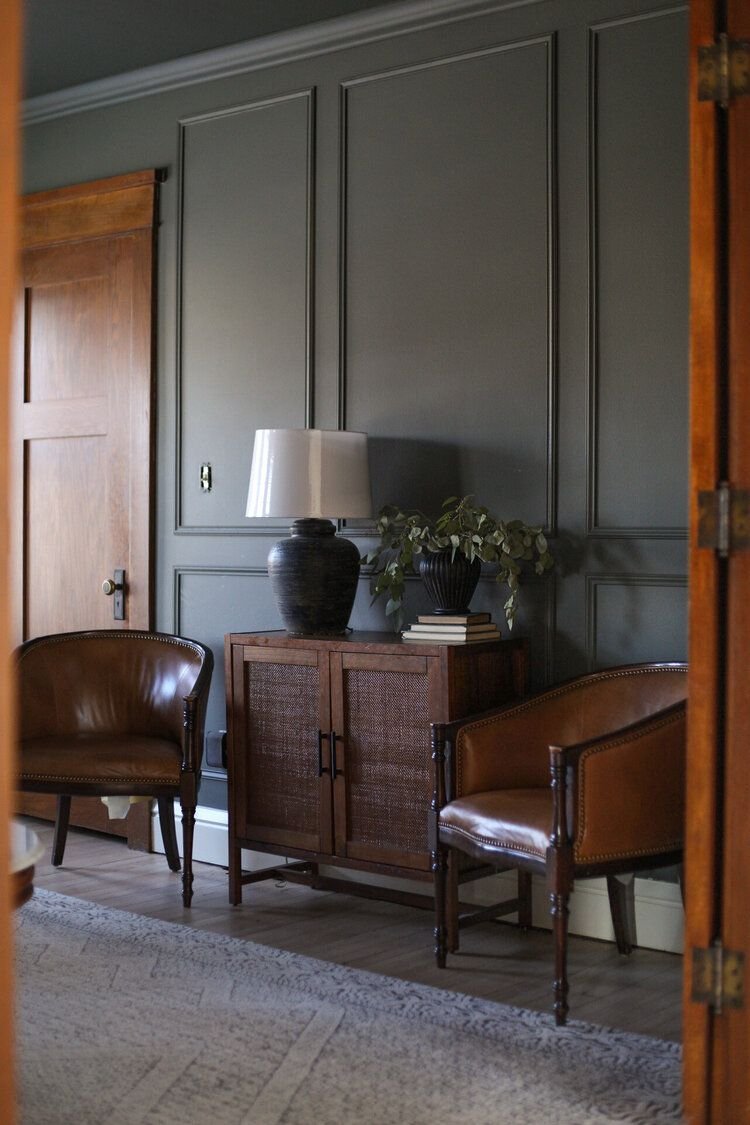
- Rattan wood cabinet
- Green swimsuit top
- Green swimsuit bottom
- Suncatcher leave-in conditioner
- R+Co pomade for hair flyaways
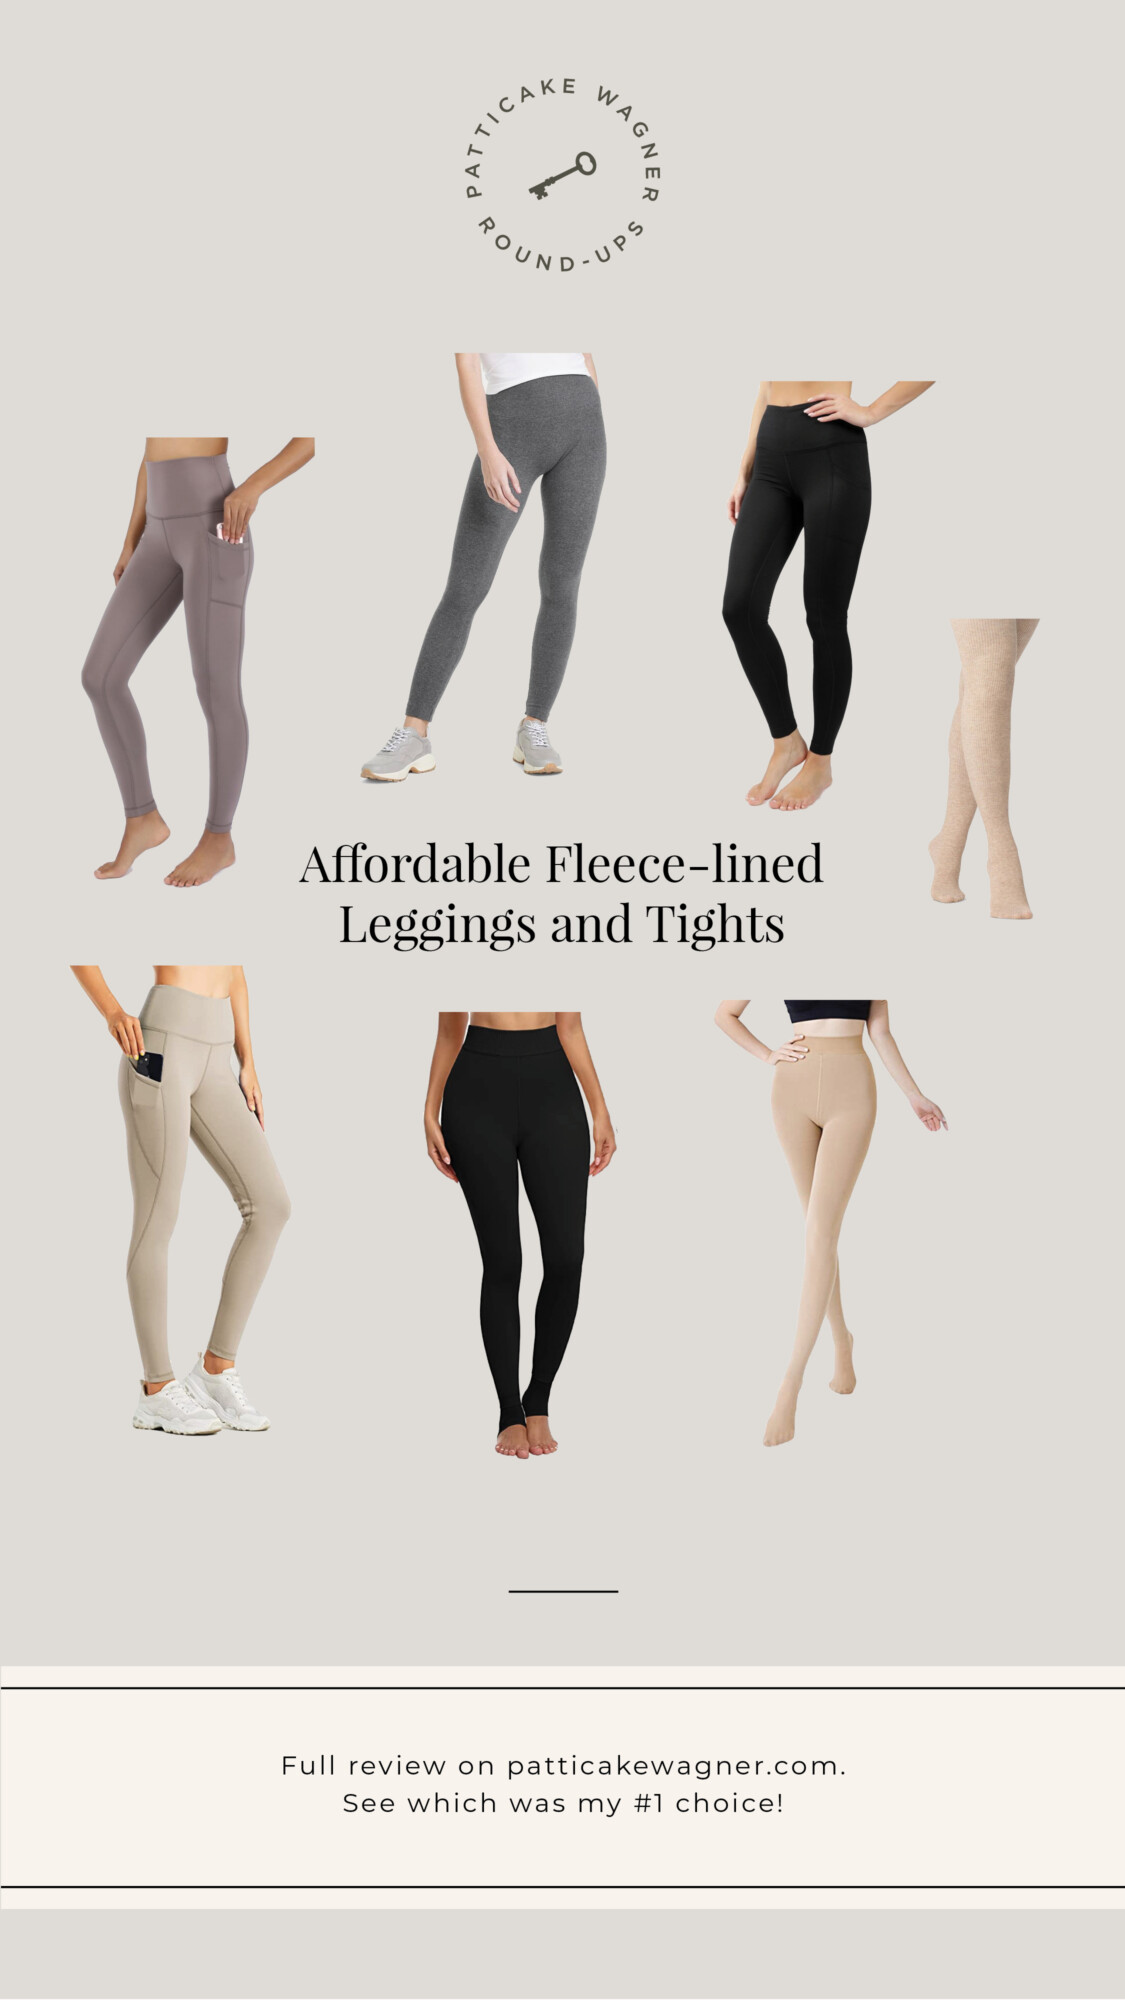
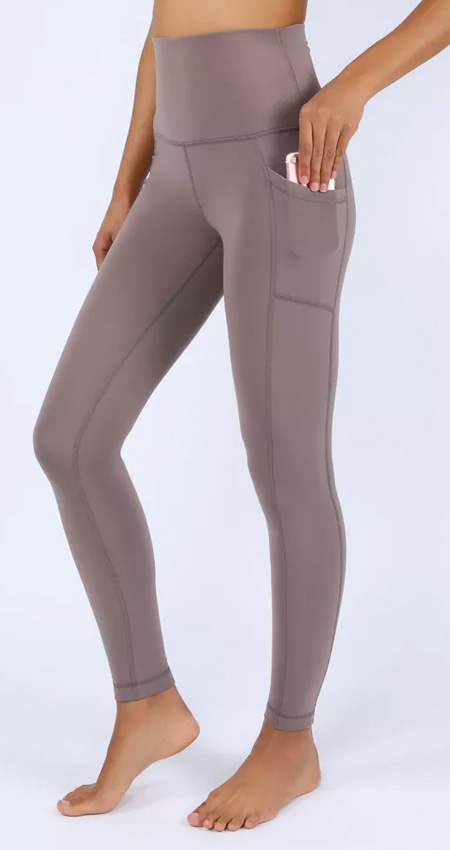
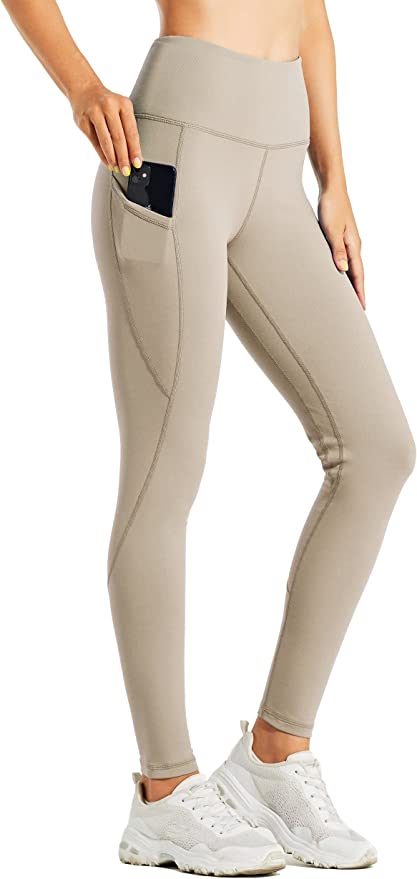
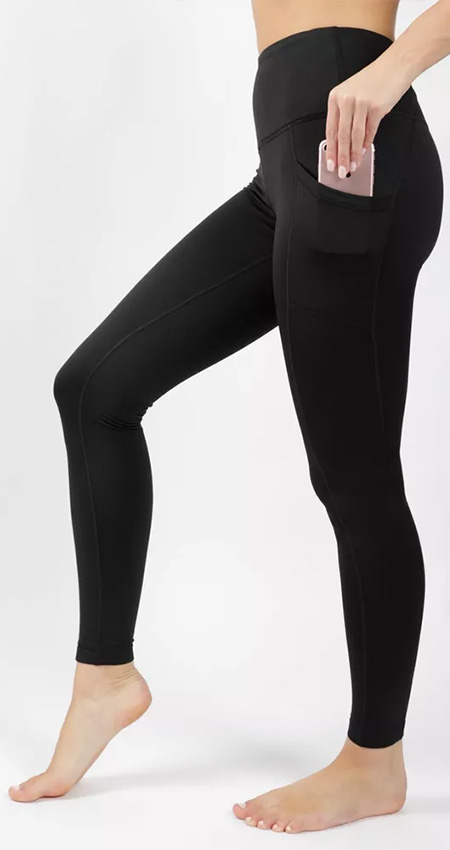
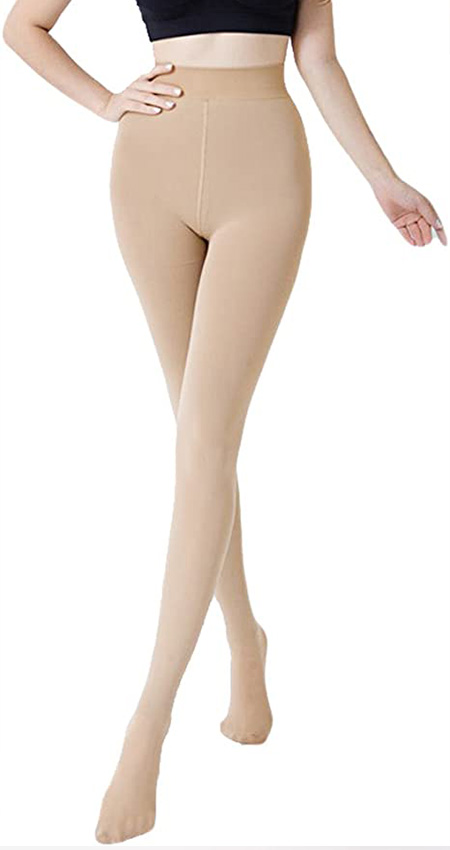
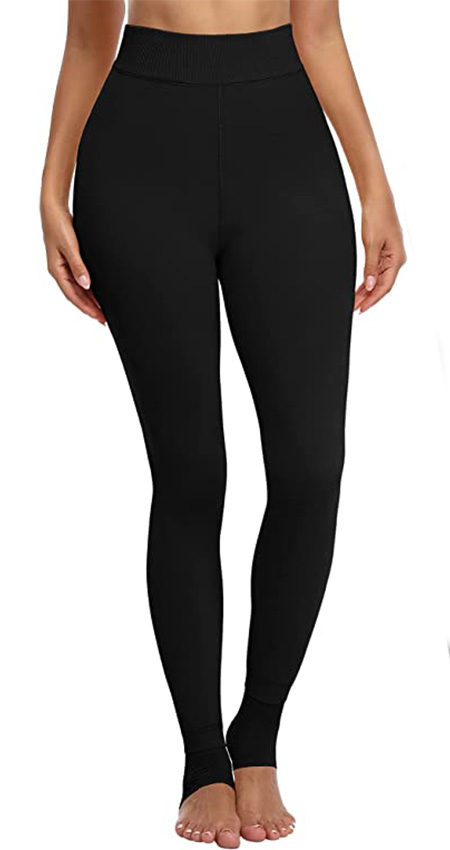
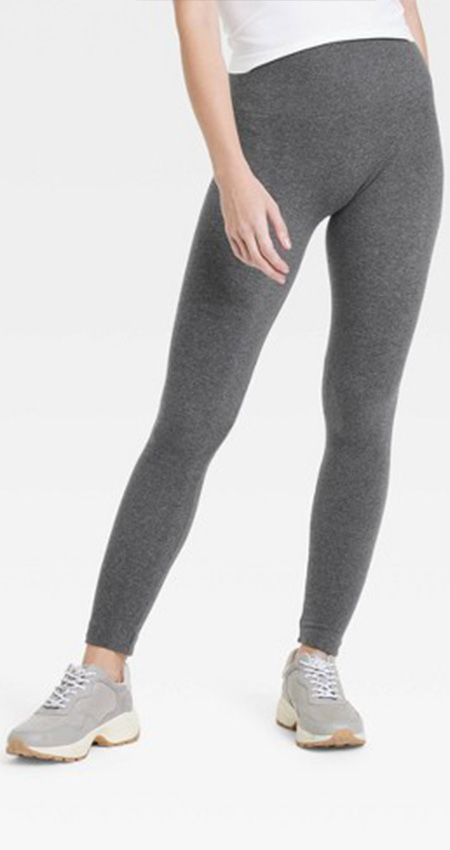
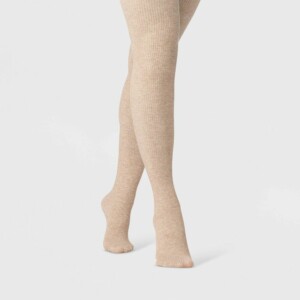
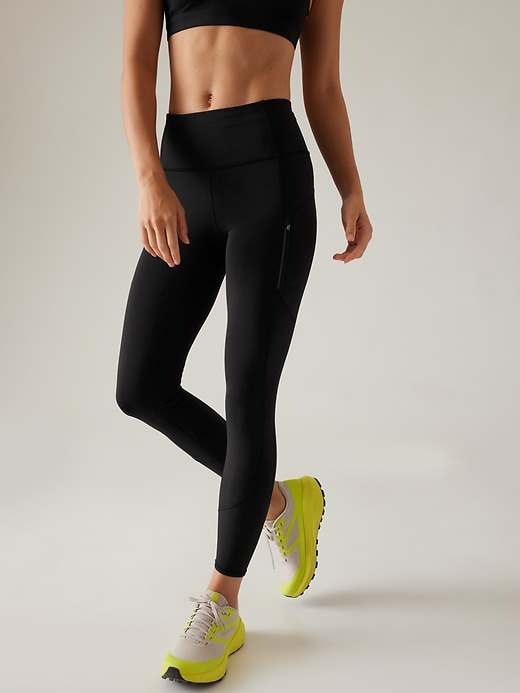
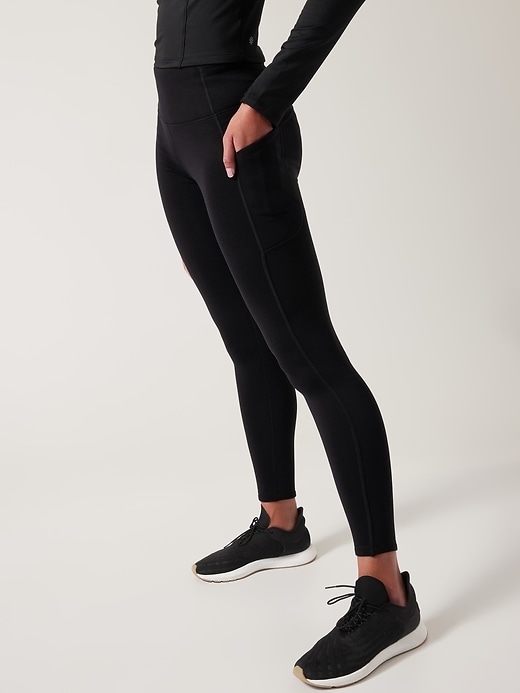
- Yogalicious fleece lined leggings (read the full line up & reviews of fleece lined leggings here)
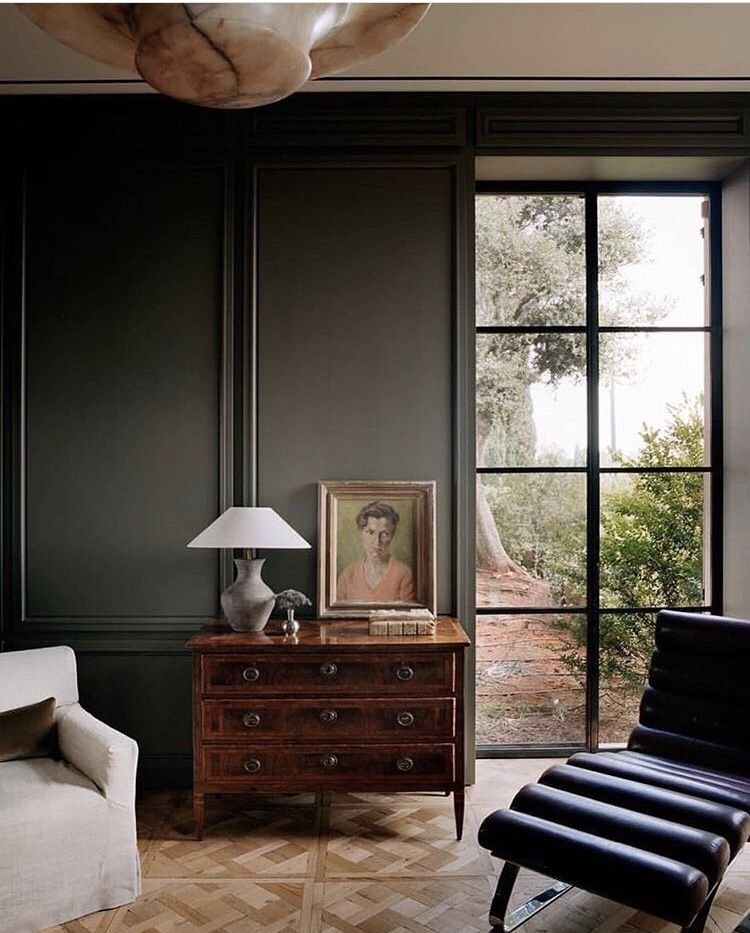
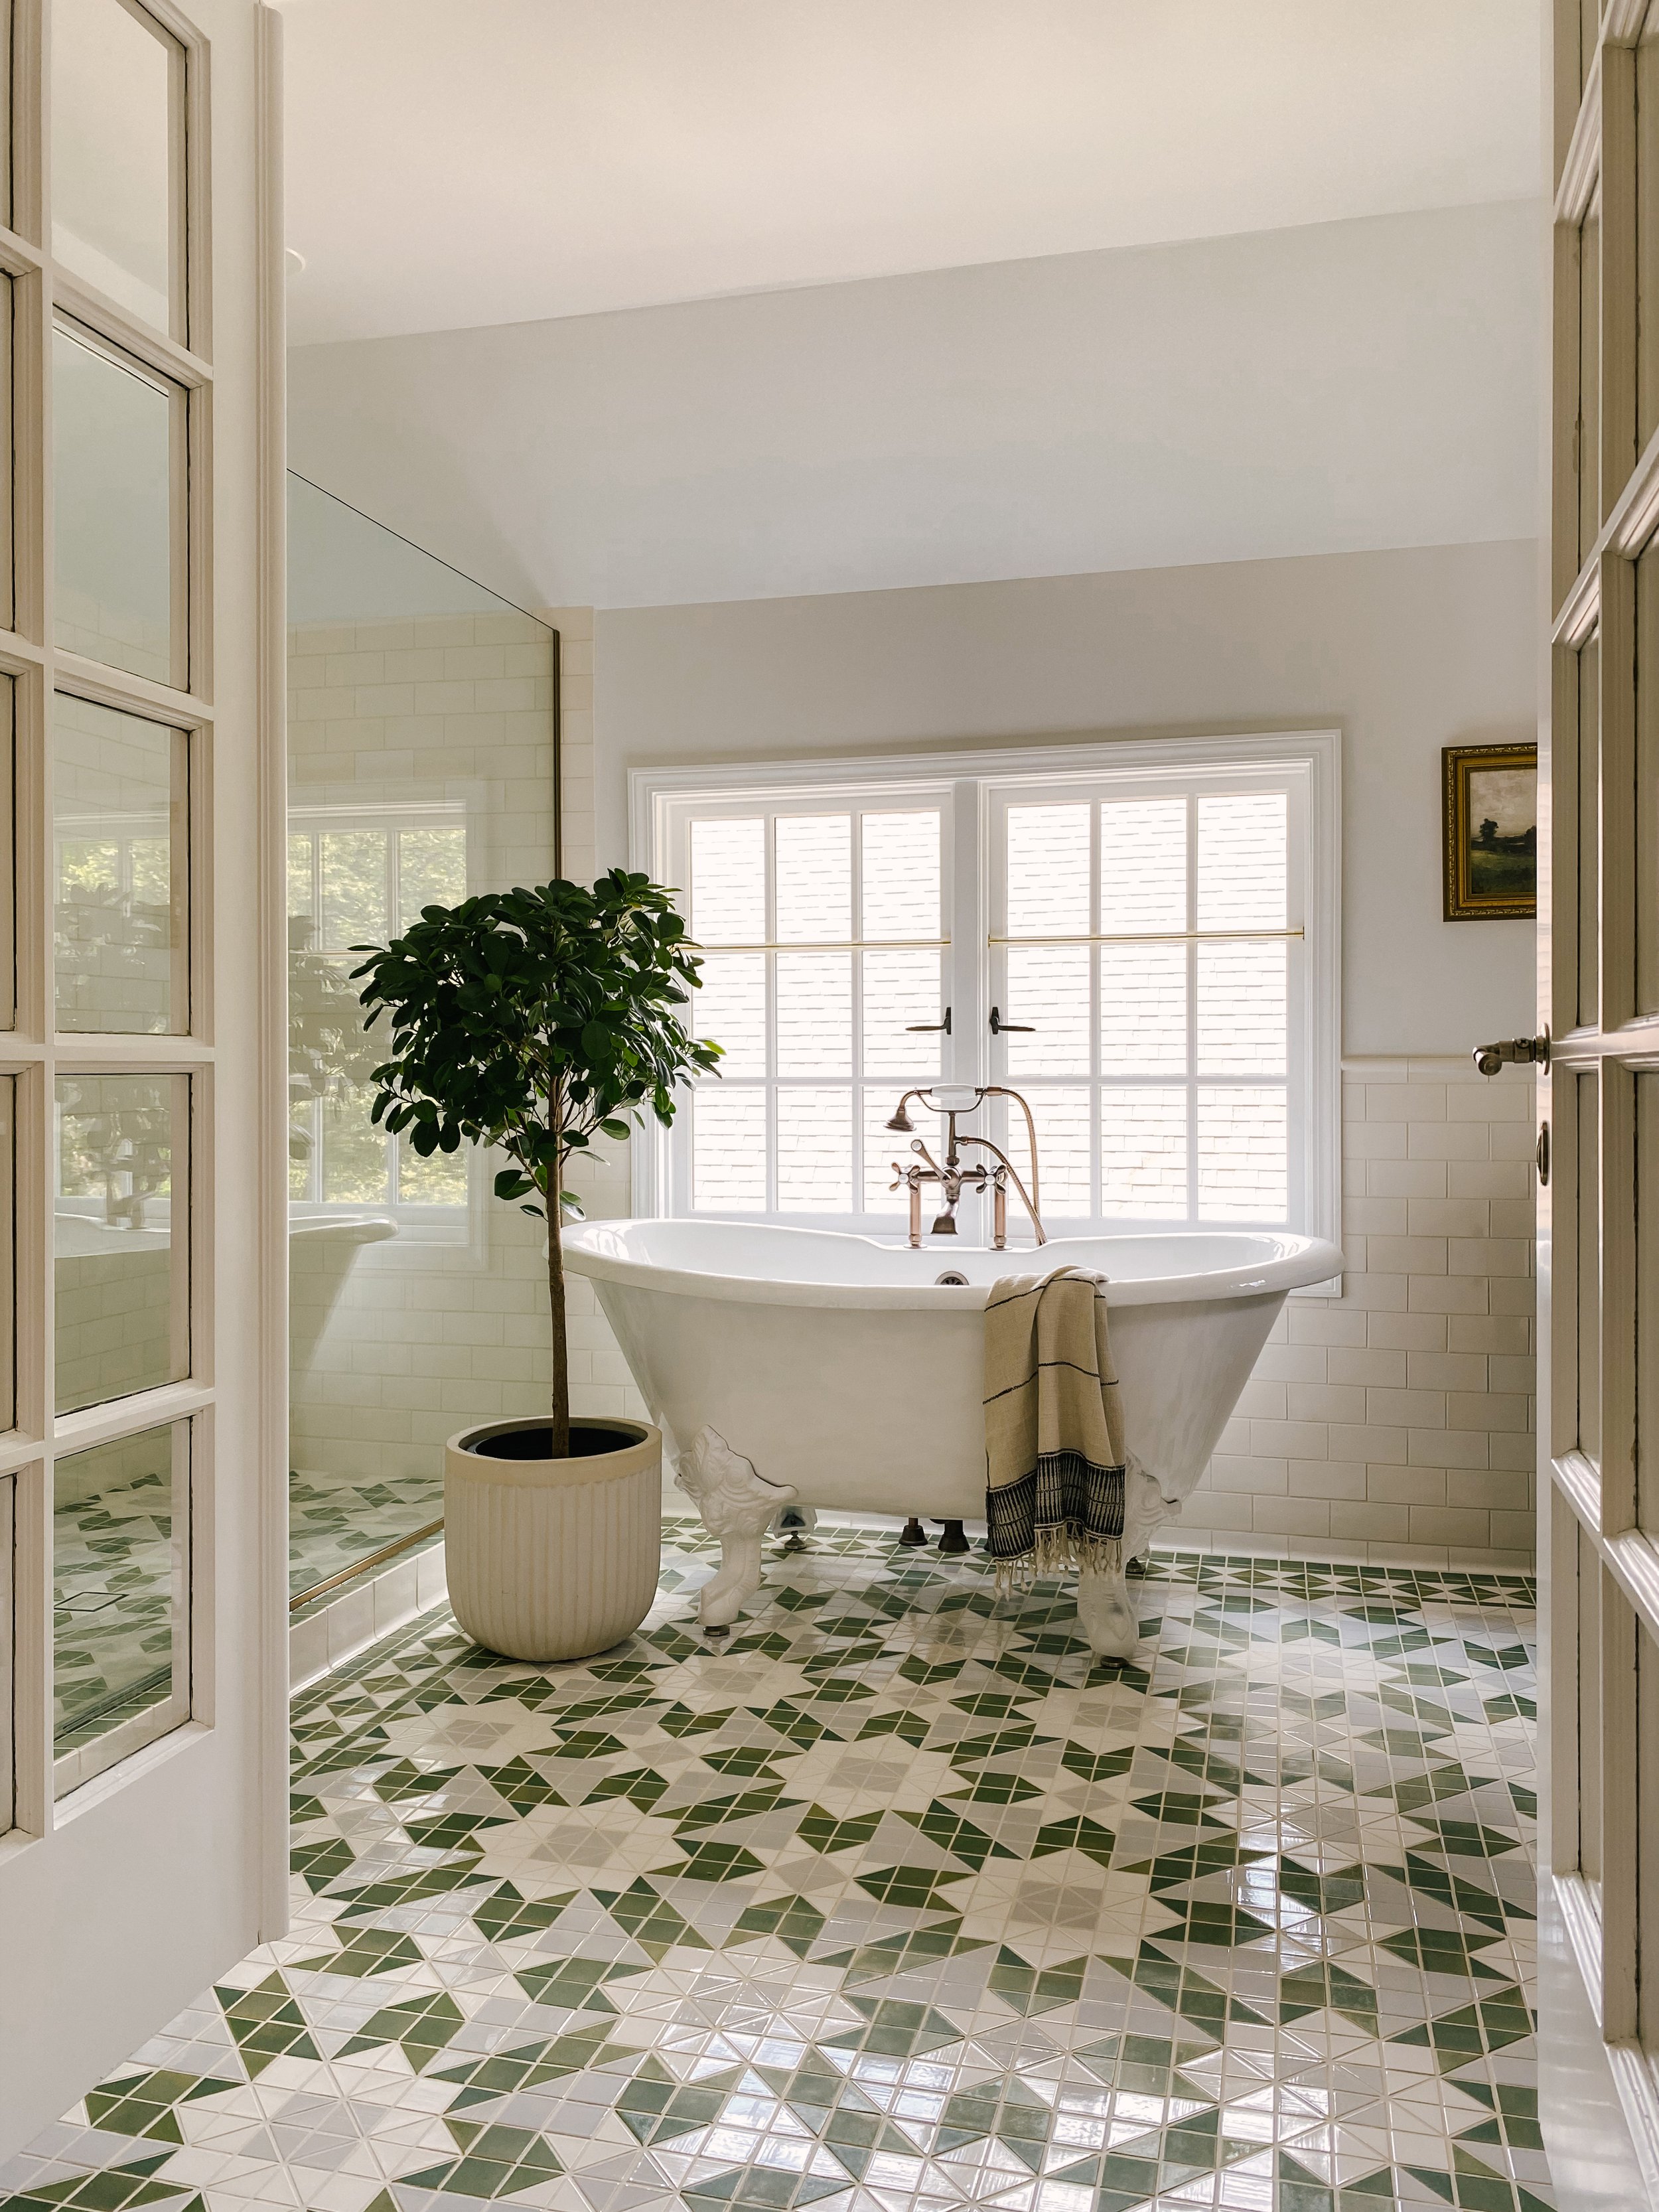
- Battery operated picture lights
- Wool/jute rug
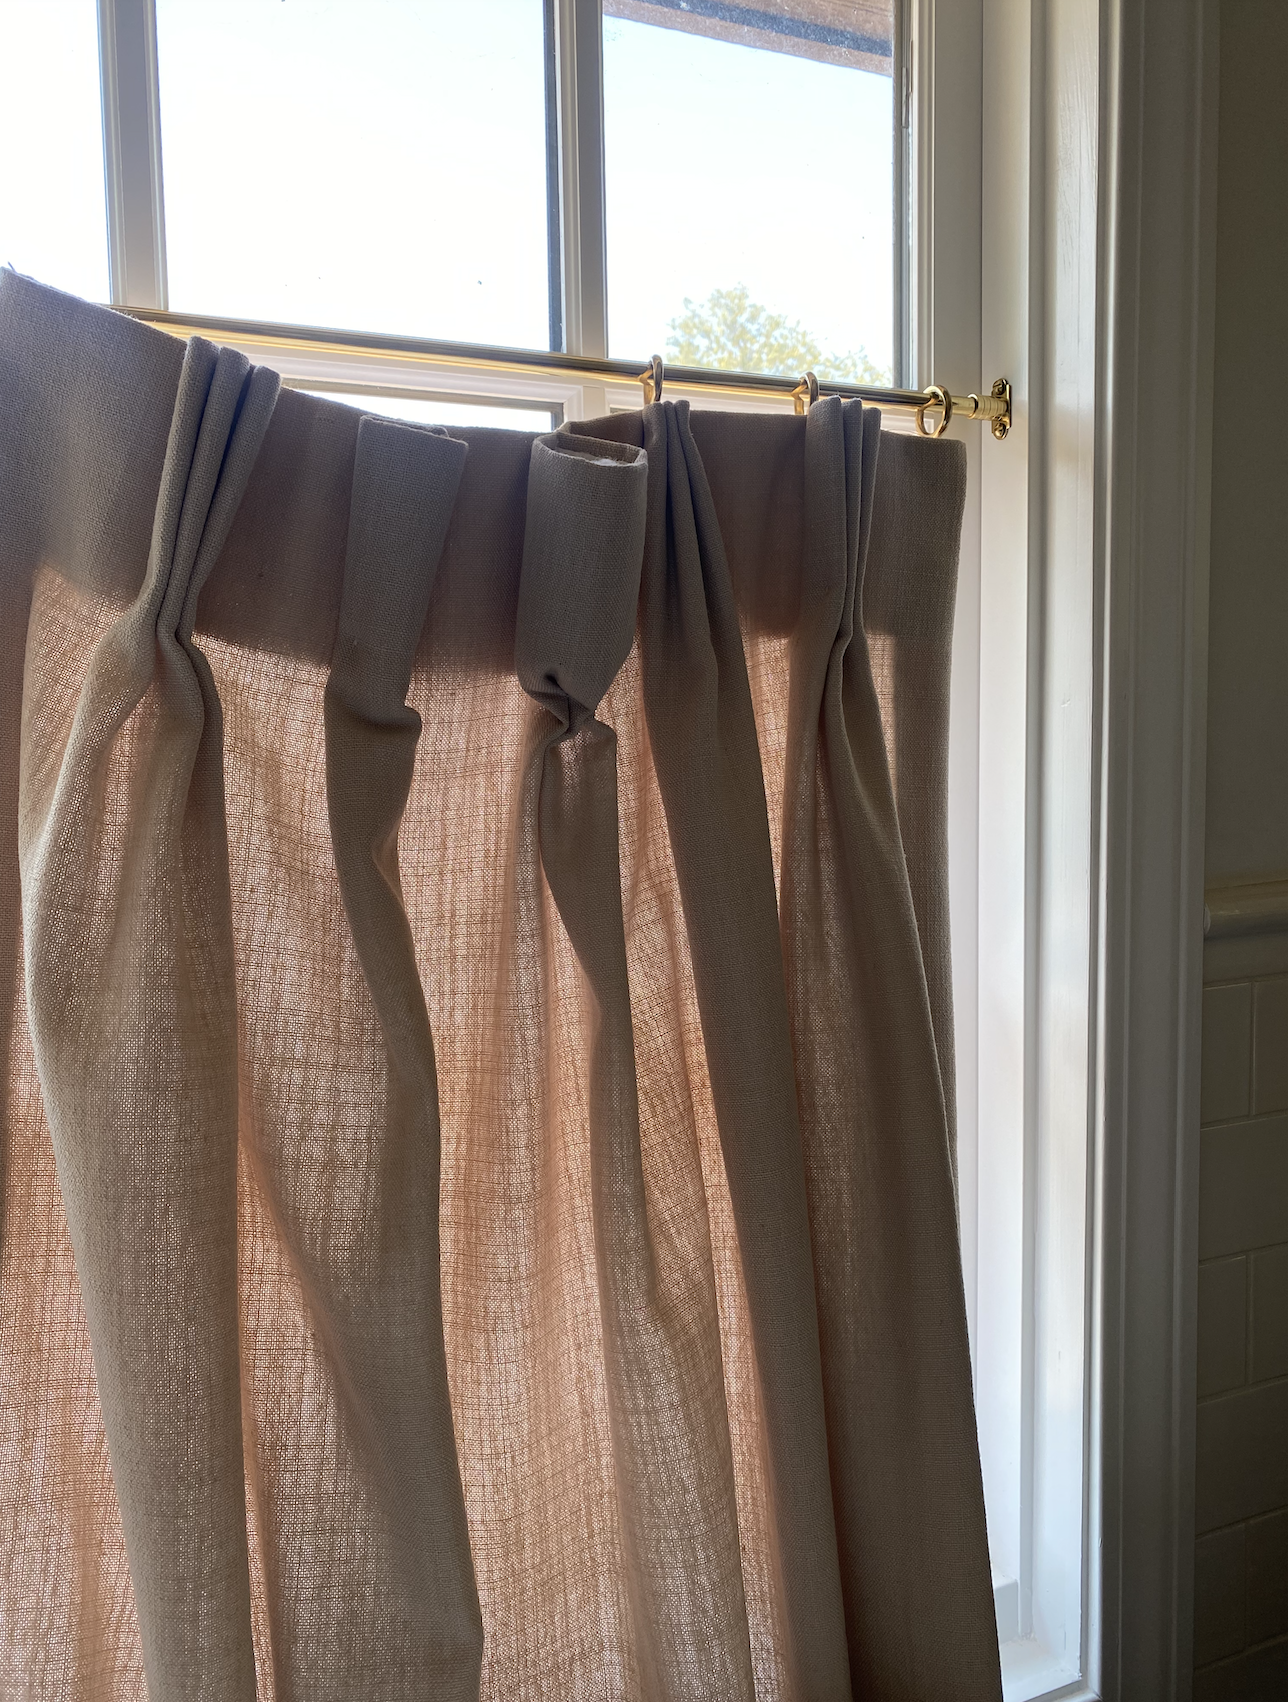
- Custom drapery with pleats
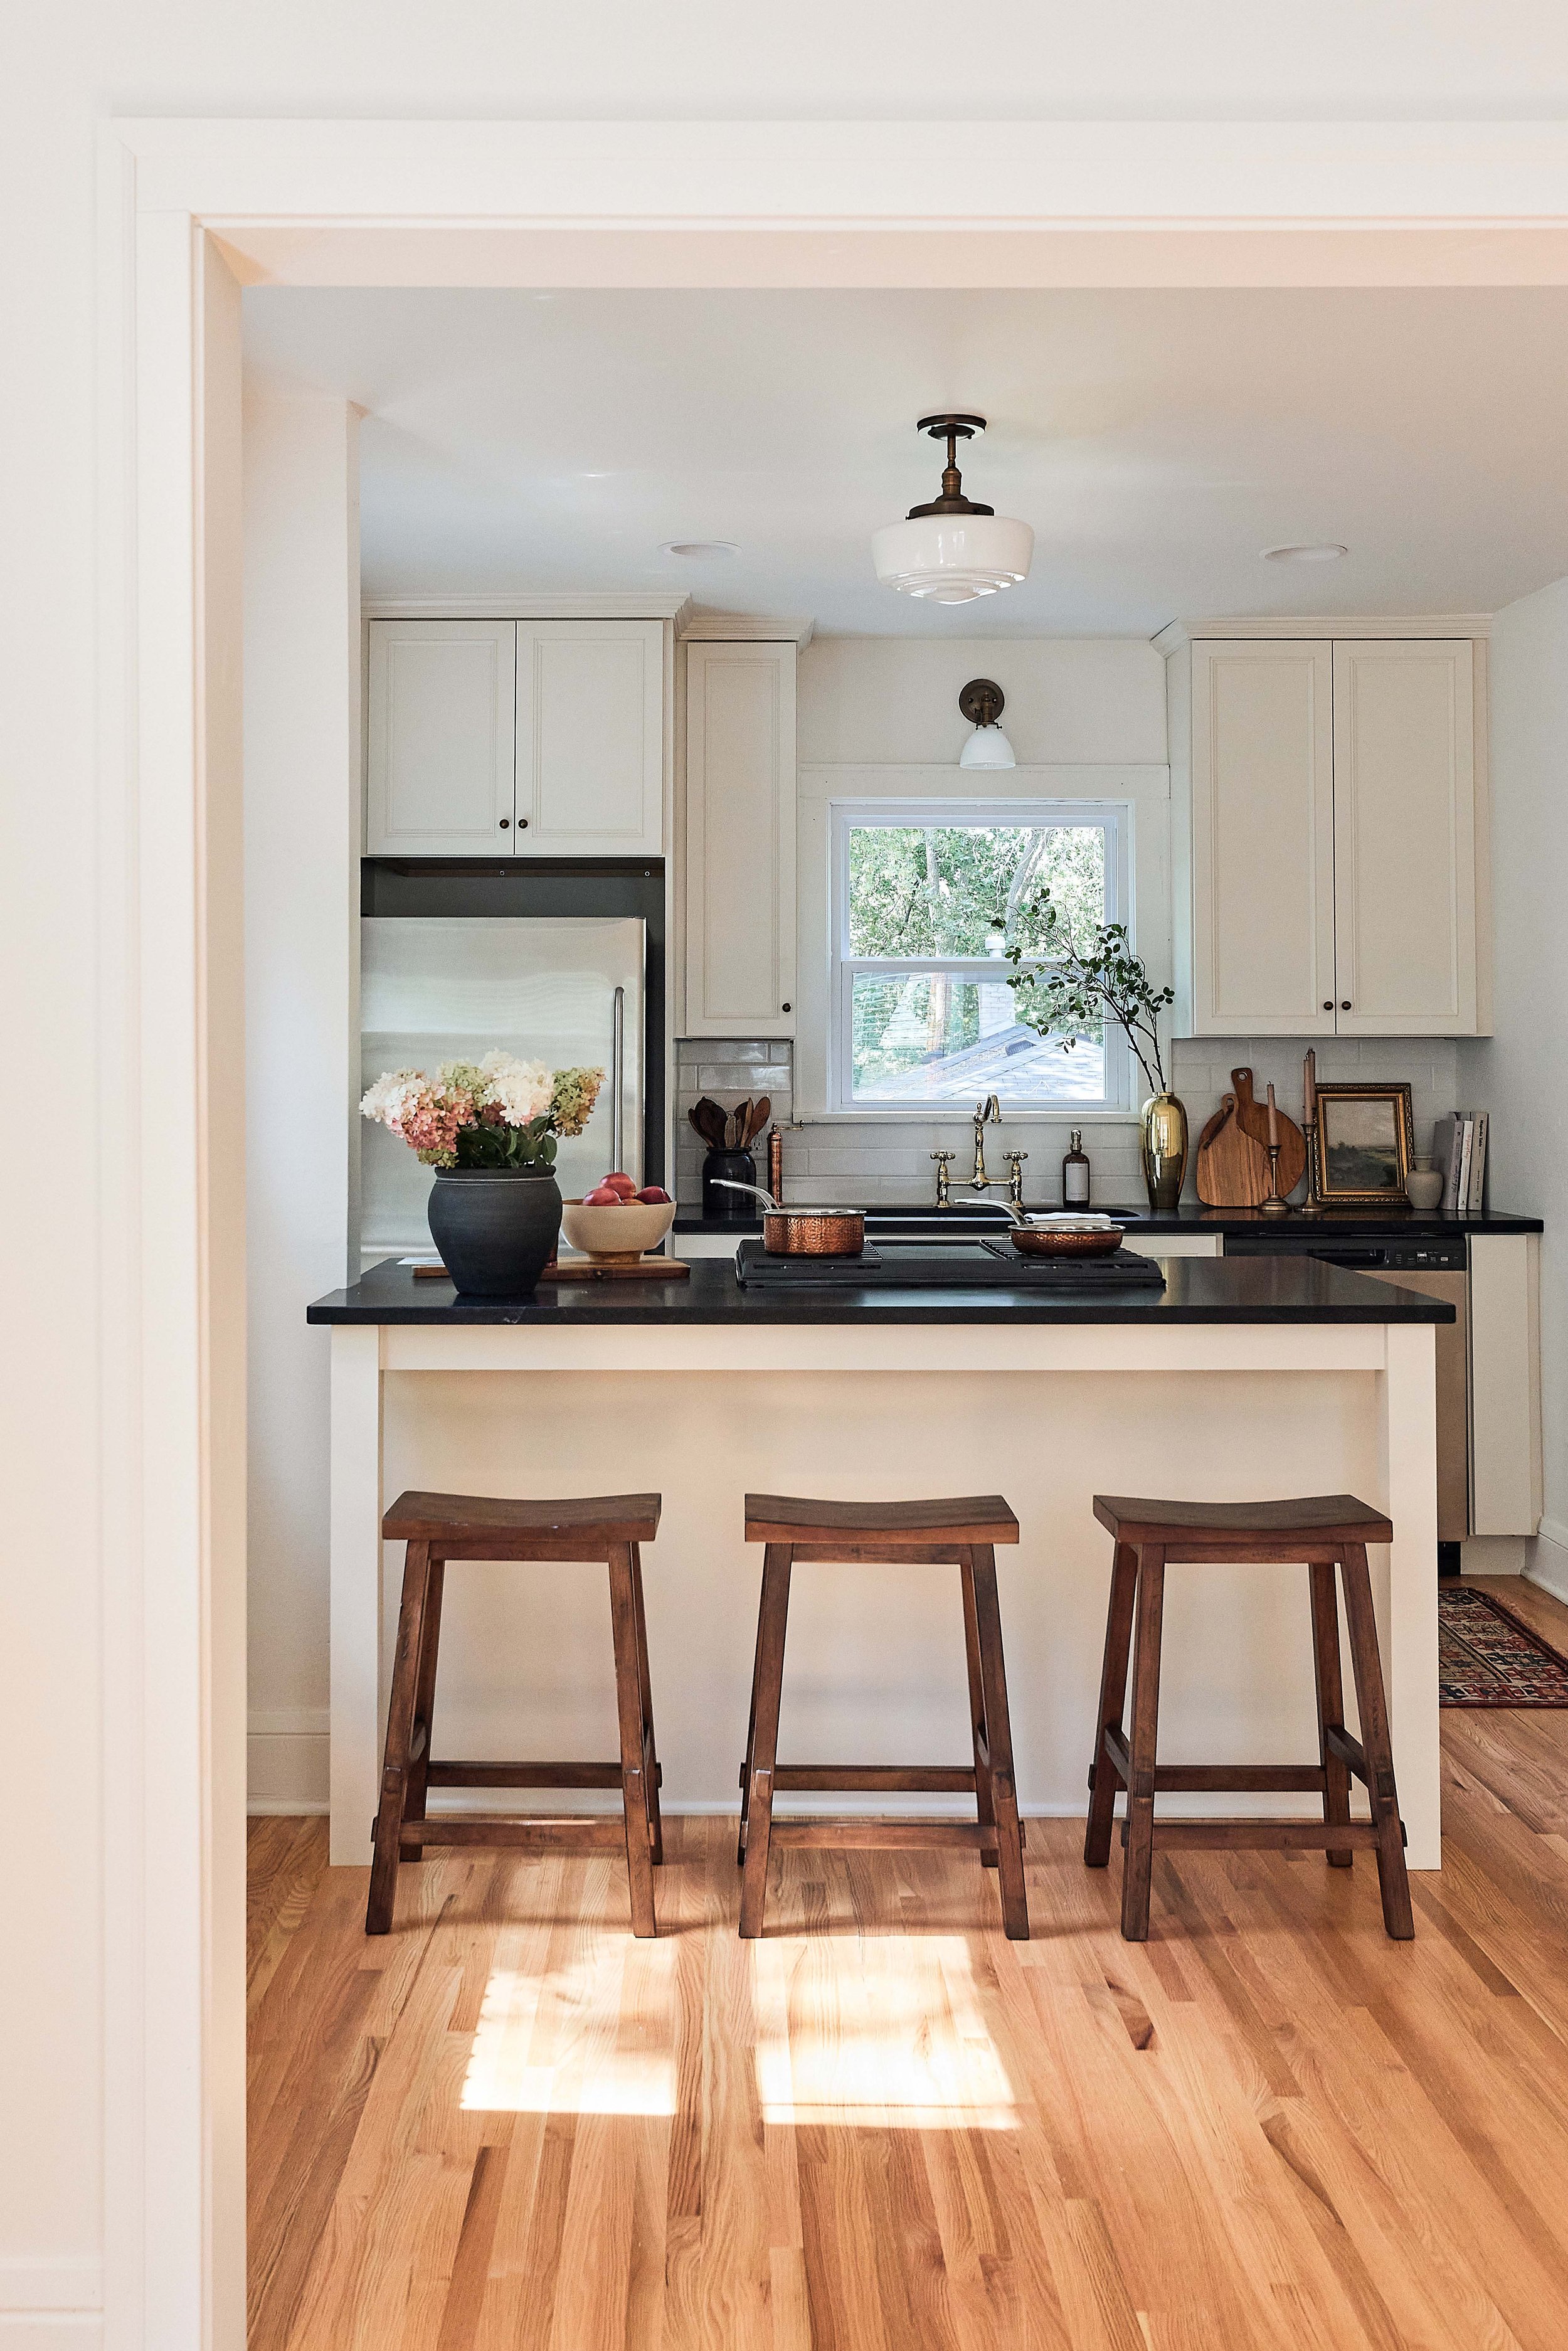
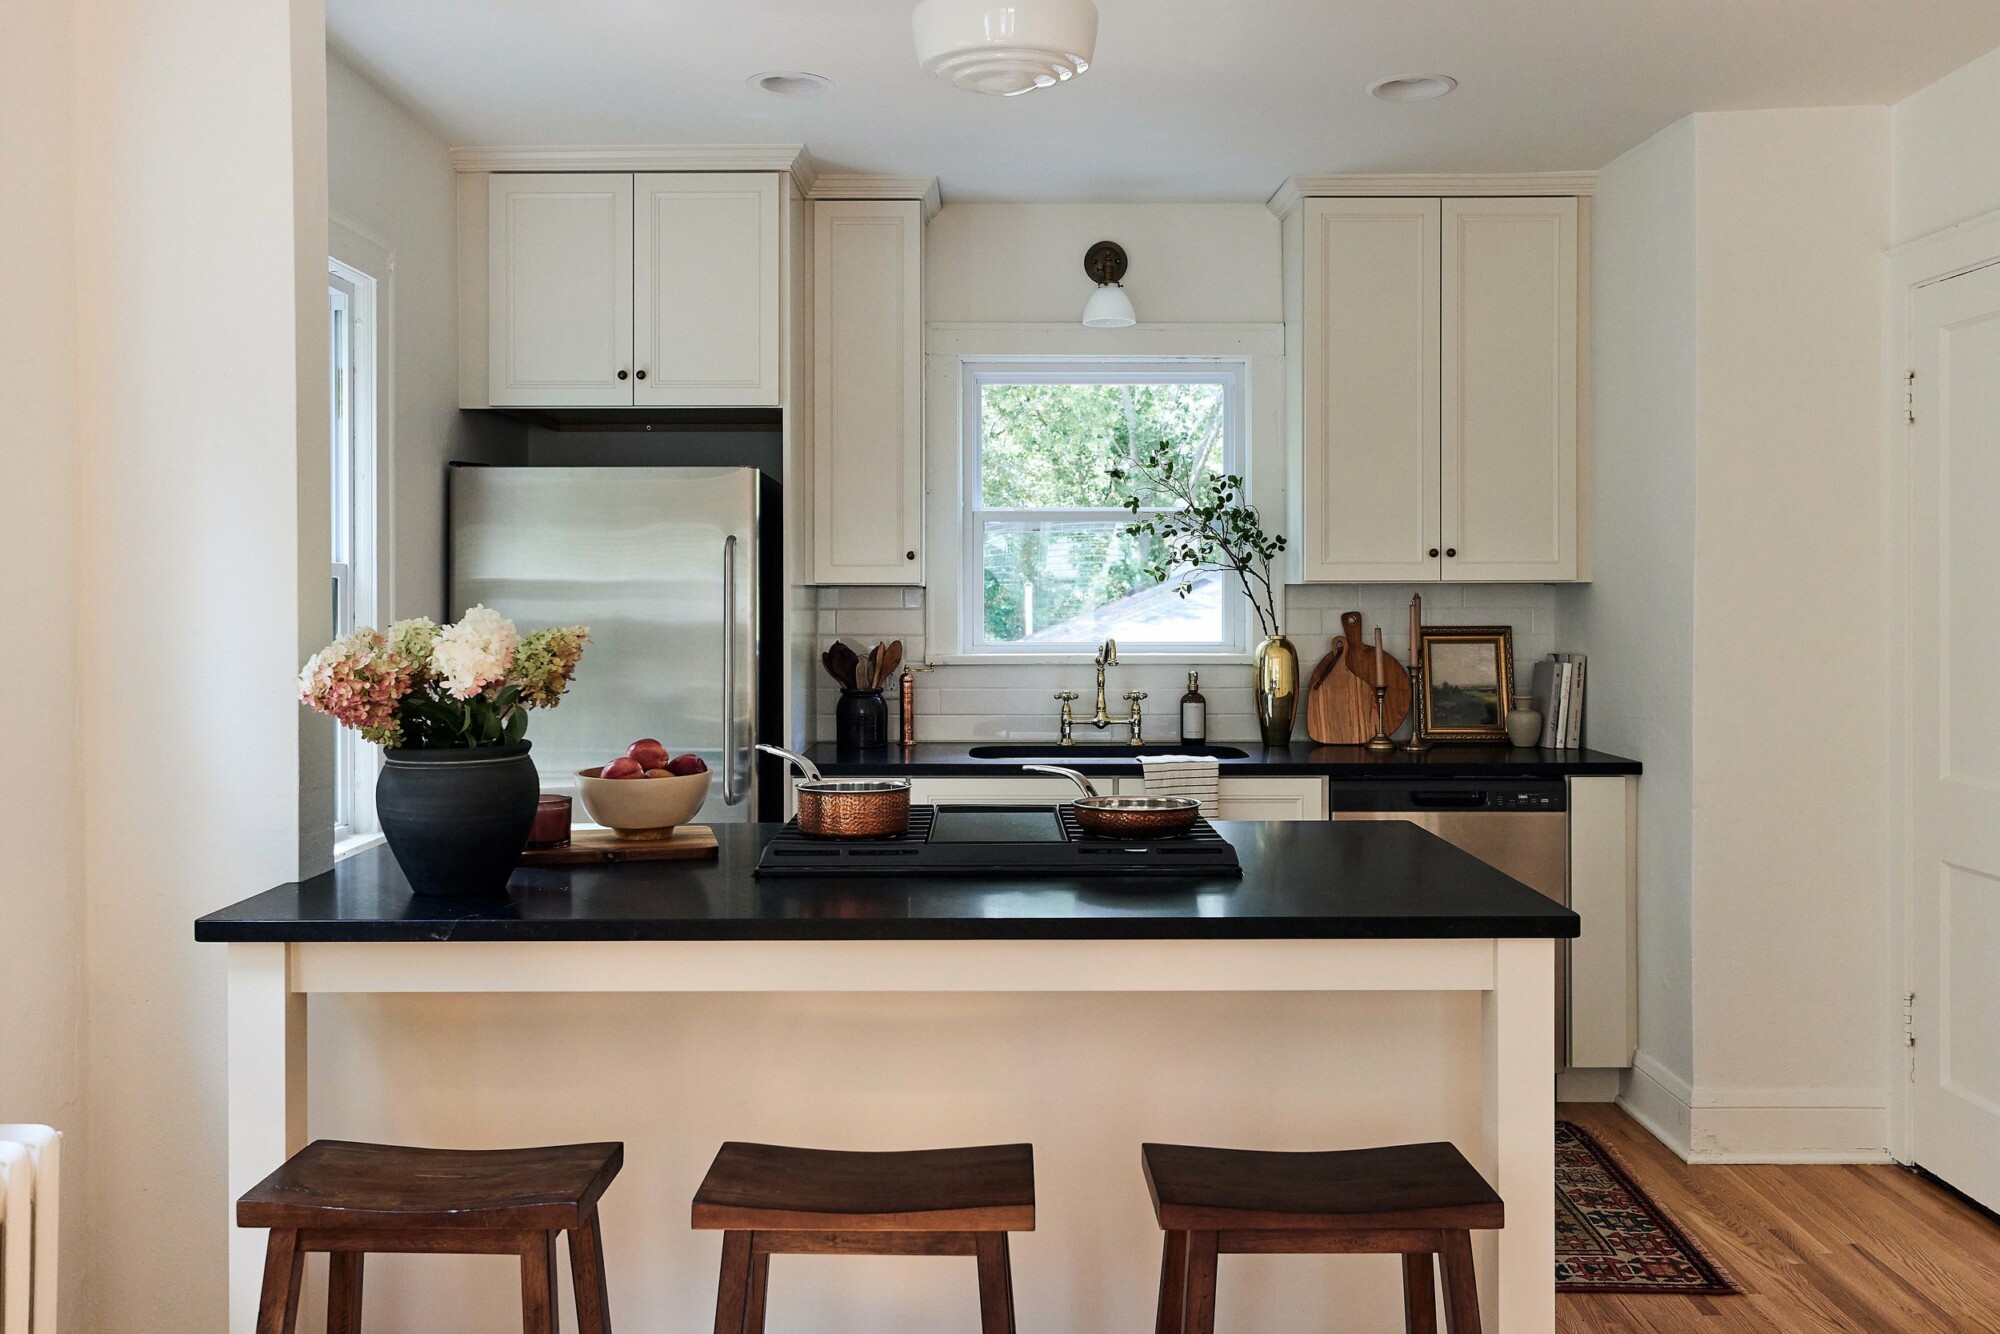
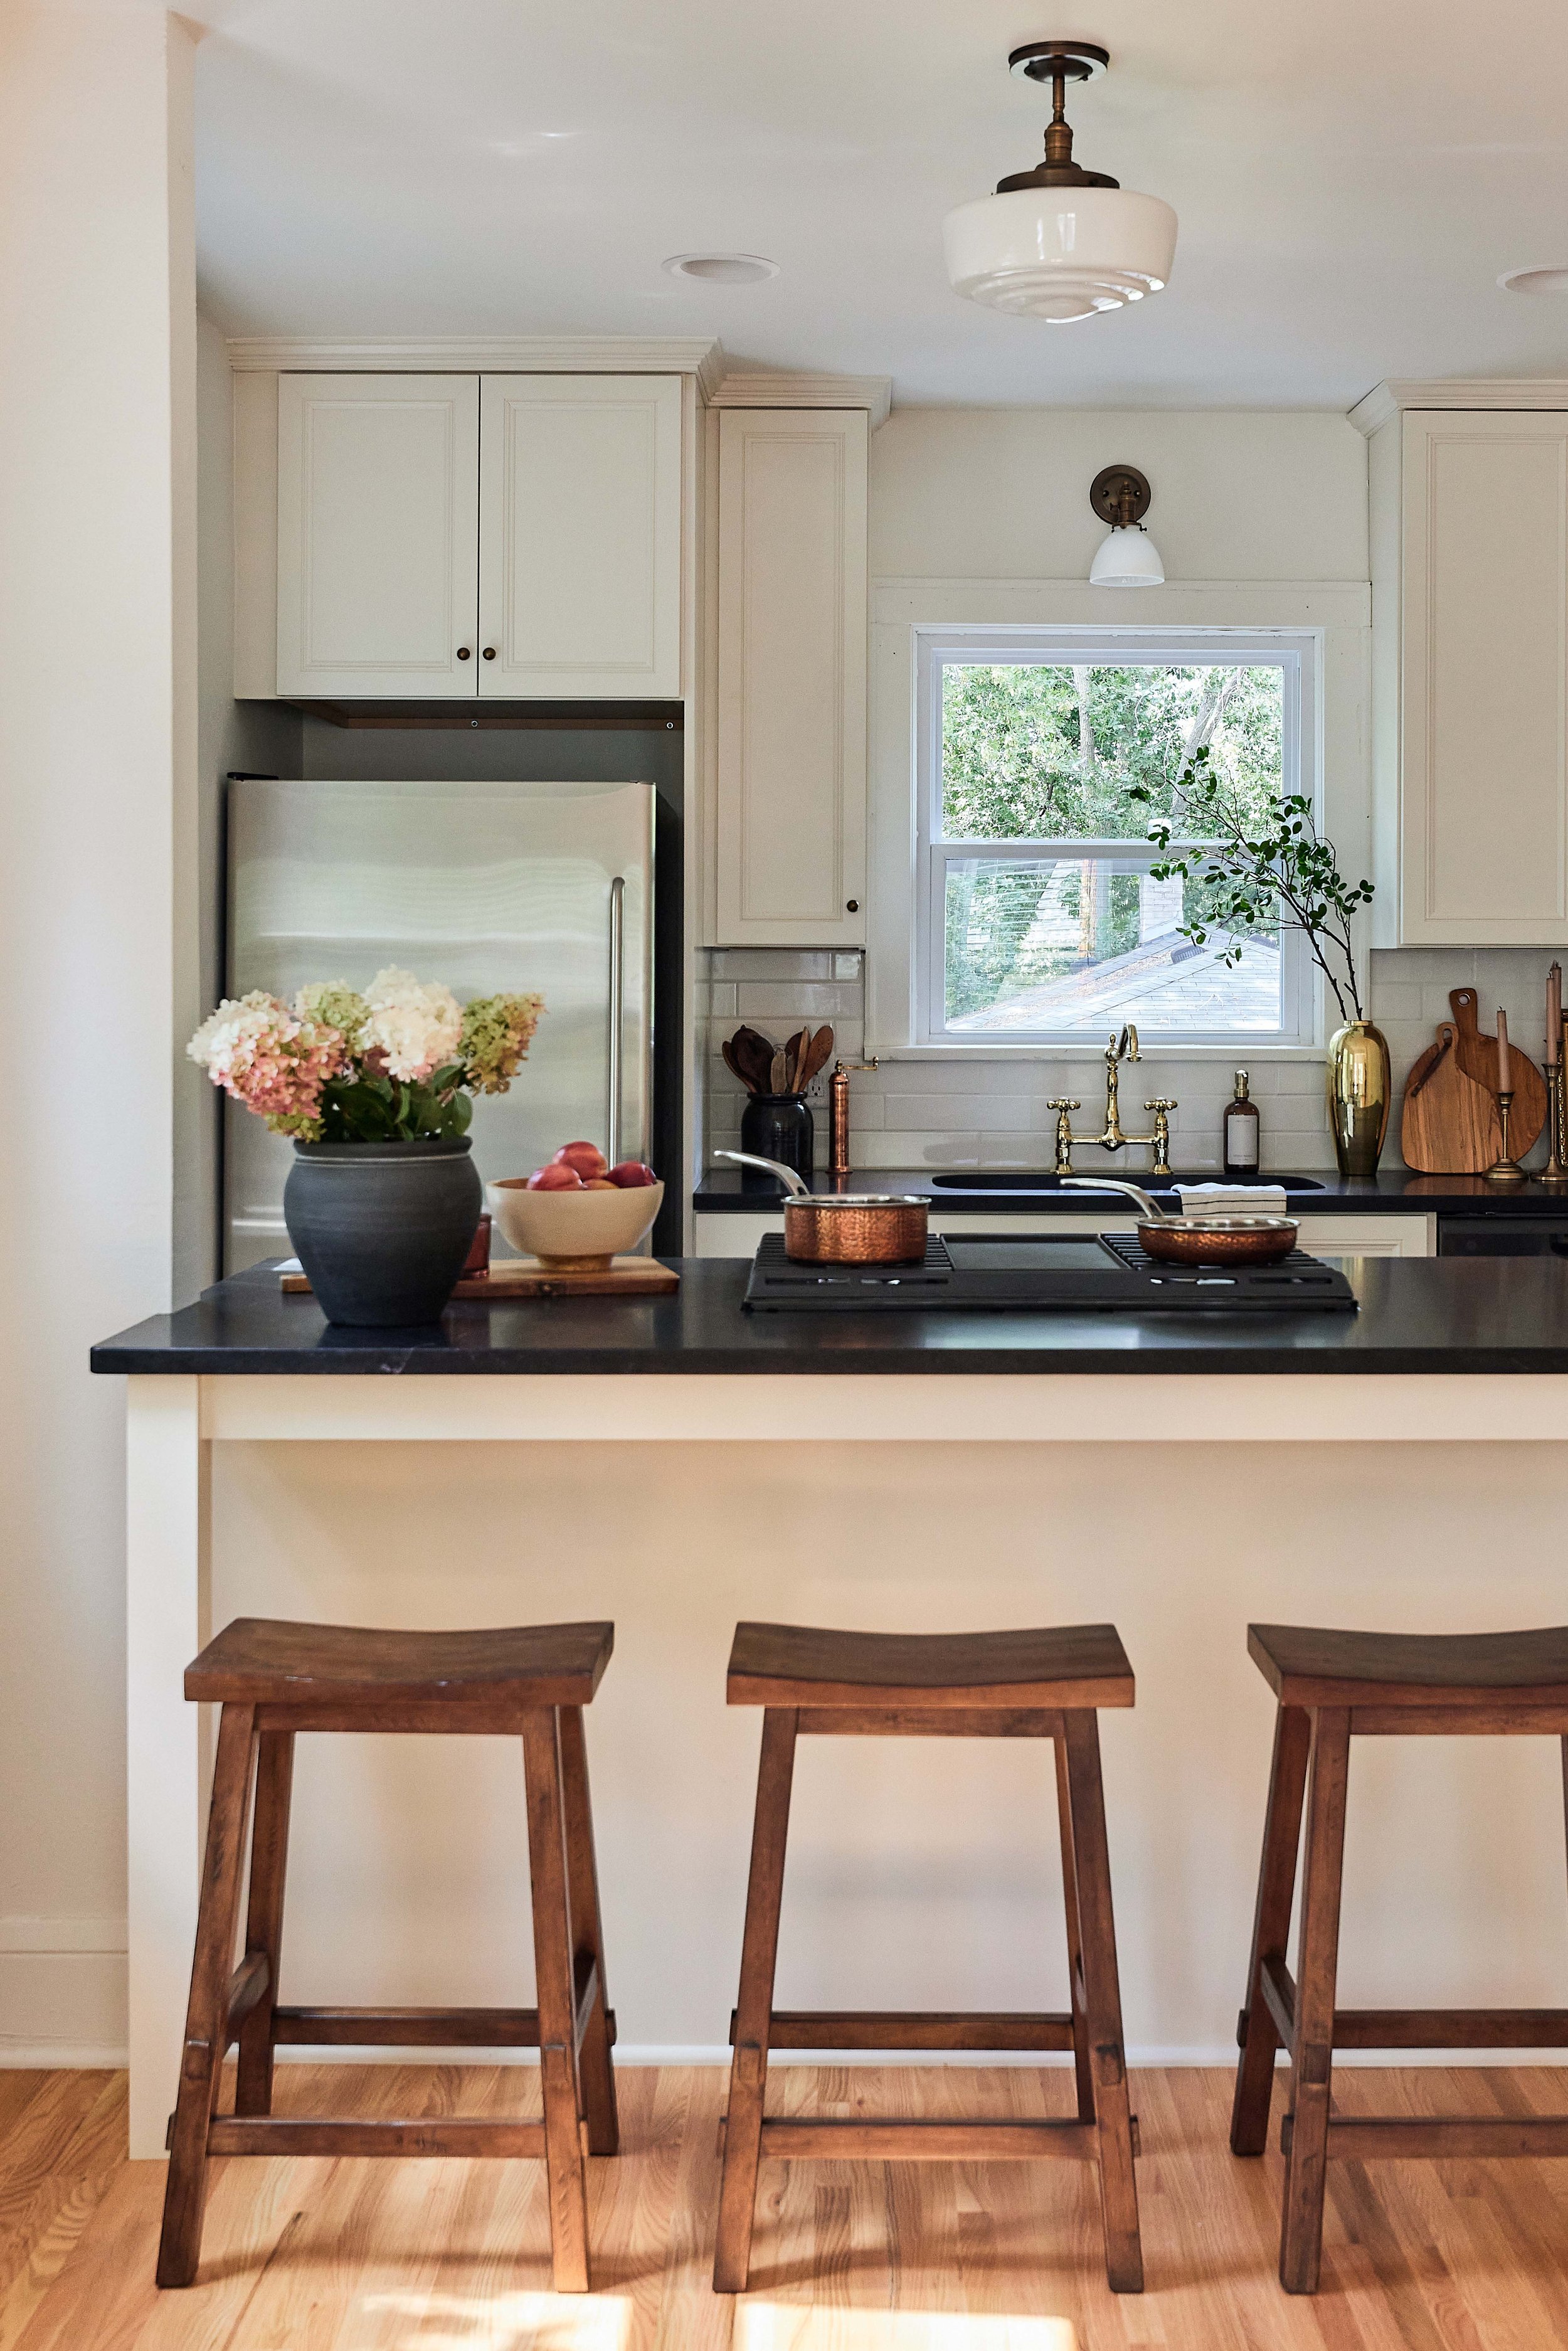
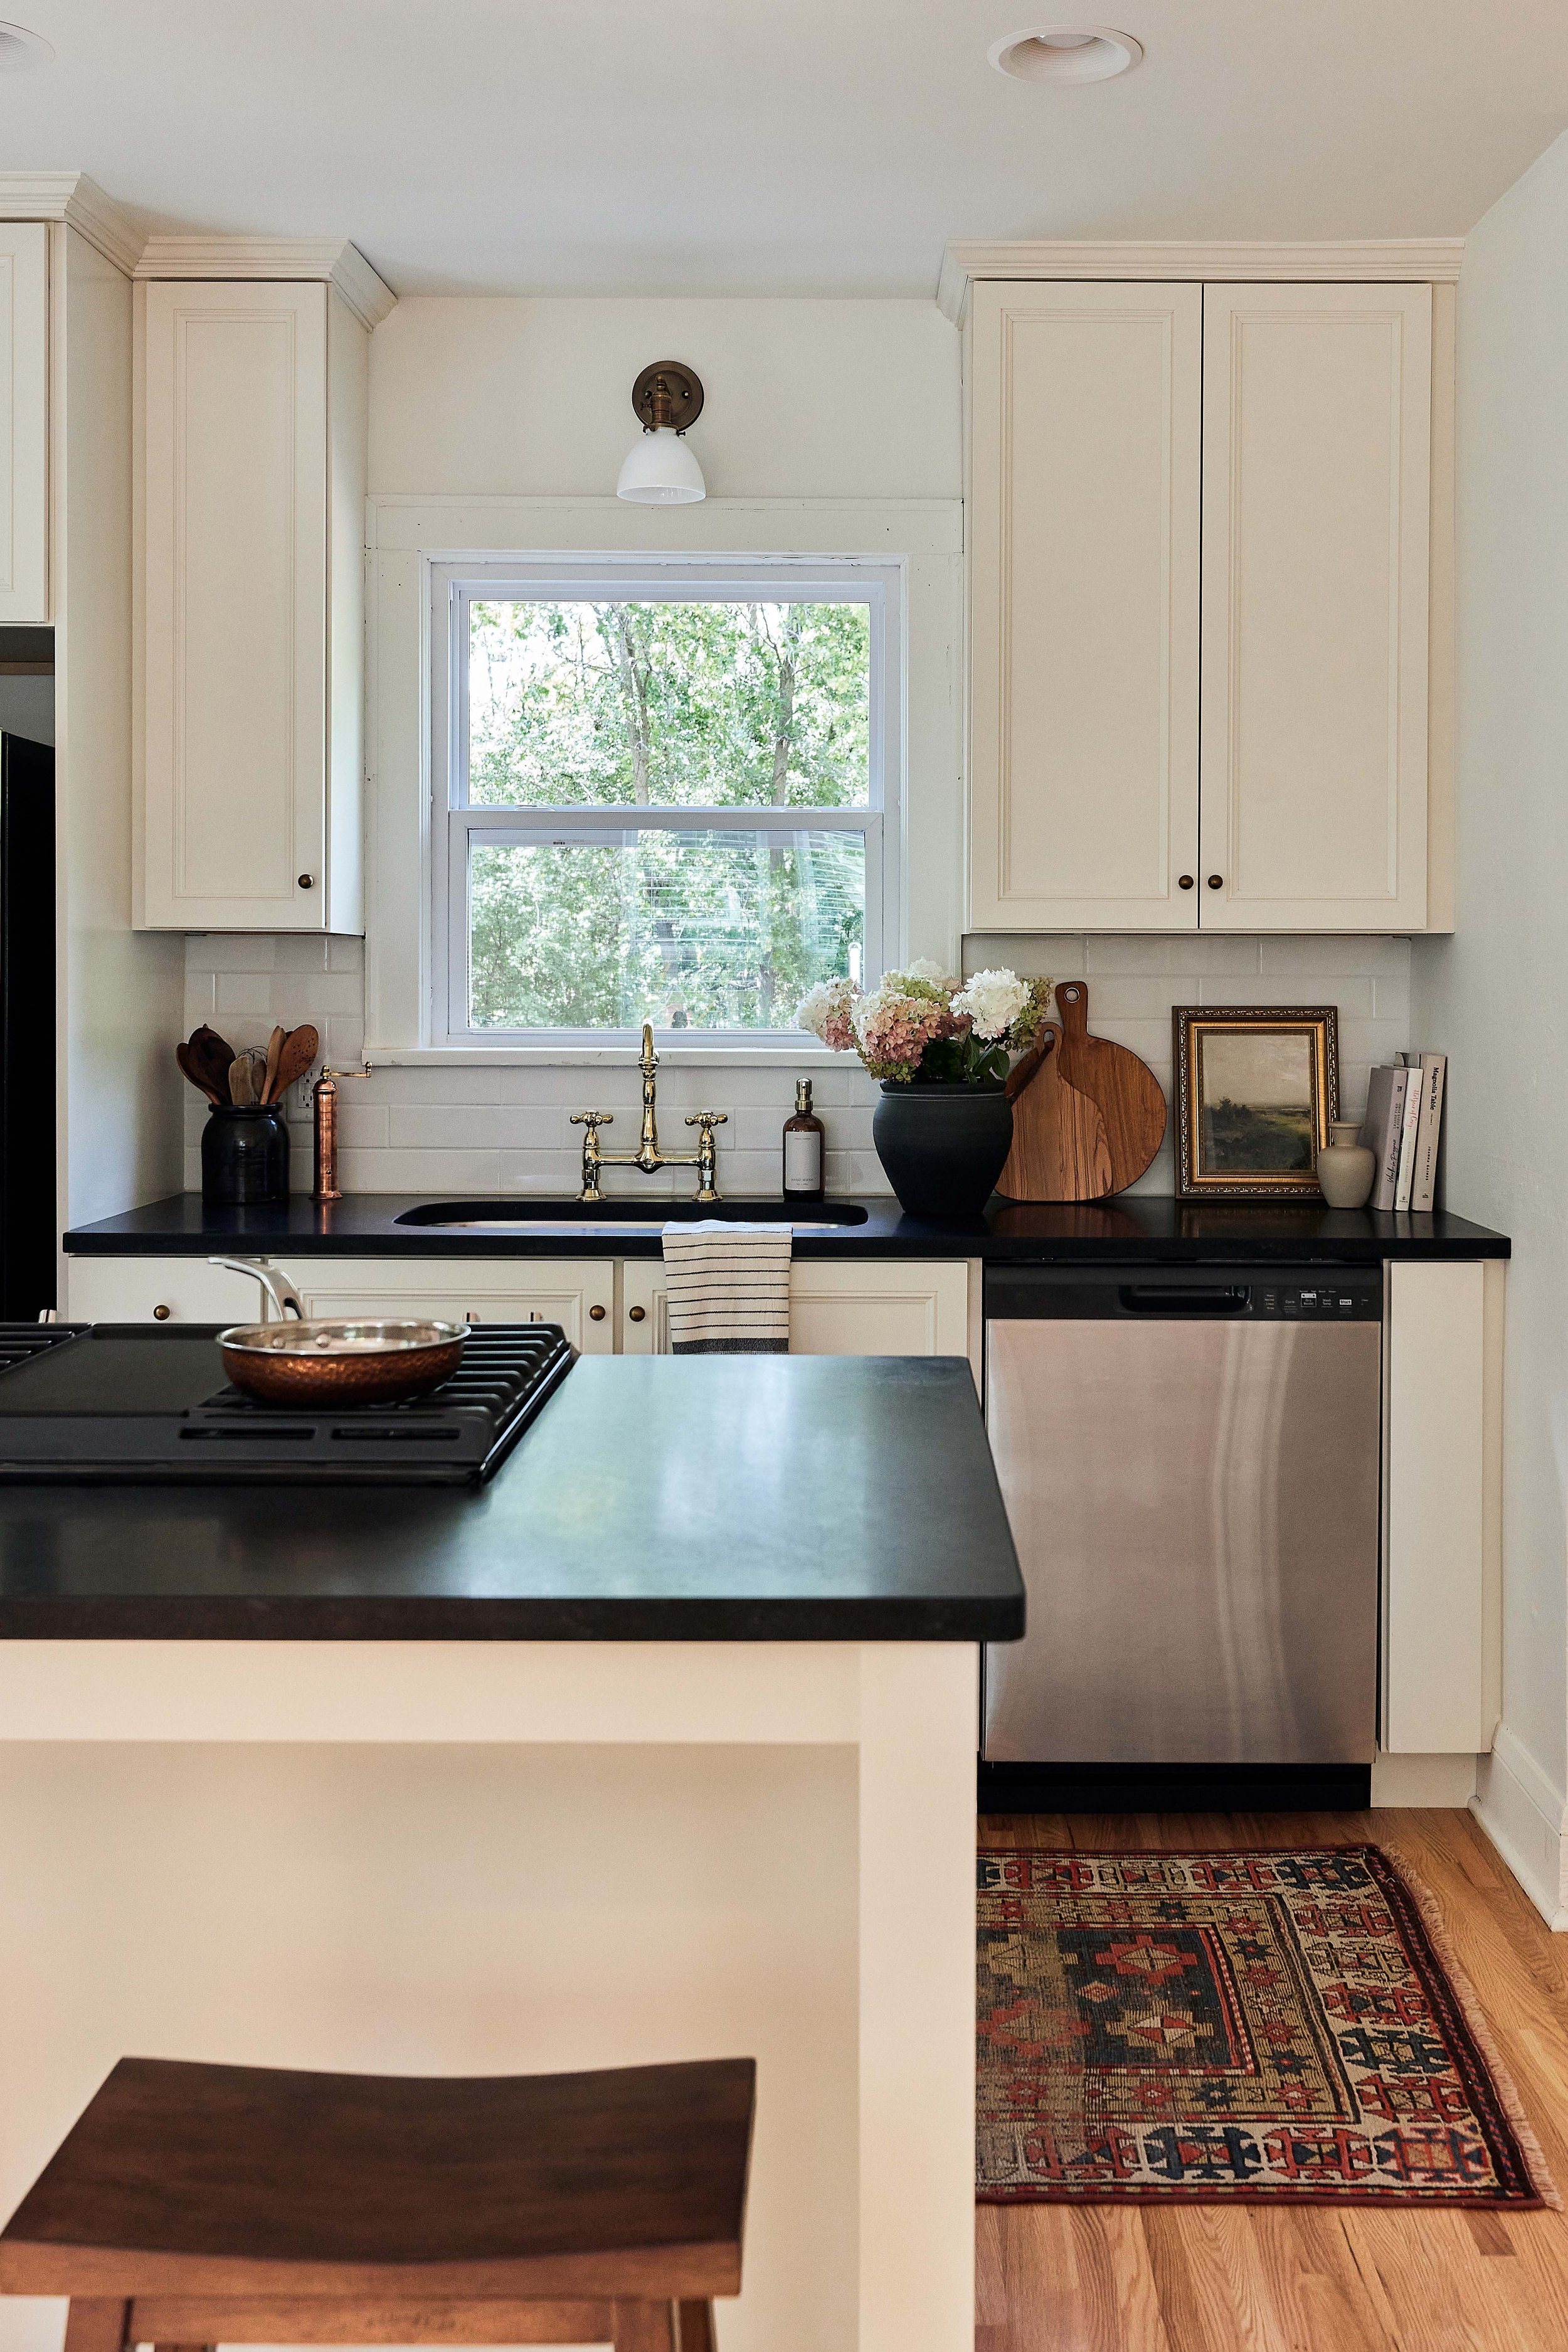
- Faux hydrangeas
- Scalloped swimsuit top
- Scalloped swimsuit bottom
Sweetest Regards, Patti


