
Easy DIY Paper Stars
I’m always on the look out for fun easy projects to do with my girls. It’s the perfect time to bond with them when my littlest naps. This holiday season, I saw paper stars pop up everywhere on Instagram and Pinterest but some required me to purchase snack bags that we didn’t have on hand. Then I ran across this IG Reel that used supplies we already had at home and decided to try it out piecing together instructions from the video and comments.
Well, I can definitely confirm that this was super easy to do! Each star took about 10 minutes and the clean up was quick! Here are the simple instructions if you’d like to give it a try.

Time: 10 minutes/star
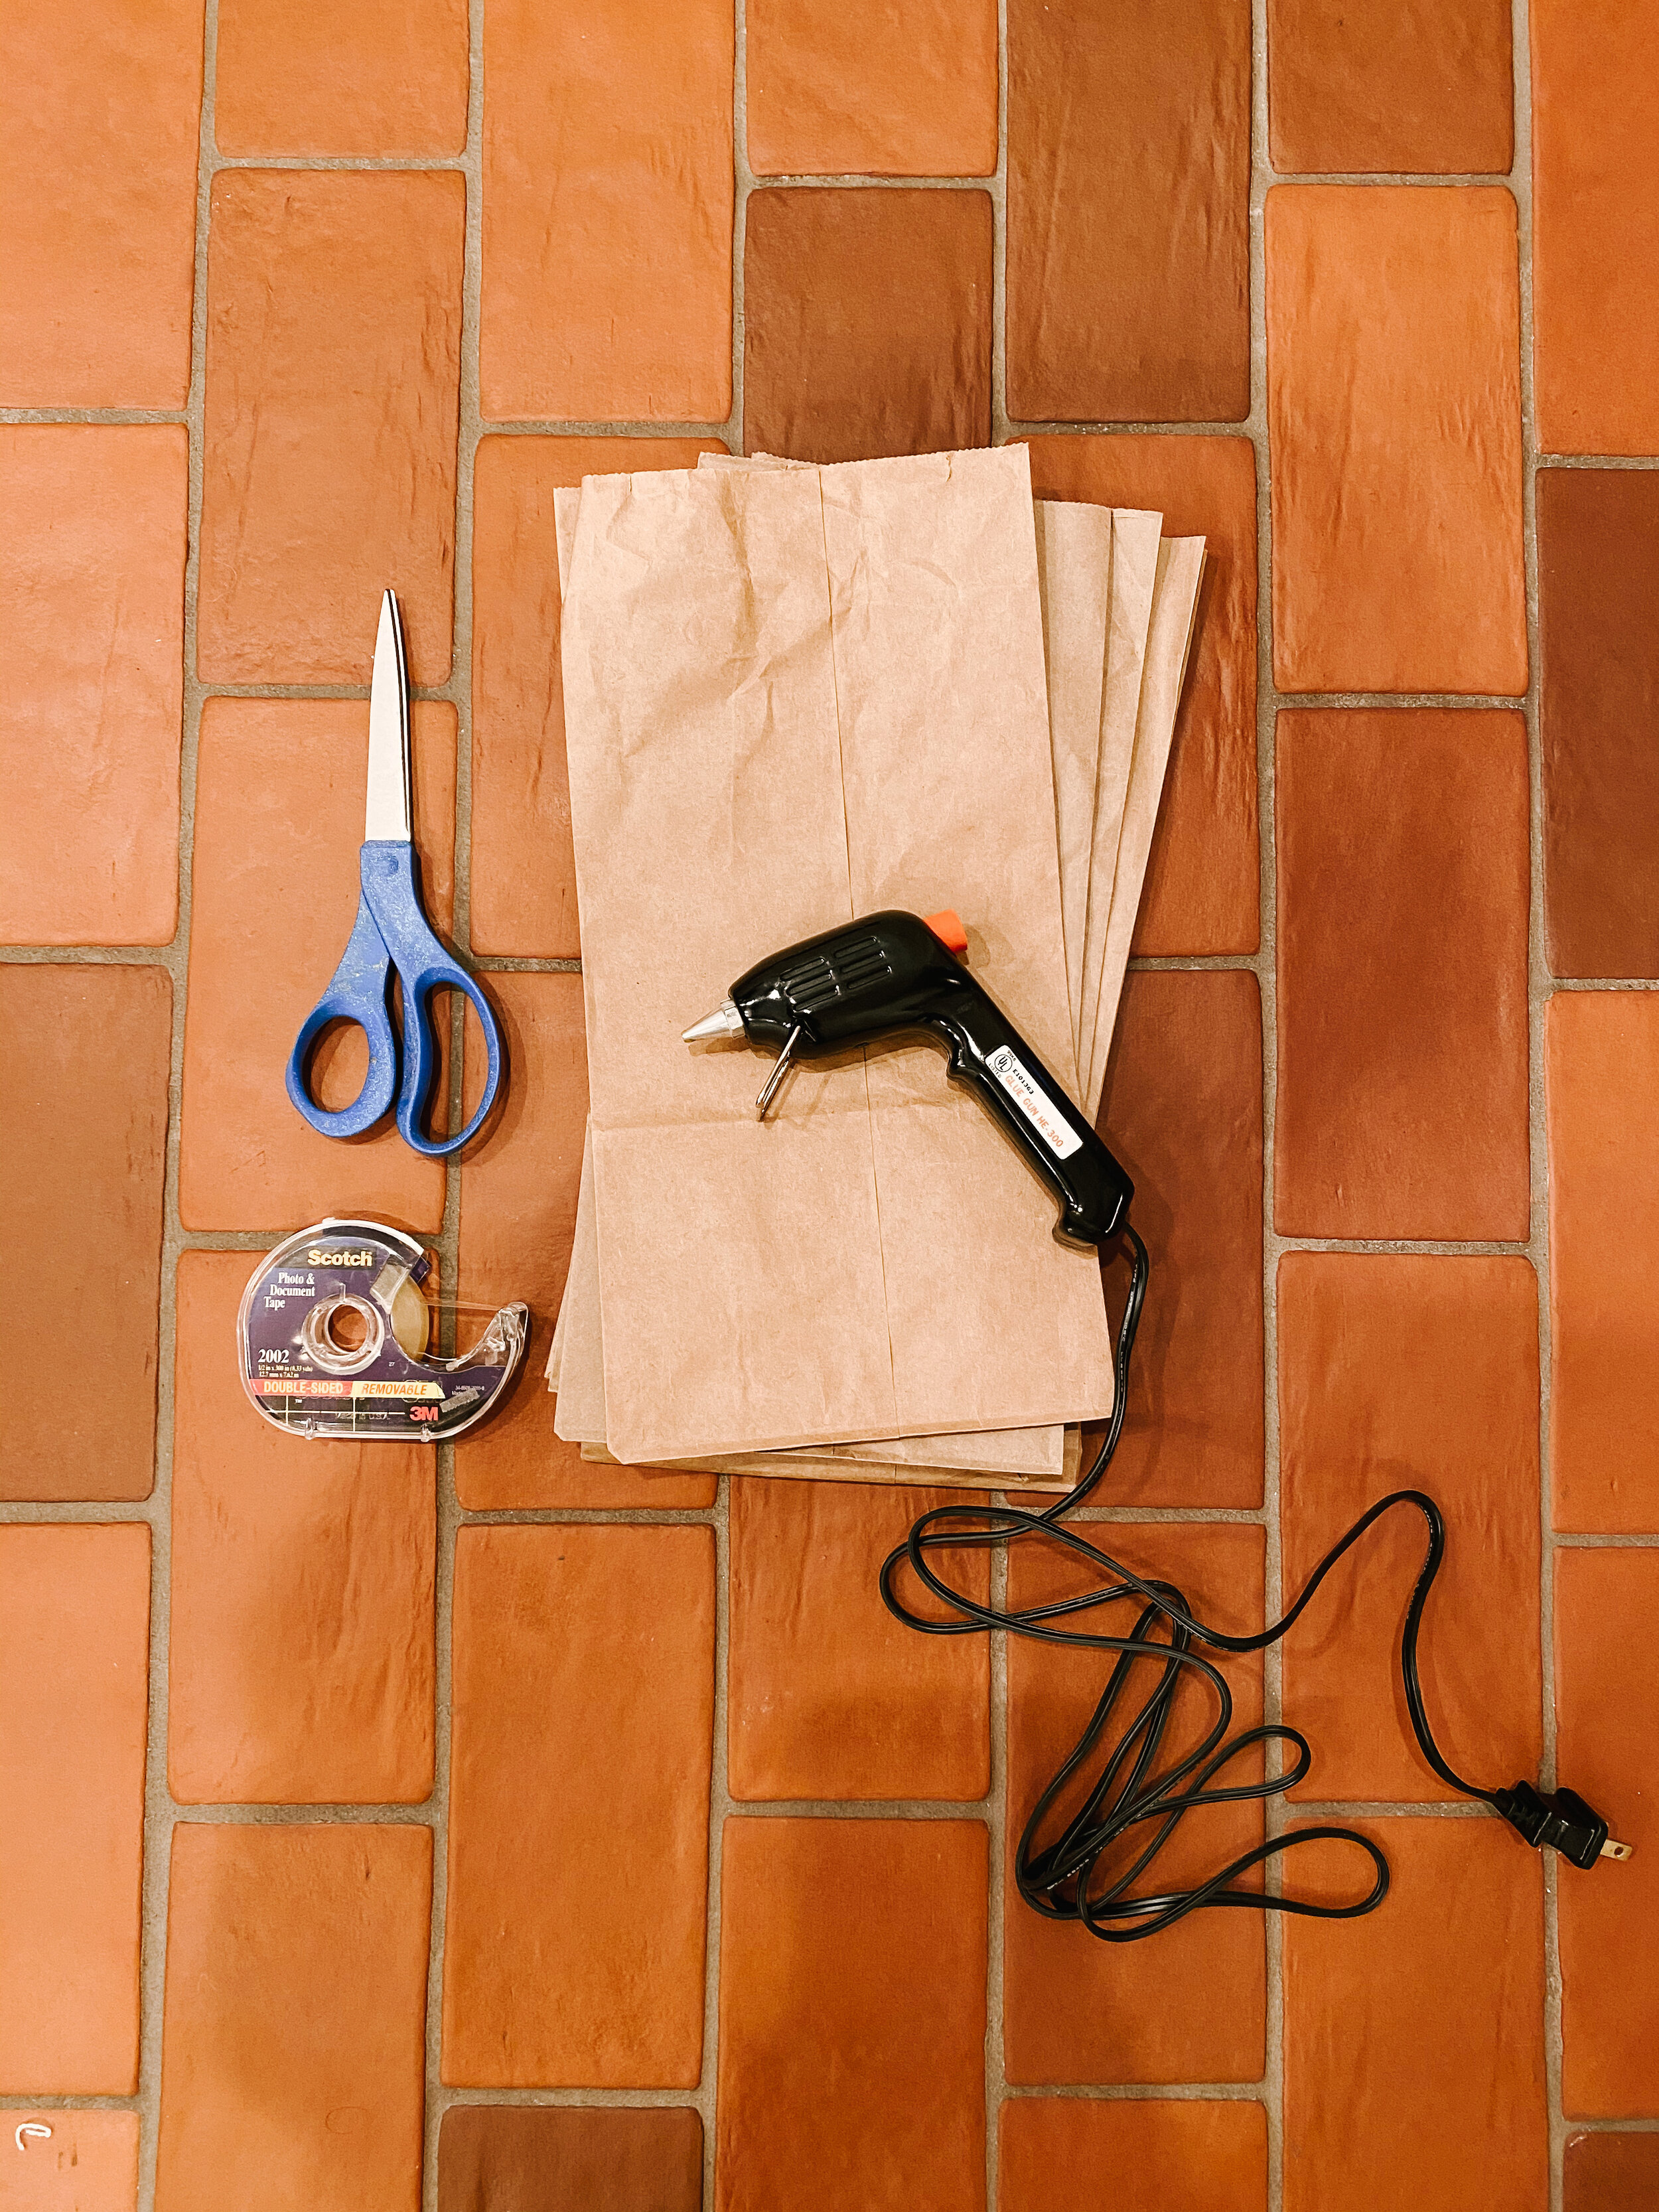
Supplies:
-
glue gun
-
sharp scissors
-
paper lunch bags (7 bags will make one star)
-
double sided tape or velcro (if you want to flat pack and reuse)
-
twine or ribbon to hang
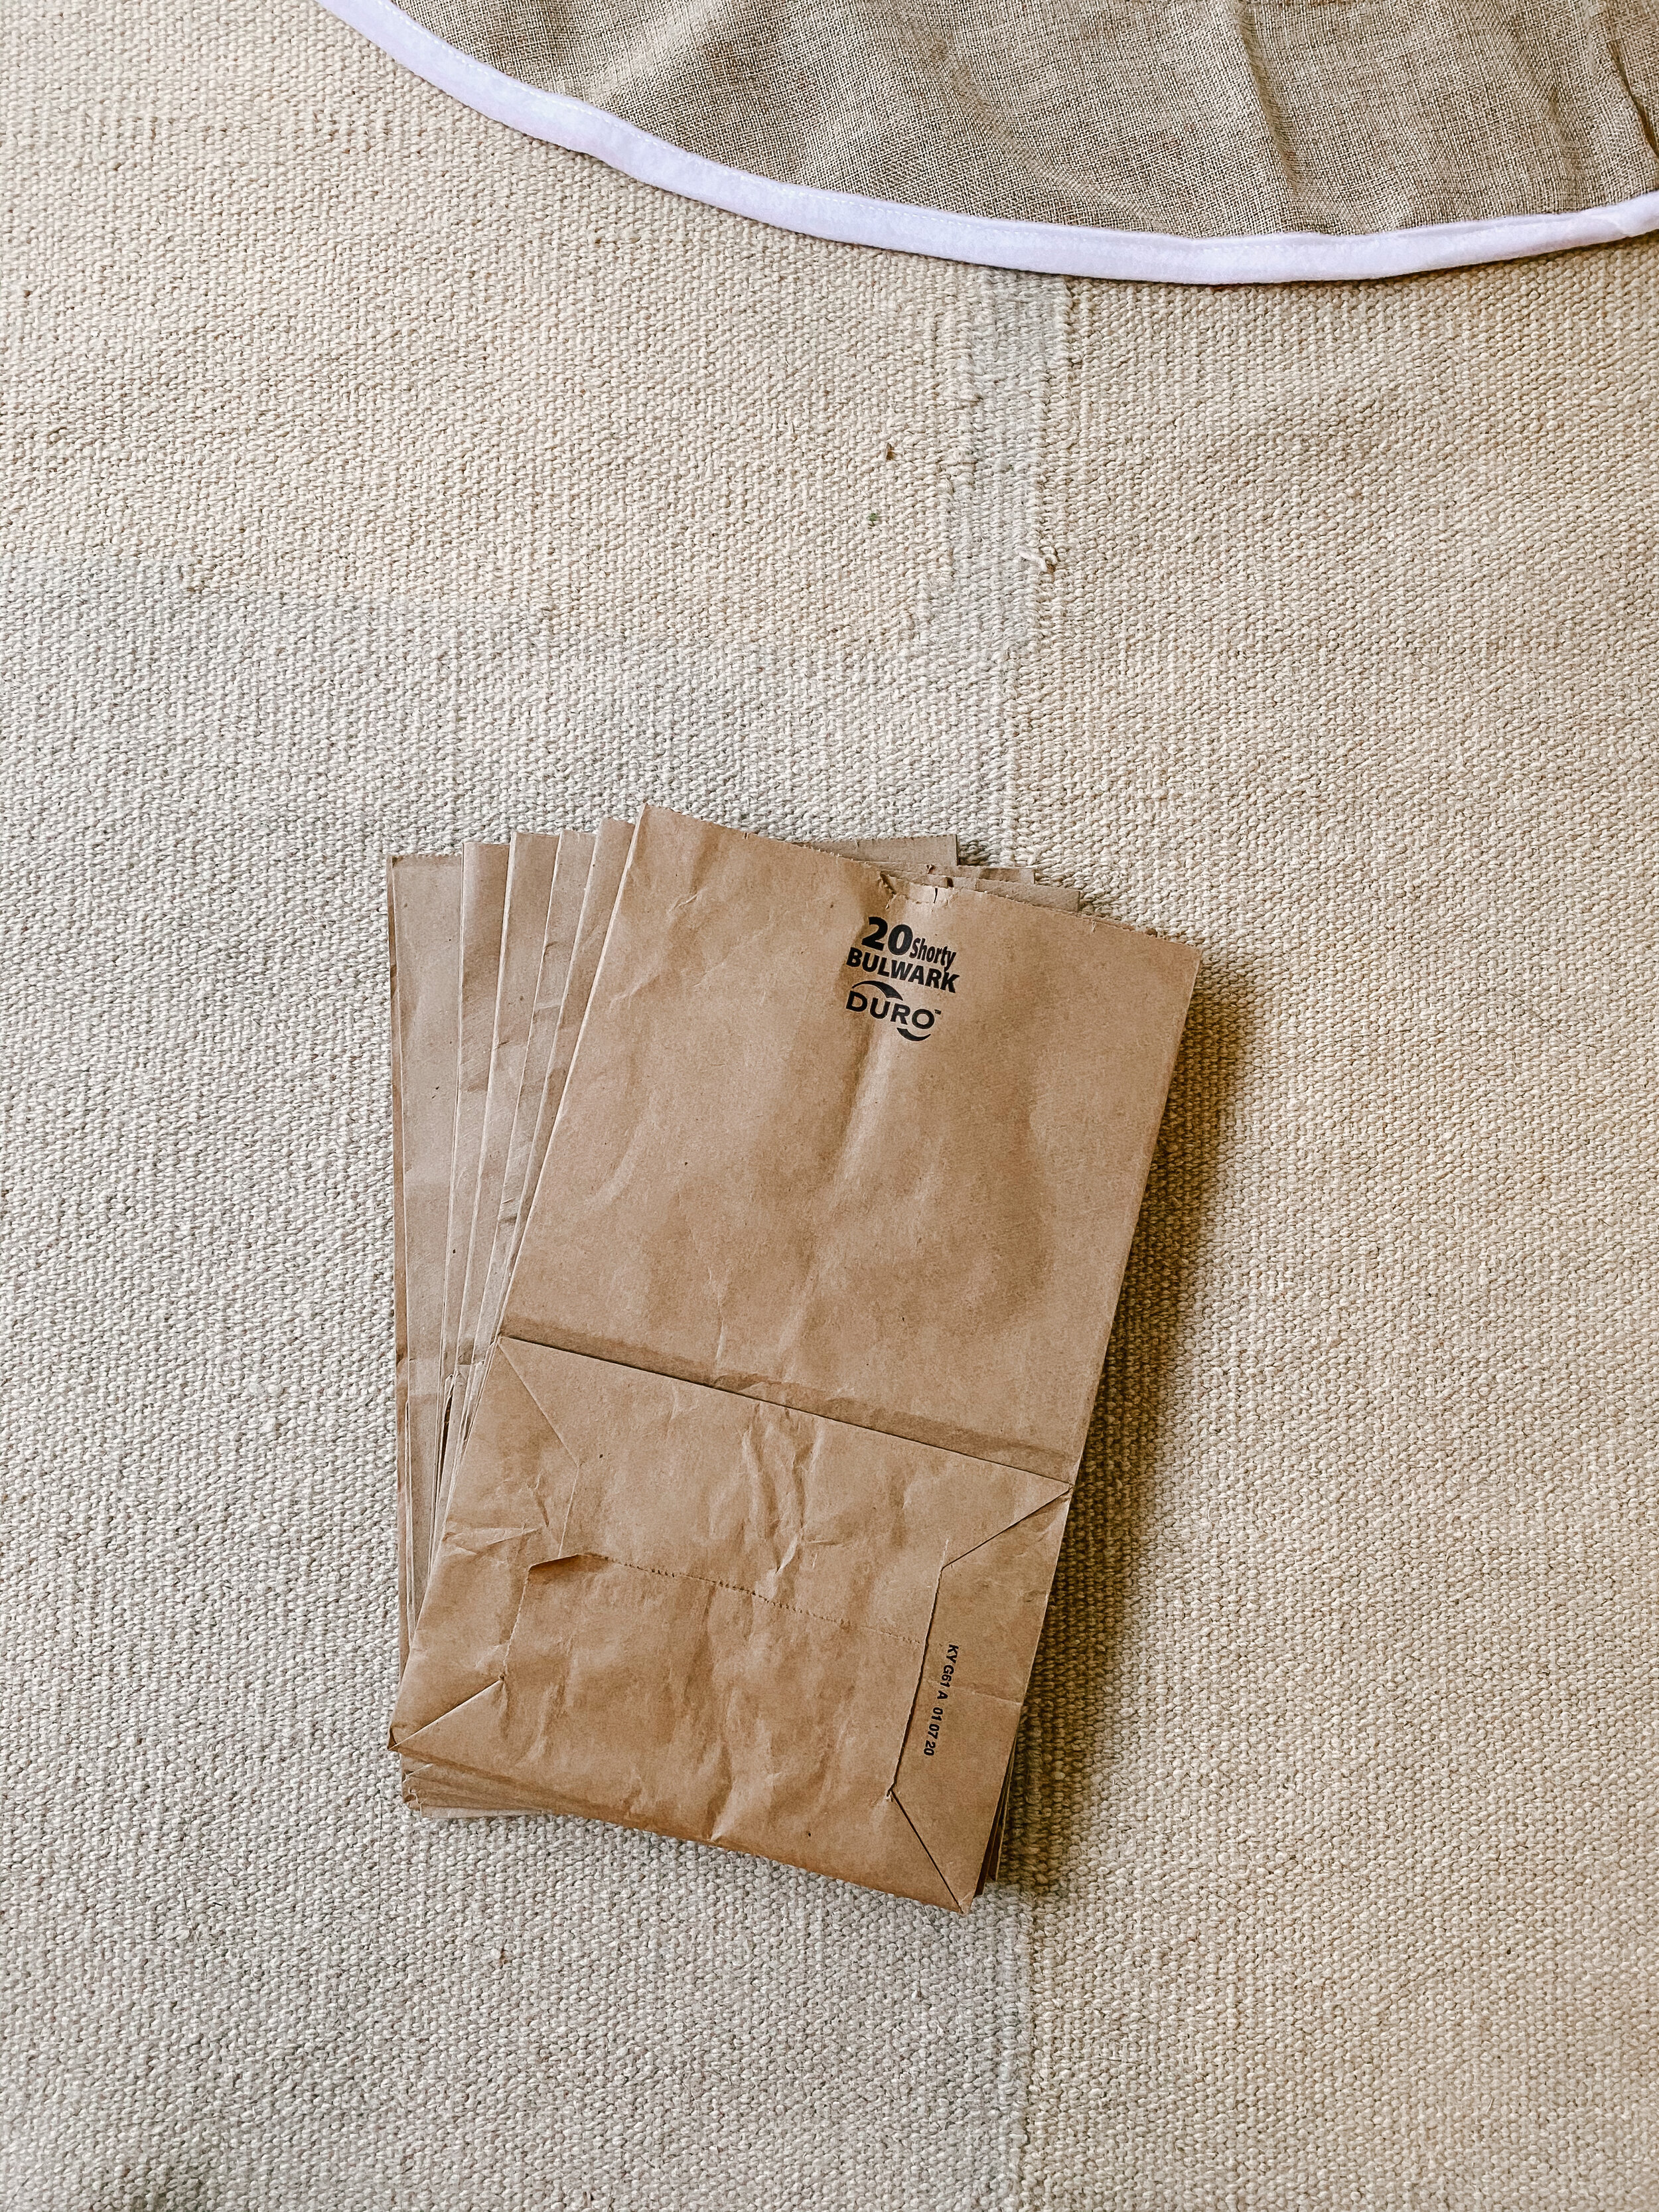
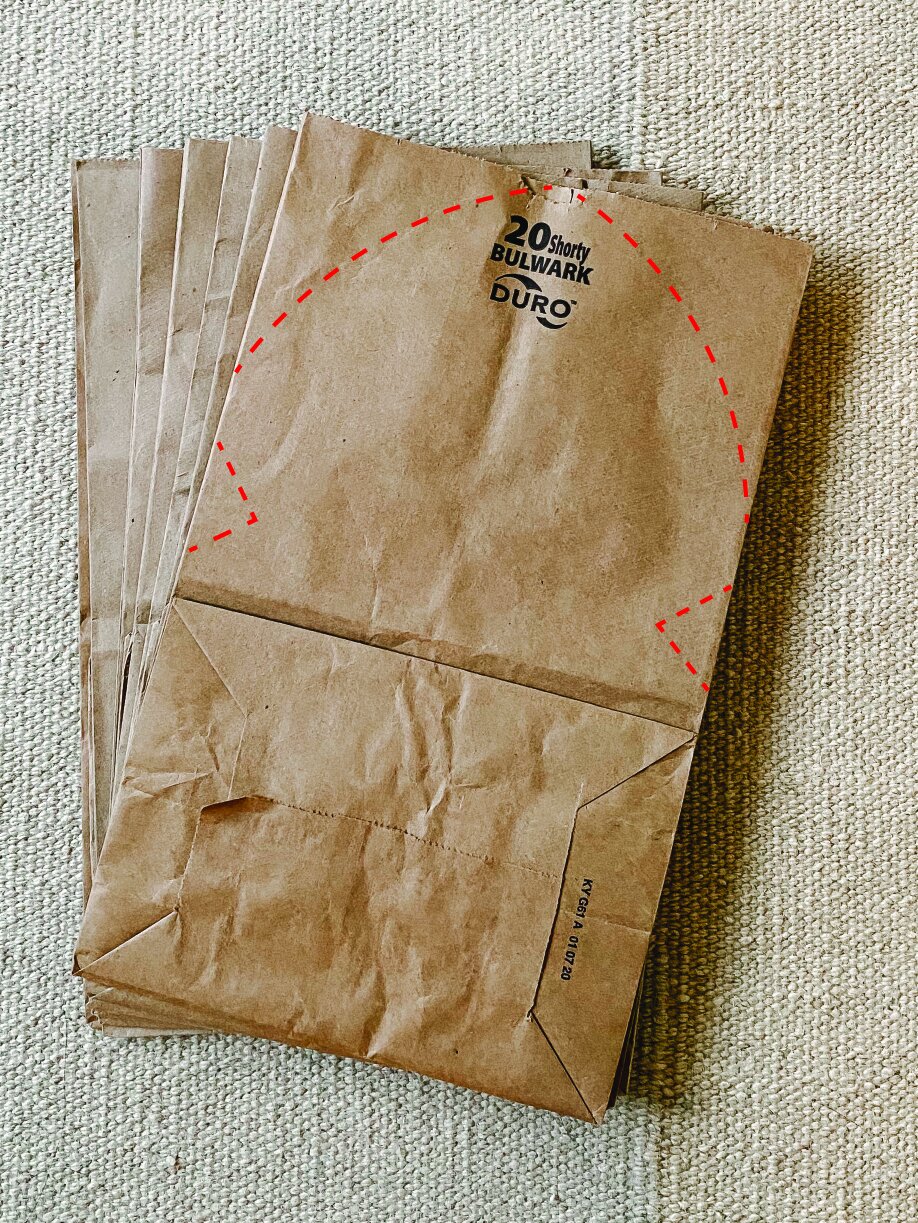
Step 1: stack together 7 paper lunch bags (7 bags will make one star). We always save our carry out paper bags and that is what we used for this project. They’re a bit wrinkly but we didn’t mind the “character” at all!
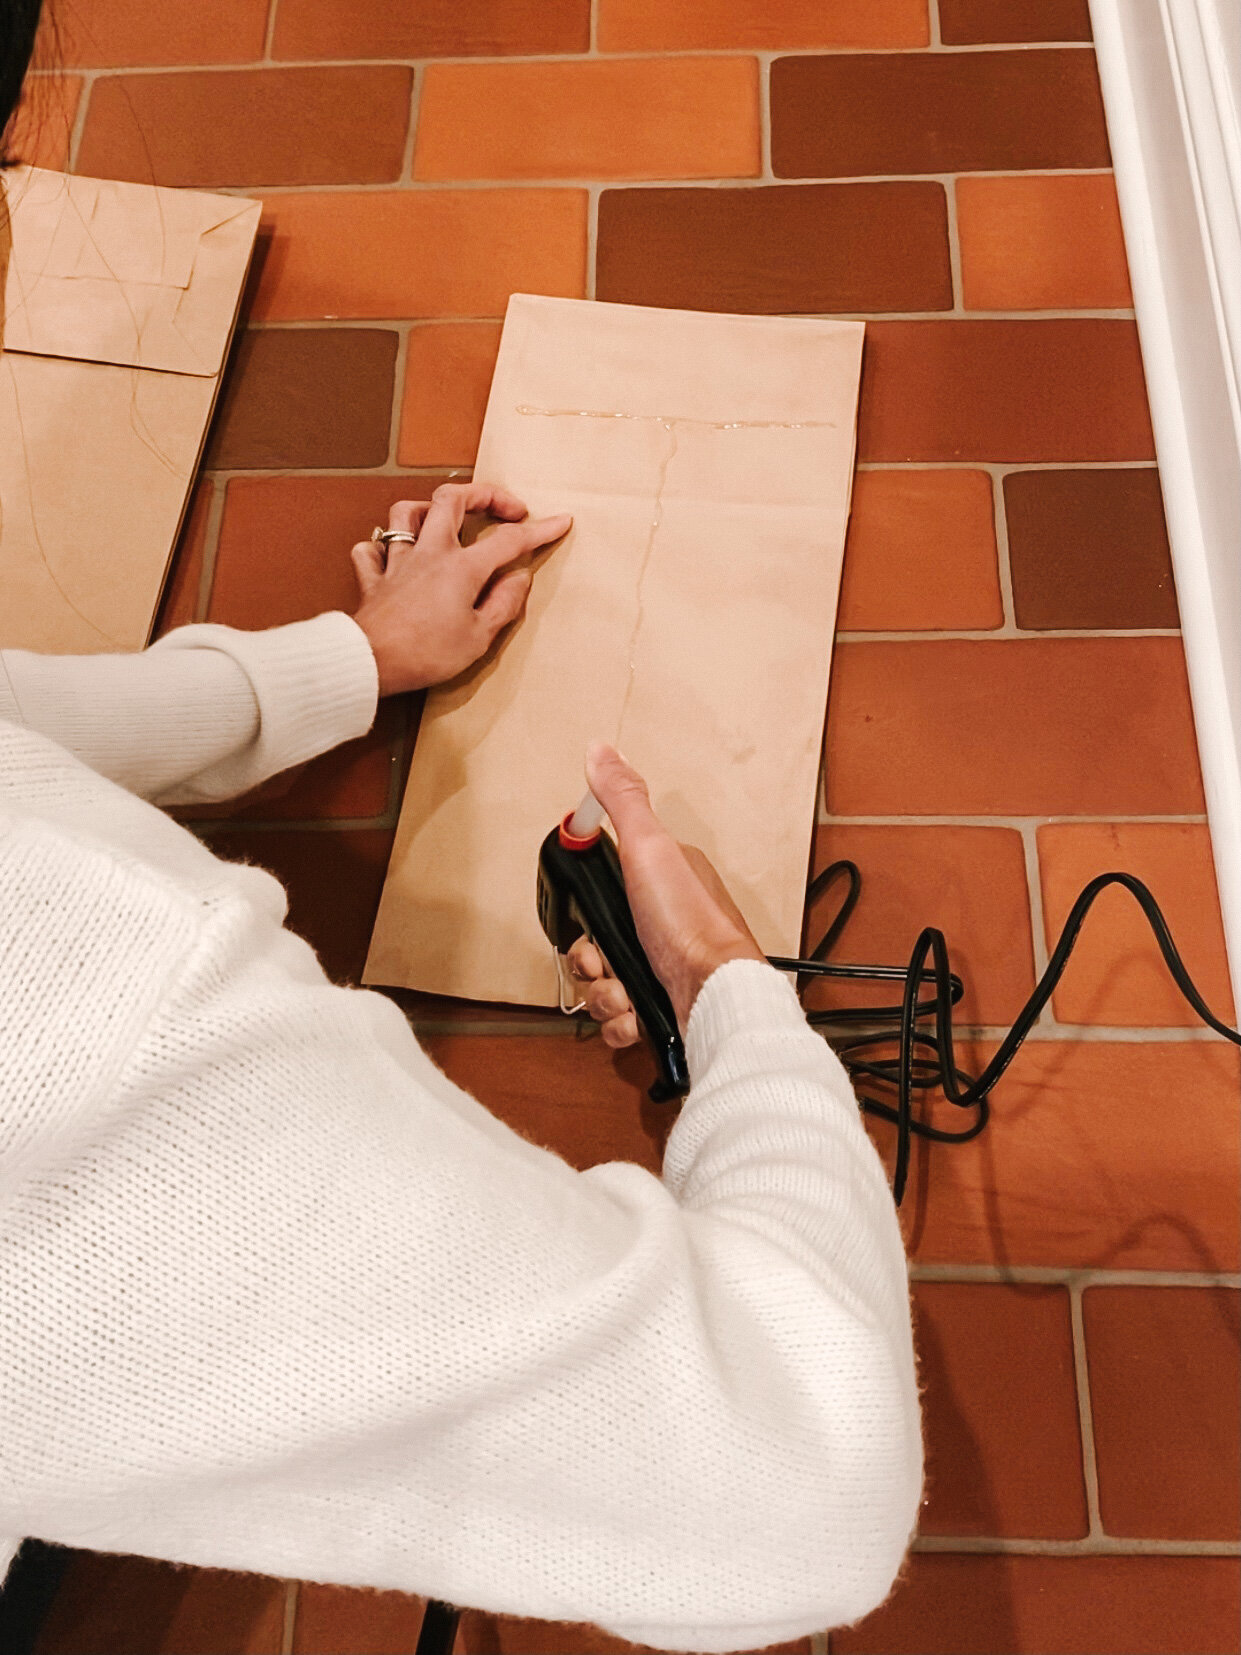
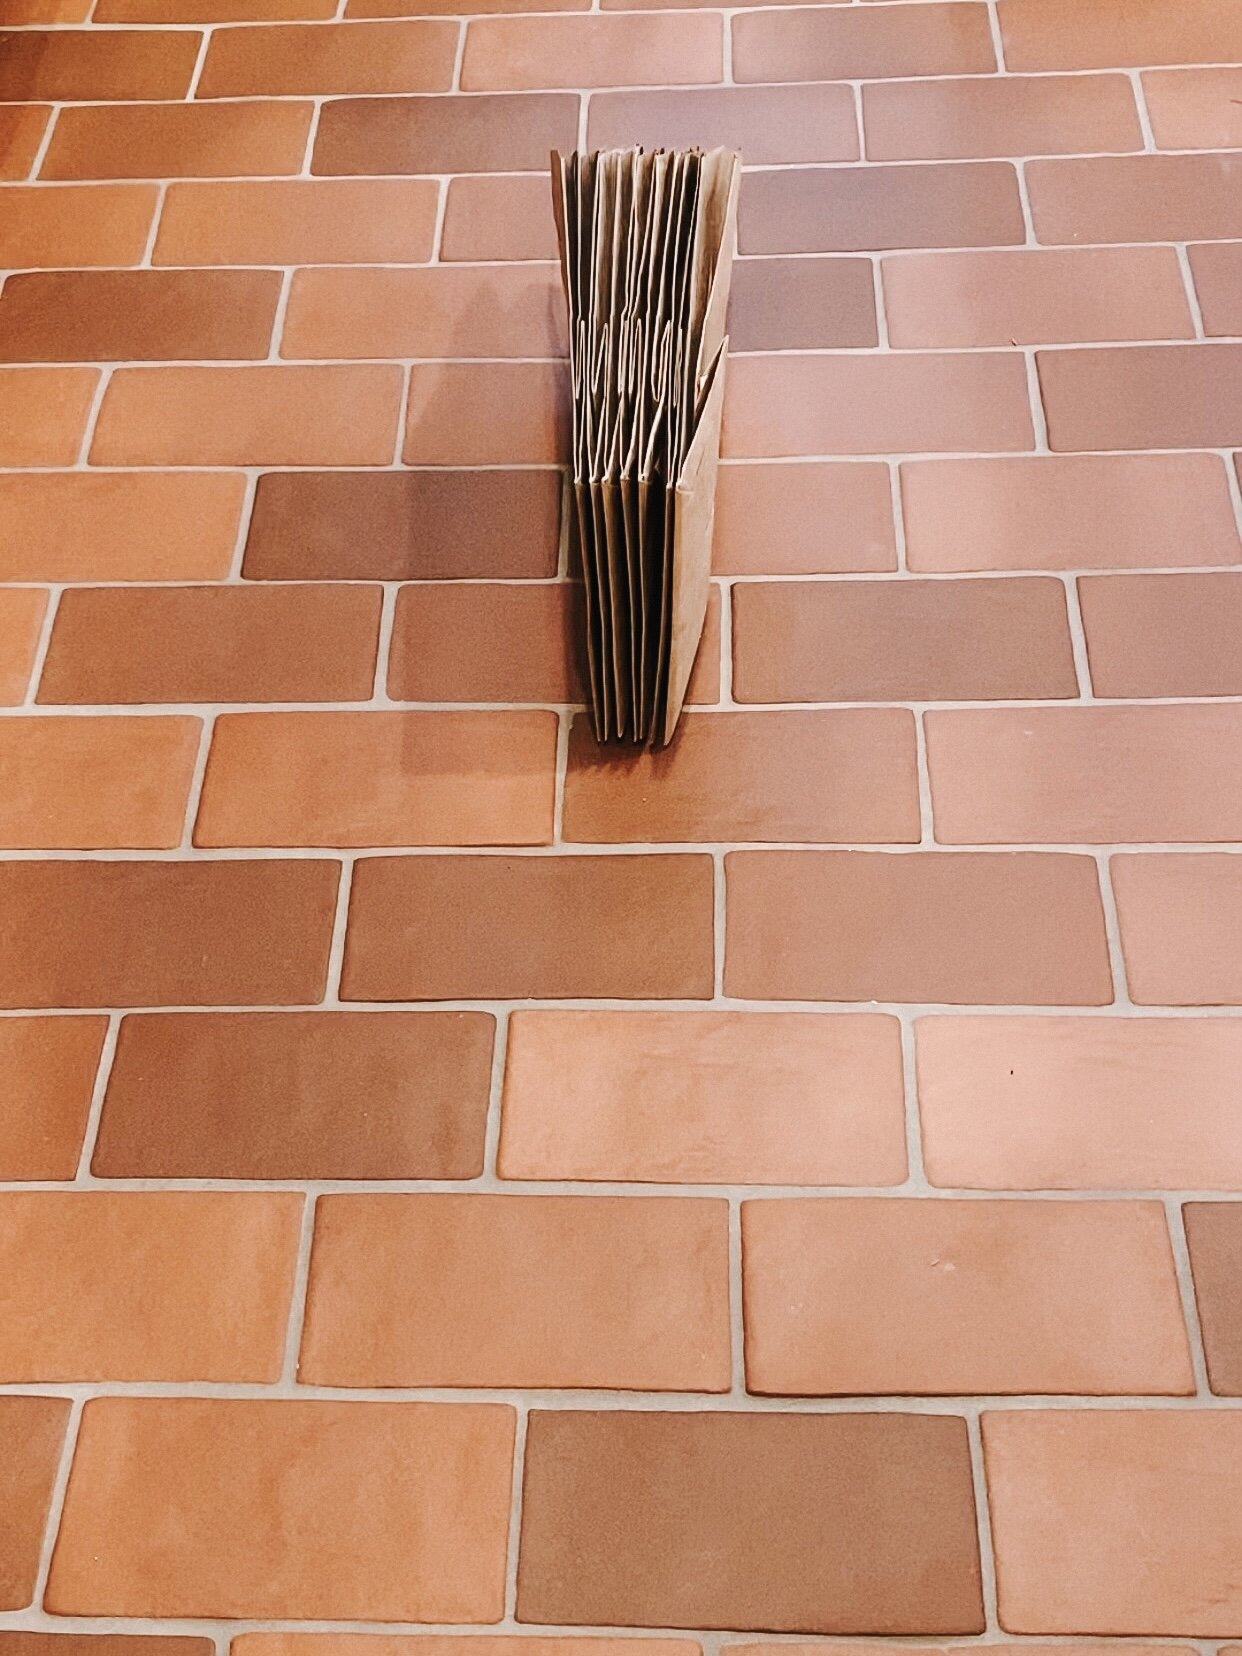
Step 2: Hot glue using a T shape pattern. Glue on side with no fold and the opening should be at the bottom. Be sure when you glue together that they’re facing the same way.
*I did make a mistake and glued a couple the wrong way because I was distracted lol. It didn’t turn out bad but not as good as the other star that was glued all the same way.
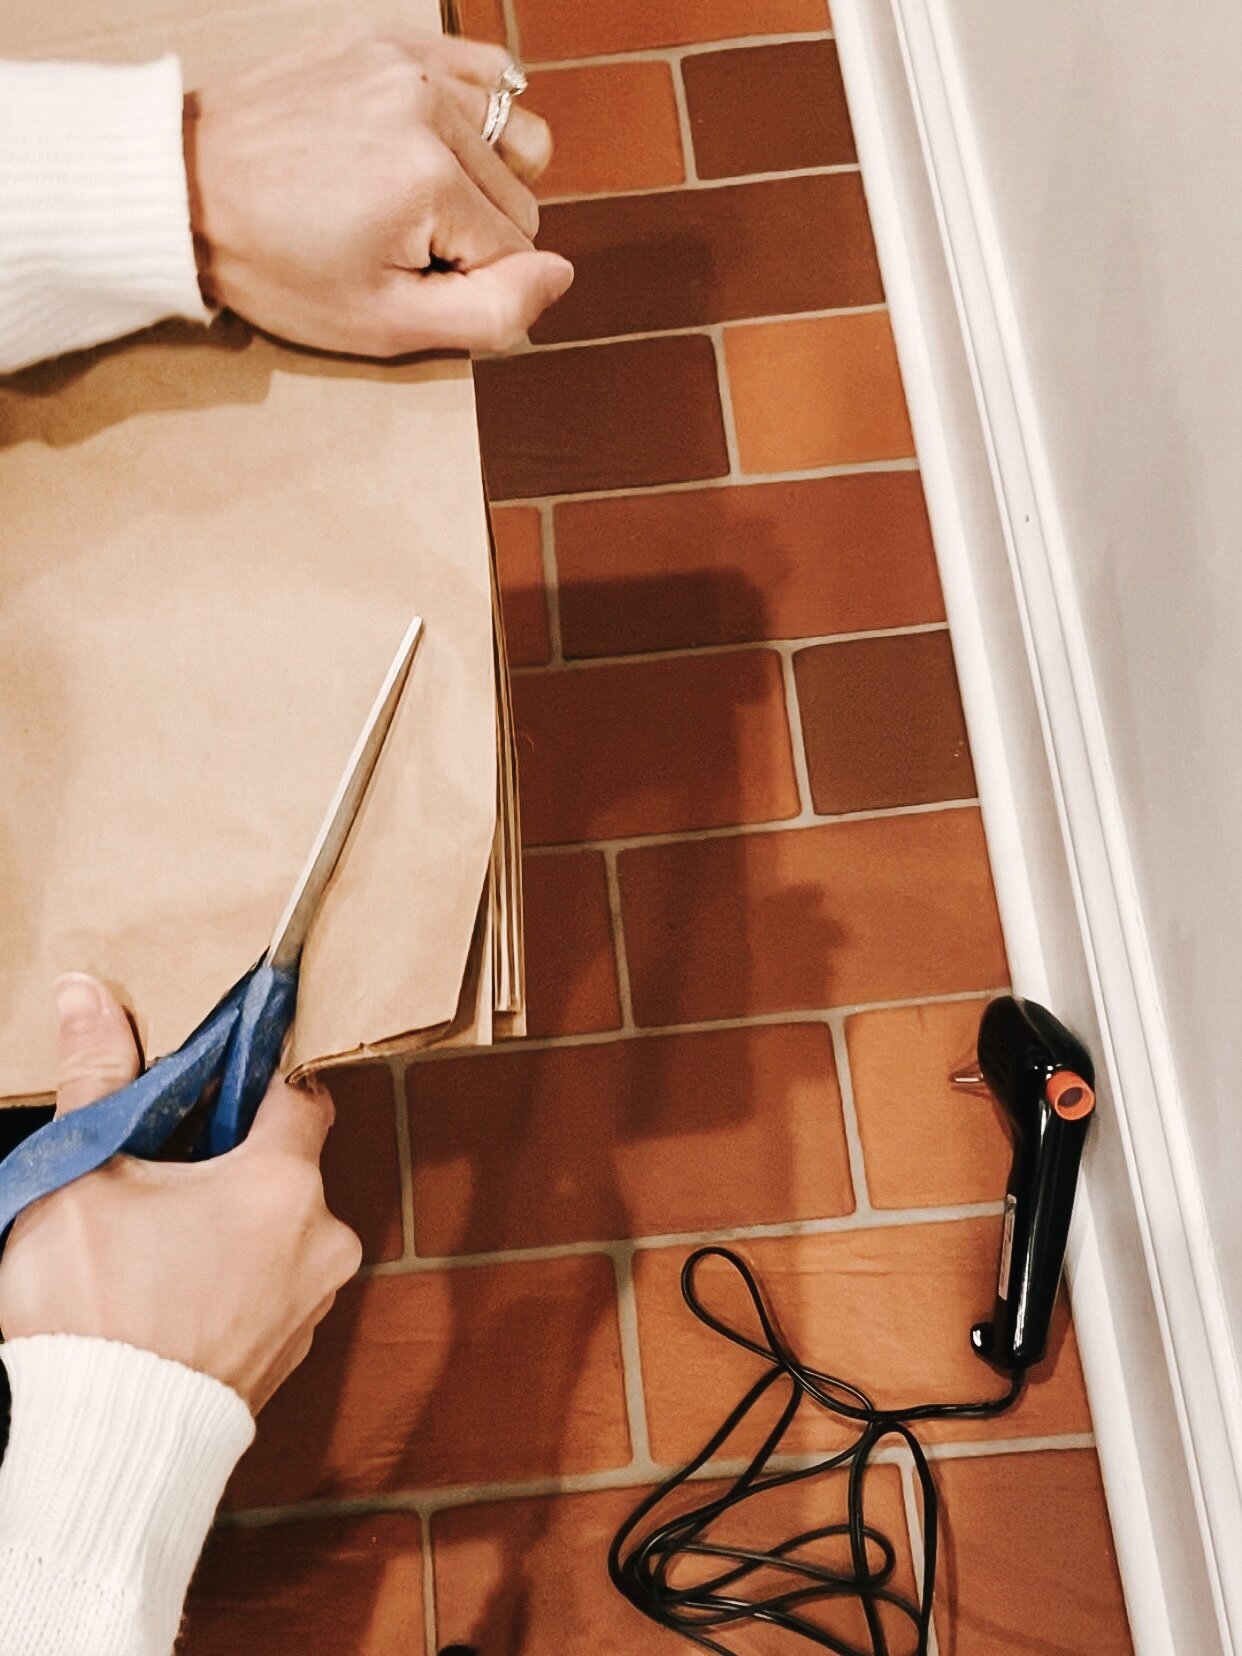
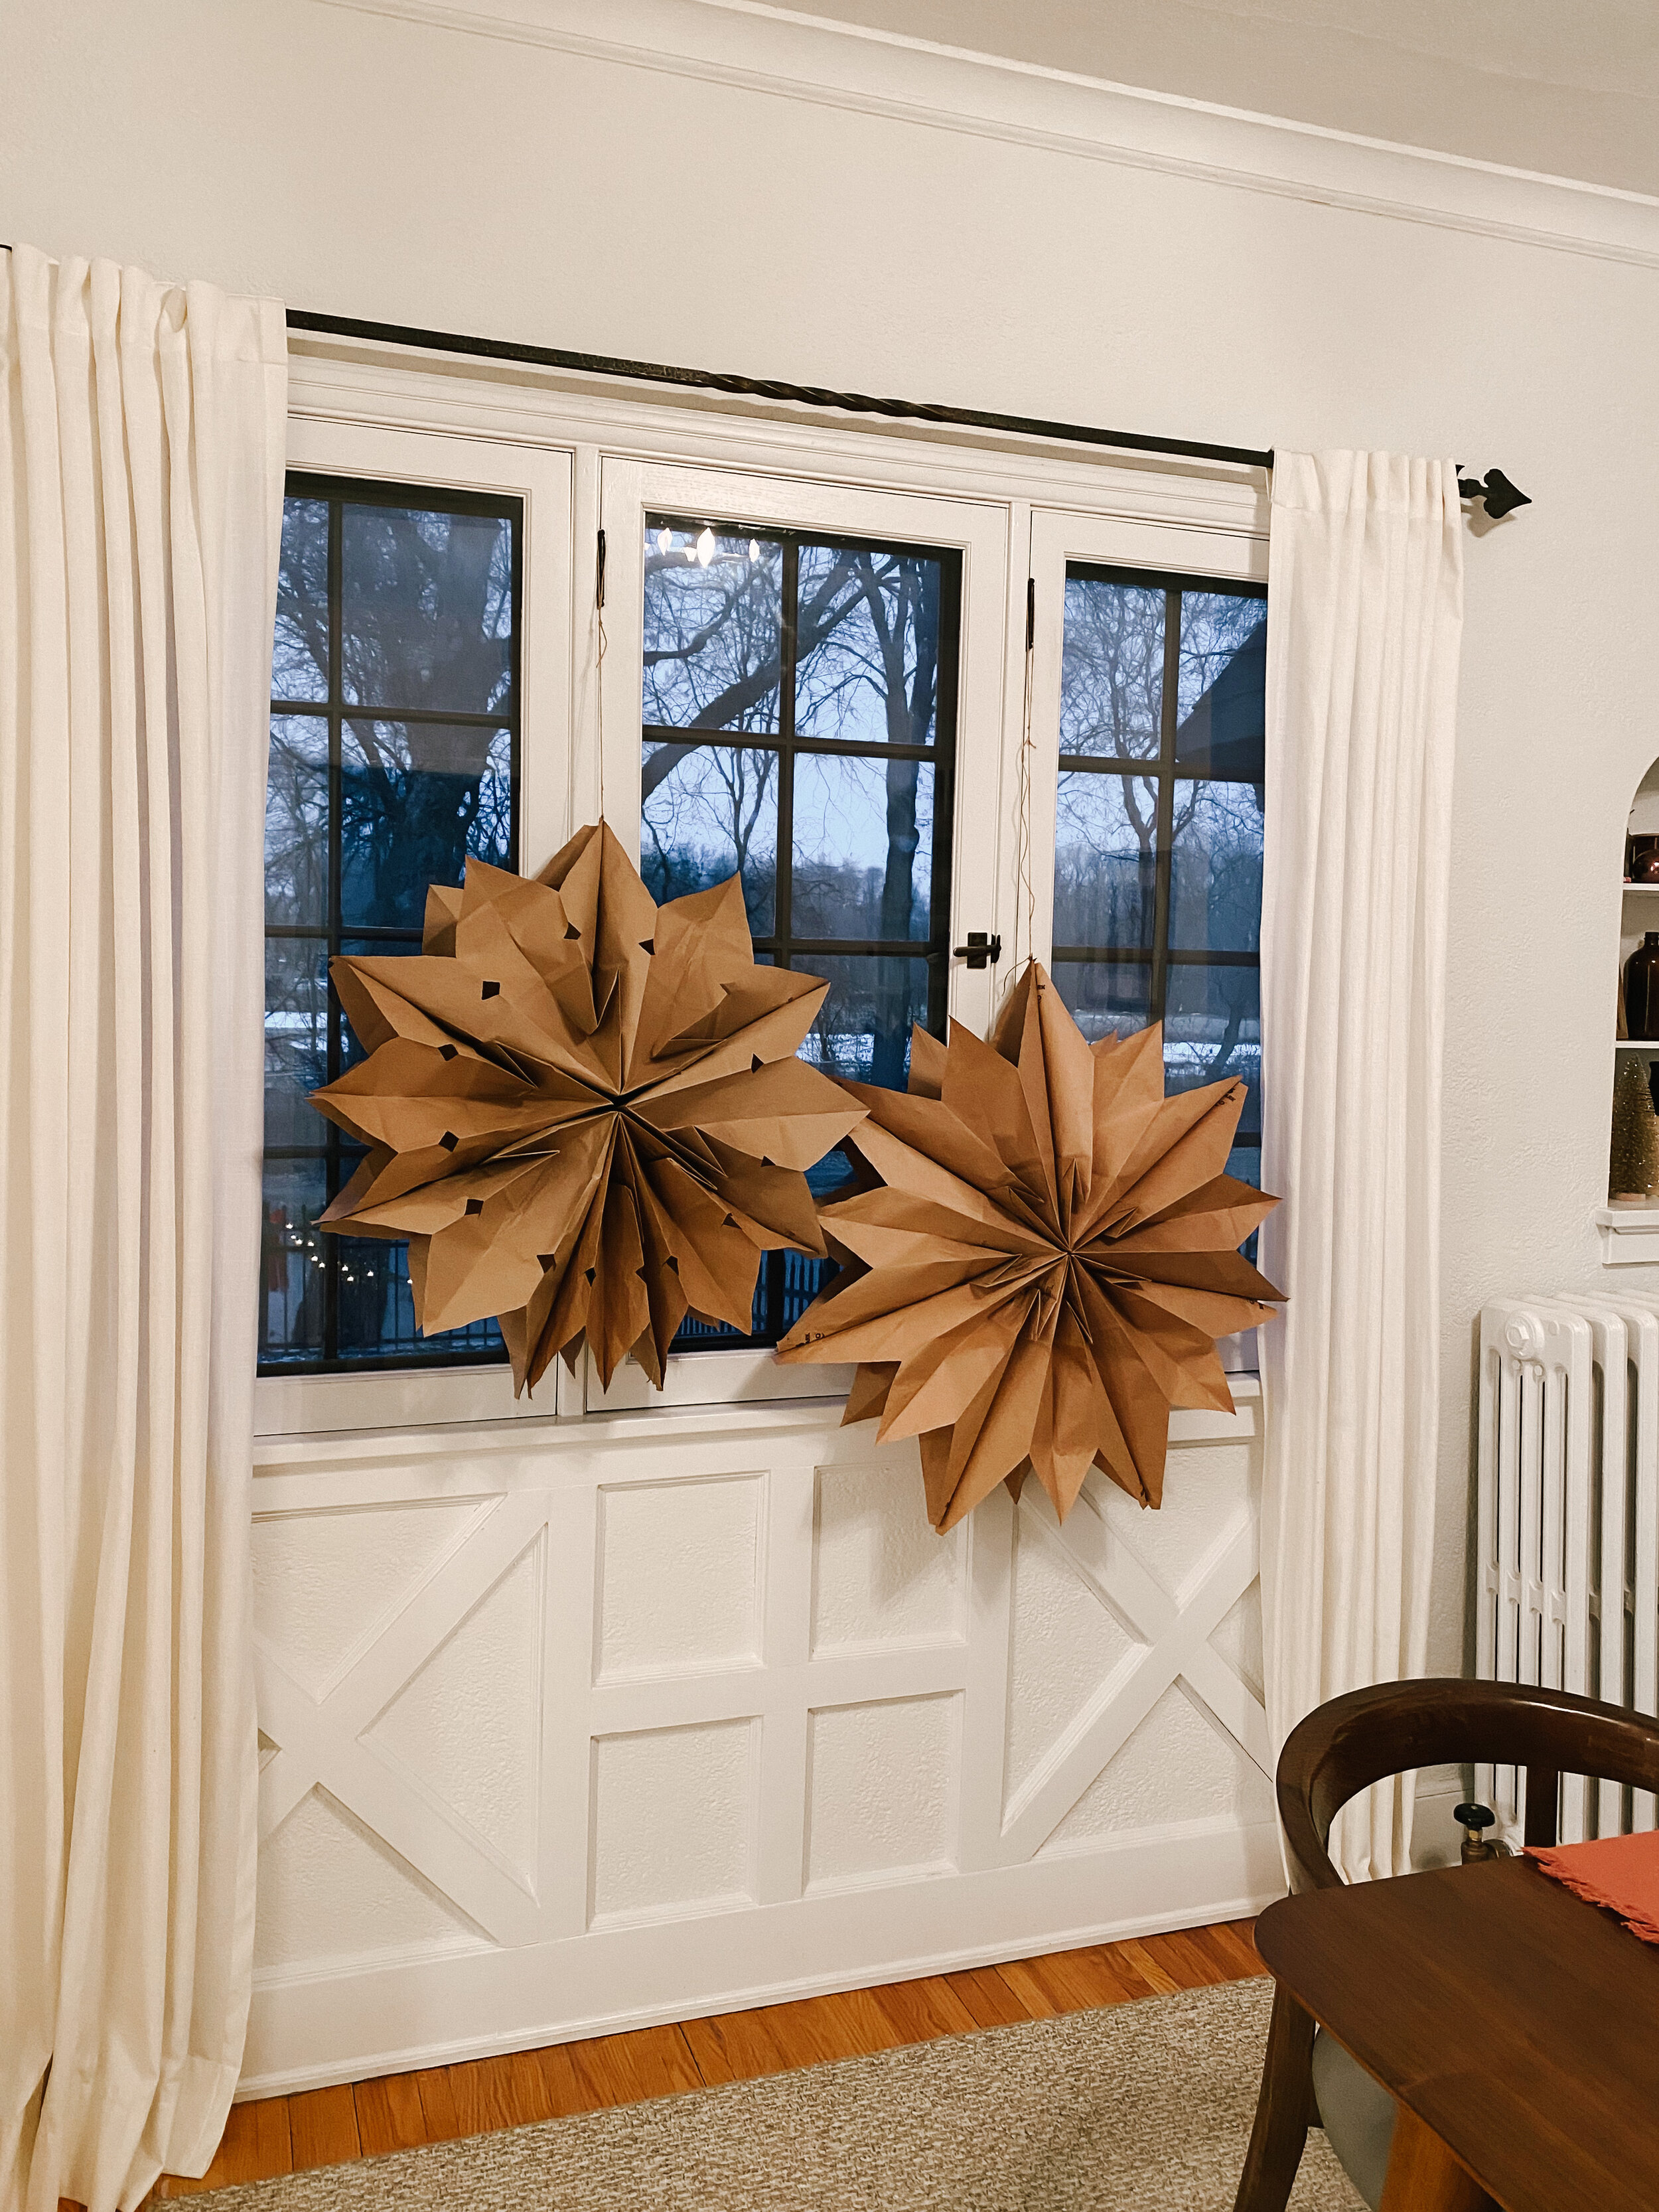
Step 3: using sharp scissors, cut the side with the opening to create the tip of the stars. You can cut a notch out on the sides to create a pattern. We cut out notches on one star but not the other. They both turned out beautiful.
See my dotted red lines as a guide below to show the pattern cutout.
*tip: if your scissors aren’t sharp enough to cut through seven bags, cut through two or three bags at a time.
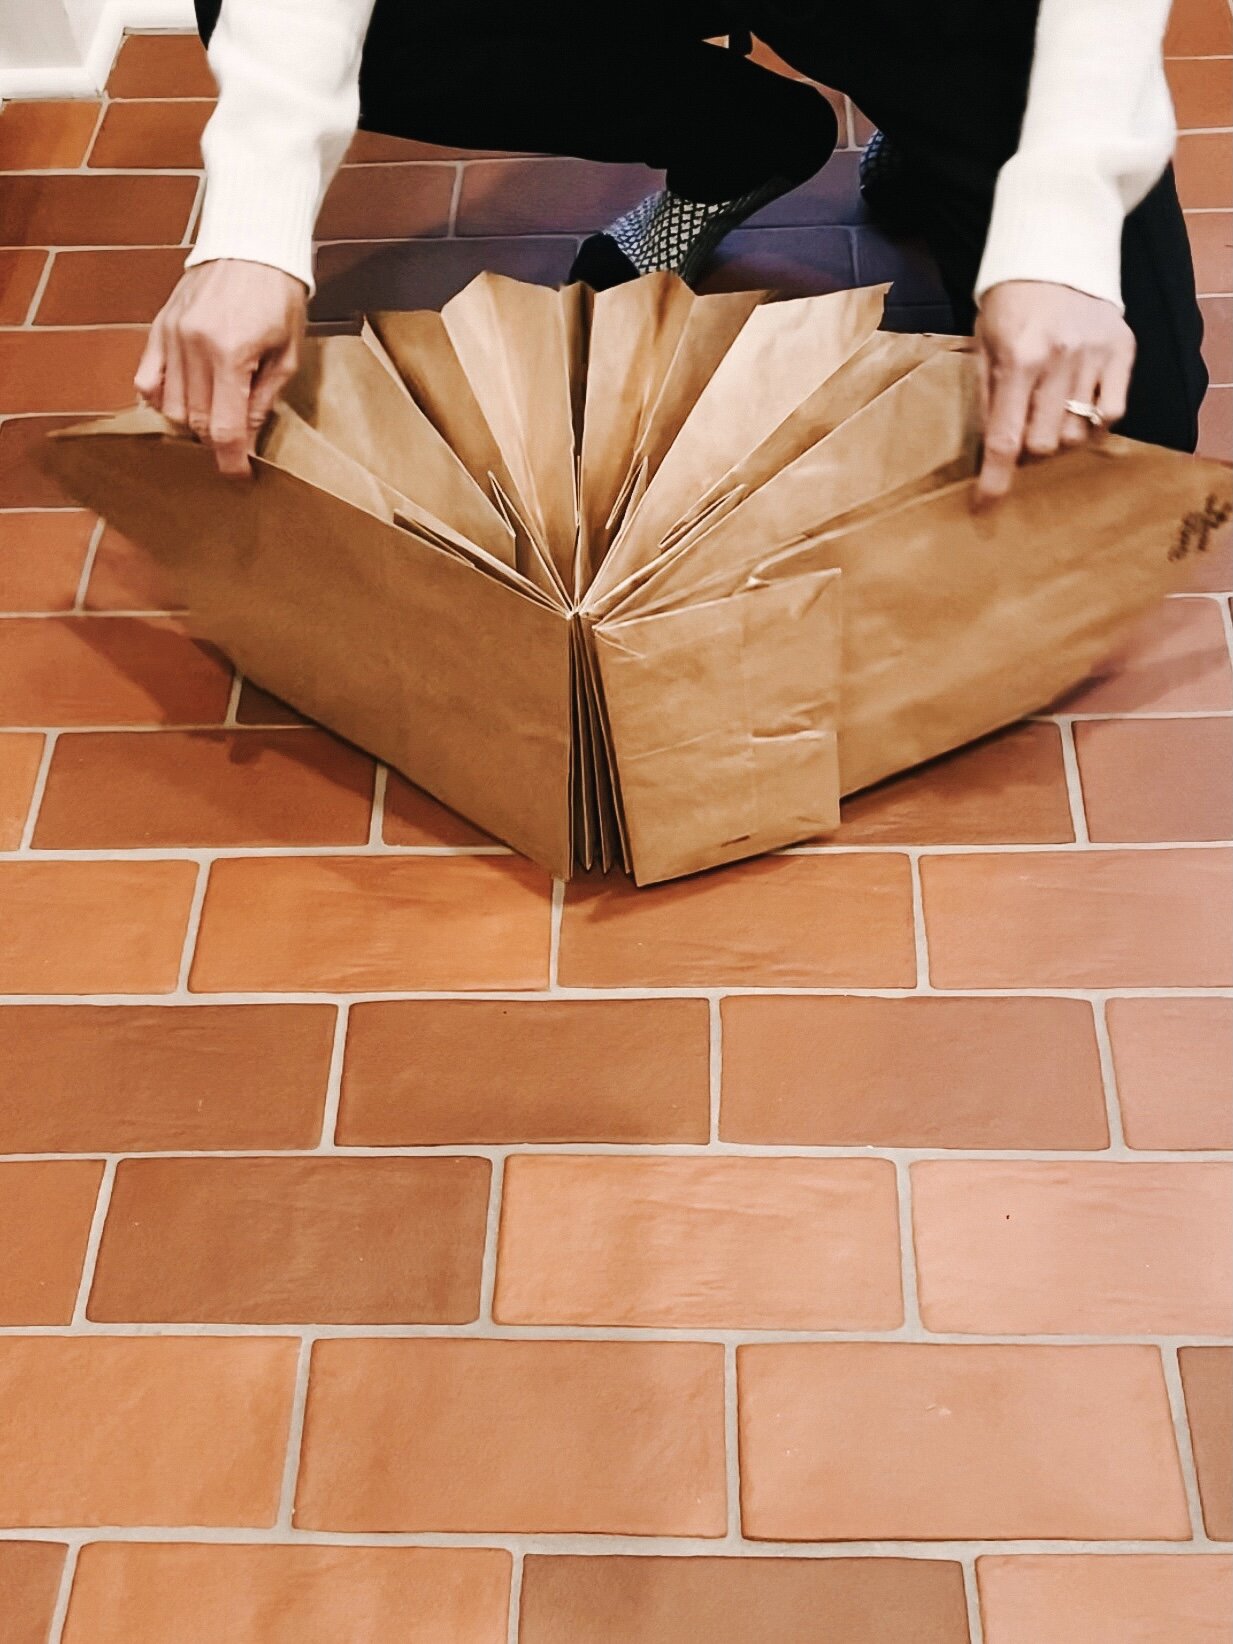
Step 4: lay glued bags on the side to fan out. I was surprised they looked as pretty as they did with the minimal effort + my sloppy cutting.
Step 5: use double sided tape to hold together after fanning out. Or (this just came to me) use velcro so you can flat pack to store away for another time. I plan to reuse these until they look pretty beat up.
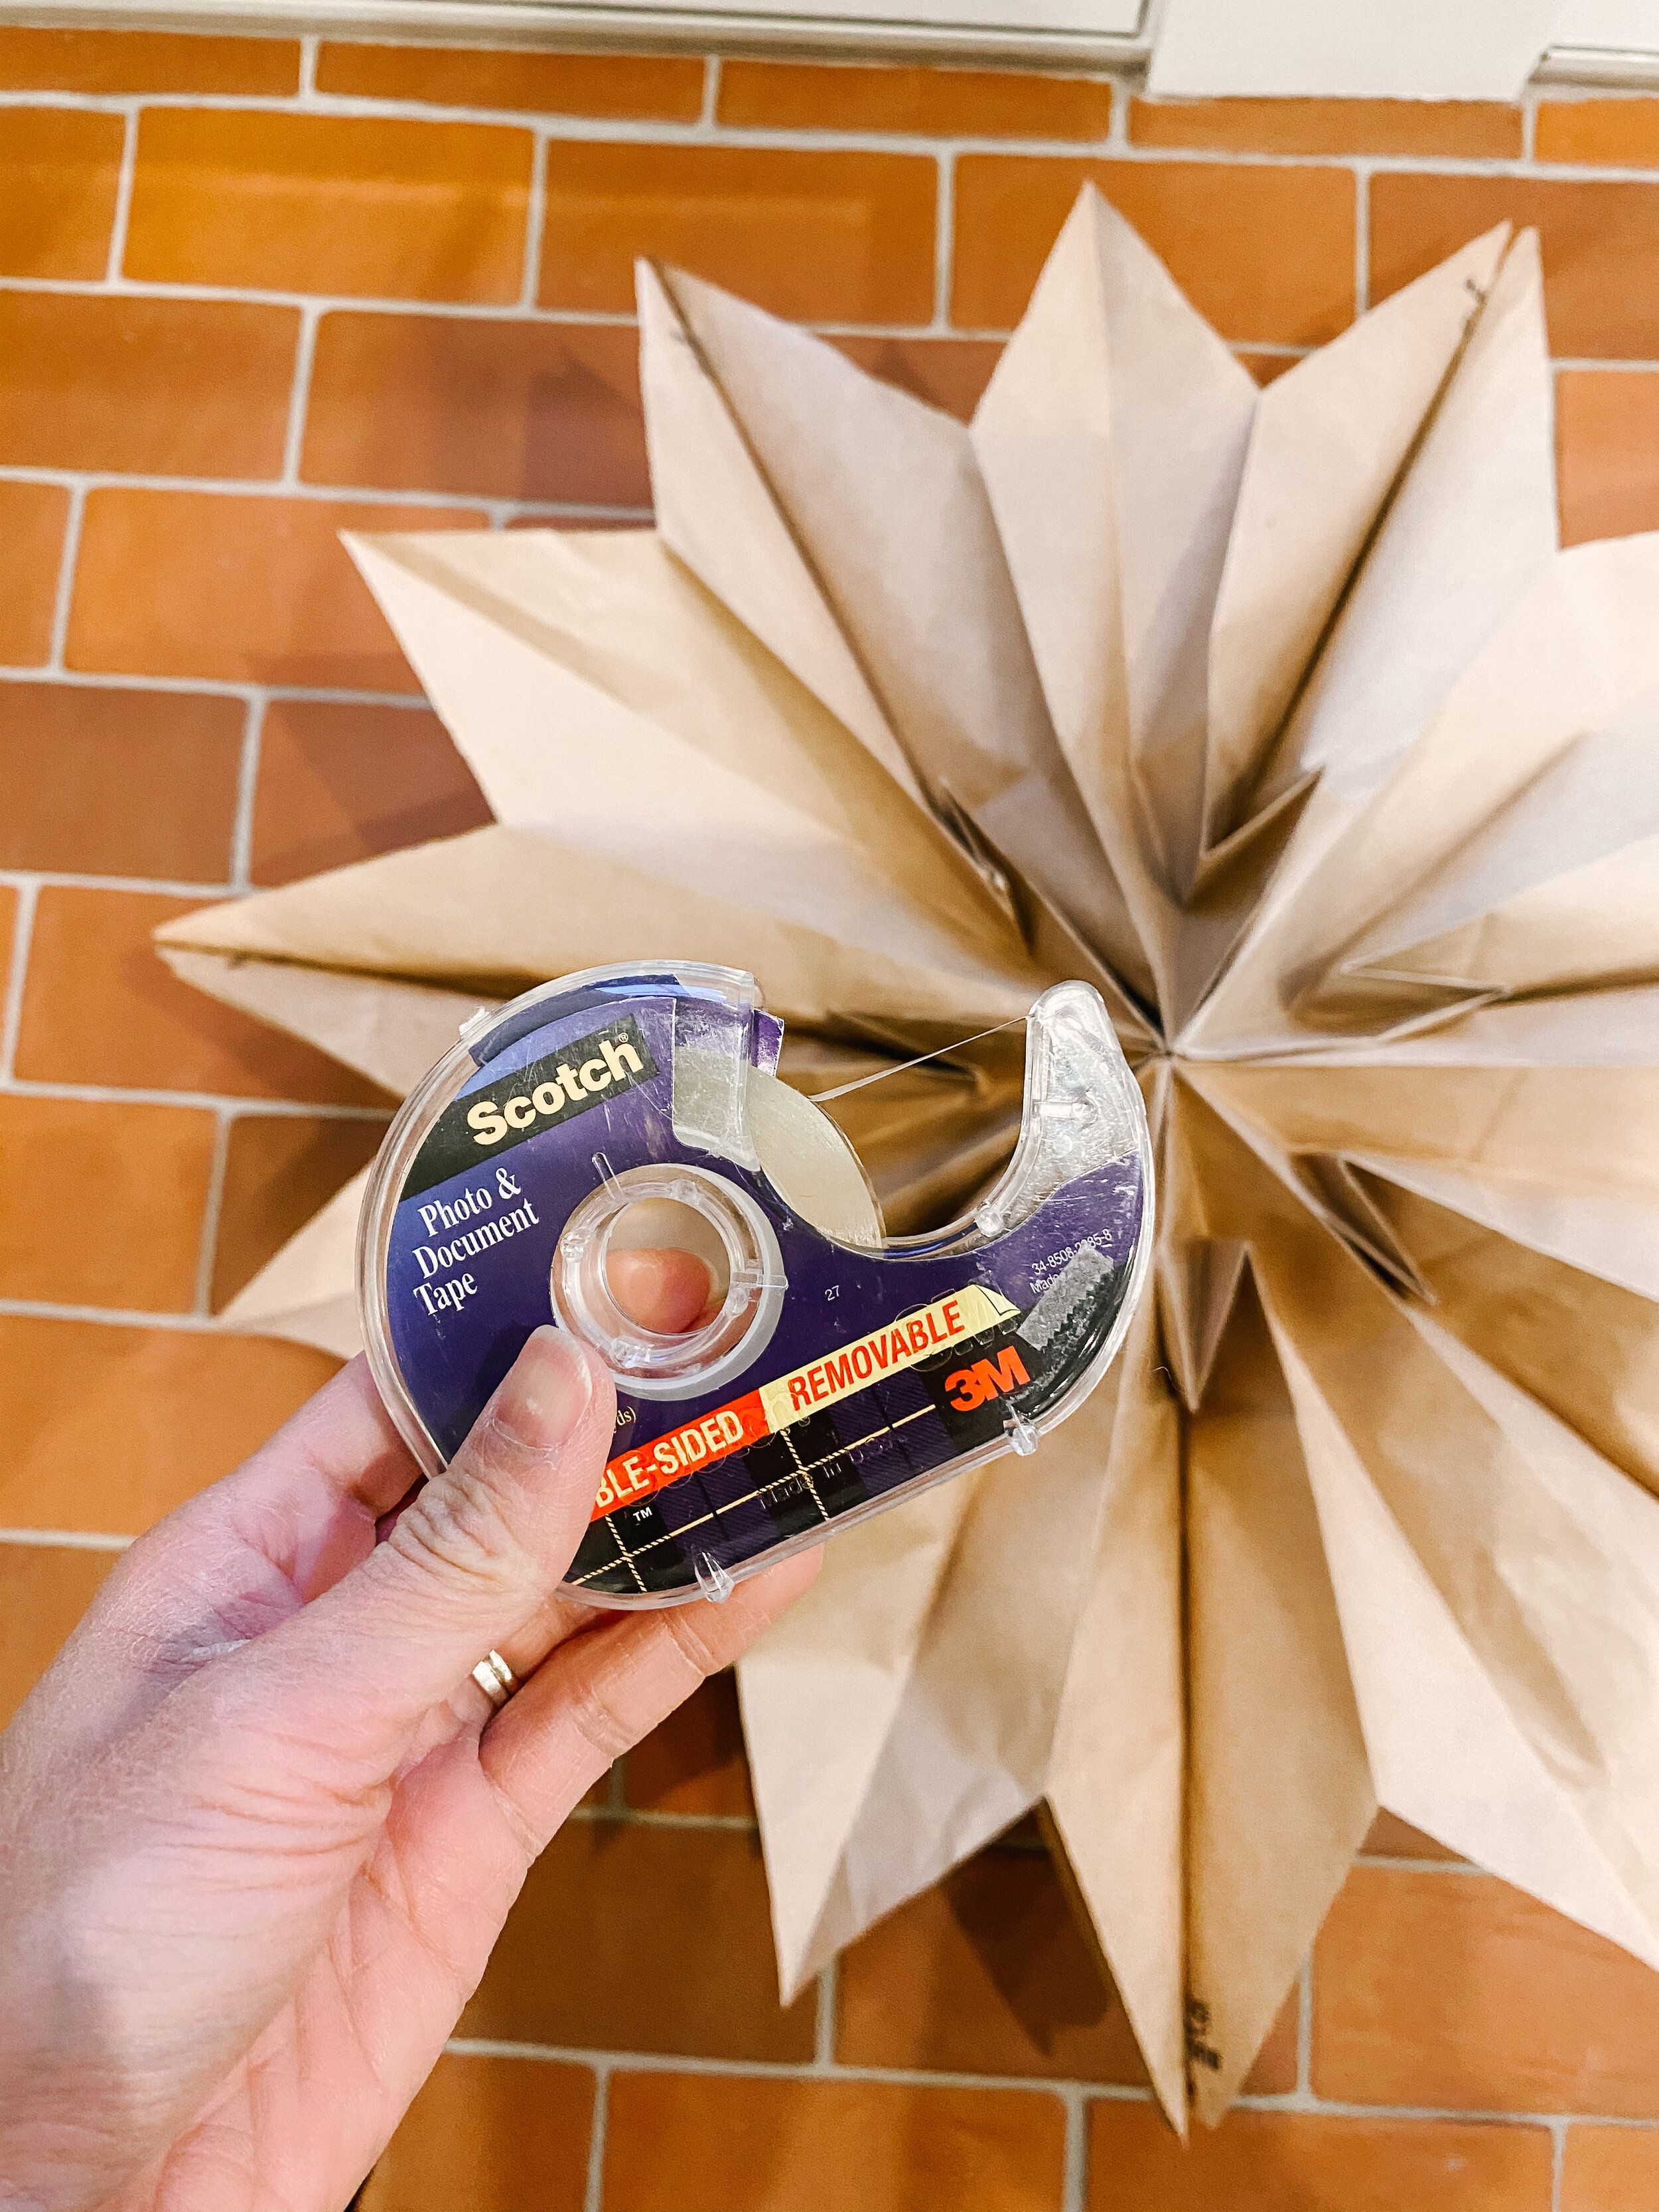
Step 6: Last, pierce a hole at the star tip where you taped or velcro’d together and hang with twine or ribbon.
We used the paper stars as decor for our little guy’s 2nd birthday party in December. Stars are one of his favorite things and like his name (we call him Jack Jack) he refers to stars as “star star”. So we made star star!
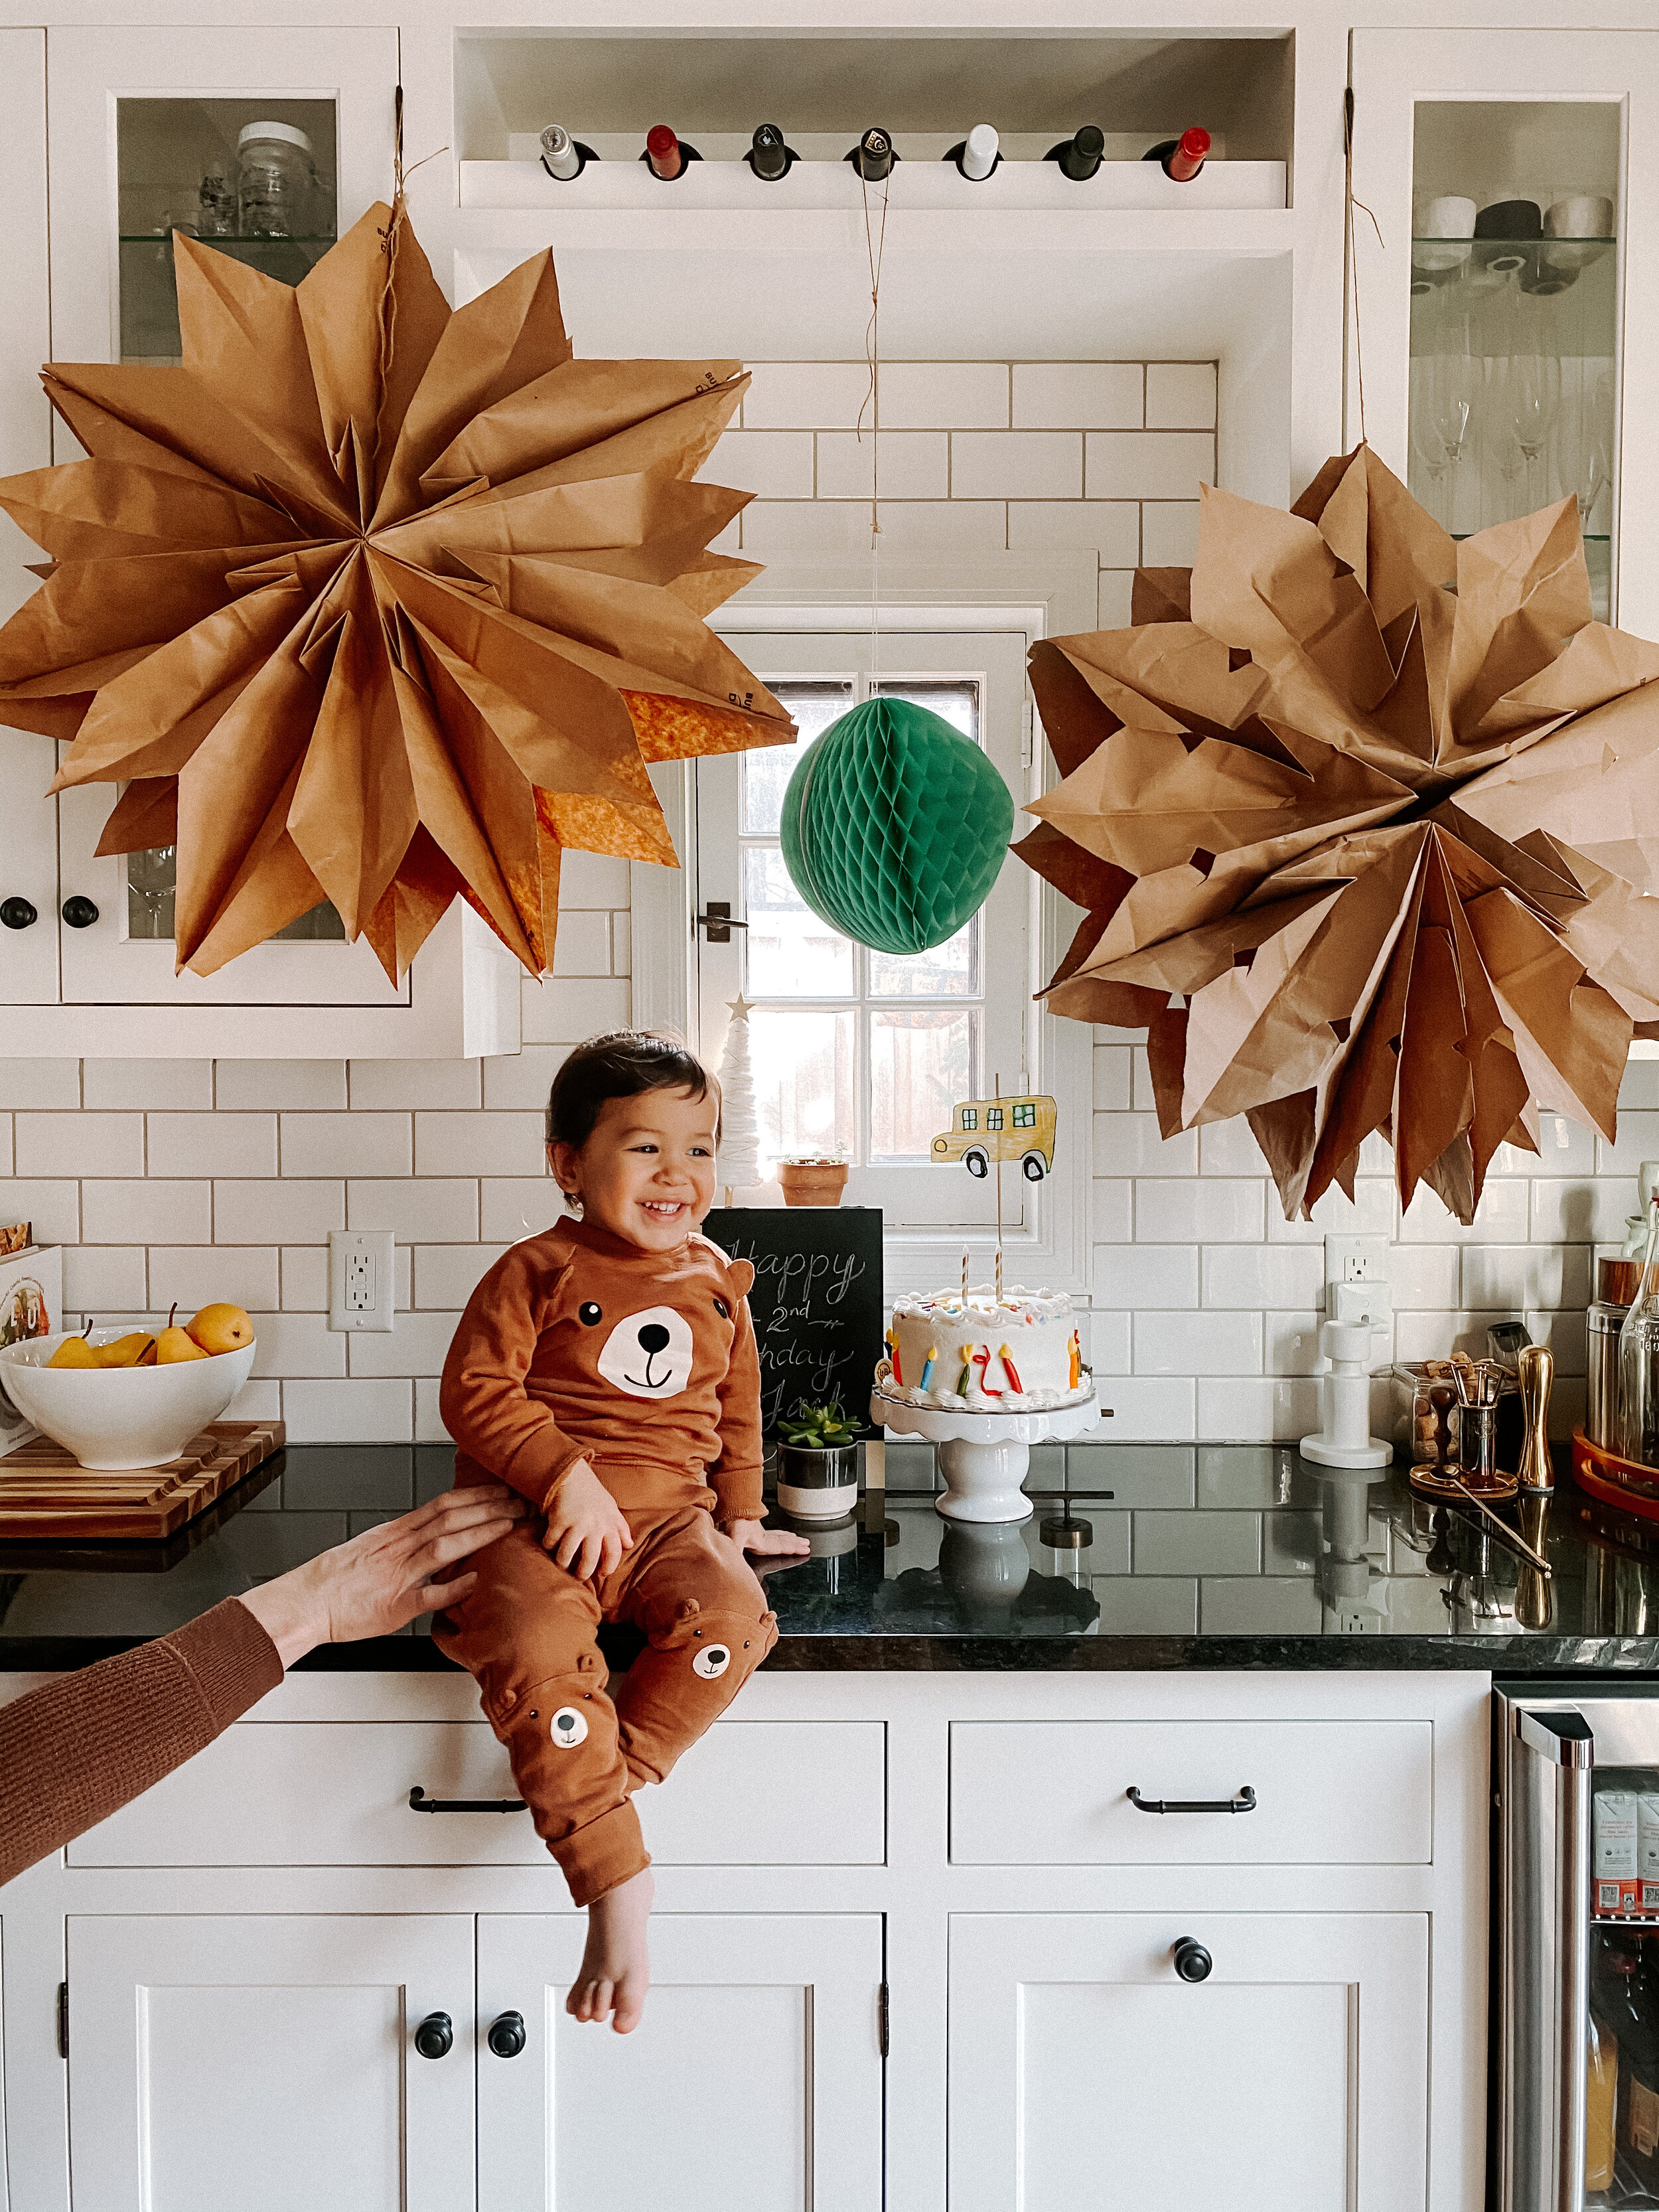
These easy DIY paper stars were the perfect decor backdrop (see more photos here) and the best part…we didn’t have to spend a penny because we had all the supplies at home!
Hope you have fun creating them and happy holidays to you all!
Patti

