
How to Use Prepasted Wallpaper from a First Timer
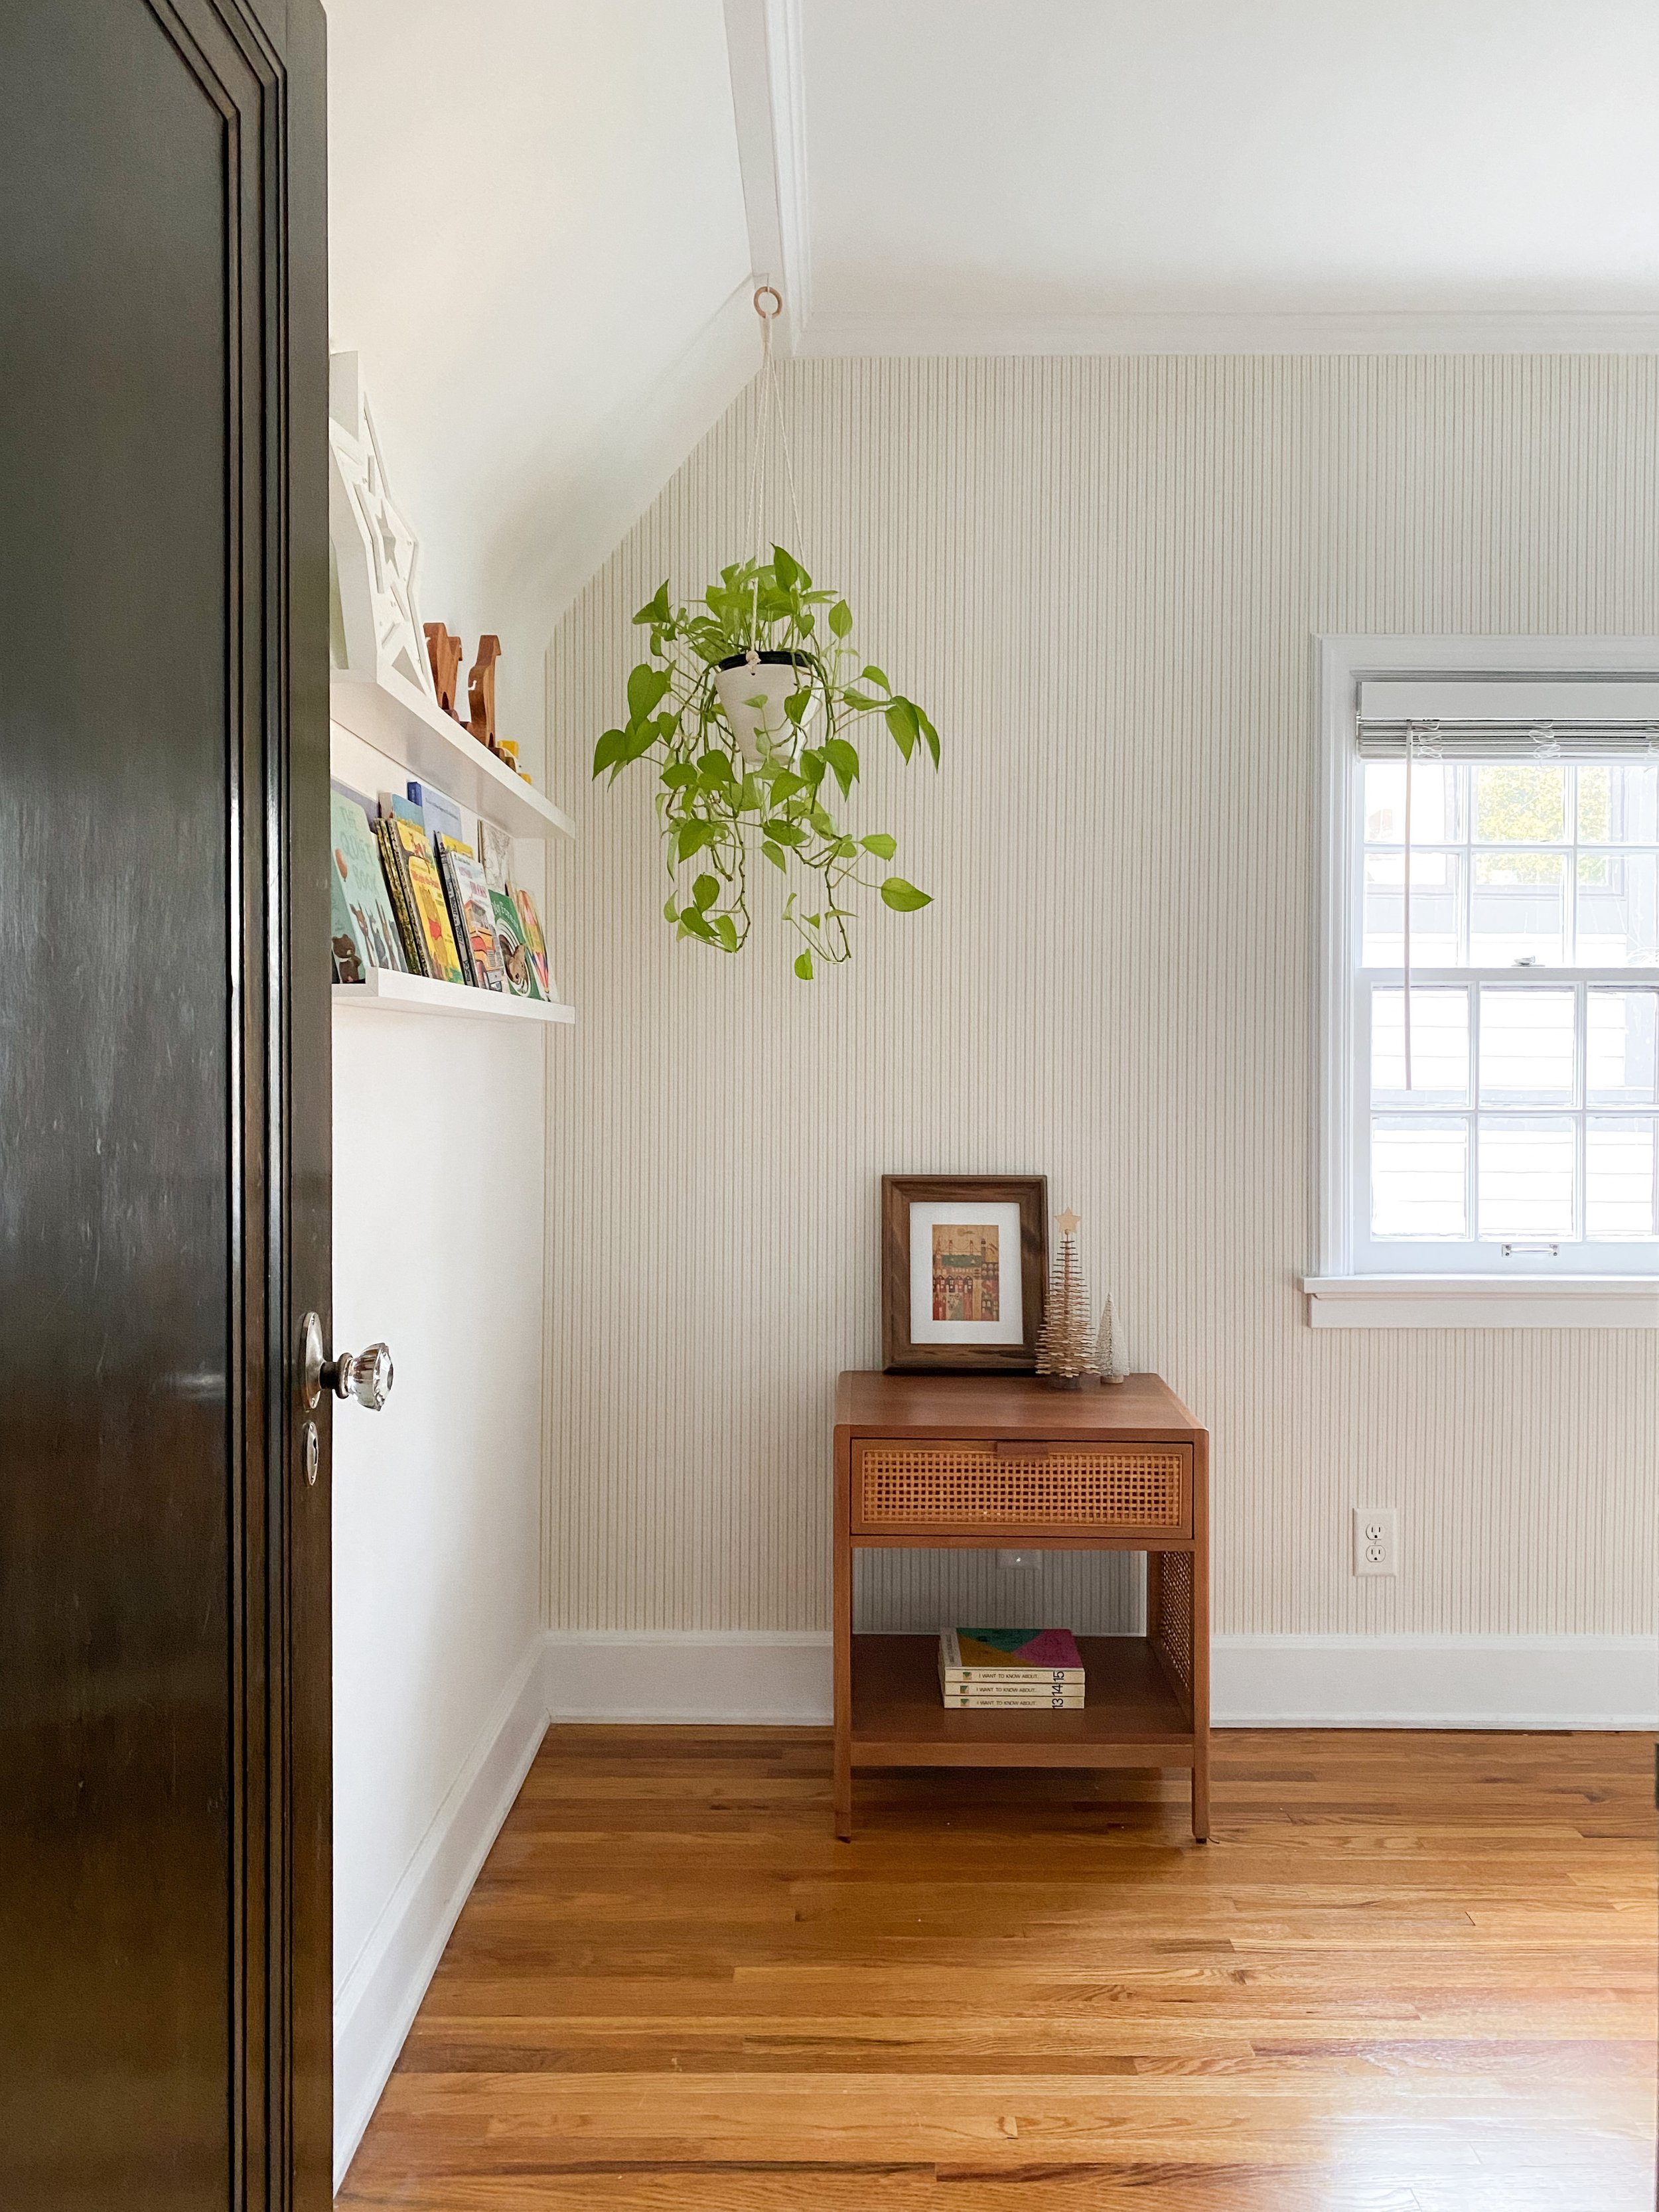
Jack’s room is getting a ‘big boy’ makeover! I wanted to make his small room feel more spacious by replacing his dark accent wall with something brighter inspired by this image from Parks and Oak Design. I’ve never applied pre-pasted wallpaper before but found a beautiful ticking stripe pattern from Magnolia Home by Joanna Gaines . It said it was easy to install and remove so I was sold!
I thought it would be a fun learning experience and recruited Joan (and Brian) to help because it is def a two-person job. I’ll admit I was intimidated at first, but the hardest part is just going for it! Once you get in the groove, the confidence kicks in and you’ll love the result!
I knew coming into this project that our plaster walls would make wallpapering more difficult. Unlike most sheetrock walls, they aren’t perfectly flat and plumb. It’s one of those things you have to account for with old homes. It did slightly impact the levelness of the wallpaper but nothing extremely noticeable.
In this blog post you will see the exact steps we took and since this was our first time wallpapering, we asked our instagram community for advice. We included the tips from insta under each step.
Step 1: The first thing we did was gather all of the supplies. See photo below:
Tips from insta: consider regulating the temperature in the room for plaster walls- there was a past experience from a follower with wallpaper peeling off of plaster walls.
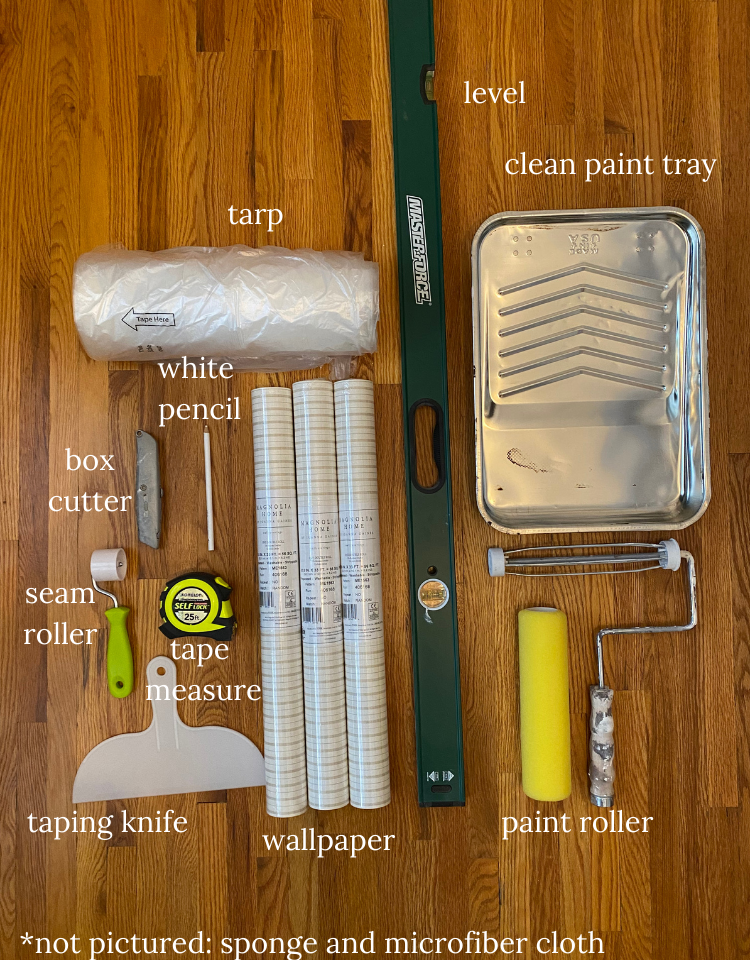
taping knife, seam roller, tape measure, box cutter, wallpaper, tarp, level, paint roller, paint tray
Step 2: We cleaned off the walls with a sponge and some soap and water. We also used a microfiber cloth to get any dust off.
Tips from insta: sand plaster down to get rid of bumps to make for a smooth surface if you desire.
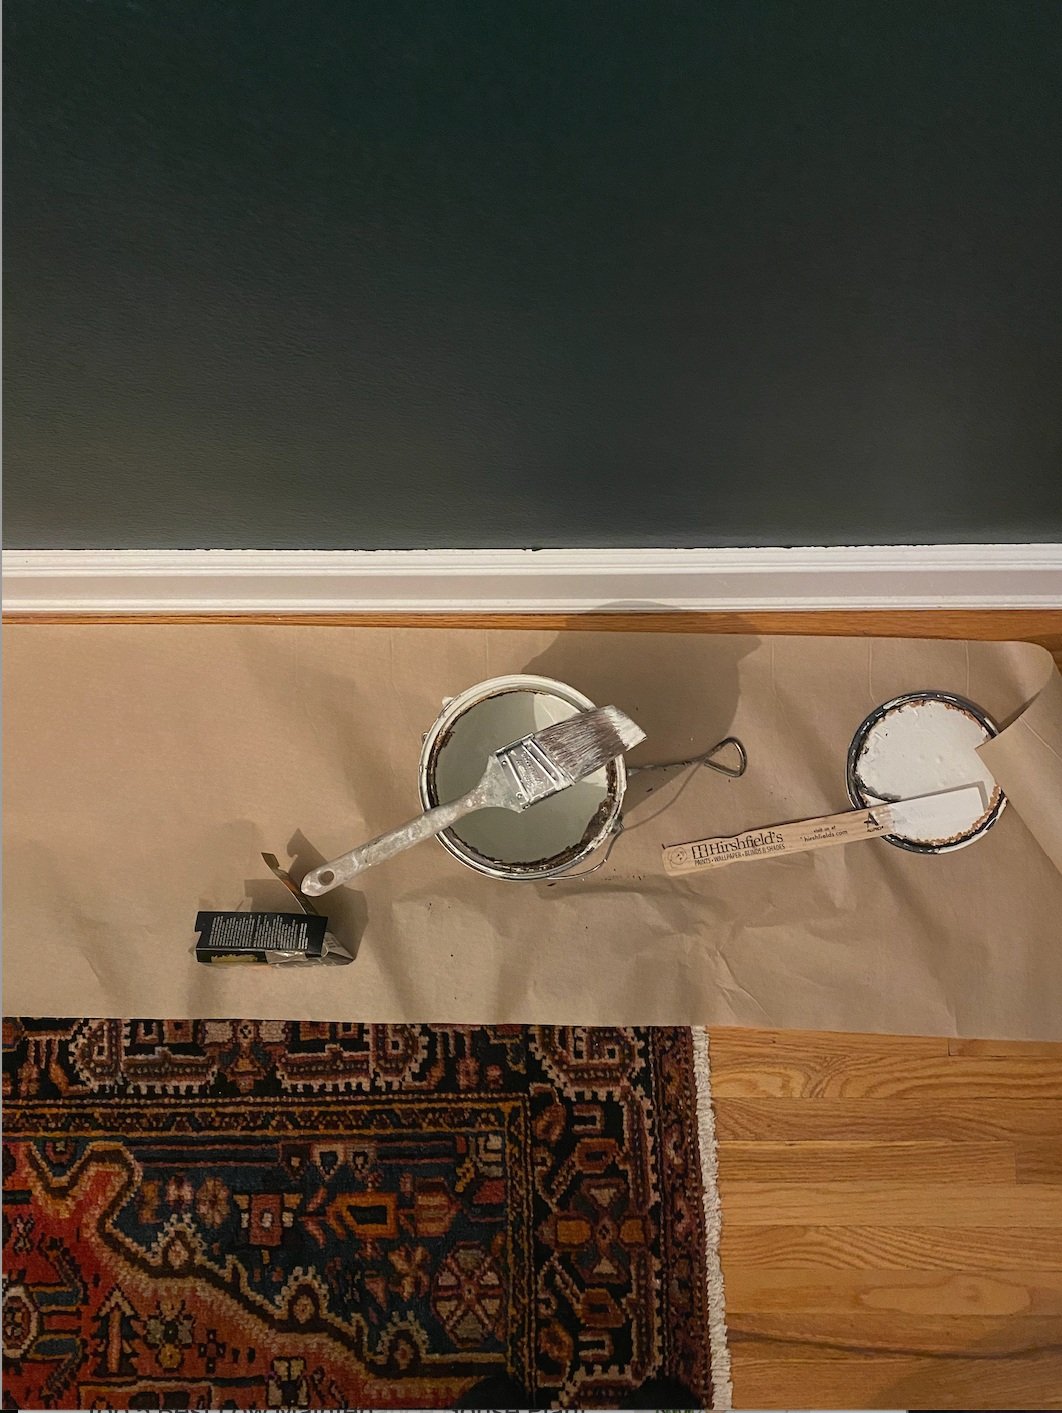
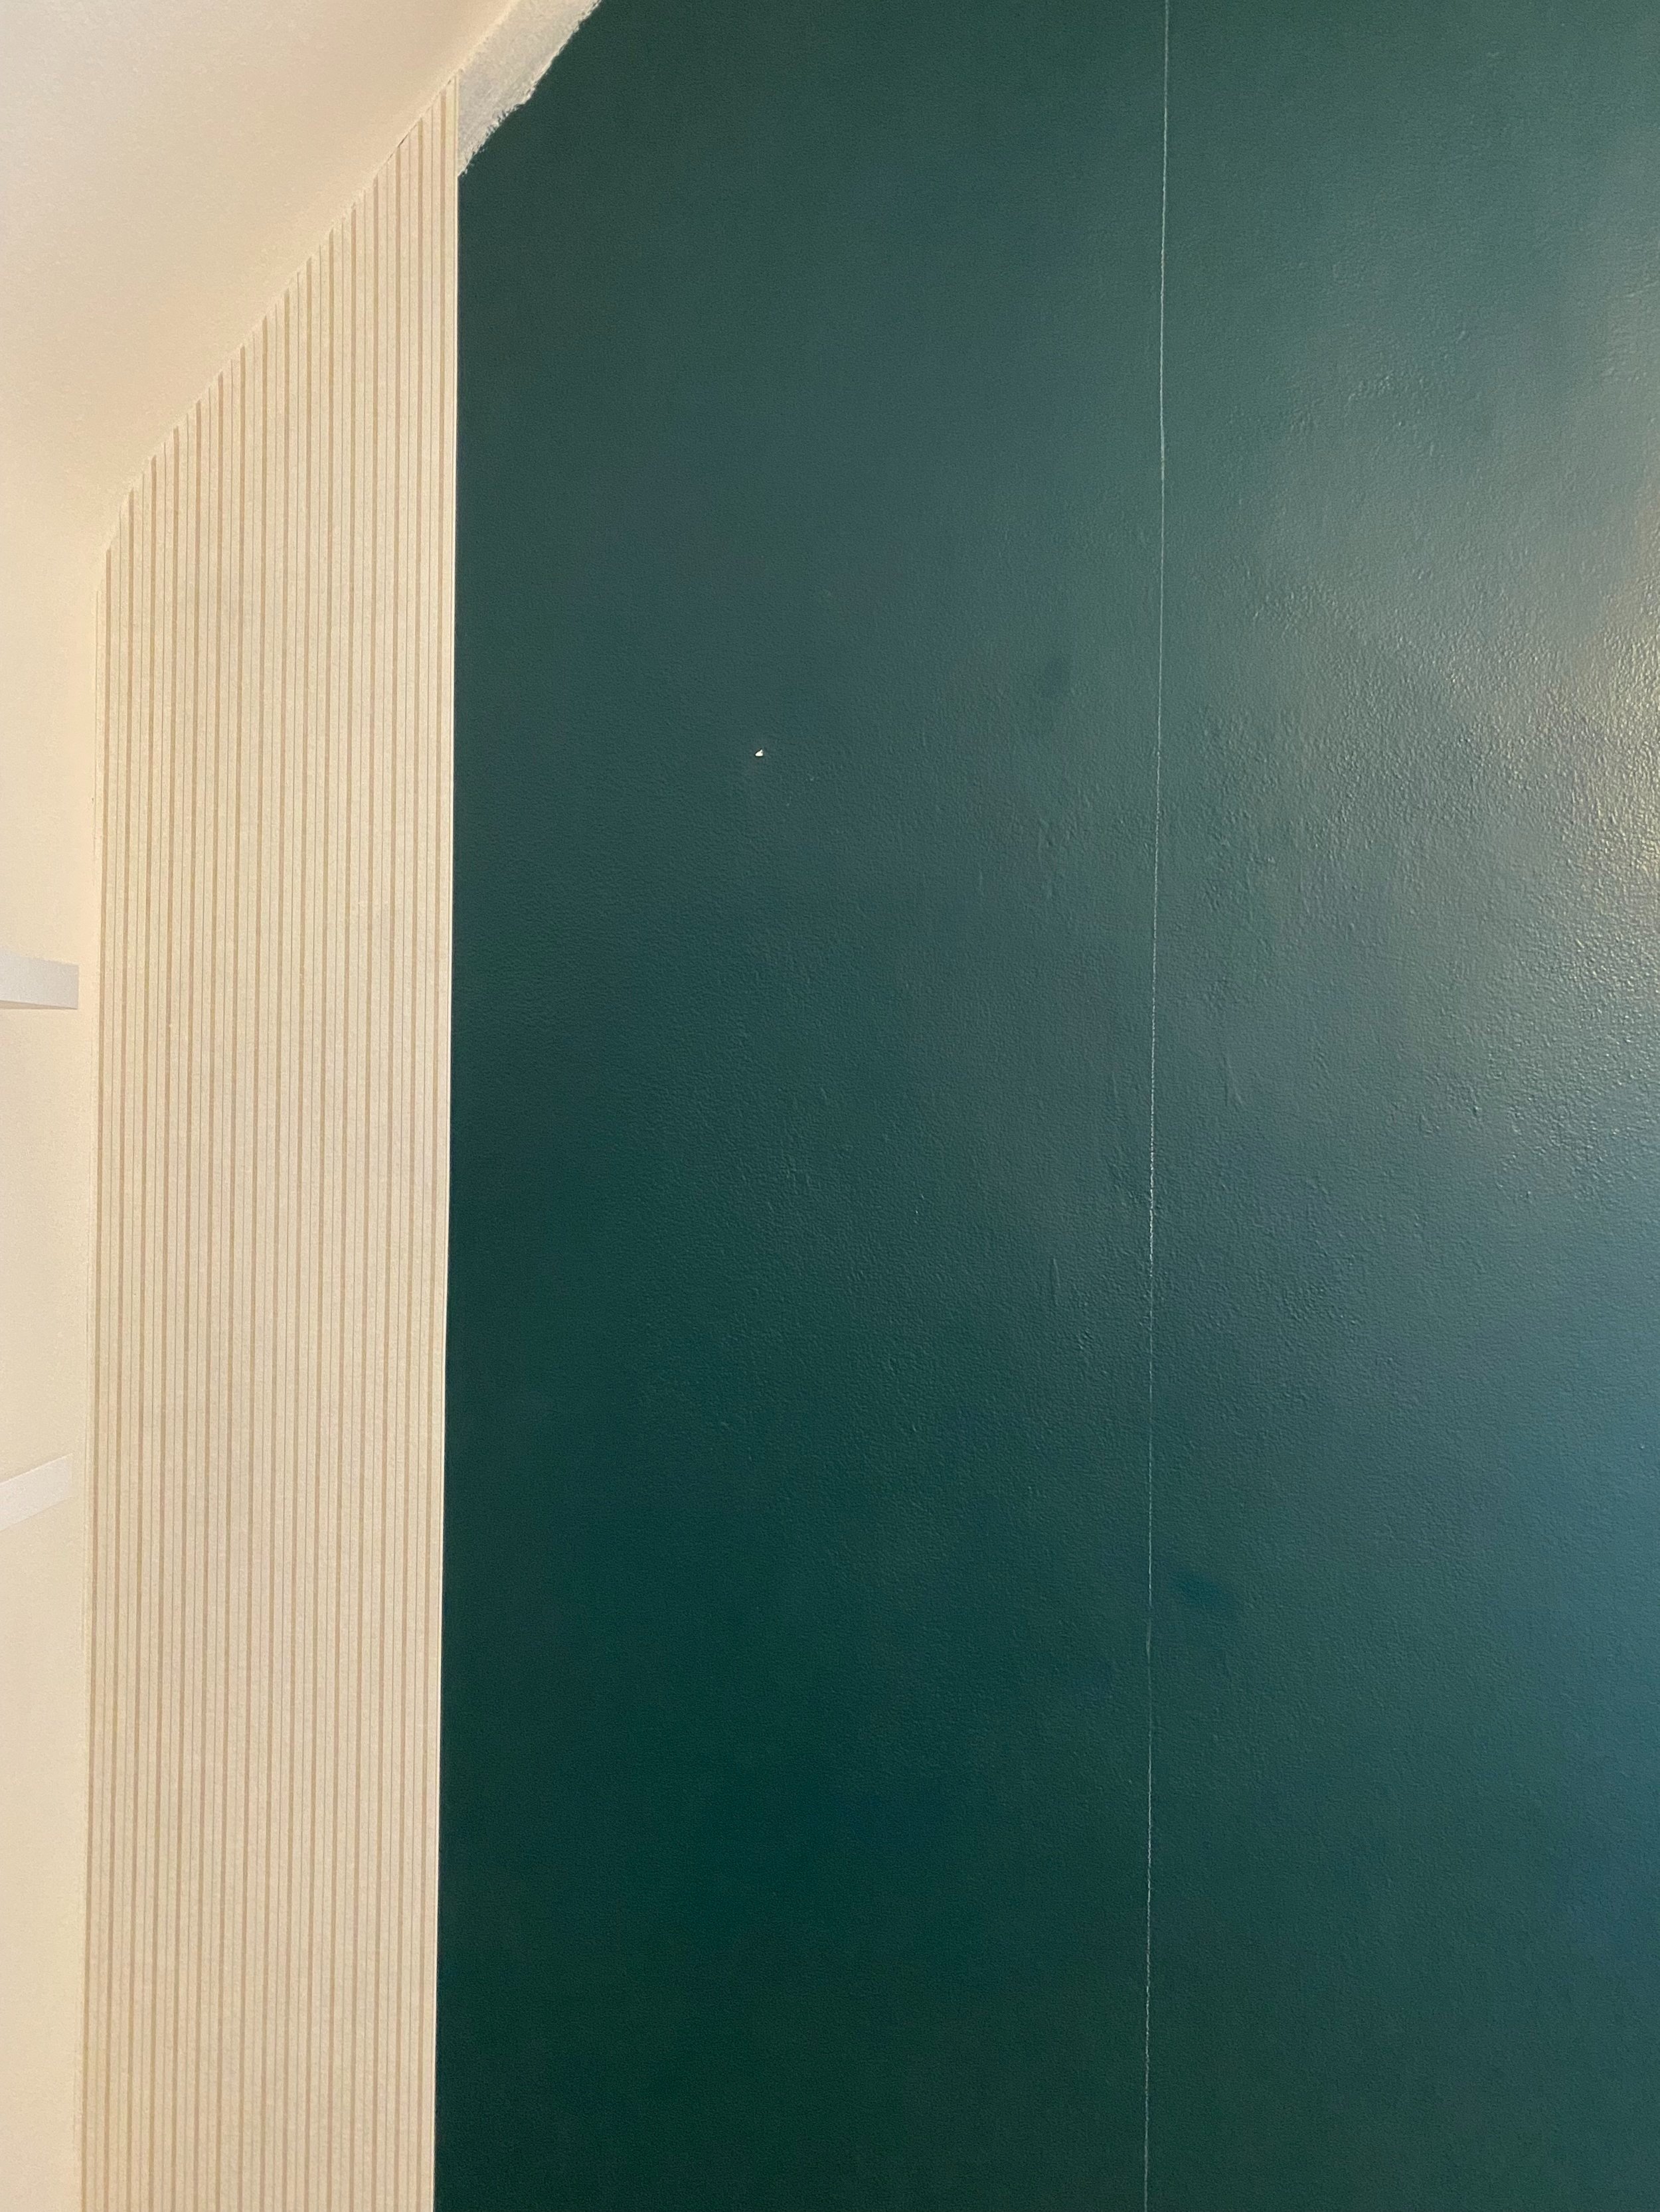
Step 3: Since the wall that we are working on is a dark color, Brian painted the edges of the wall white in case of mistakes. With the white edges, if we did make a mistake the wallpaper would blend in better with the white vs. dark color.
*tip: if you have the time try painting your wall the same base as the wallpaper. For example, our wall was darker and we could have painted it white. We didn’t mind the darkness coming through but if you paint it the same color as the base of the wallpaper, it won’t show mistakes as much.
Tips from insta: use high-quality thick wallpaper, the thicker the wallpaper the less you will see the plaster texture.
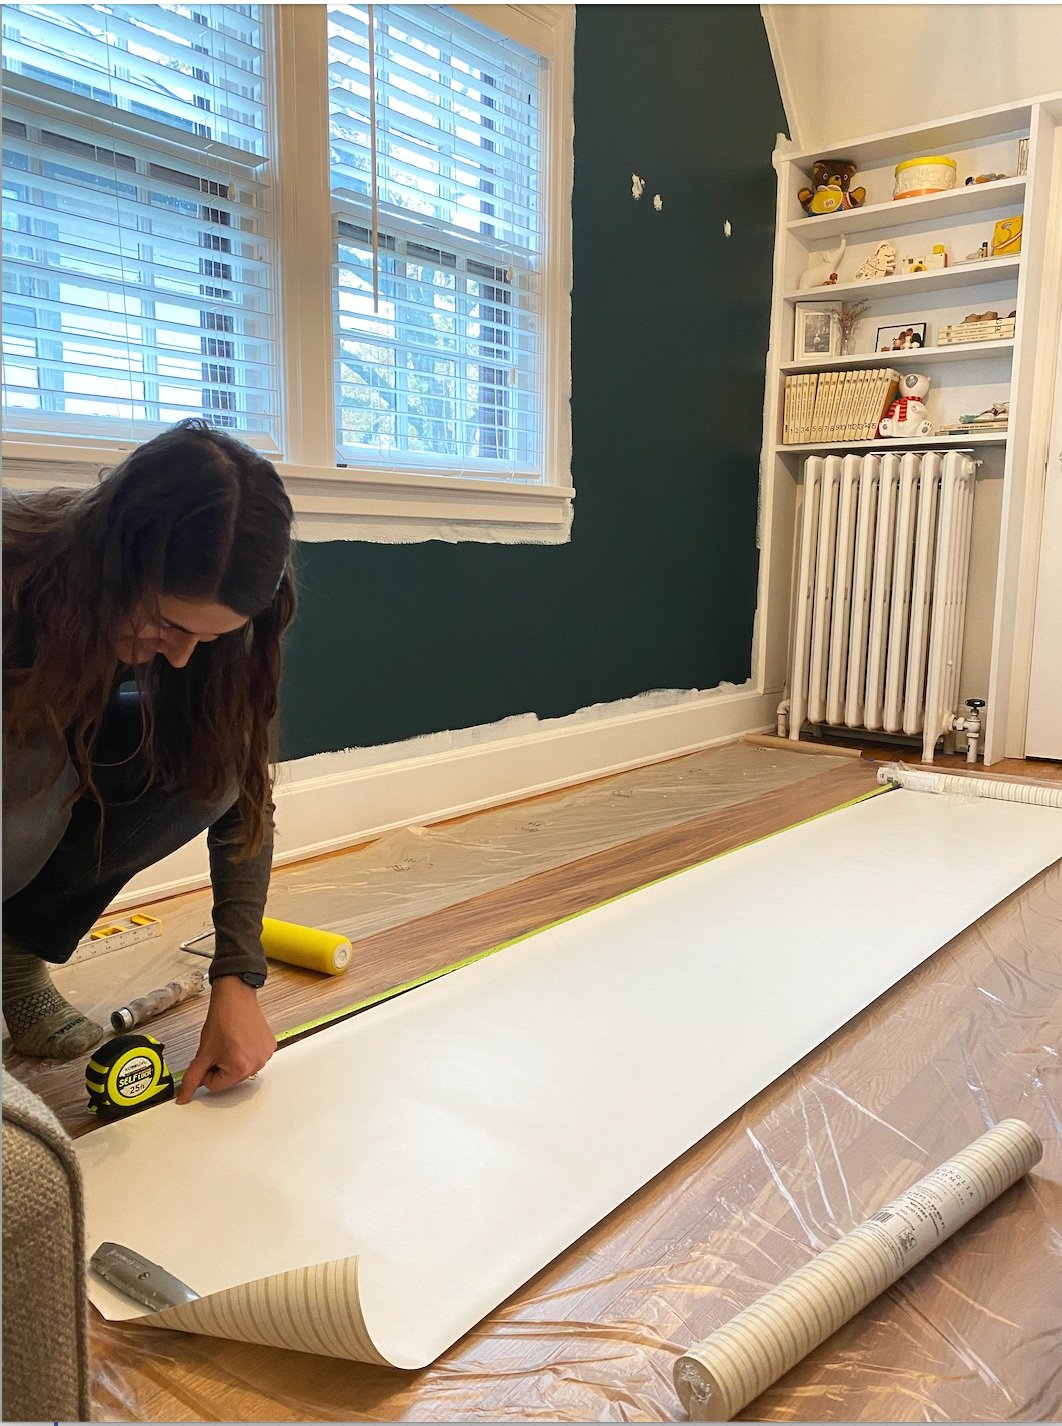
Step 4: (make sure wall is dry before starting) To plan out how many pieces of wallpaper needed, we measured the wall and marked all of the spots to see where the wallpaper would go. Then we cut the wallpaper to the height of the wall and included about 2 inches. This extra length would let us cut the wallpaper to the exact height on the top and bottom of the wall.
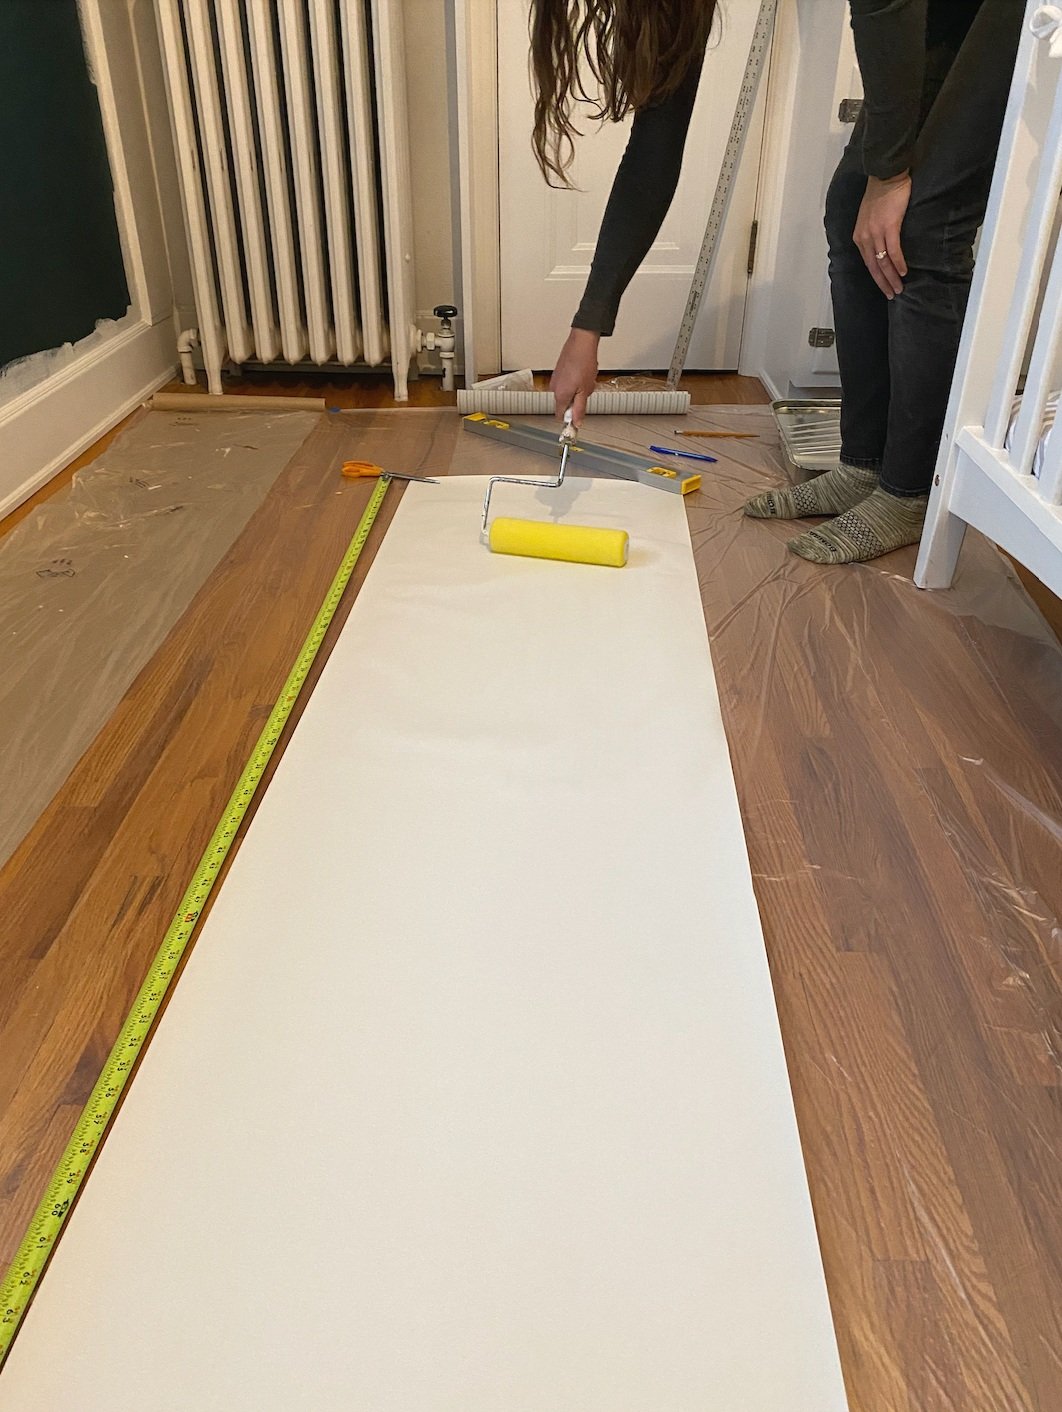
Step 5: In order to get the wallpaper to stick to the wall, we had to first activate the paste with water. You can spray or use a paint roller to roll on the water which is what we did. When rolling, we got the wallpaper nice and wet, but not soaking. Then we folded up the two sides and left it to sit to activate.
*In all the tutorials we saw, it said to wait 10 minutes for it to activate but after reading the instructions on our wallpaper it said that it only needed to sit for 2-3 minutes. So read the instructions for your specific wallpaper because times may vary!
Tips from insta: use wallpaper liner first to help it go on smoothly.
Step 6: Before putting the first panel on we used the level to make a straight line to make sure the panel would be perfectly level.
Tips from insta:
-
a lot of people recommended starting the wallpapering in the middle
-
however, some say it is ok to start on the corner with patterns like stripes but busy patterns starting in the middle help gain a full visual of the wall.
Step 7: Put on the panel of wallpaper. We were warned that the first panel is the hardest, and that is not an understatement! We accidentally messed up our measuring, leaving it with an extra long length. We should have only left 2 inches on the side but we had more like 10. We made it work by cutting off the excess paper with scissors after we pasted it to the wall.
Tips from insta: Use sizing, this helps the paper easily shift around when applying.
Step 8: Once the wallpaper was lined up and up on the wall we used the taping knife to get any air bubbles out.
Step 9: Next we used the taping knife to cut the edges with the box cutter. We used our taping knife as a guide to cut the wallpaper and found it helpful. The corners were definitely challenging to get a clean cut on.
Tips from insta: for a clean-cut make sure you wait for the wallpaper to dry.
Step 10: Again, we used the level to measure where the second piece of wallpaper should end. This gave us a guide on where to line the wallpaper up and also used the seams as a guide for lining up the wallpaper.
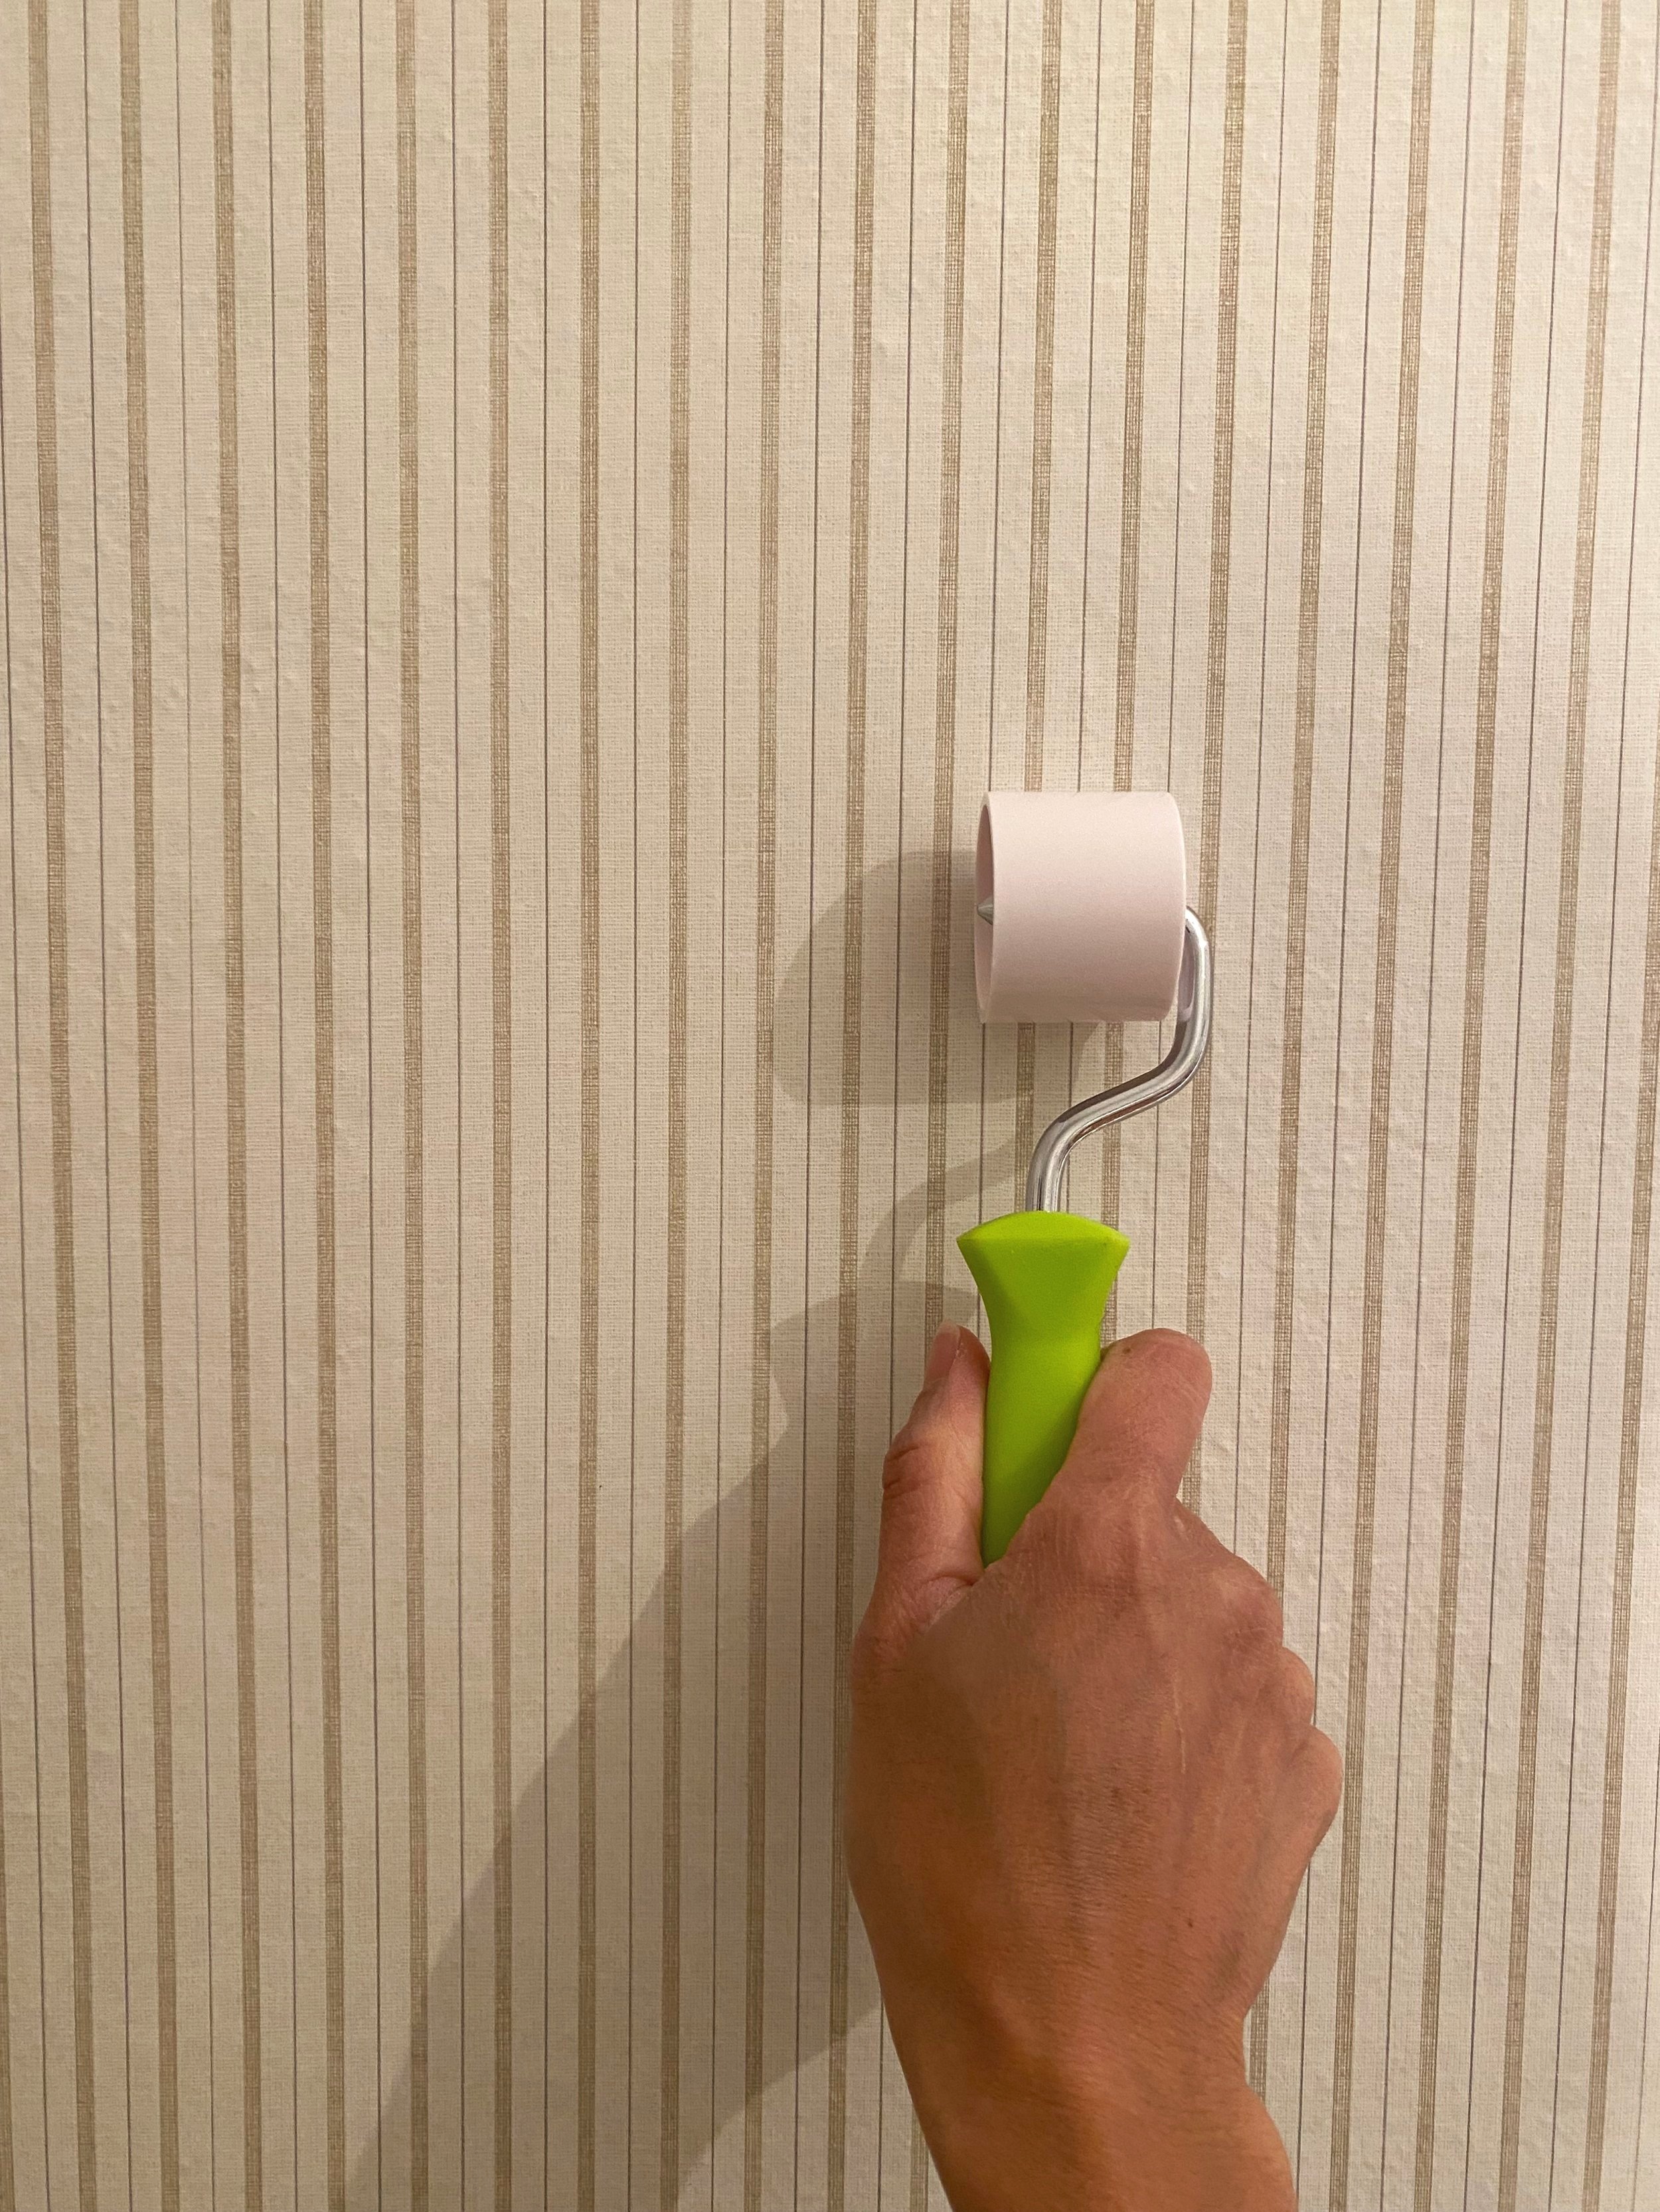
Step 11: To be certain the seams don’t curl in the future we seam rolled between panels. We got this nifty seam roller from ACE for only $4! You could find better quality ones but this one did the trick for this job.
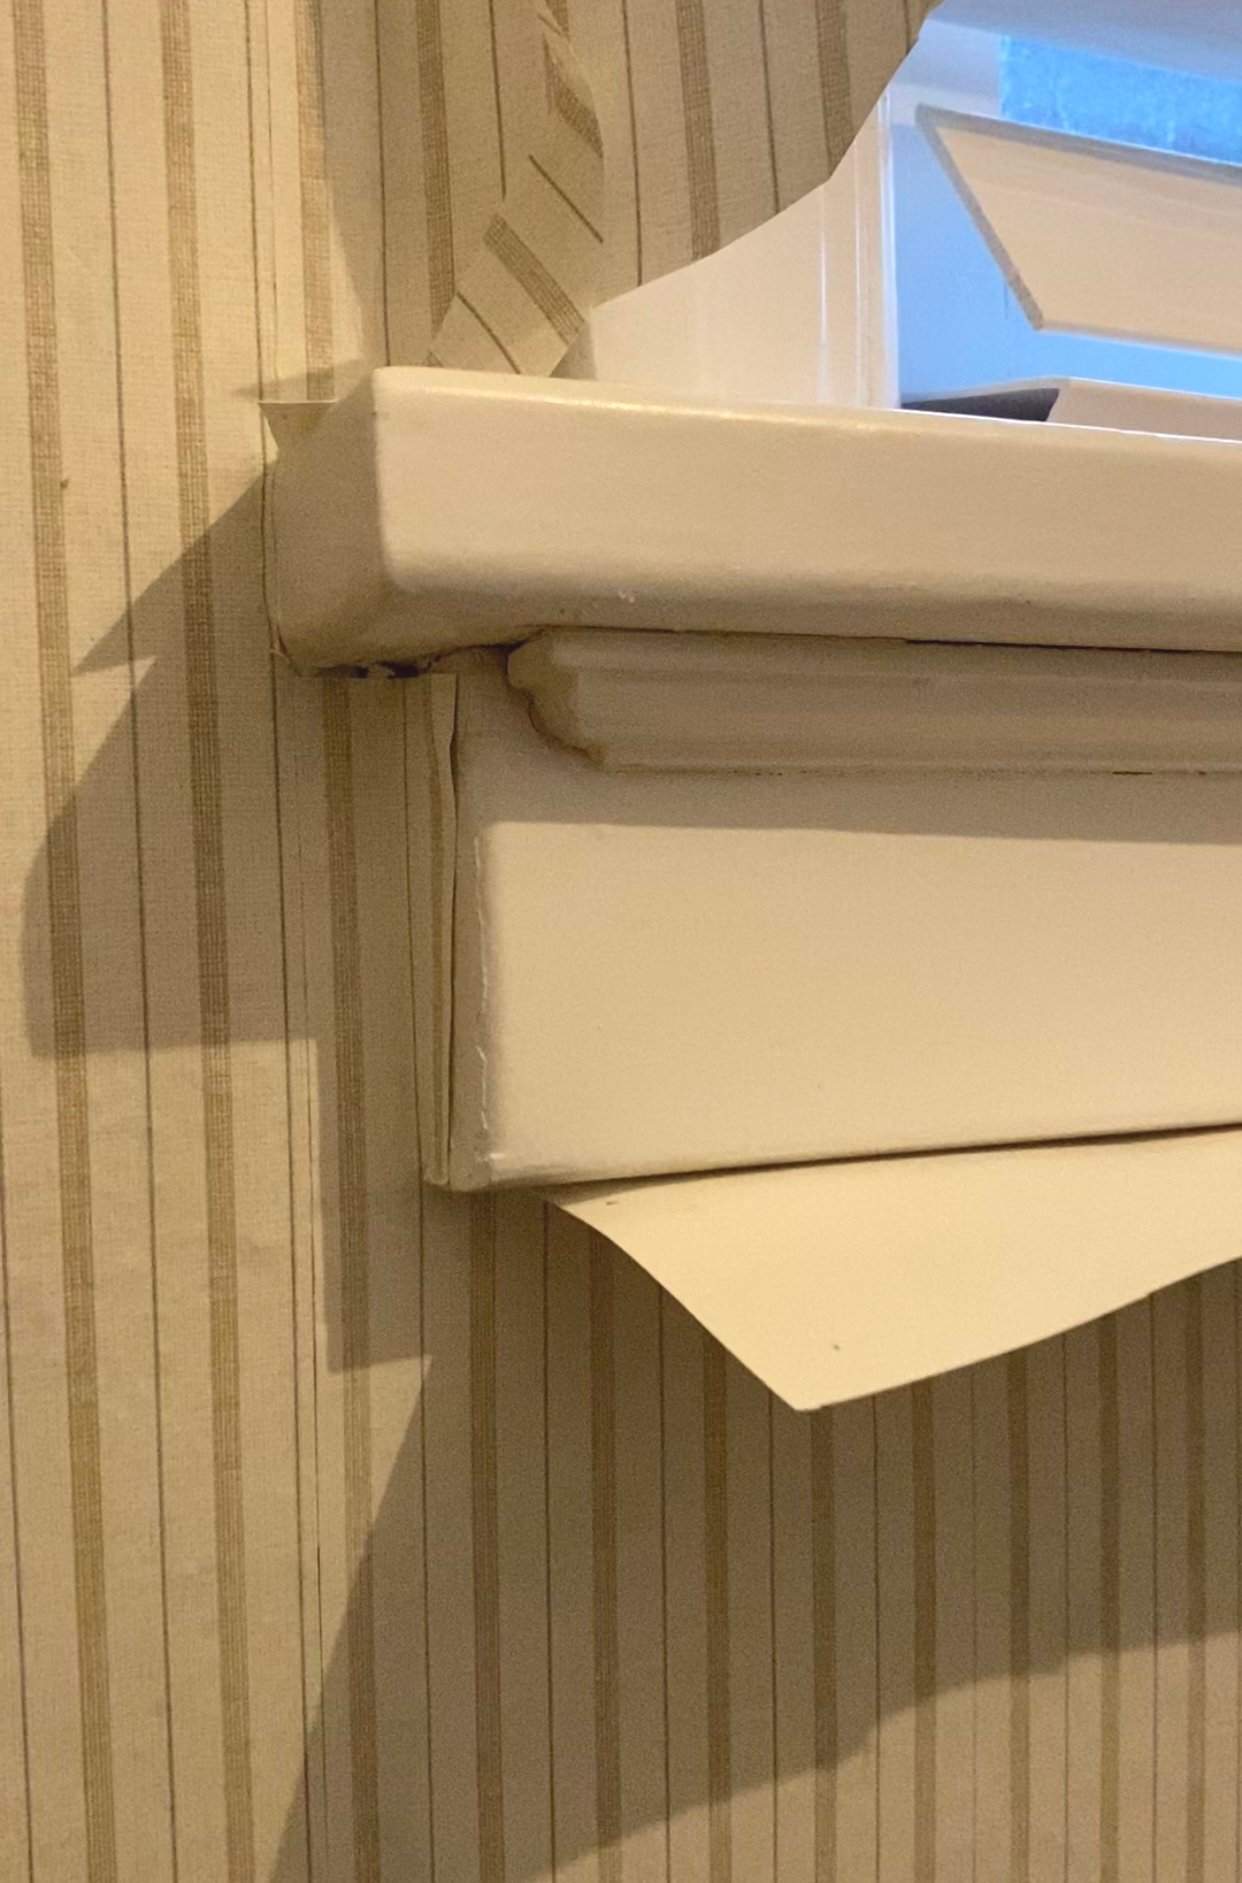
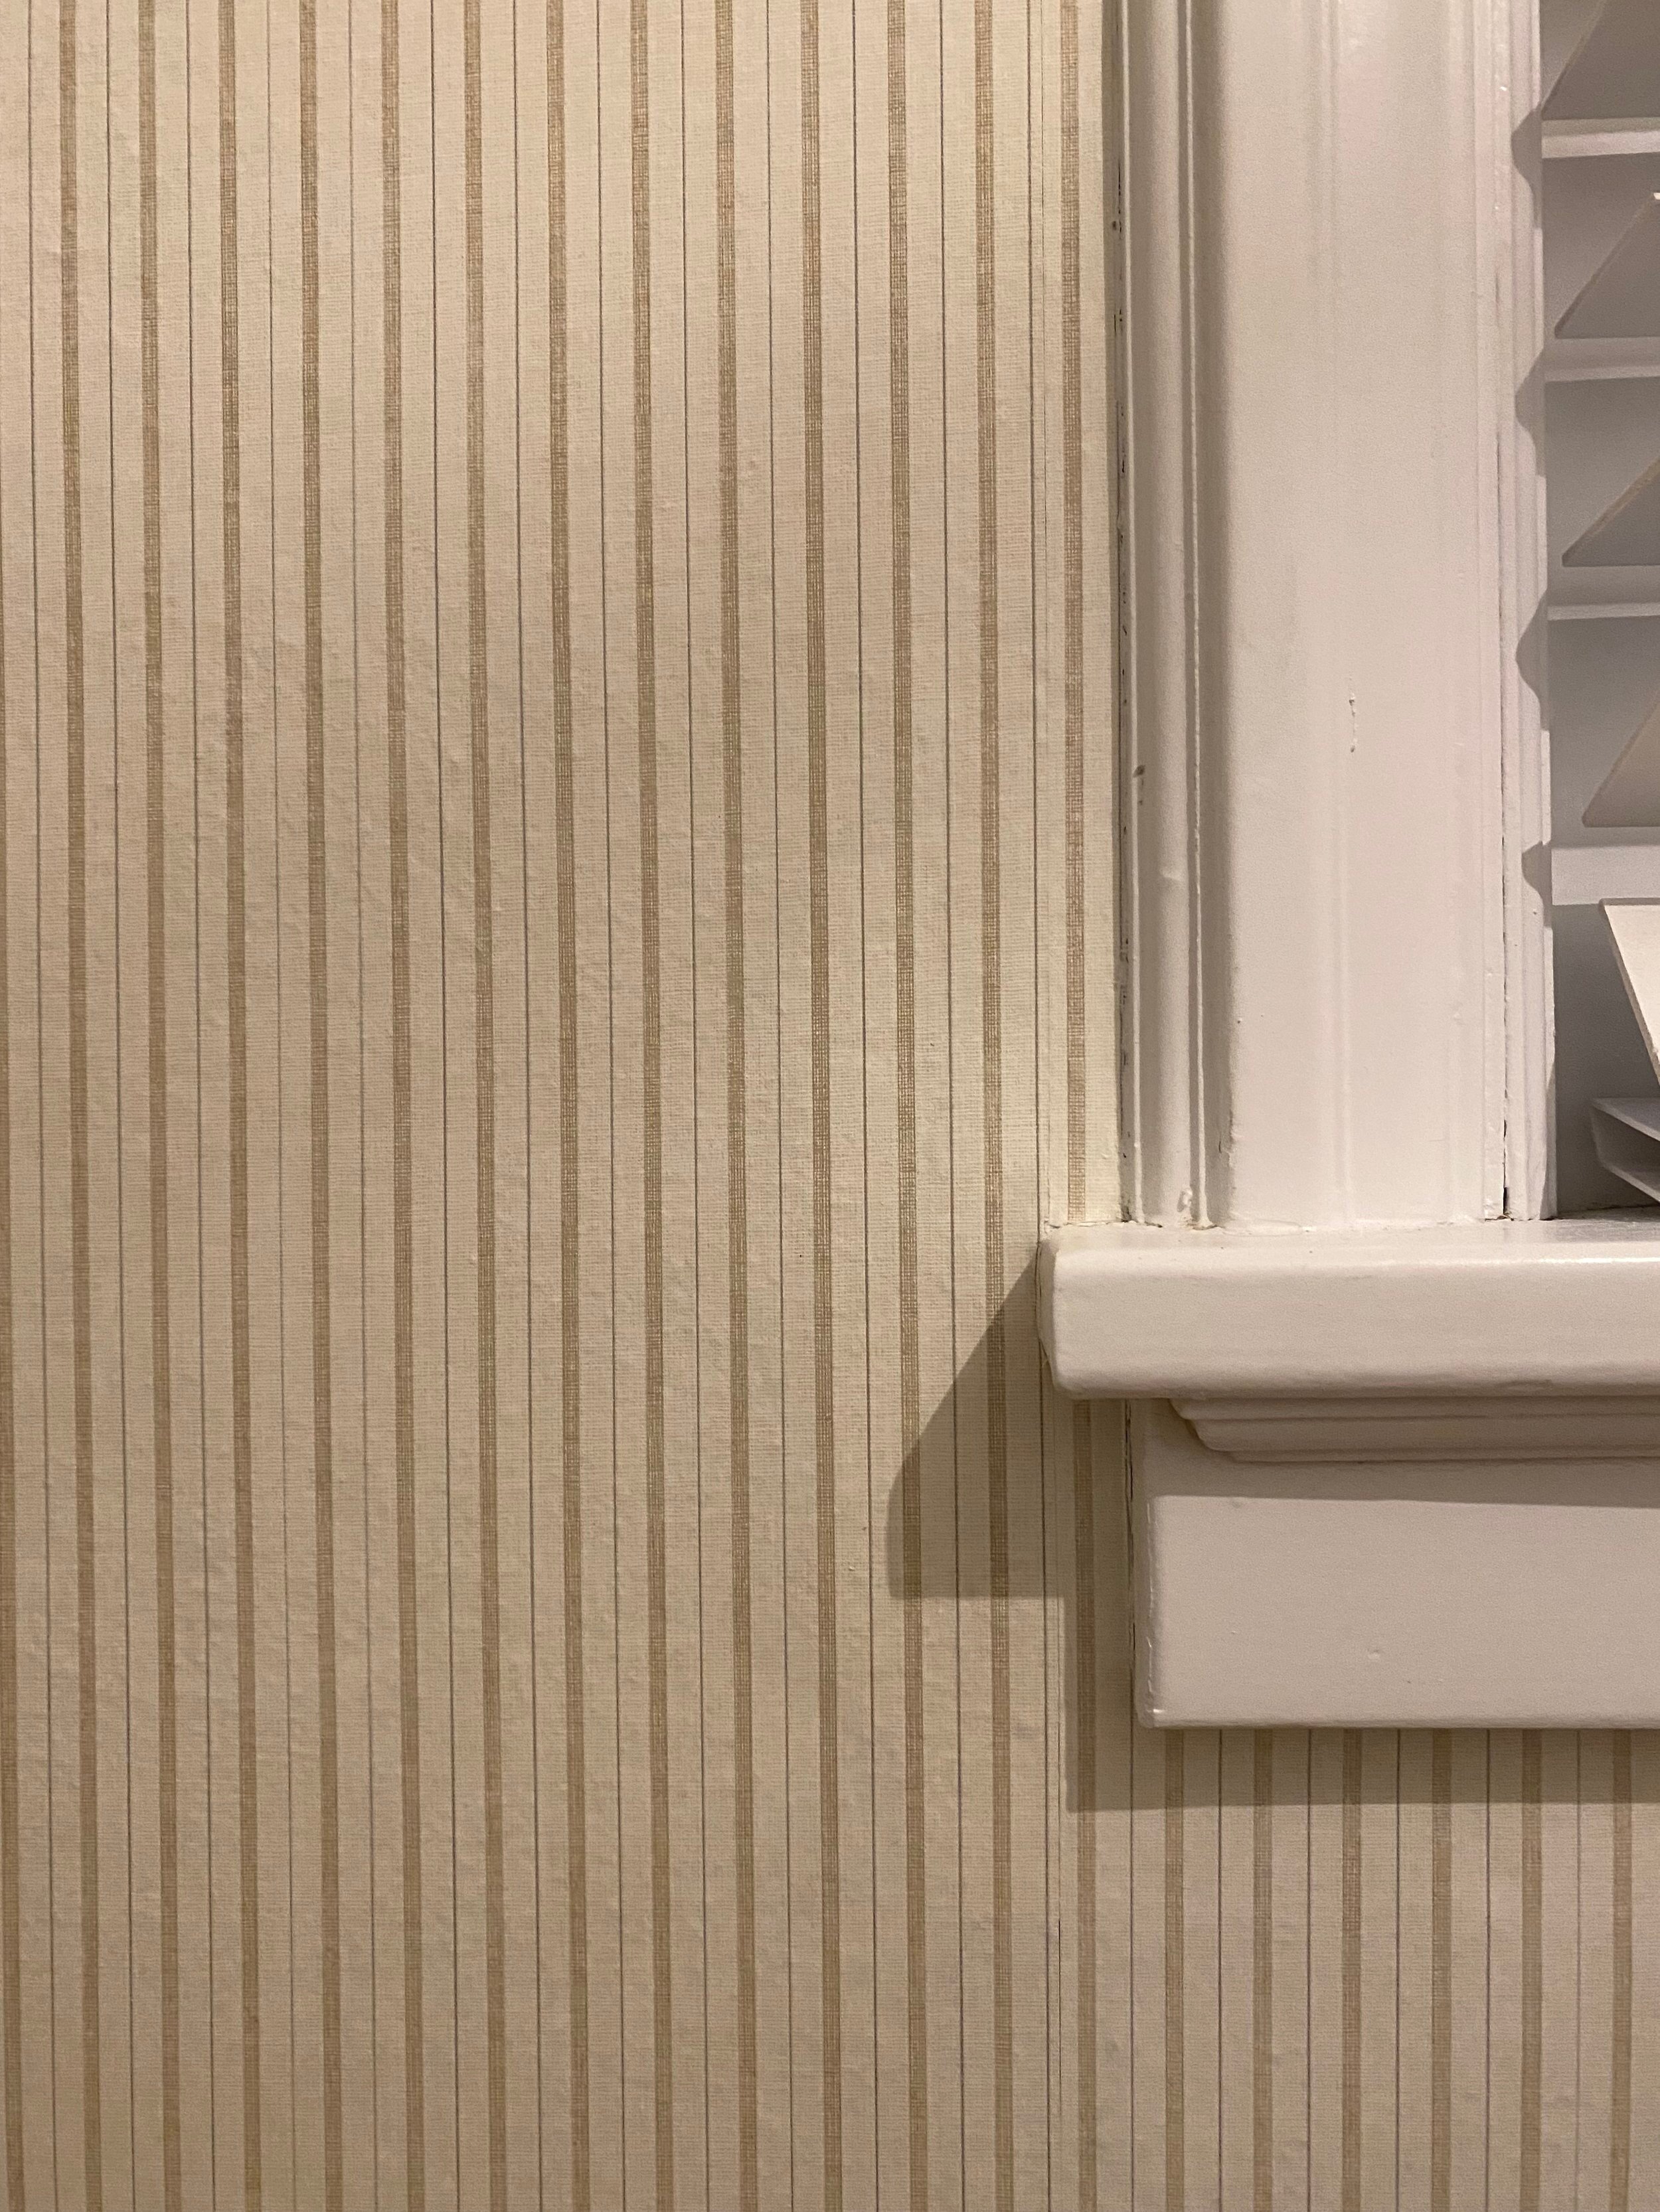
Step 12: Cut around the window. Now, this part of the process was very tricky! We did not plan ahead for the window and had a very small sliver of empty wall space between the other wallpaper and window.
We decided to put the whole piece of wallpaper up, attach the top part, and then roughly cut where the window is with scissors. This left wallpaper for the little sliver to the left of the window and for underneath the window. We used the box cutter to cut around the top of the window.
*tip: we cut into the corner wallpaper pieces with scissors of the window into a triangular shape, which made it easier to use the box cutter.
Tips from insta: take the trim off around the window and then apply the wallpaper. This helps conceal the seams around the window for a clean look.
Step 13: For above and below the window we cut the wallpaper into two pieces and pasted them separately. We got the air bubbles out with the taping knife and cut the bottom with the box cutter.
Step 14: Repeat the process until you come to the end.
You can see in the picture that there is a little space above the shelves. This was another tricky spot to wallpaper so read Step 15 if you’re in a similar situation.
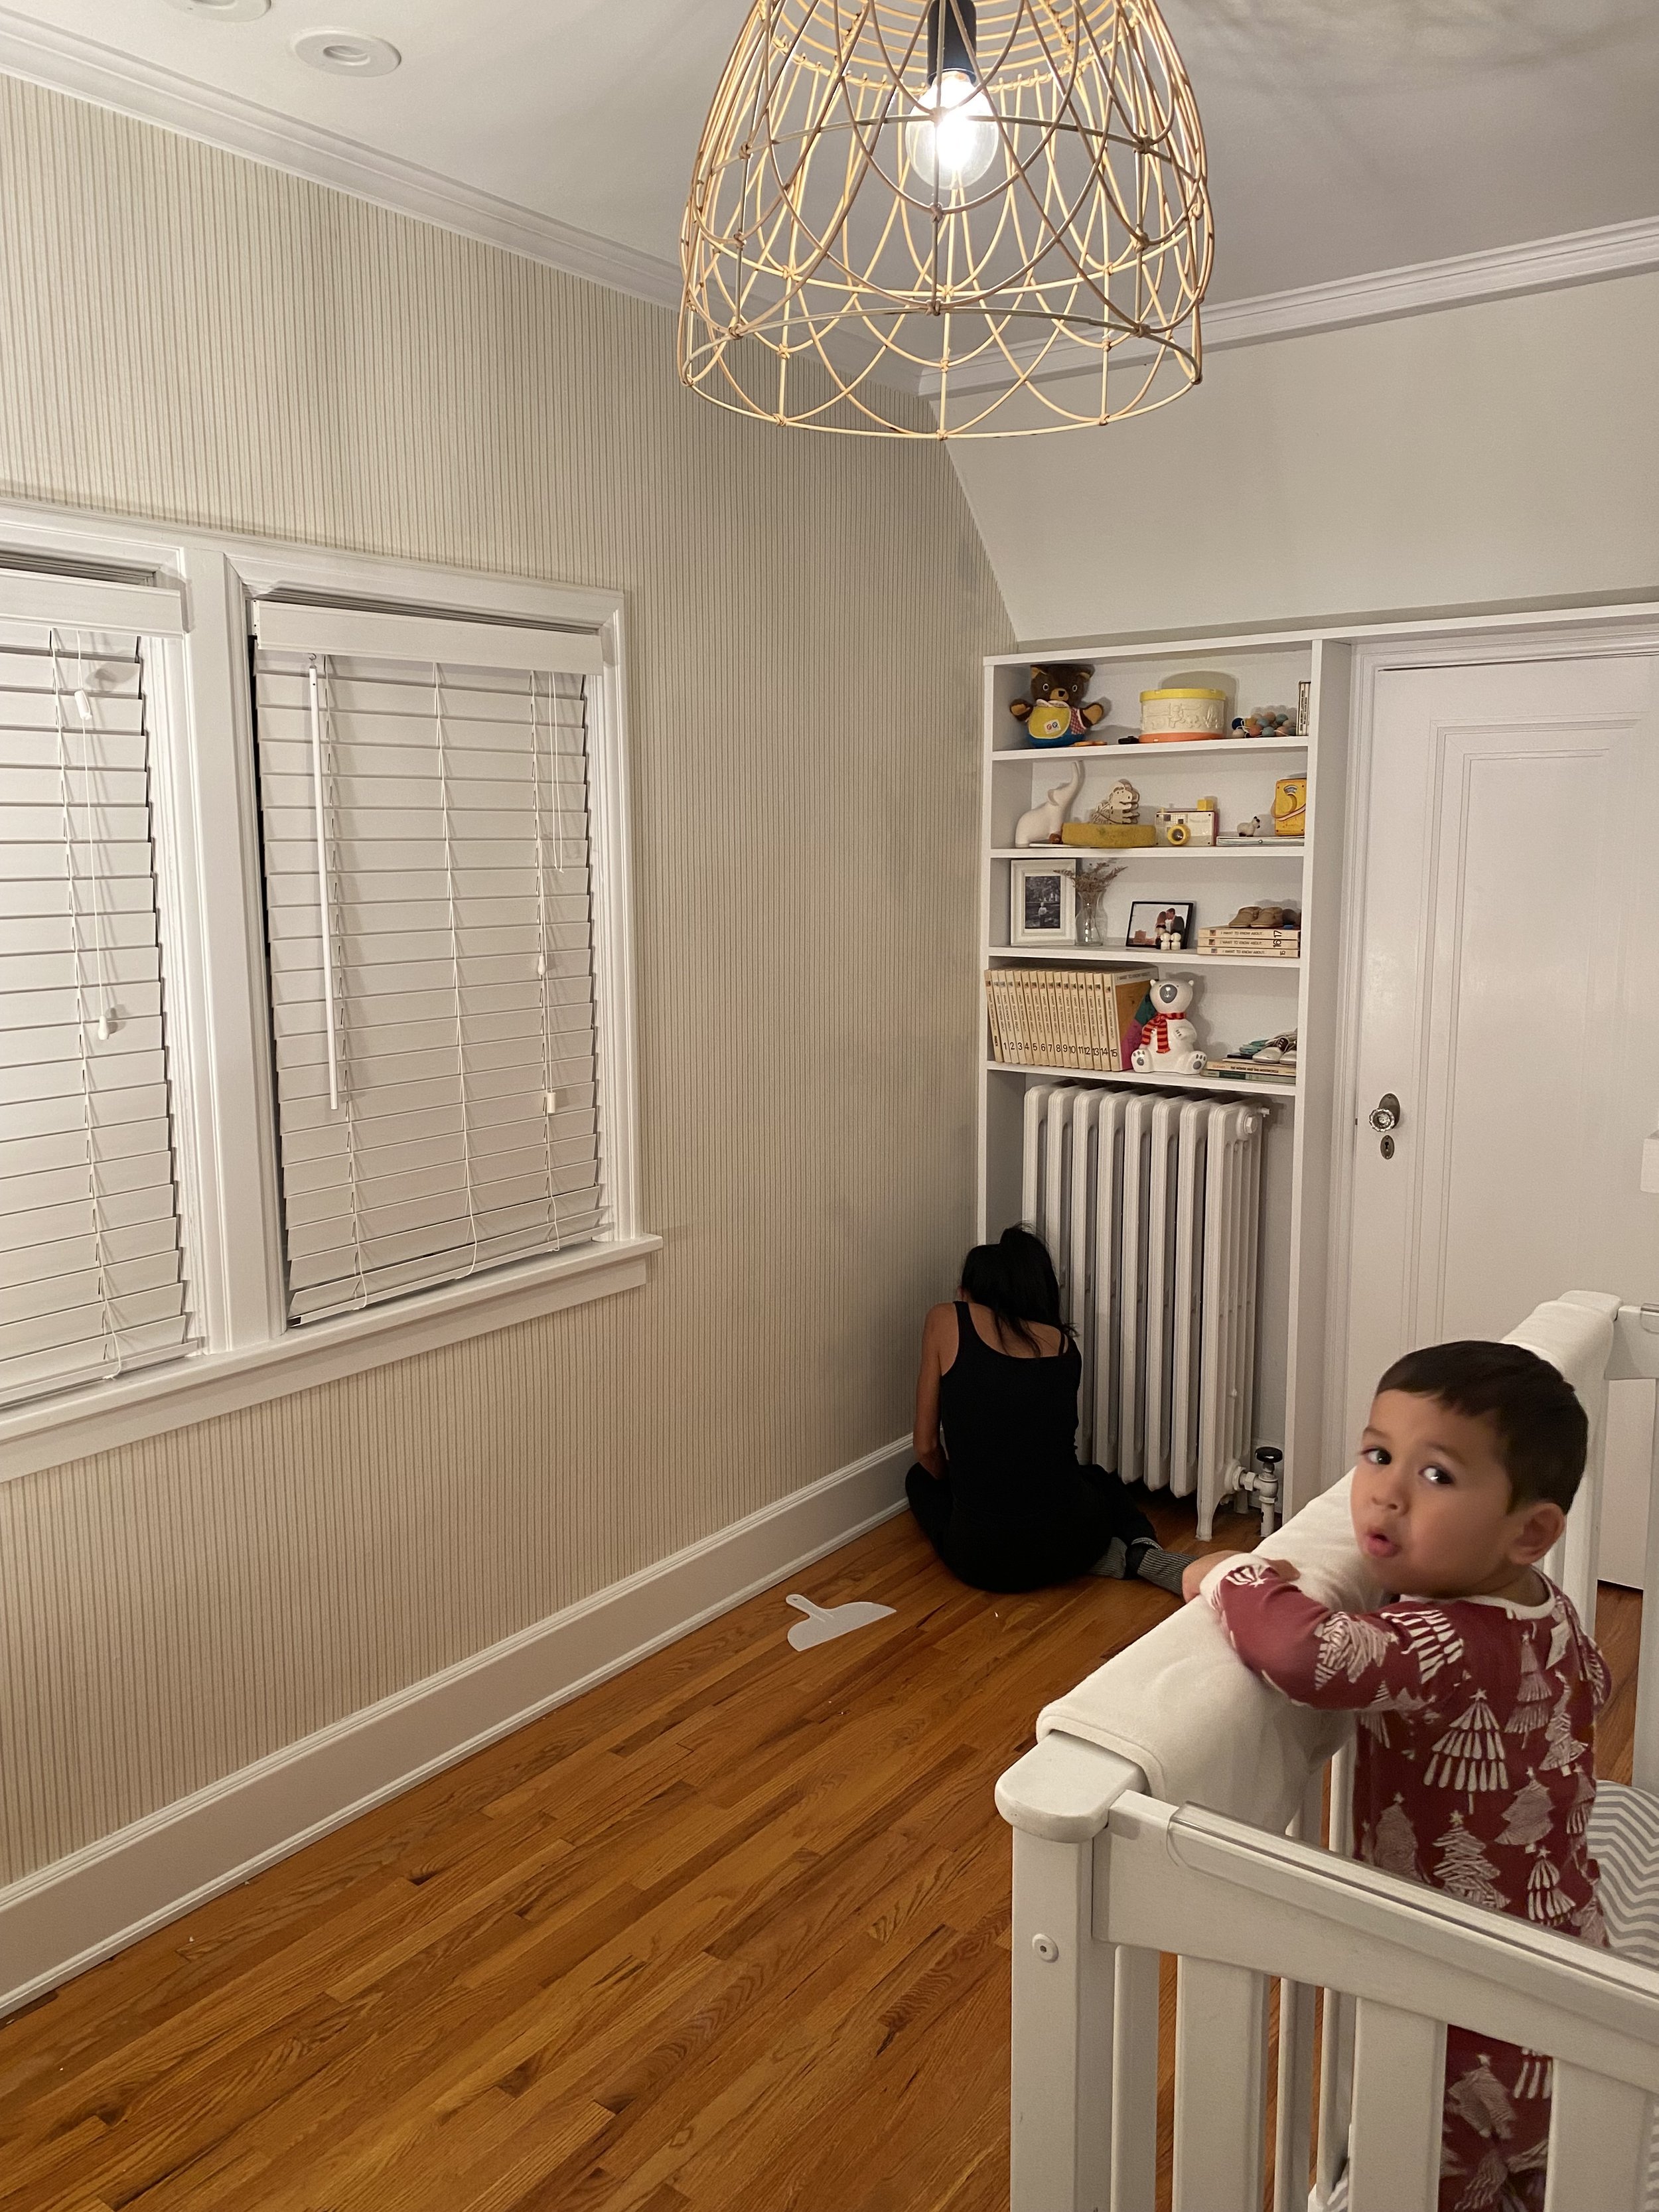
Step 15: Before putting the wallpaper on the wall, we measured the area. Then we cut out the shelf and corner nook part. We left a little extra wallpaper so after we pasted it, we cut it exactly to the wall with the box cutter.
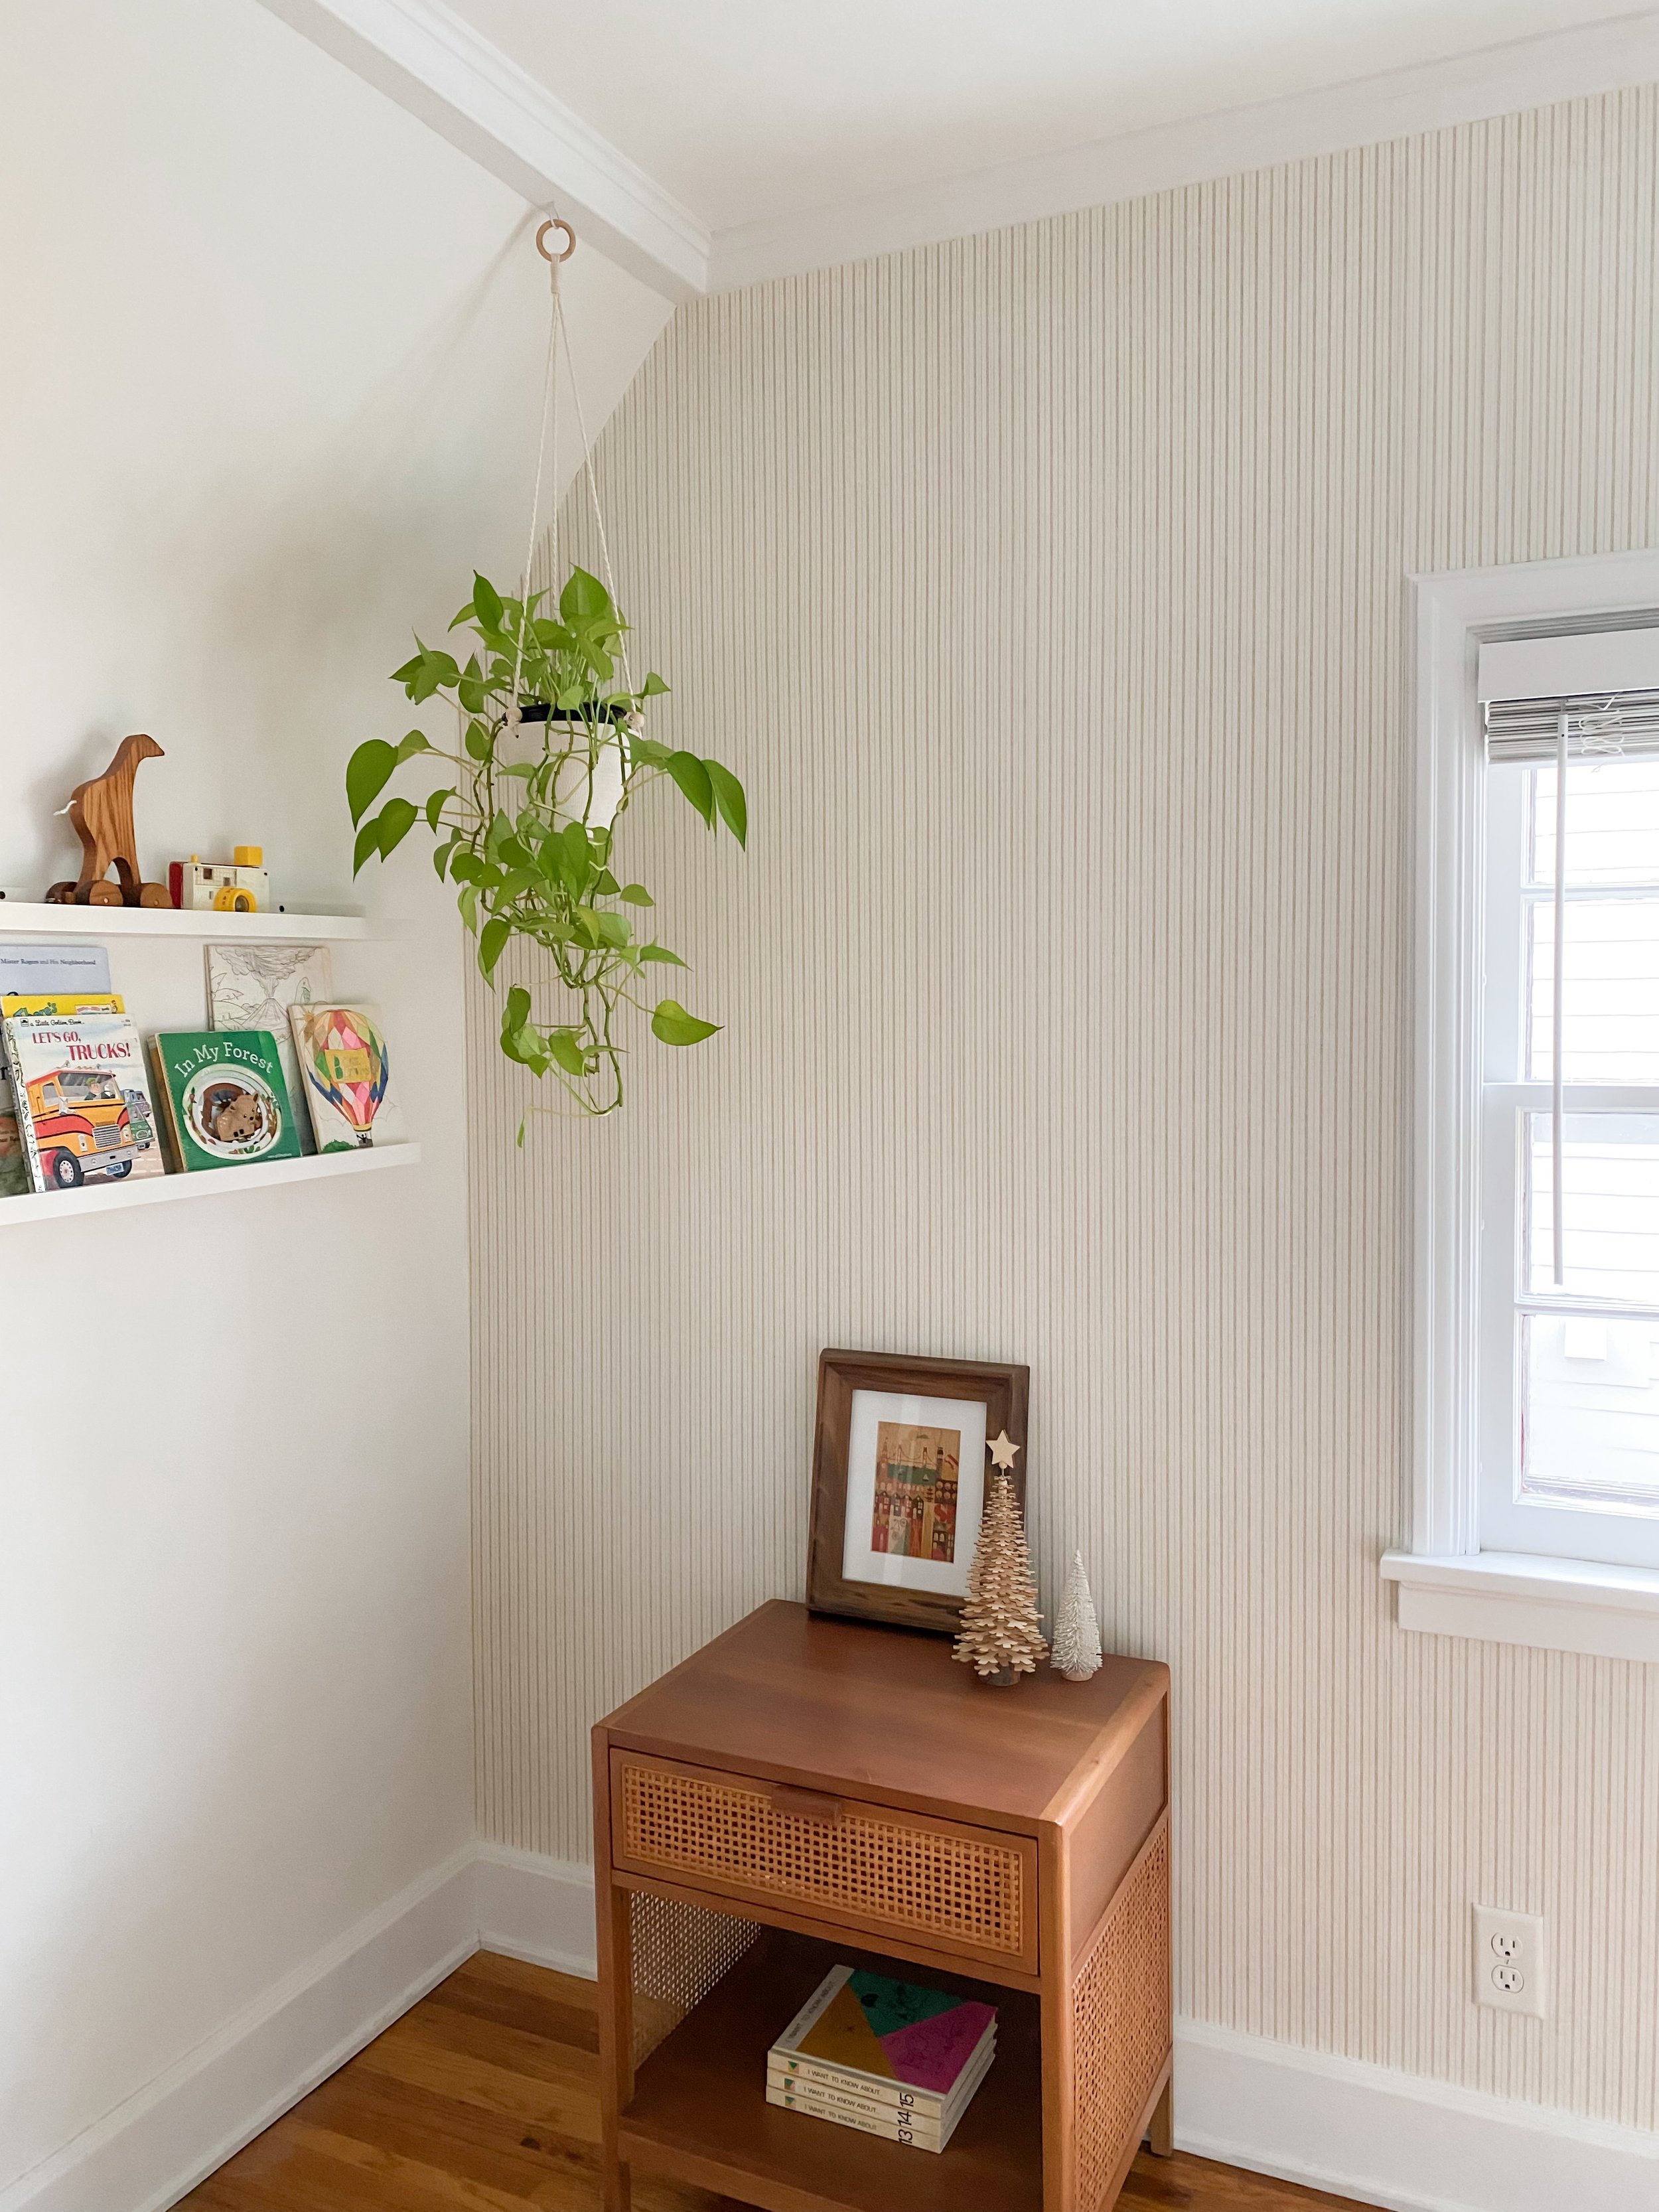
The result was very satisfying and we love how it turned out! It really gives the wall dimension and makes his room more bright and spacious looking. Jack loves stripes, too!
Click here for the room source. Make sure you are following along on instagram to see the reveal of Jack’s big boy room.

