
3 Easy Steps to Styling Your Shelves
Photography by Sage Imagery
I used to style vignettes for presentations all the time when I was a product designer for Target. Read more about my product design days here. Lately, with three young kids (five yrs and younger), I’ve been finding it difficult to tackle extra house work outside of our daily tasks. Needless to say, styling our built-ins was never a priority. So I recruited my friend, Lea @creekwoodhill, for a fun styling session. Lea is a super talented interior and product stylist who makes the process look effortless. I invited Lea over and wanted to share her three easy steps to help you pull your shelves together using what you already have.
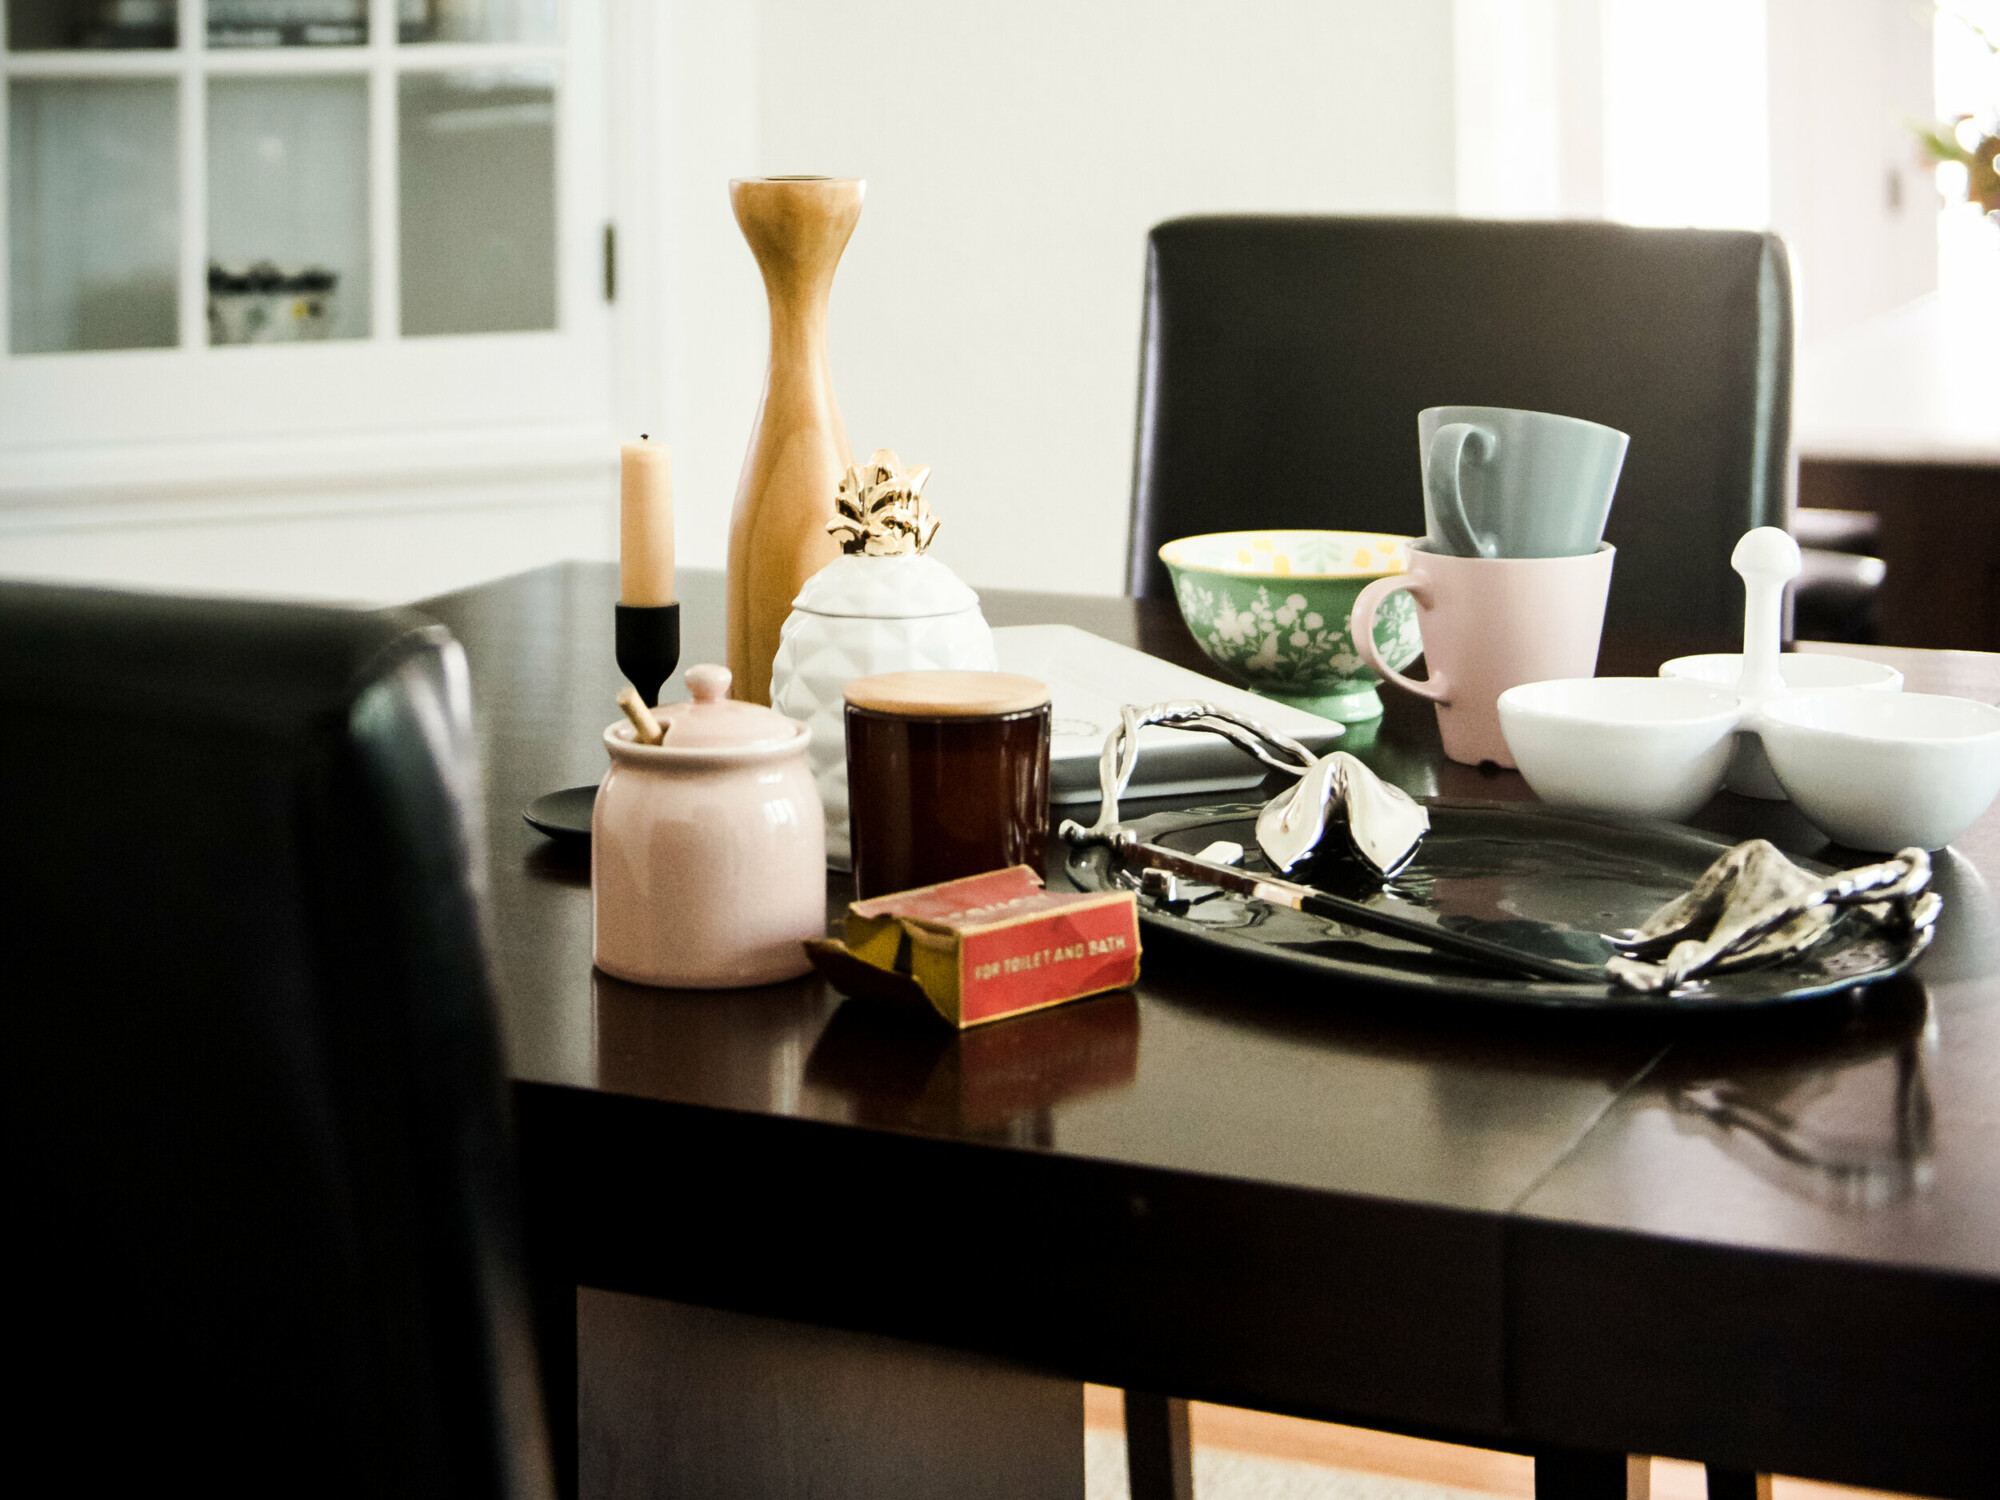
1: Take Everything Out and Take Inventory
Just like what I was doing with my laundry room clutter (read about that here), I found that I was just moving things around my shelves and it was not turning out how I wanted. Pulling EVERYTHING out and starting with a blank slate allows you to only put back what you love and donate what you don’t.
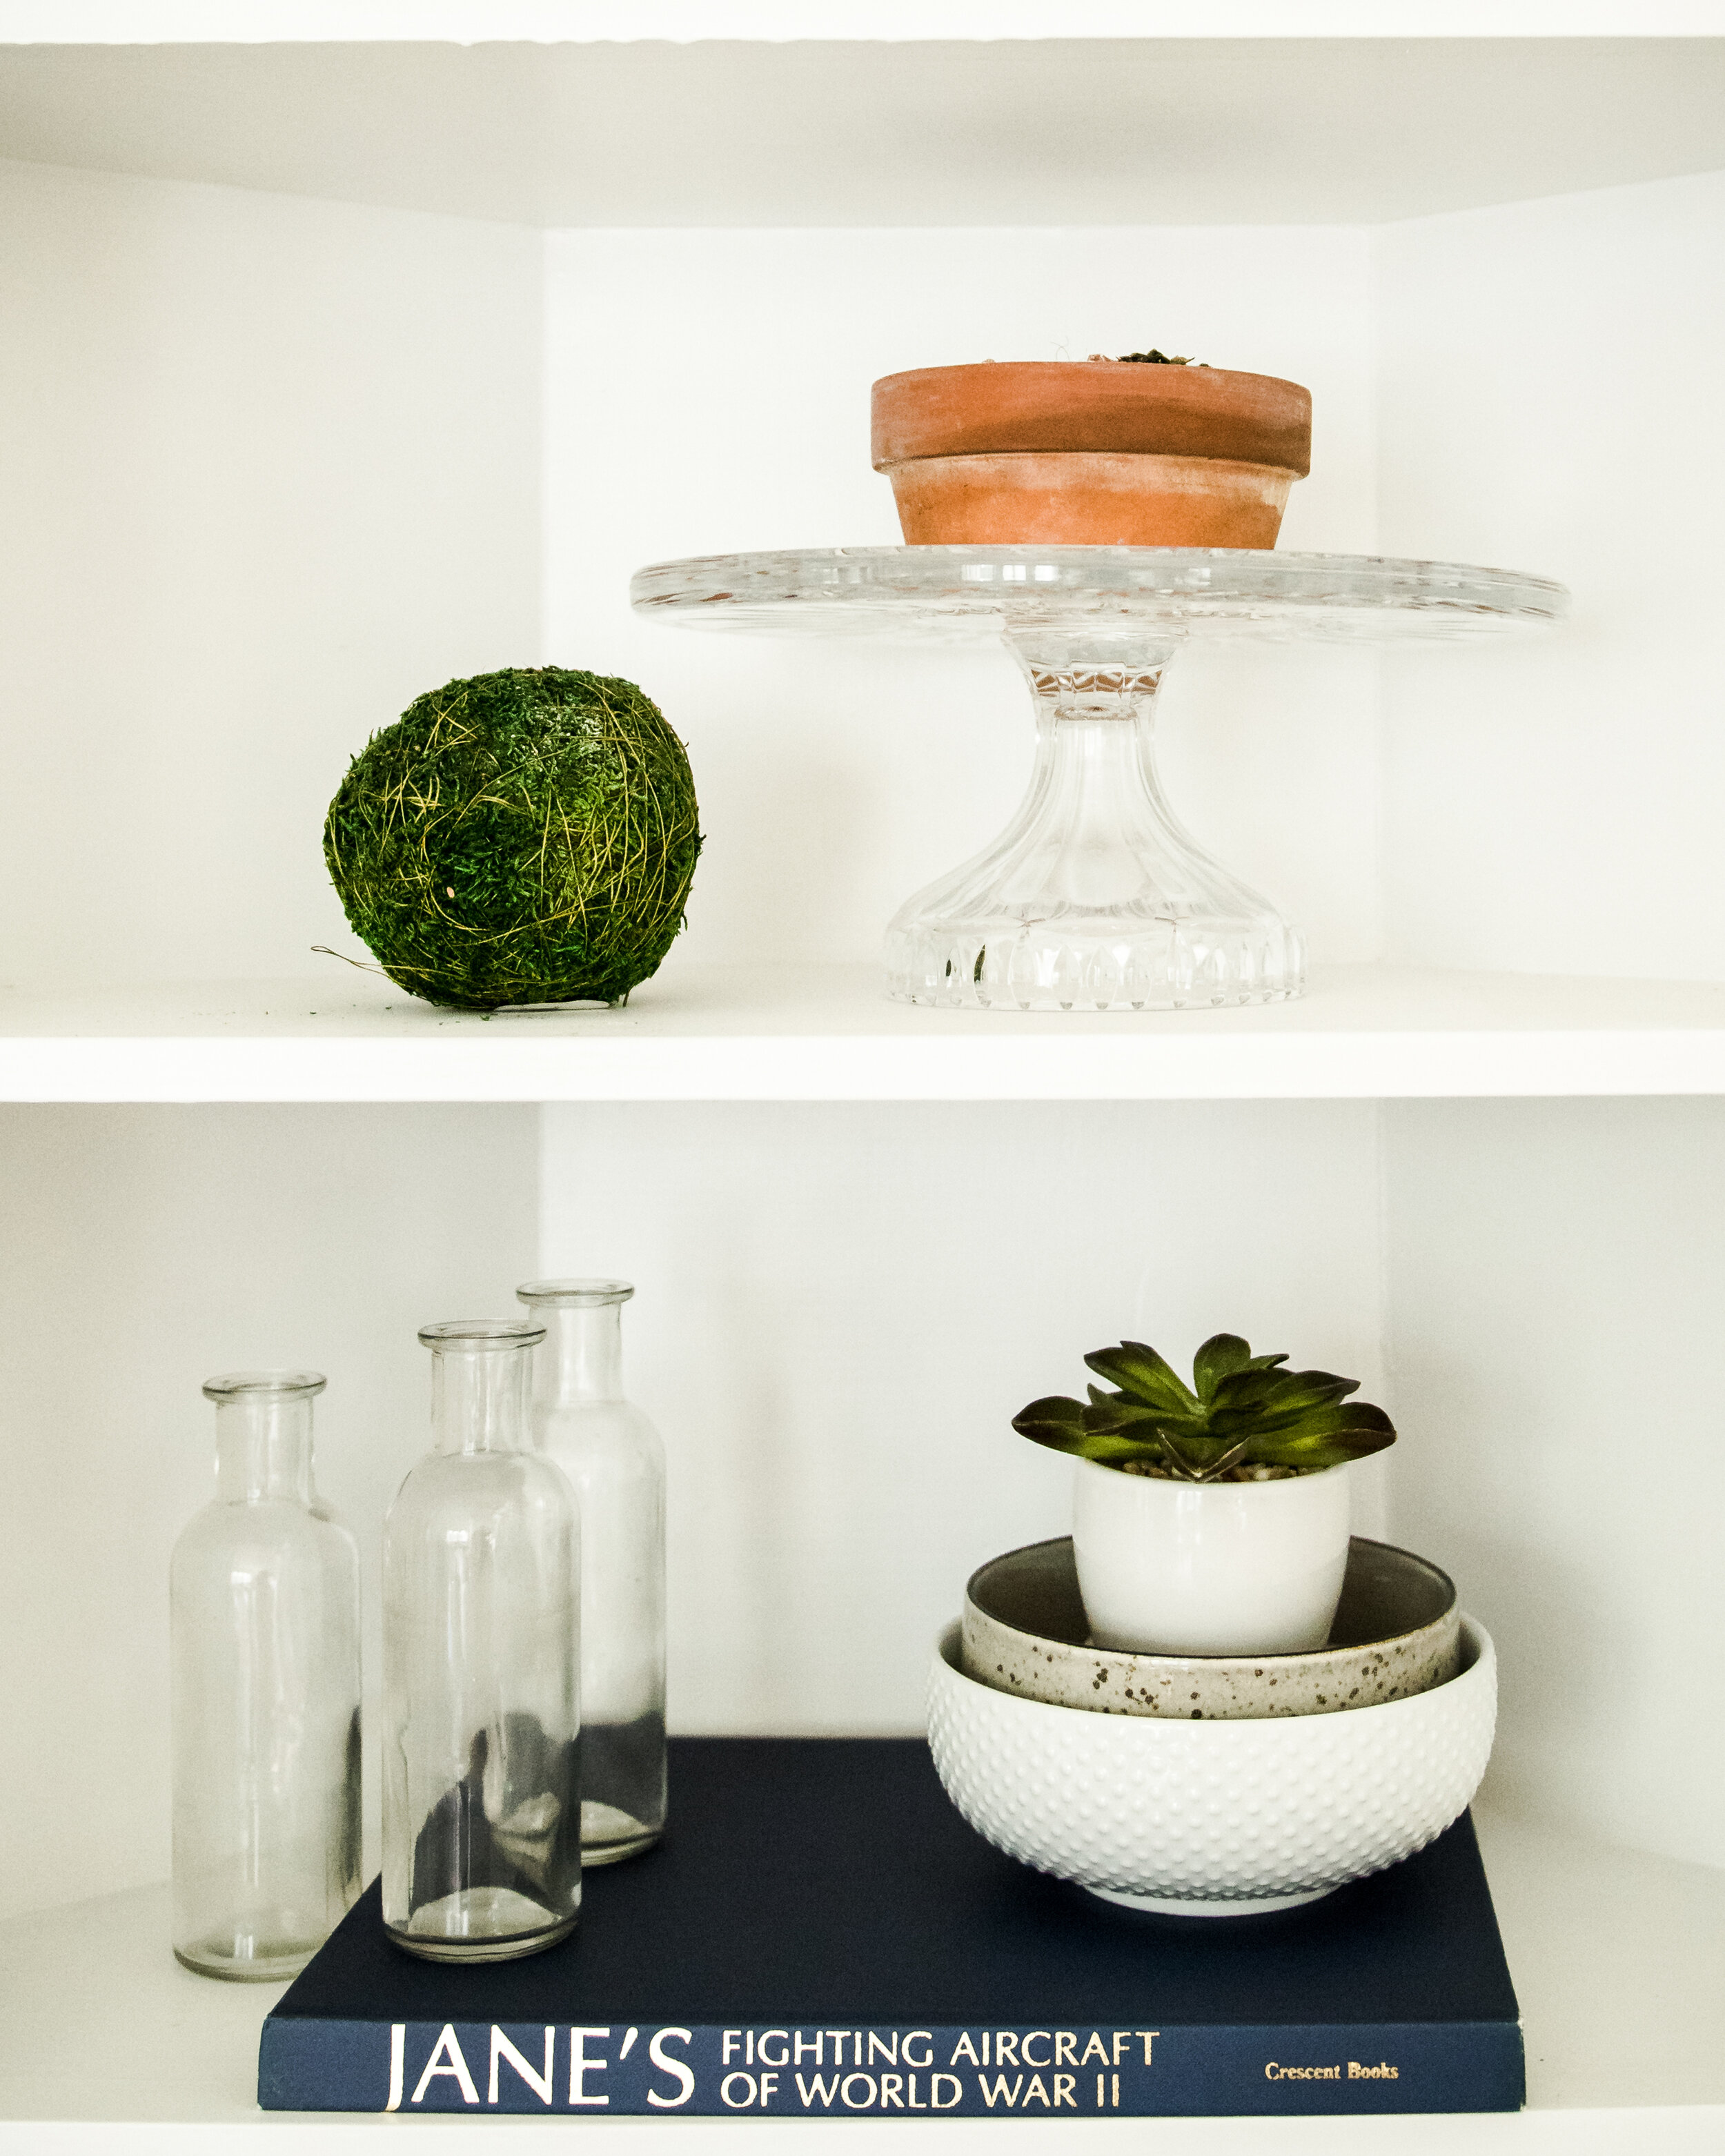
2: Pull Things Together That are Cohesive
When you’re able to group things together that feel cohesive, you can create nicer-looking individual vignettes. A good vignette makes the shelf aesthetically pleasing. Here are some tips to keep in mind for creating individual vignettes:
-
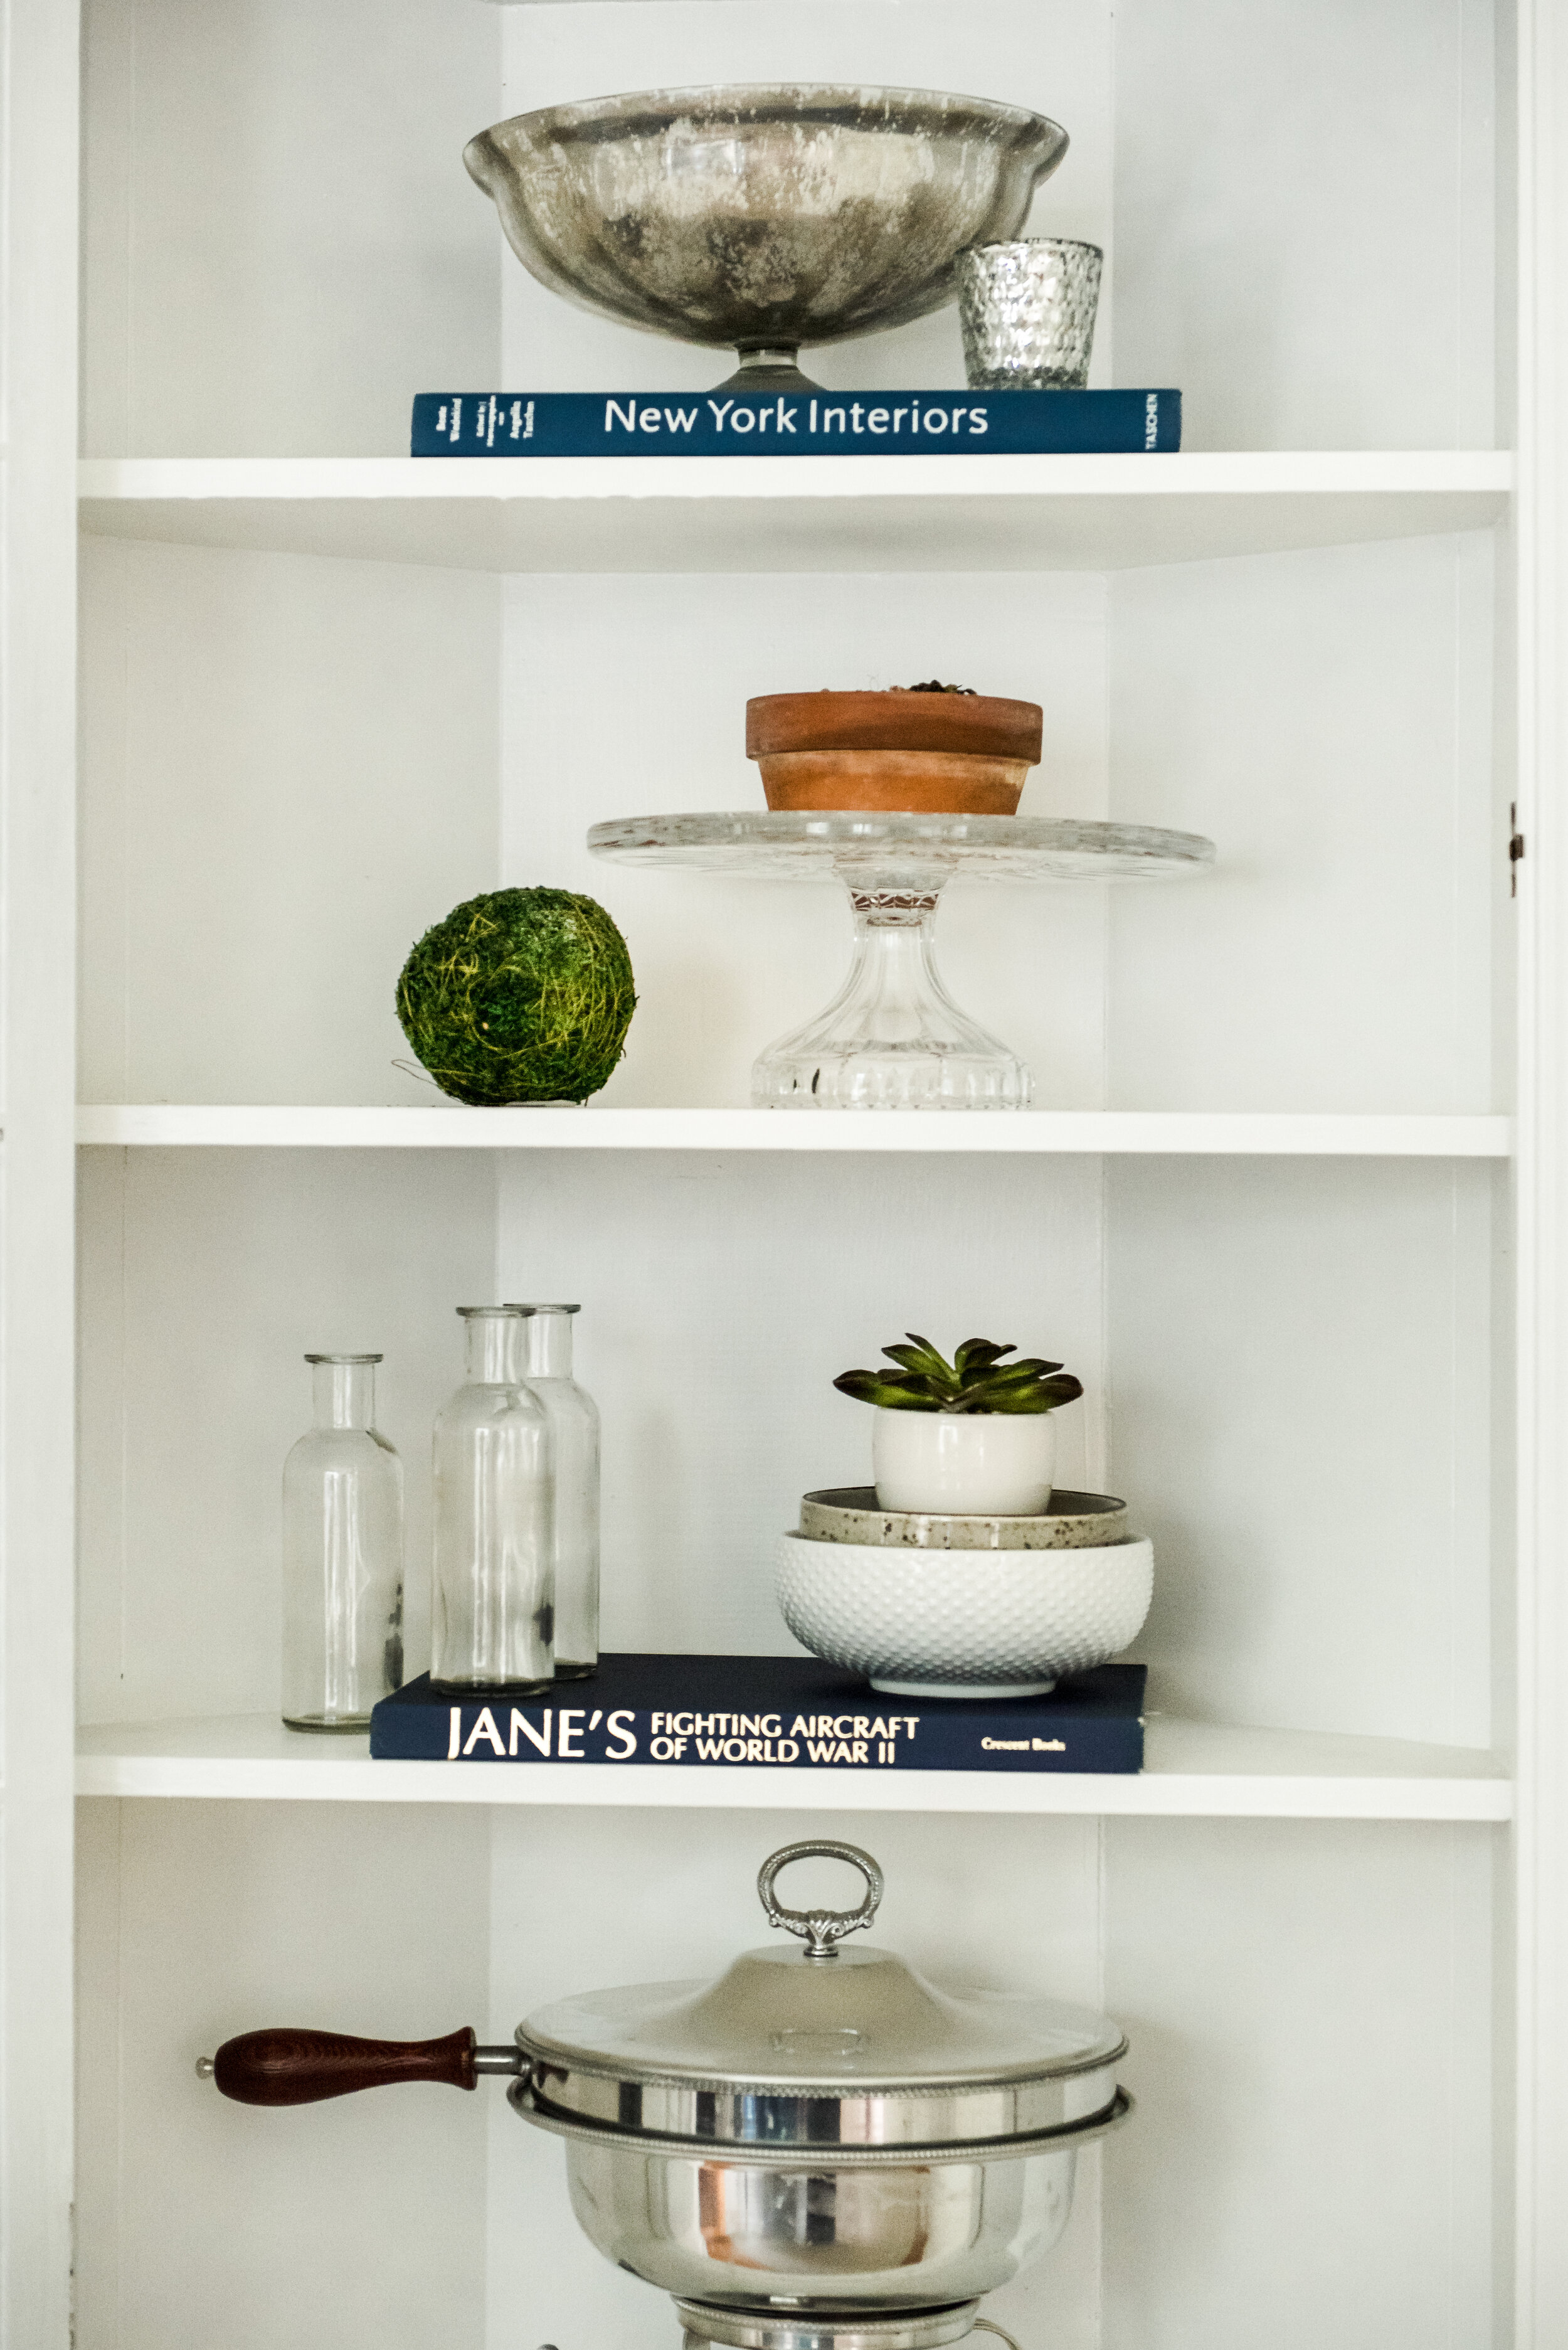
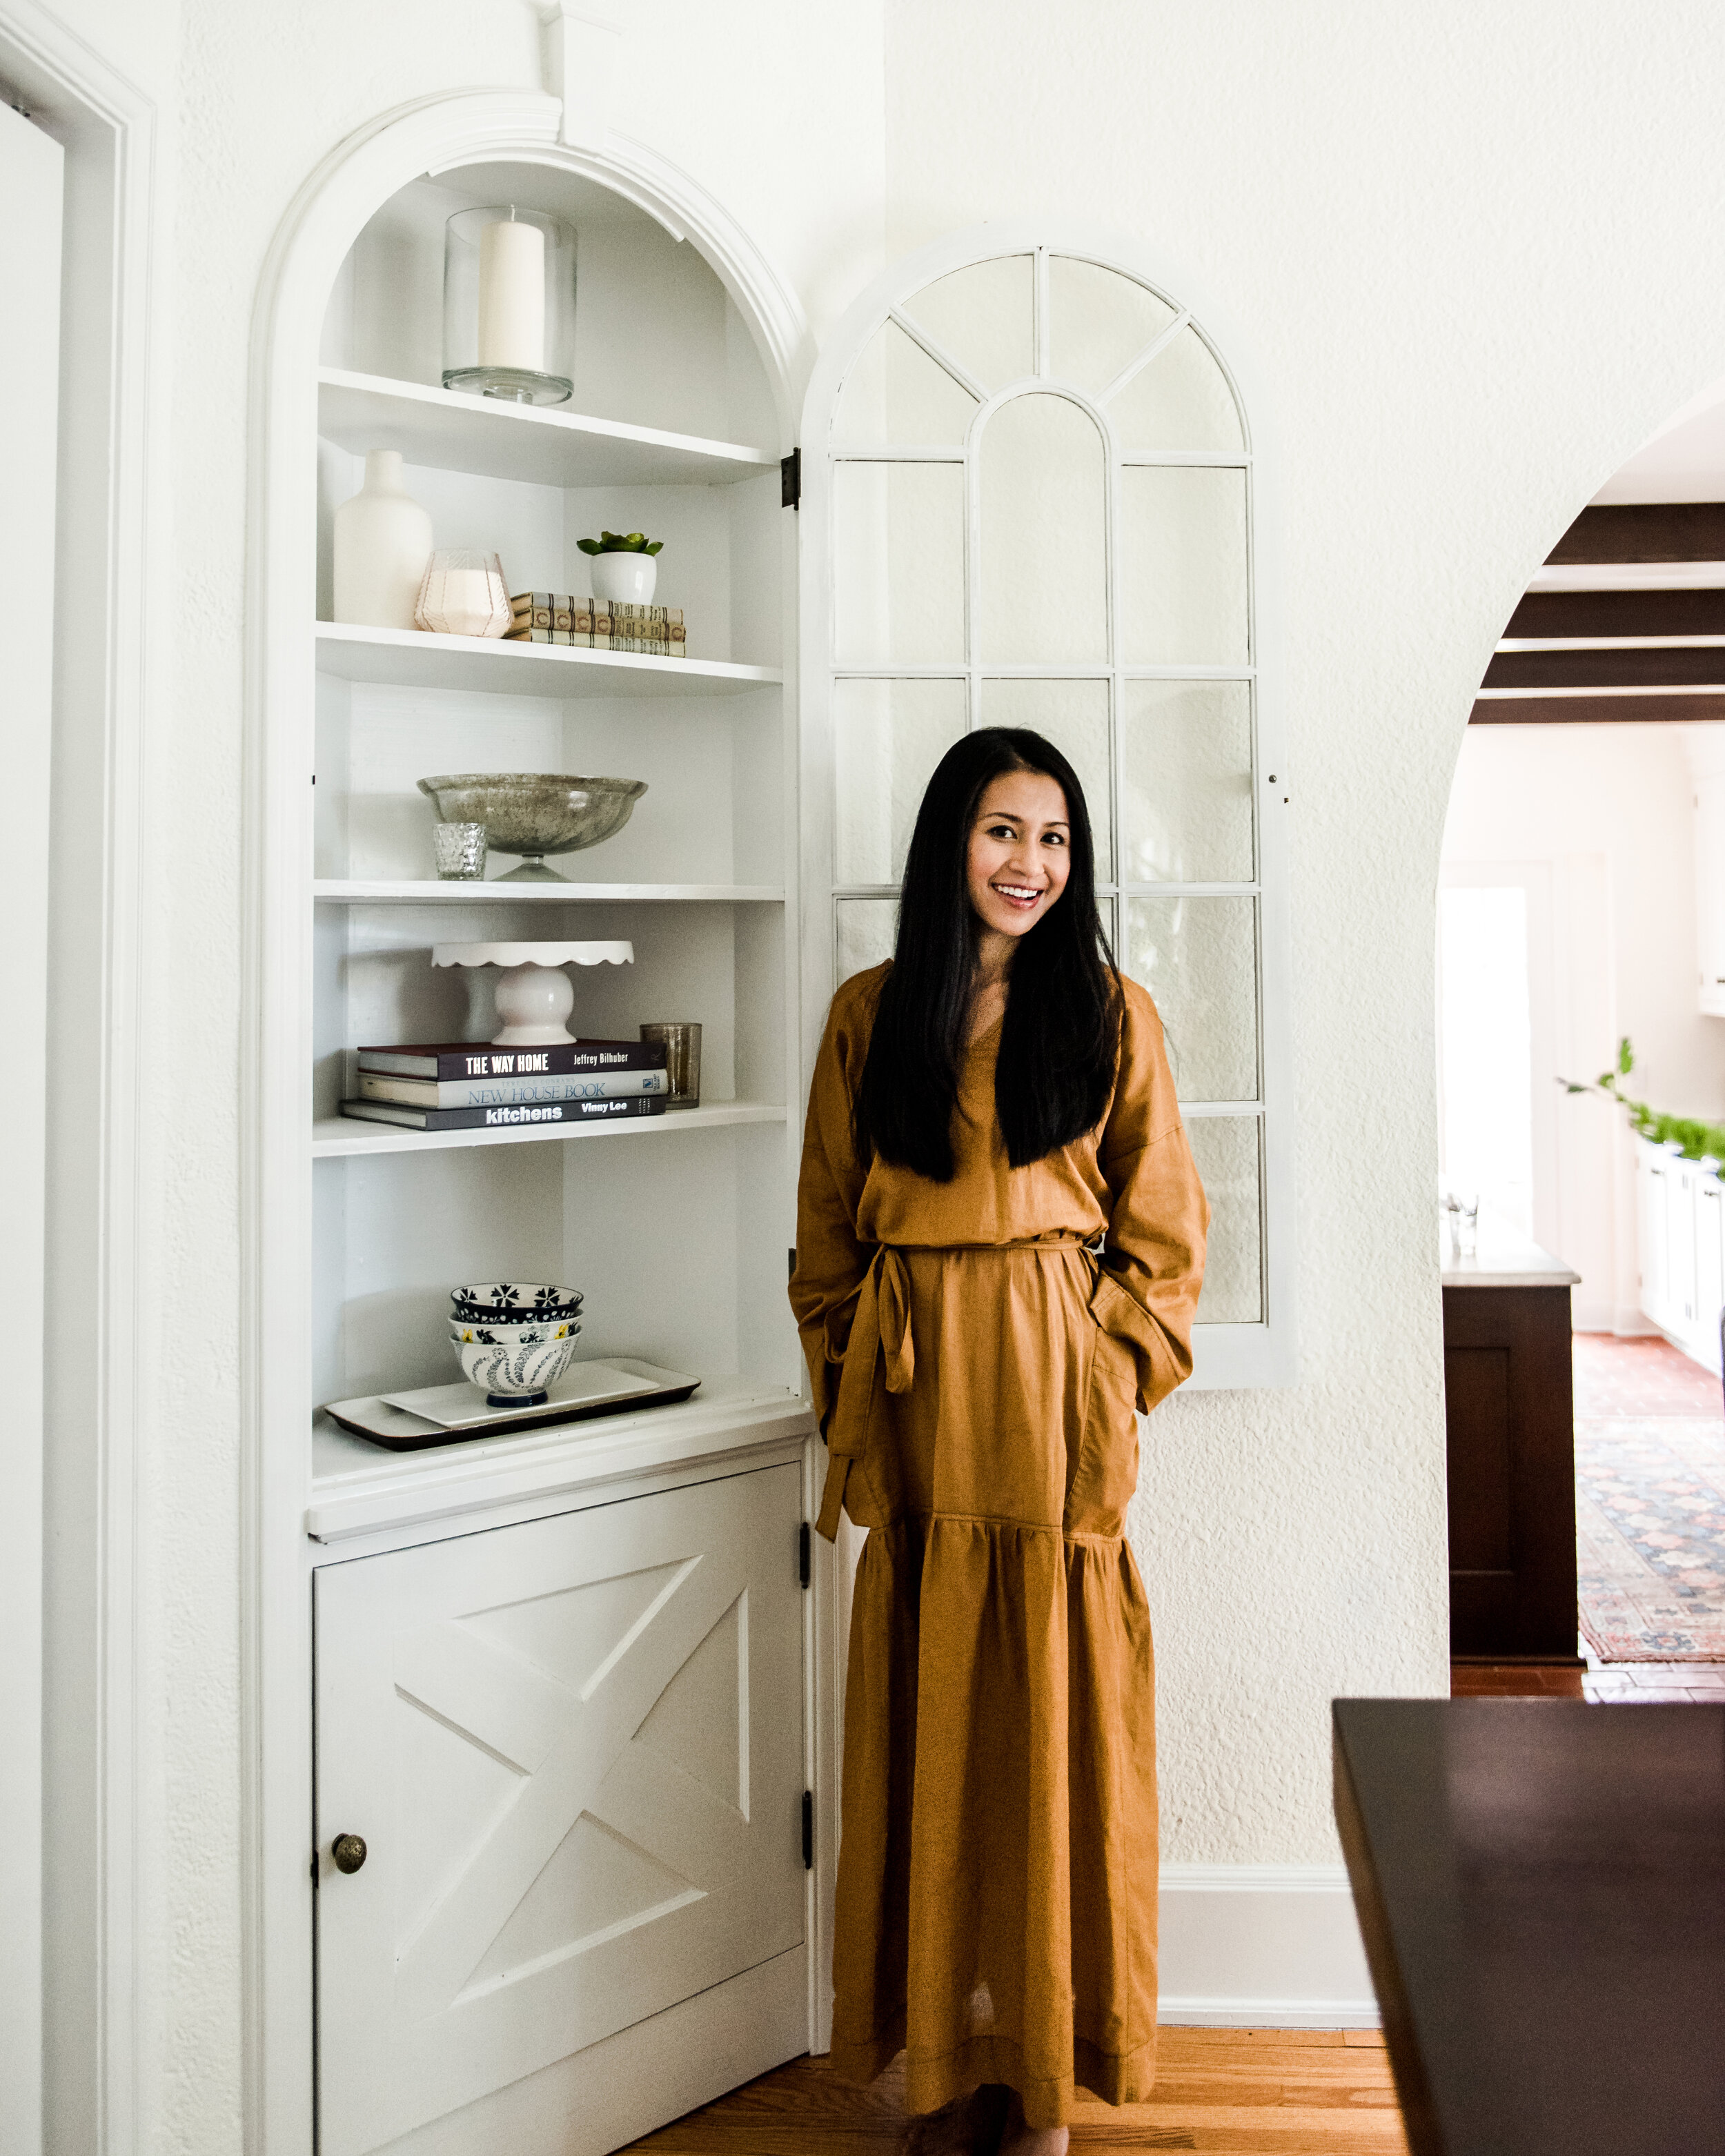
Have a variety of materials to create some depth and interest. For example: You can see that Lea used glass, terra-cotta and a moth ball for the top vignette in the photo below.
-
Play with scale to create some dimension. Varying the scale of the items will help your vignette not fall flat
-
Always incorporate meaningful items where you can. It’s important to me that our house tells a story so I love showcasing belongings that have meaning vs. being filled with just pretty stuff.
Remember to shop around your home! As you’re putting things back to create the individual vignettes, make sure to have fun and play around with placement.
similar glass vases
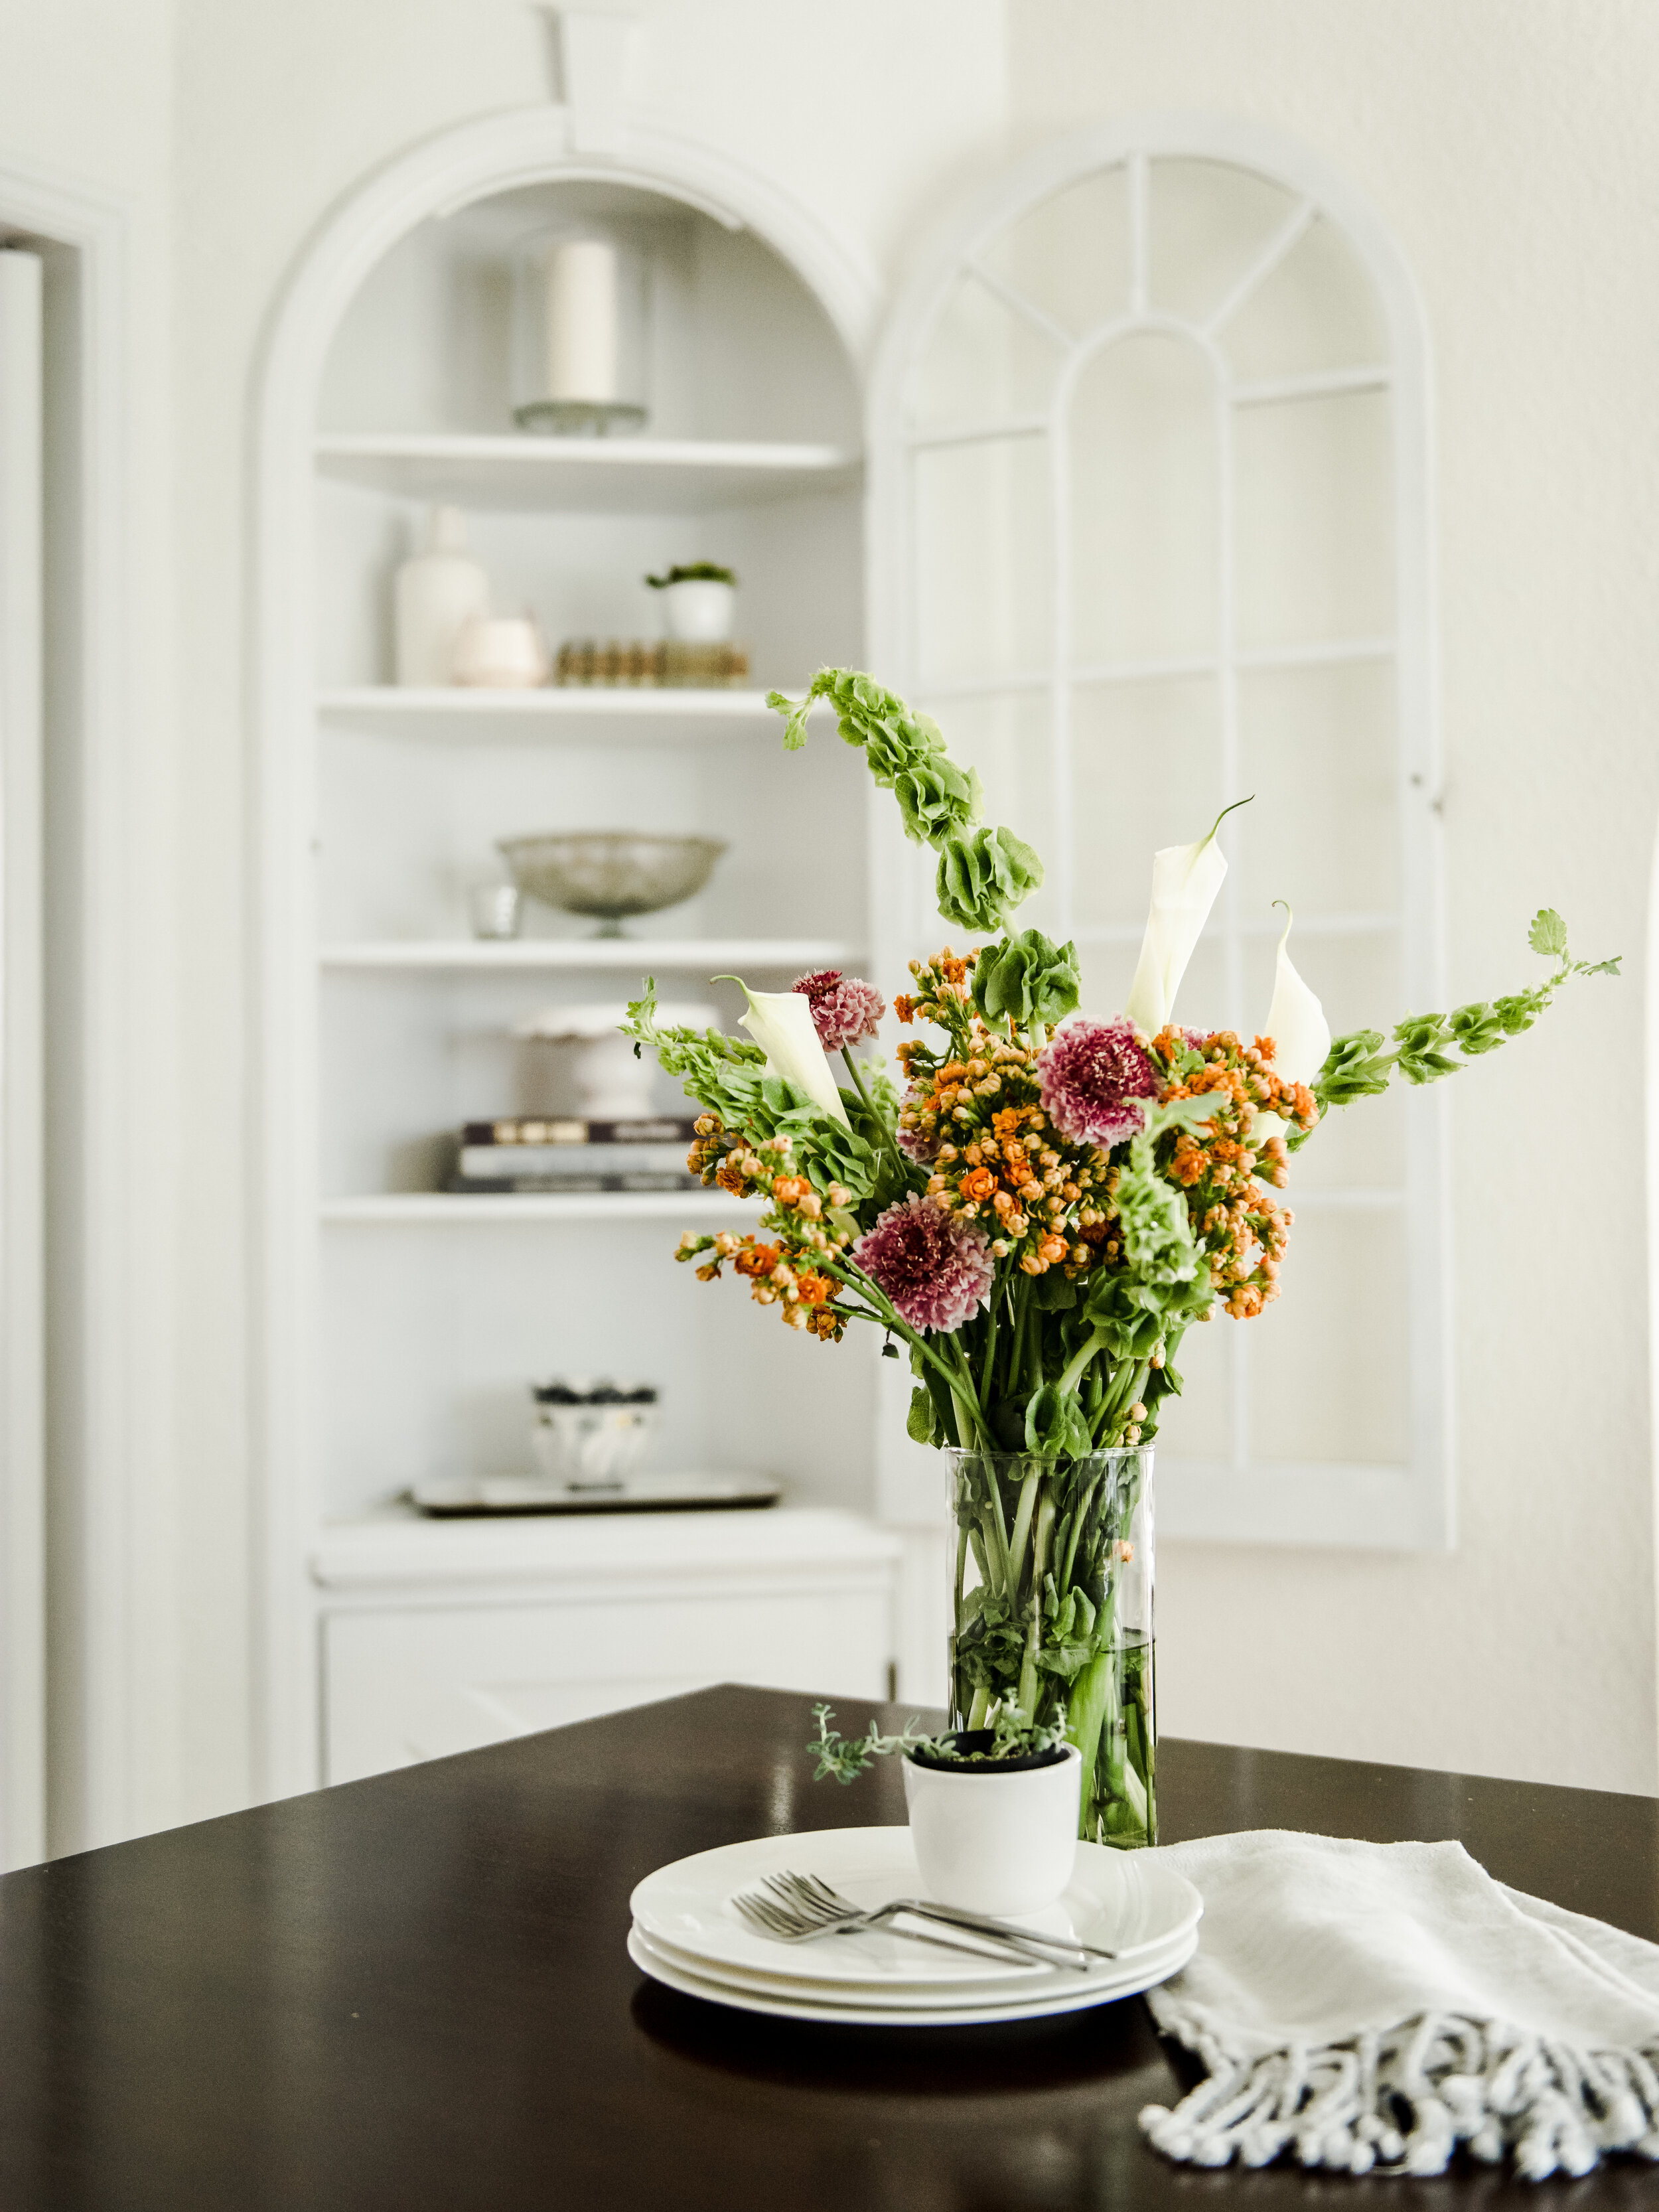
3: Step Back to Ensure All Vignettes Look Cohesive as Whole
Creating the individual vignettes is a starting point but making sure it looks cohesive as whole will make your shelves really stand out. Here are some more awesome tips:
-
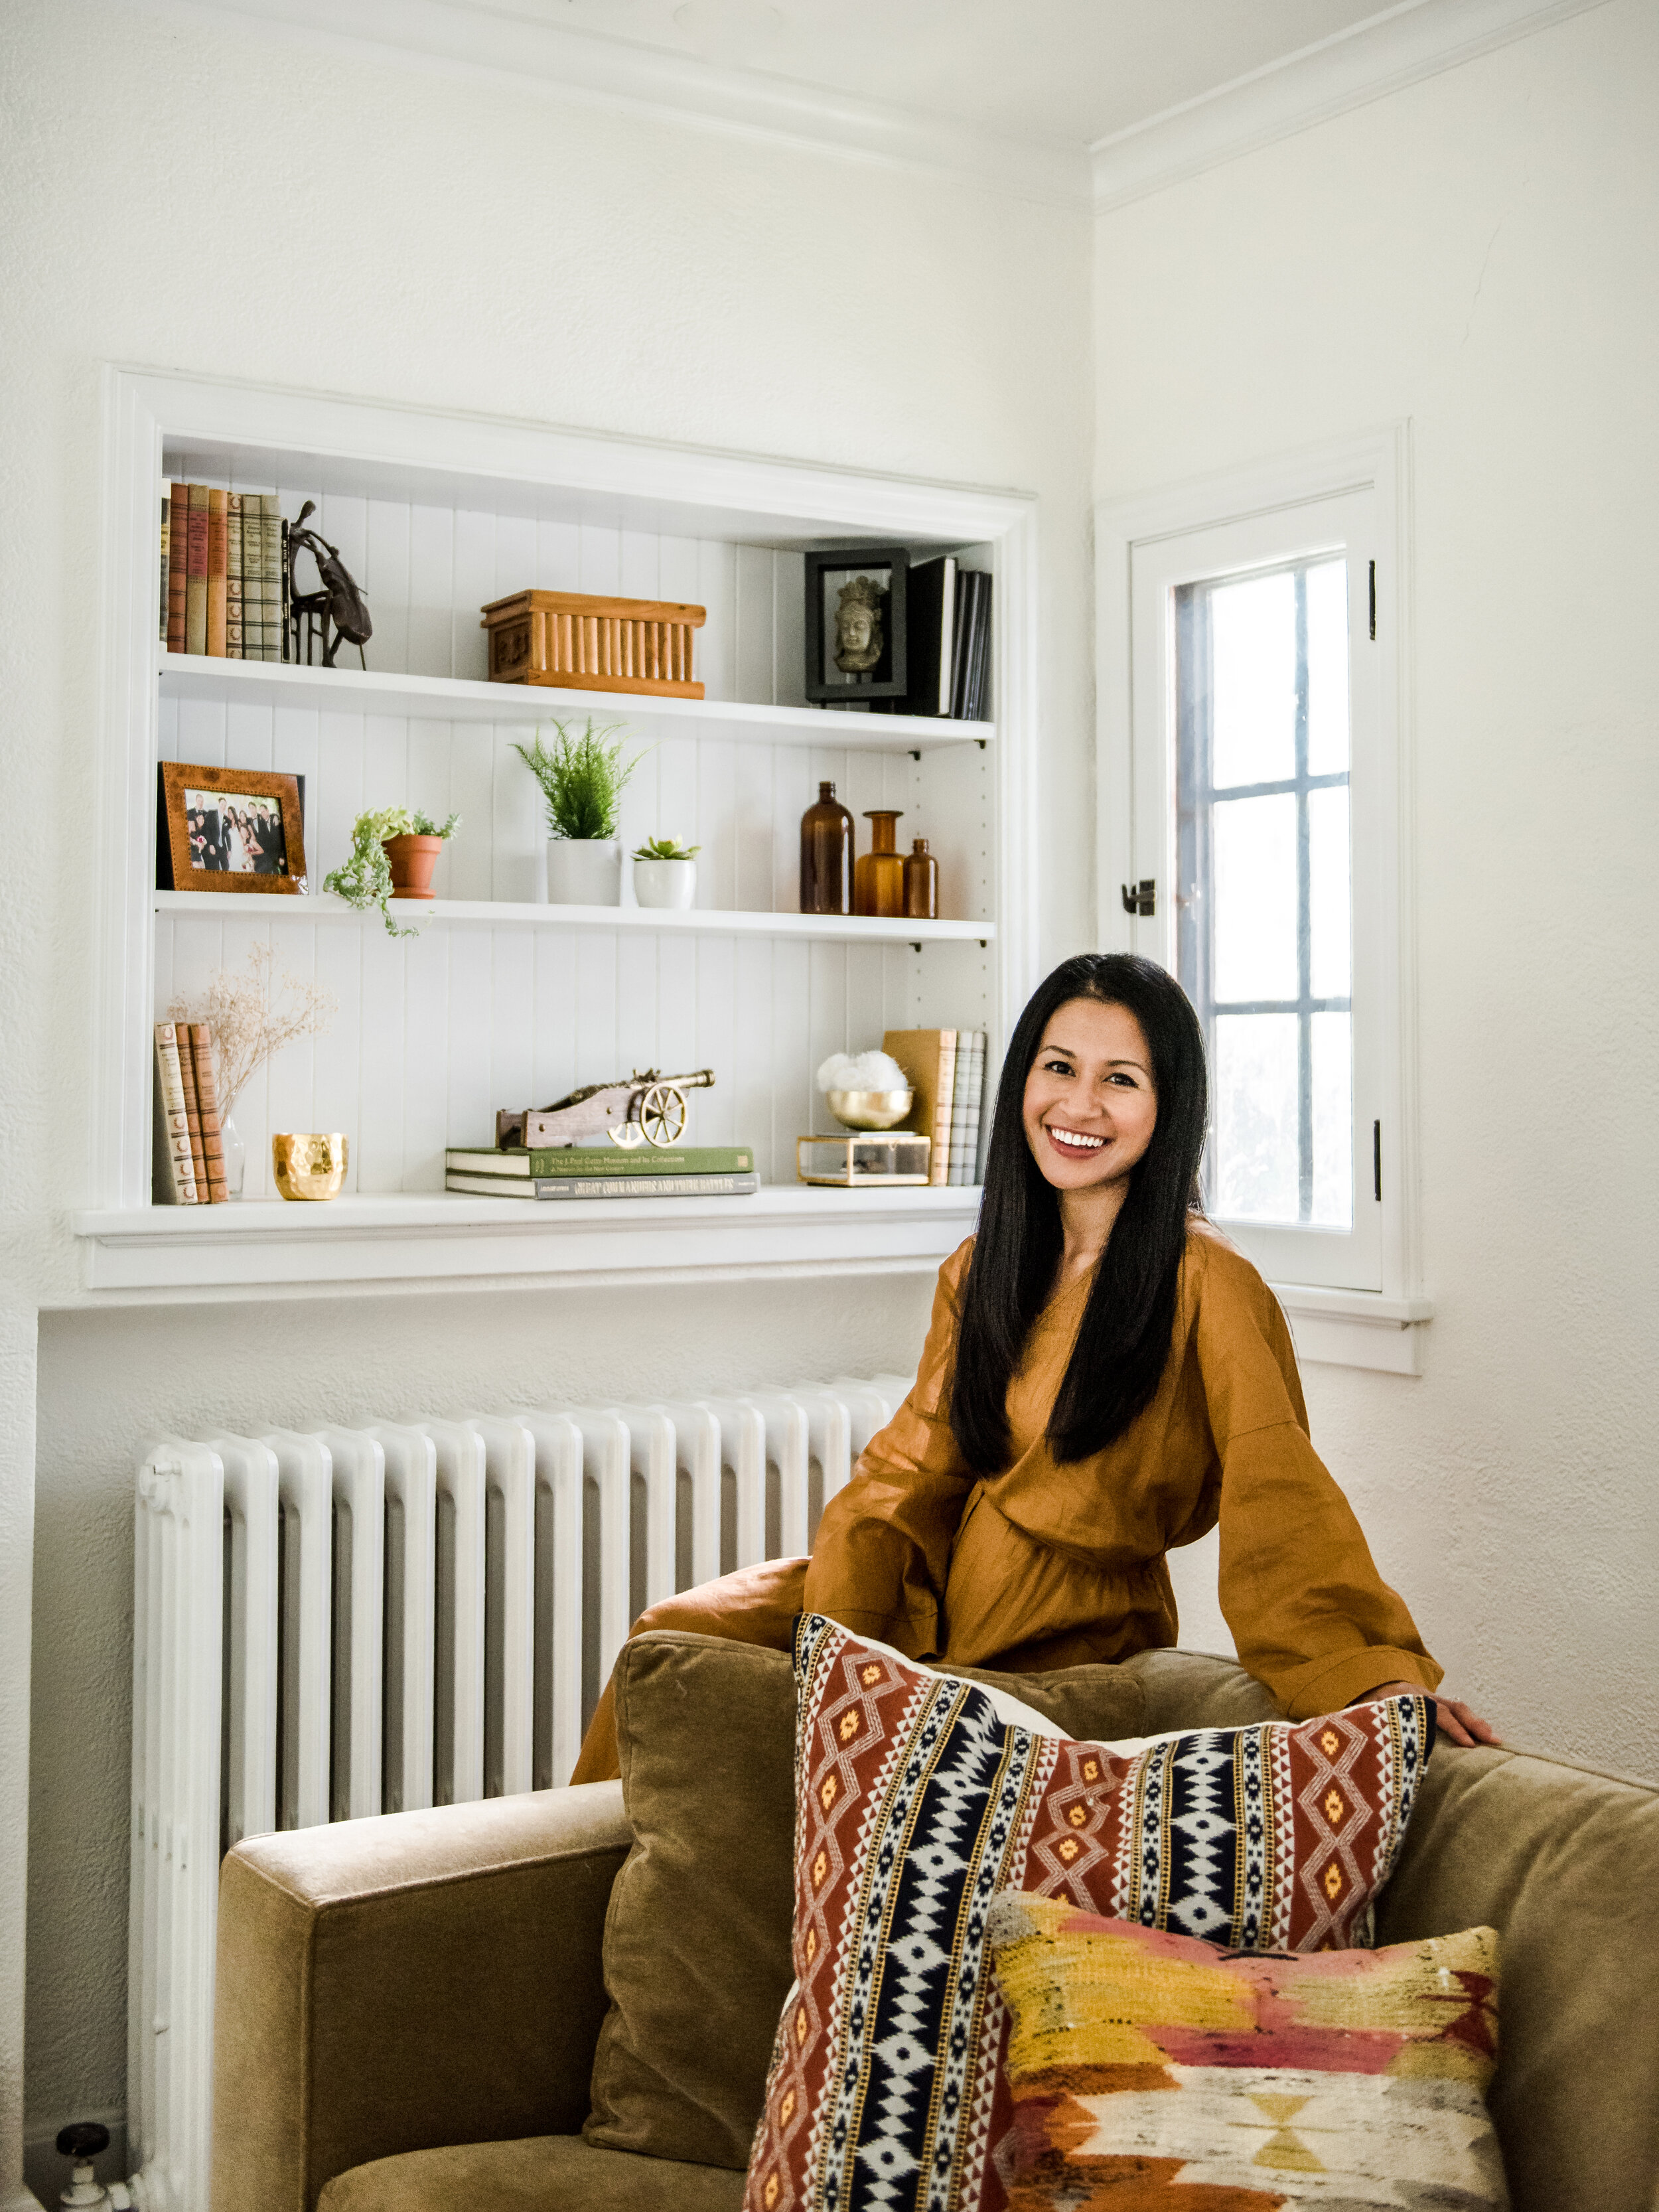
Try removing the book jacket off your hard cover books. Chances are, they’ll look much better! I had no idea until Lea shared this with me! We were able to pull more books from my cabinets and they helped so much visually.
-
Ensure there’s a balance in contrast and color scheme.
-
Keep odd numbers in mind. Groups of 3, 5 or 7 will make the vignette look + feel most balanced. You don’t have to stick to this rule but if you’re struggling to get it right, see if this helps.
Step 3: Step Back to Ensure All Vignettes Look Cohesive as Whole
Let’s take a look at the before and after of my dining room built-ins using the tips Lea shared.
*Apologies in advance that I didn’t think to take a picture of them opened for a better comparison.
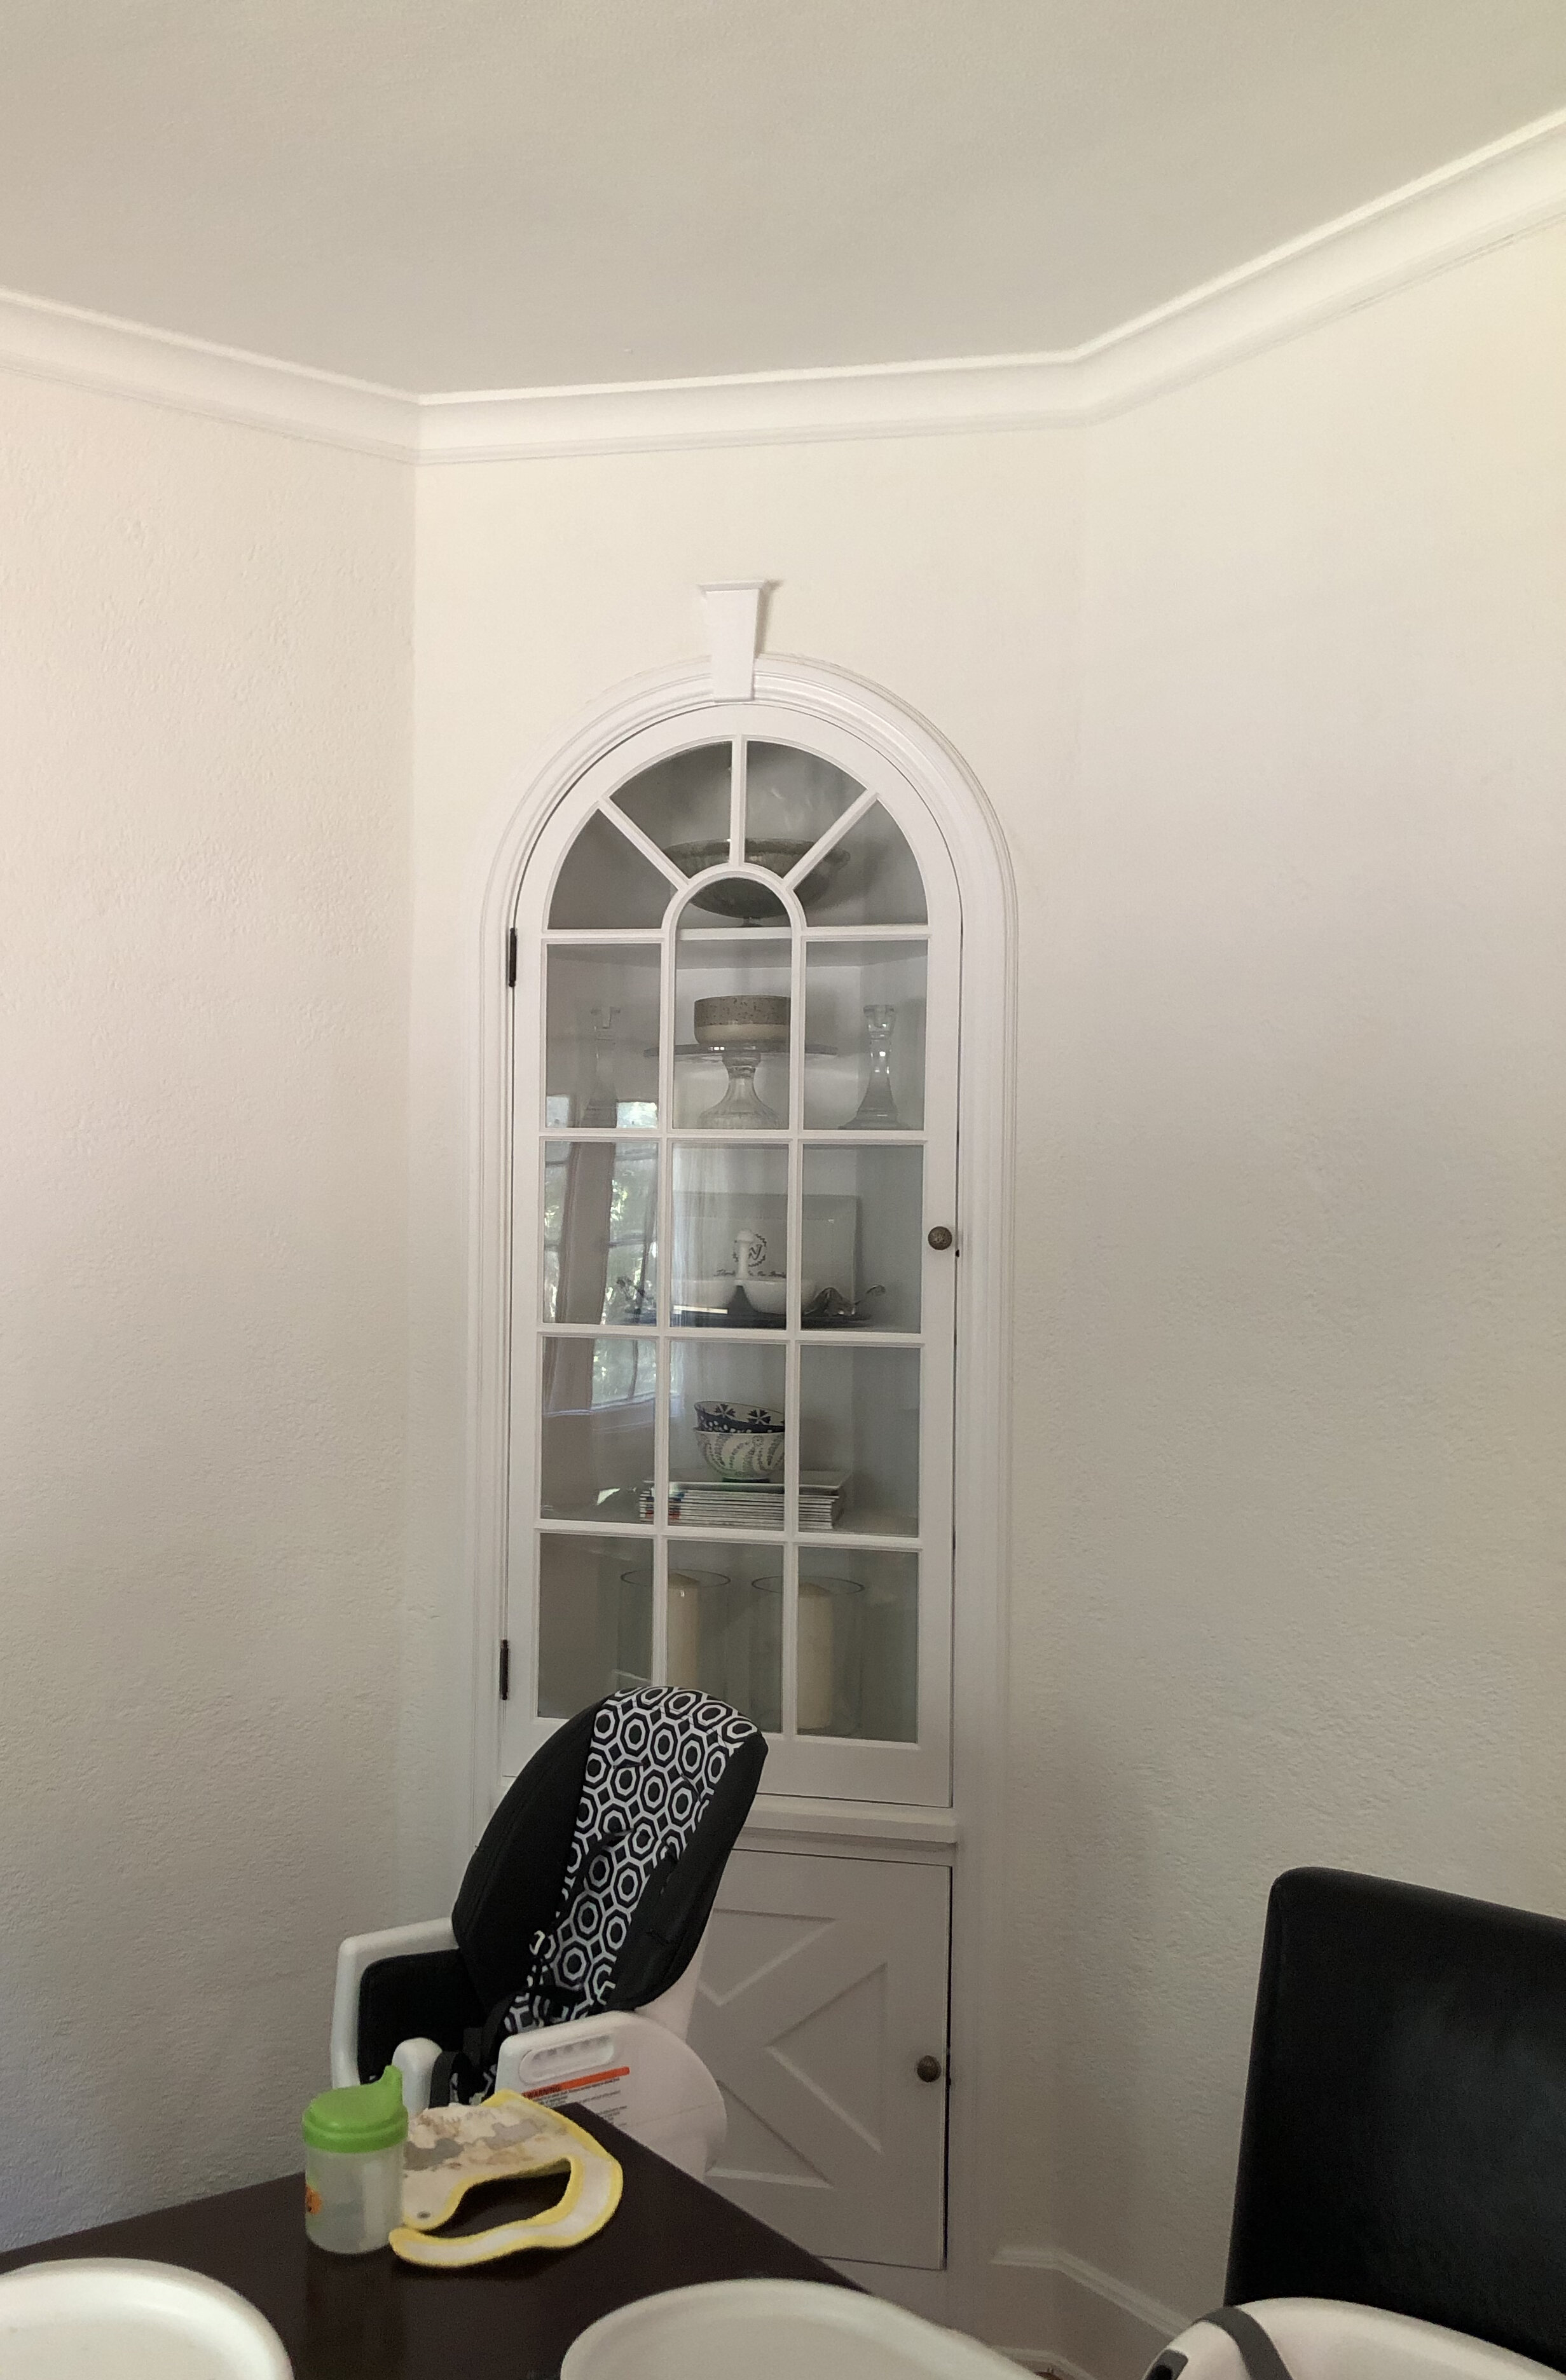
Dining Room Built-in 1
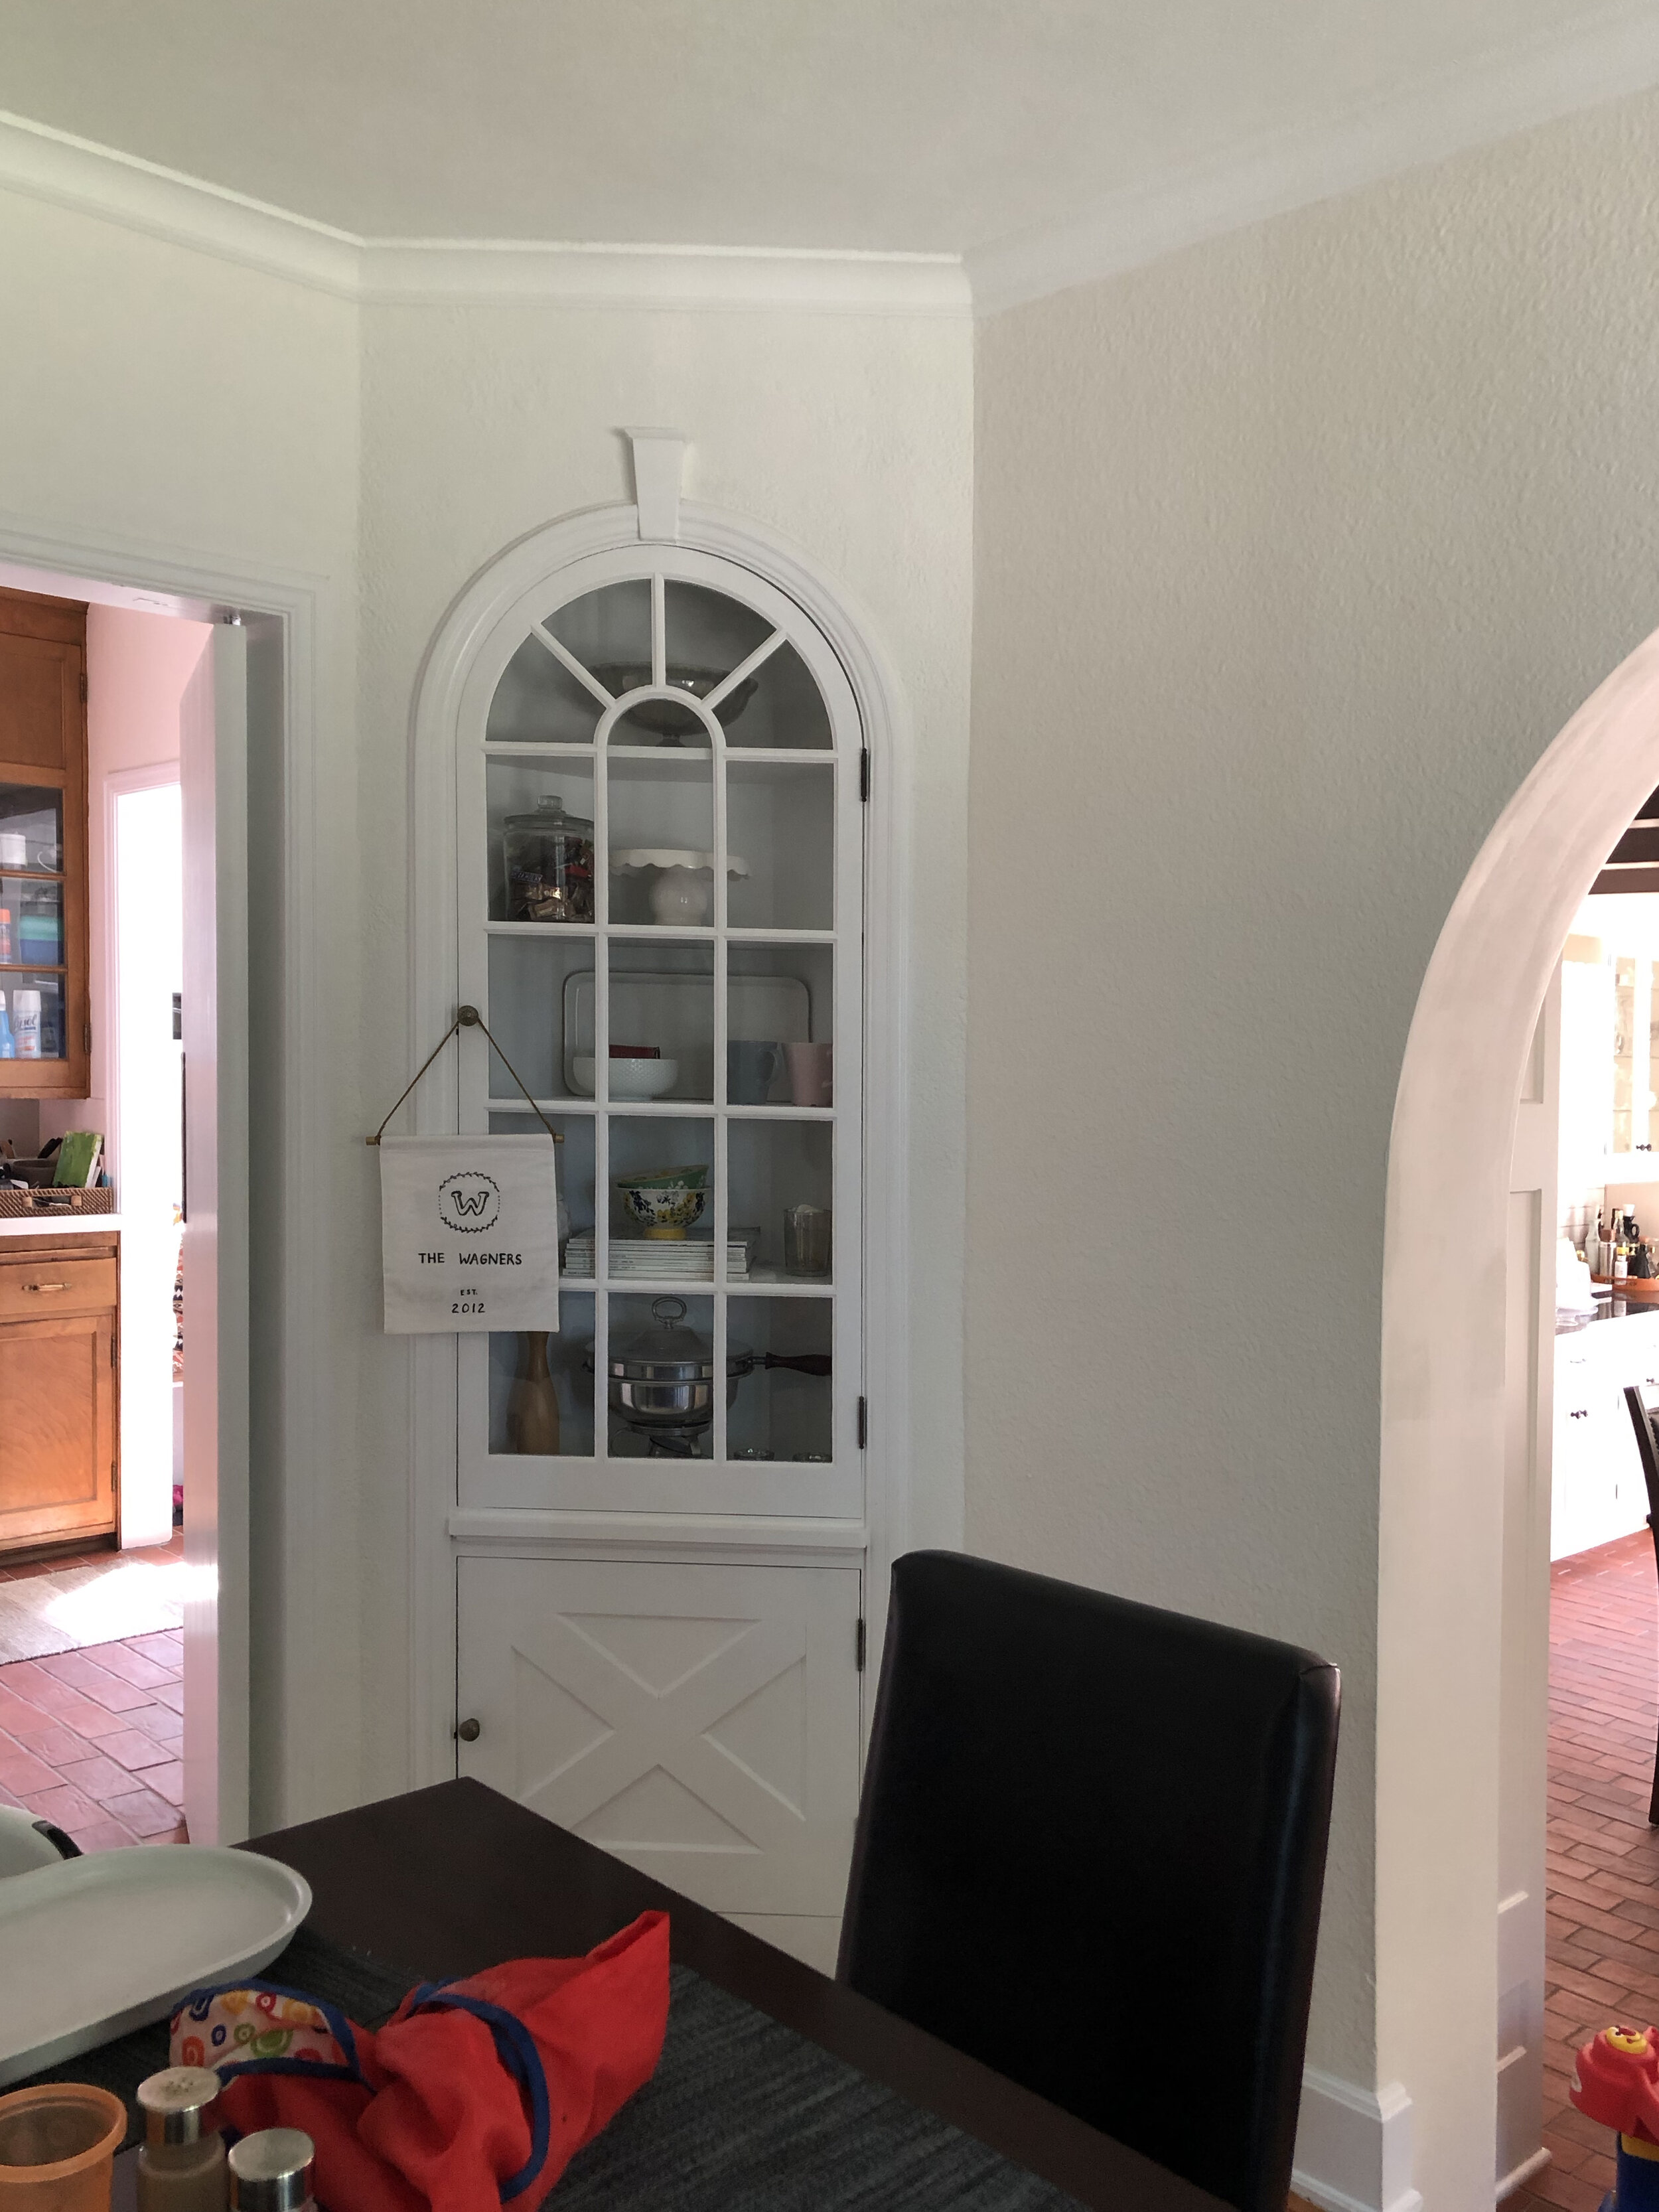
BEFORE

AFTER
Dining Room Built-in 2
BEFORE
AFTER
Living Room Built-in Shelf
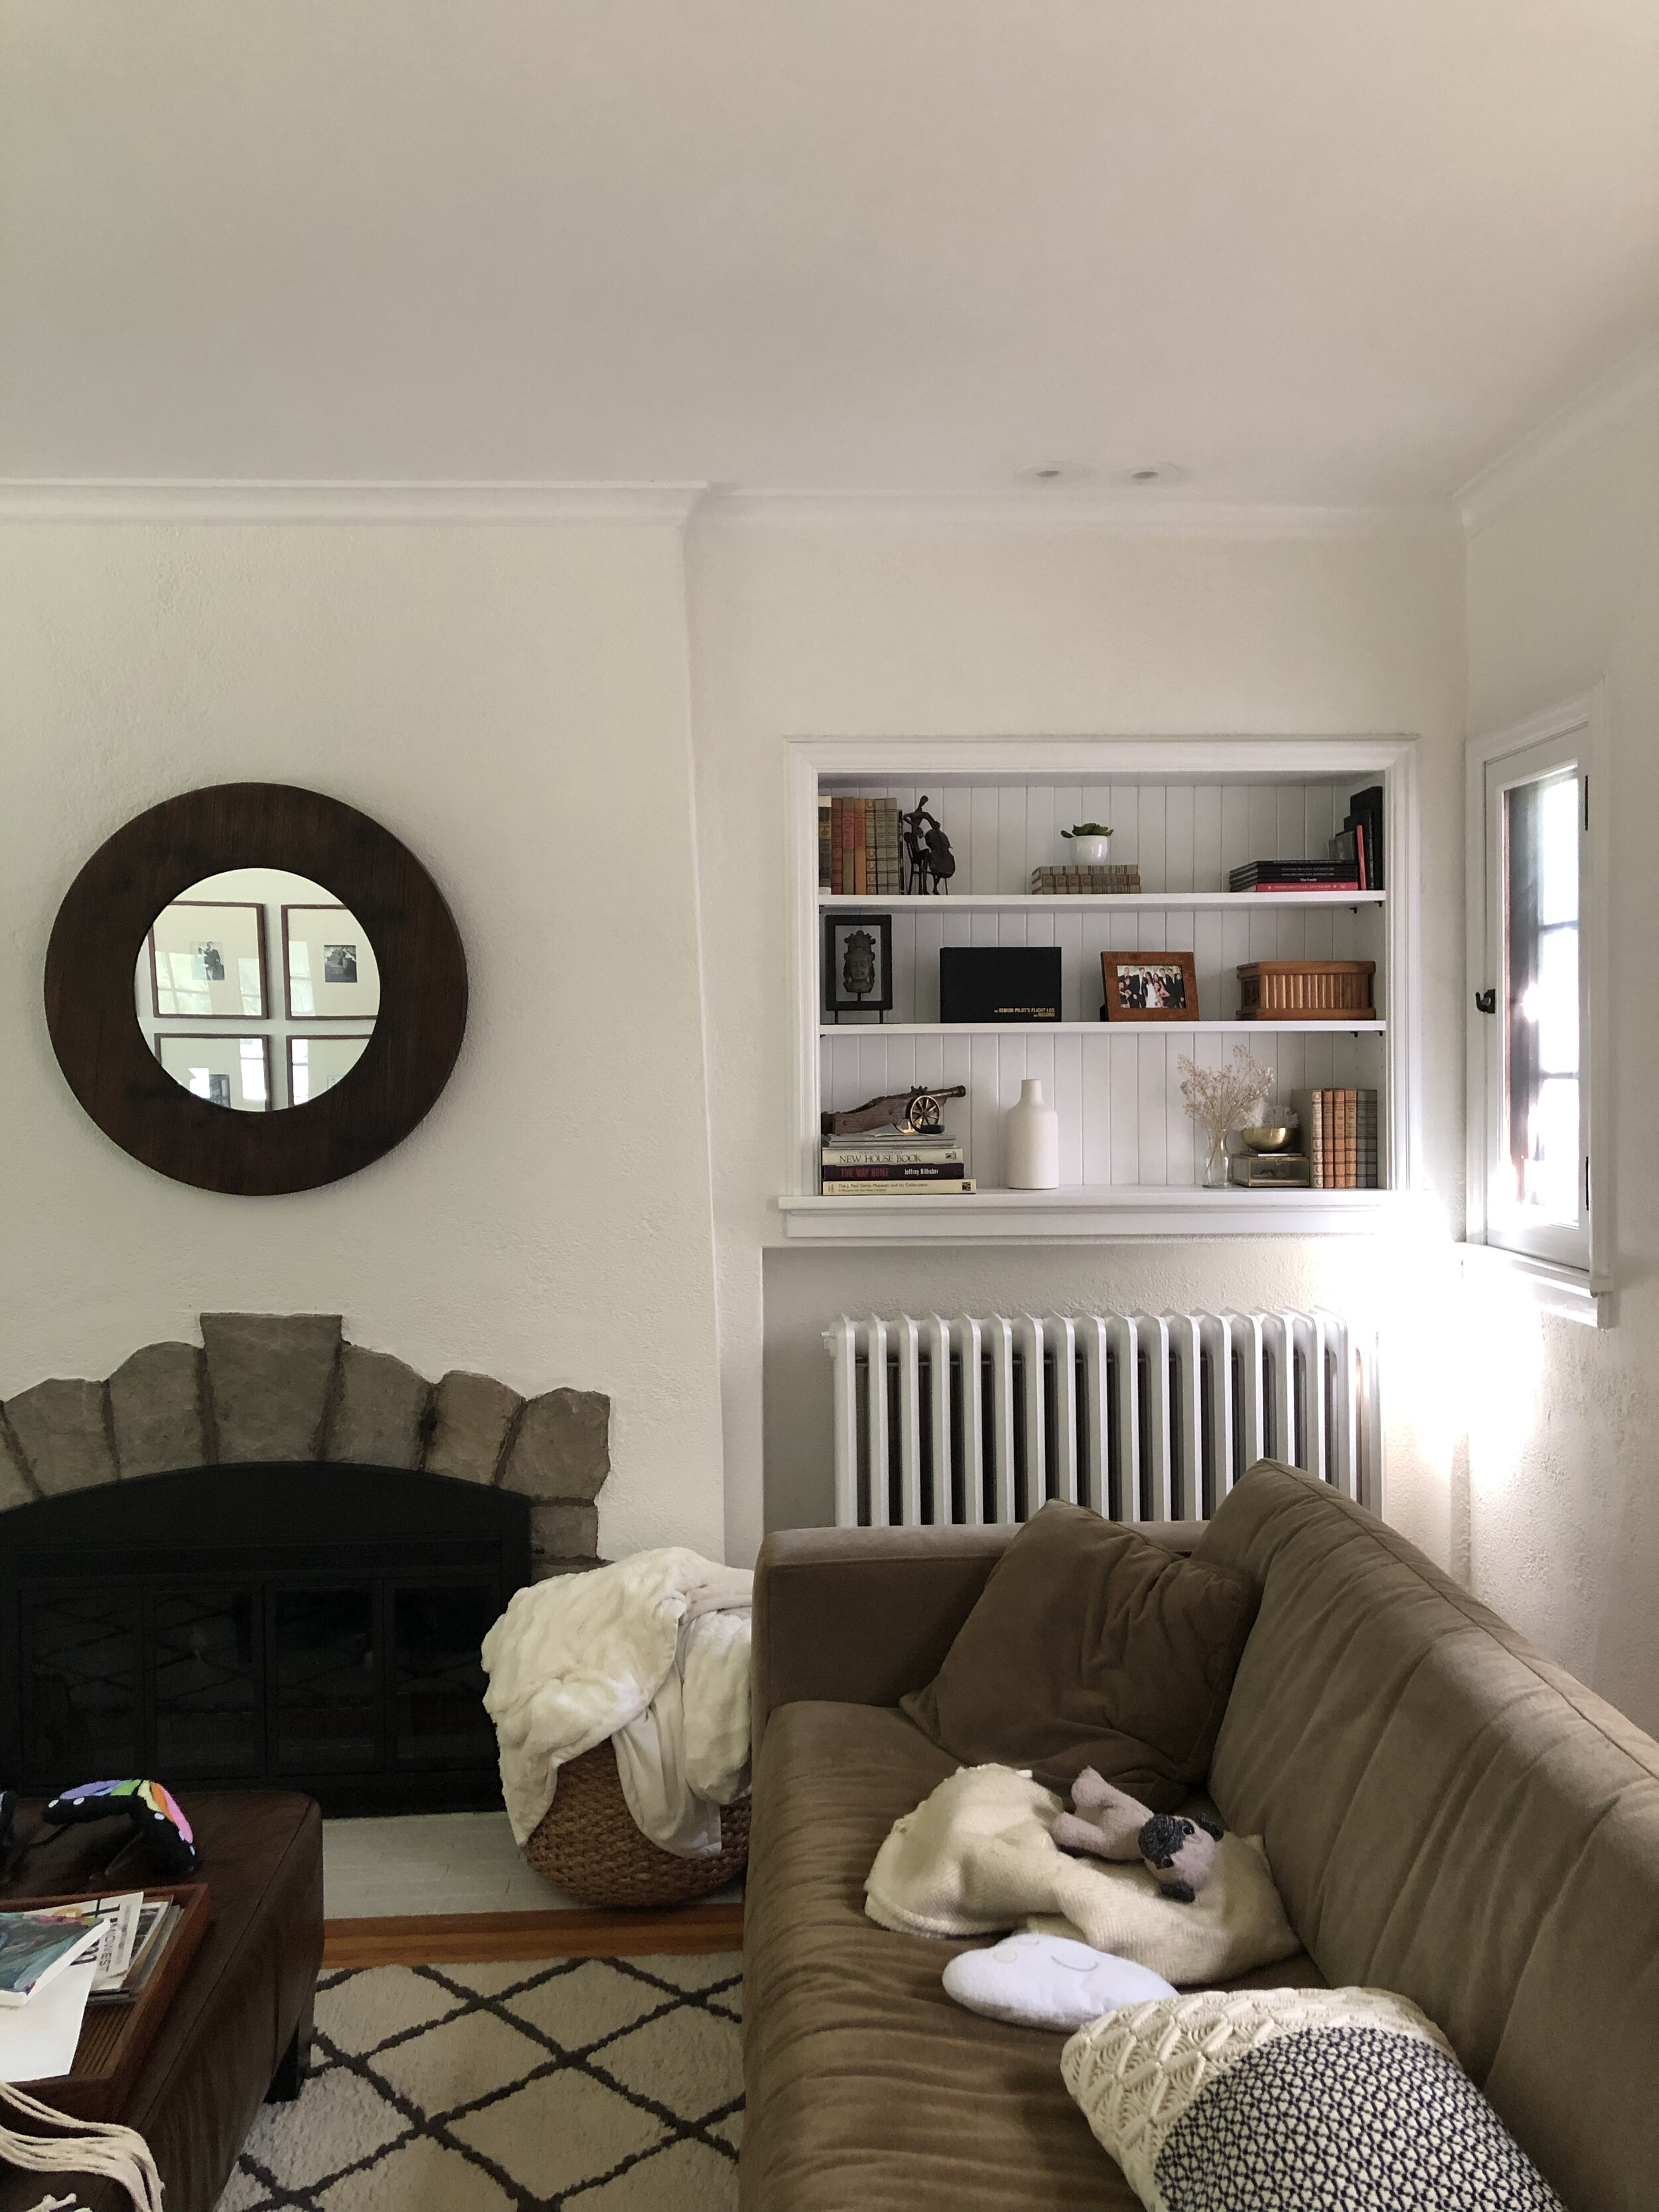
BEFORE
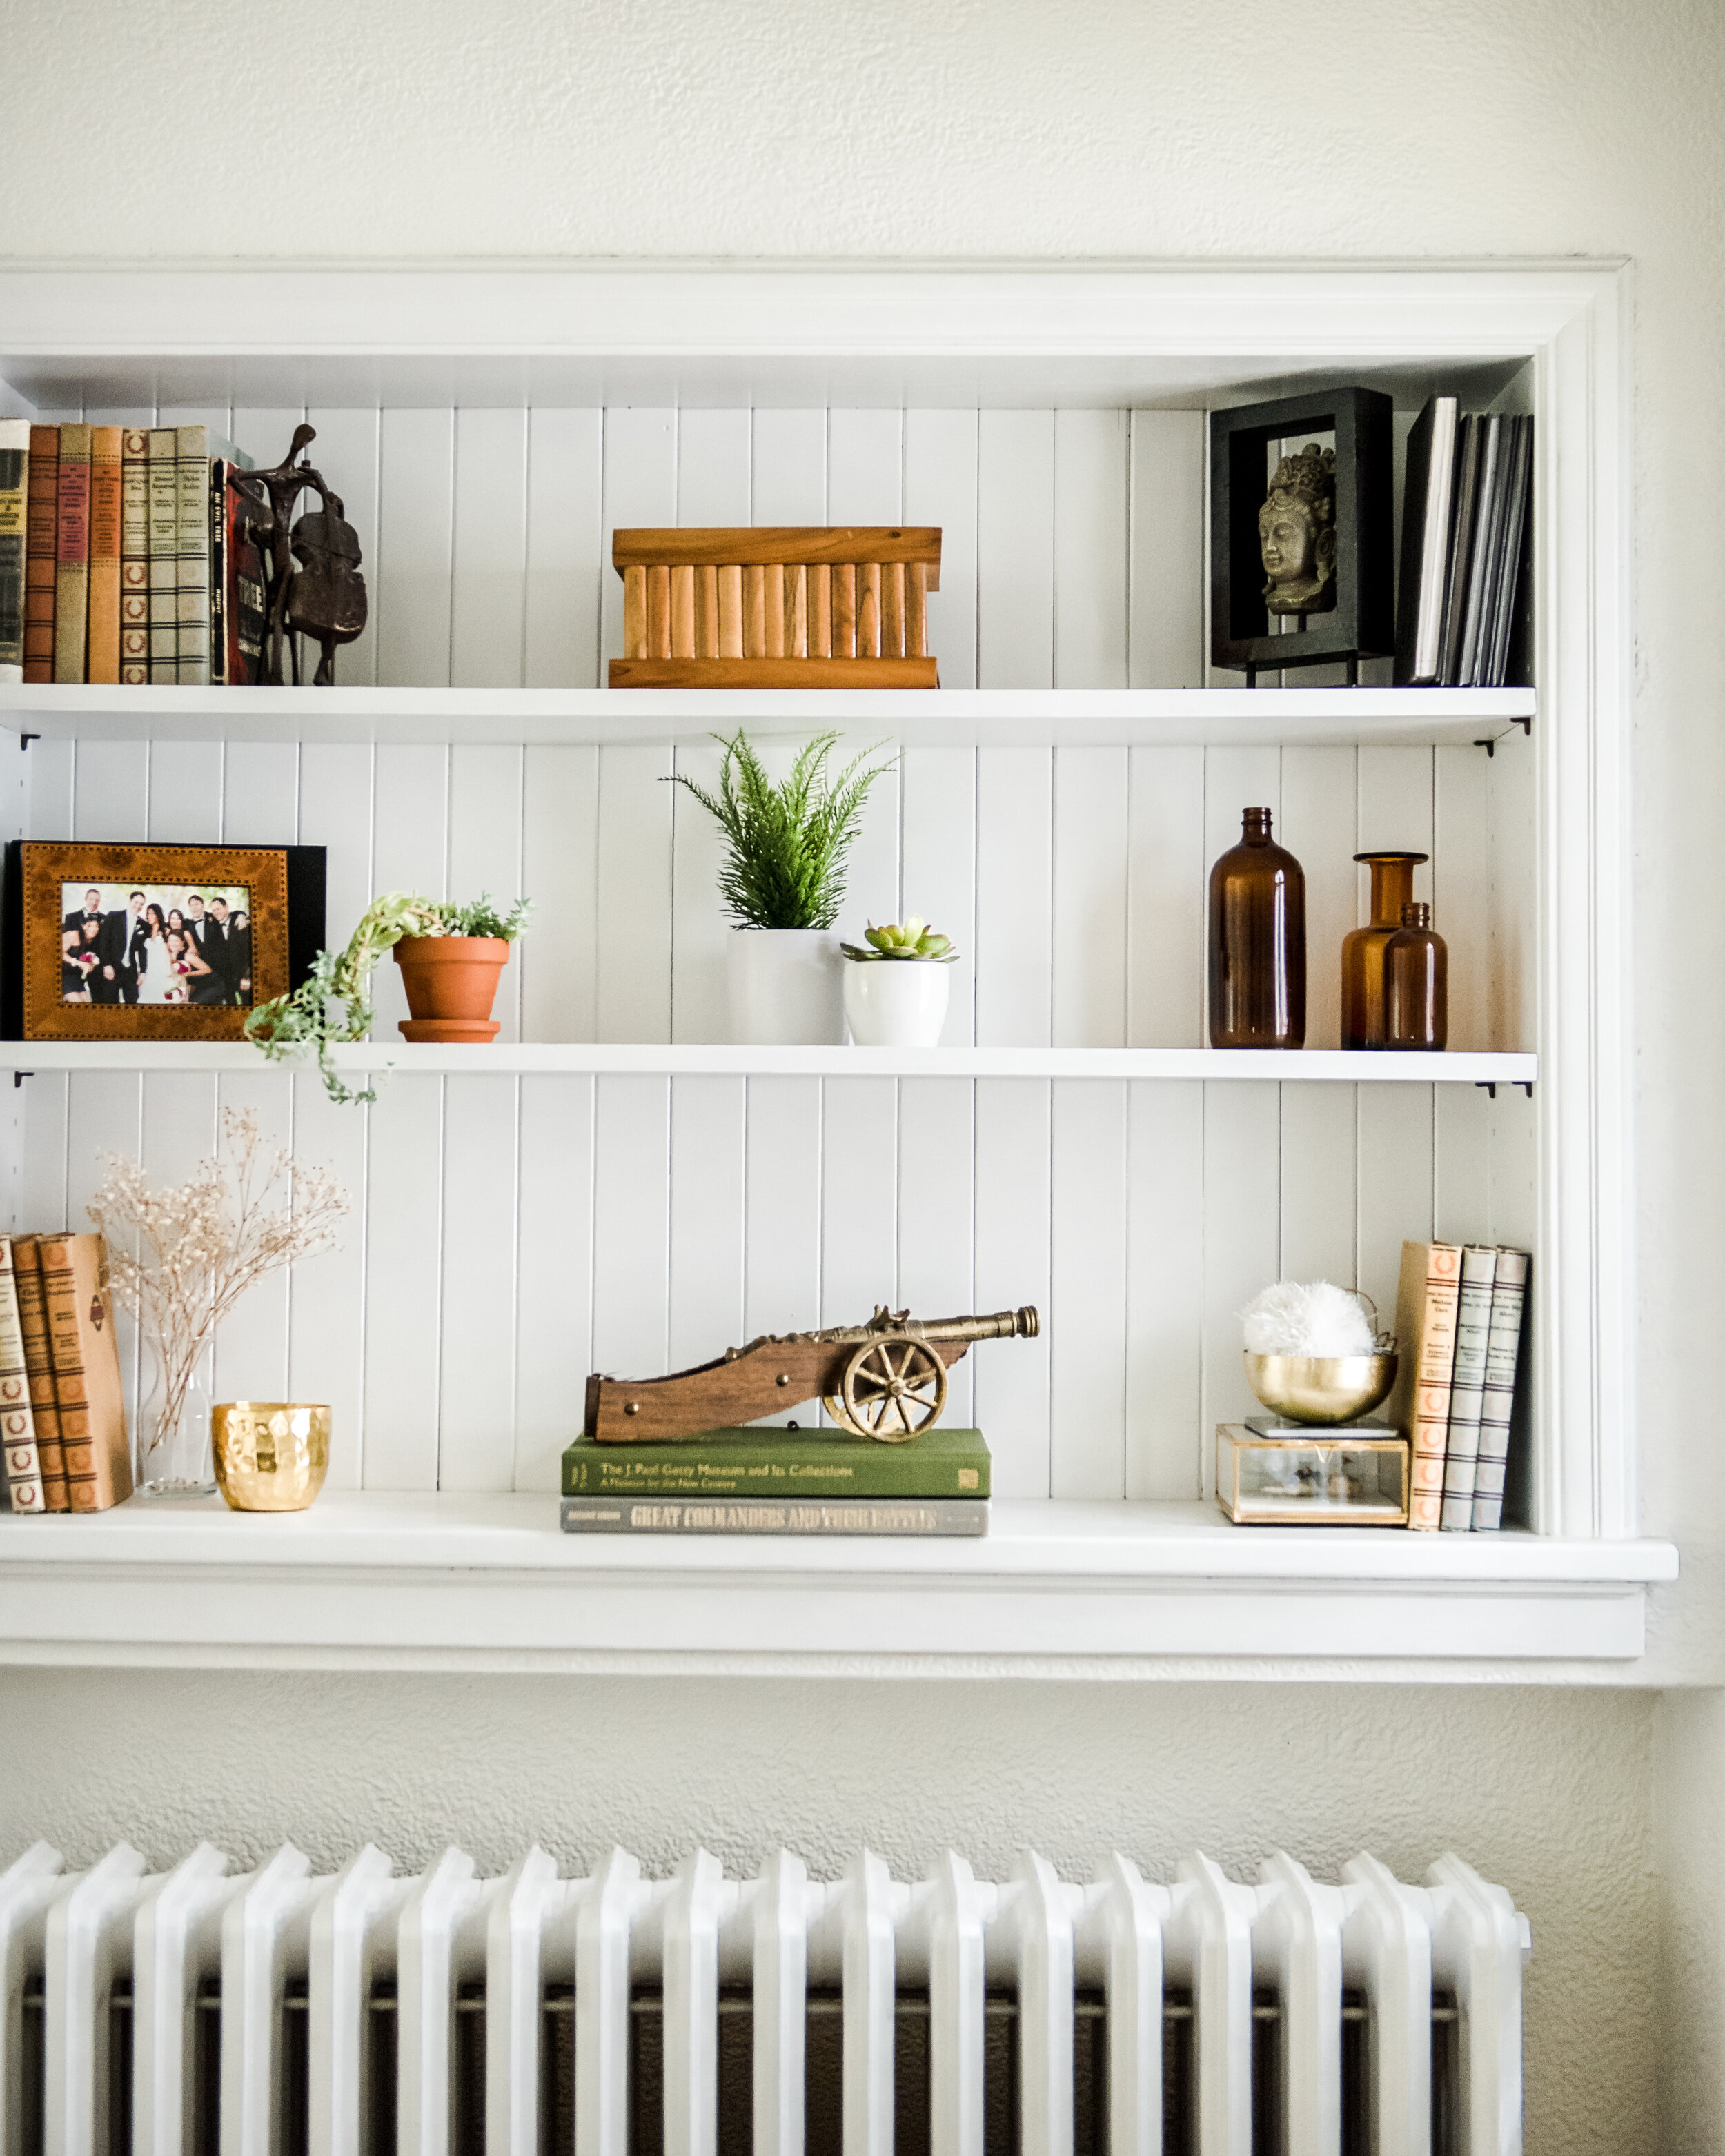
AFTER
I hope you found these simple tips helpful. It’s pretty amazing what we can do to a space with some changes using what we already have. Having the ability to create an aesthetically pleasing vignette can really enhance a room. Special thanks to Lea from Creekwoodhill for the styling tips and Jen from Sage E Imagery for the amazing photos. Thanks for stopping by!
-Patti
dress from Winsome Goods
dress from Winsome Goods
Sources:
Paint Color: Benjamin Moore White Dove
Trim: Benjamin Moore Satin Impervo Enamel
*affiliate links may be used

