
Small Business Saturday Deals of Items I Love
It takes a lot of time, effort, dedication and hard work to run a small business. We know so many small business owners. Today is Small Business Saturday and I’m happy to share some deals from some of my favorite shops. See my list of Black Friday Deals here.
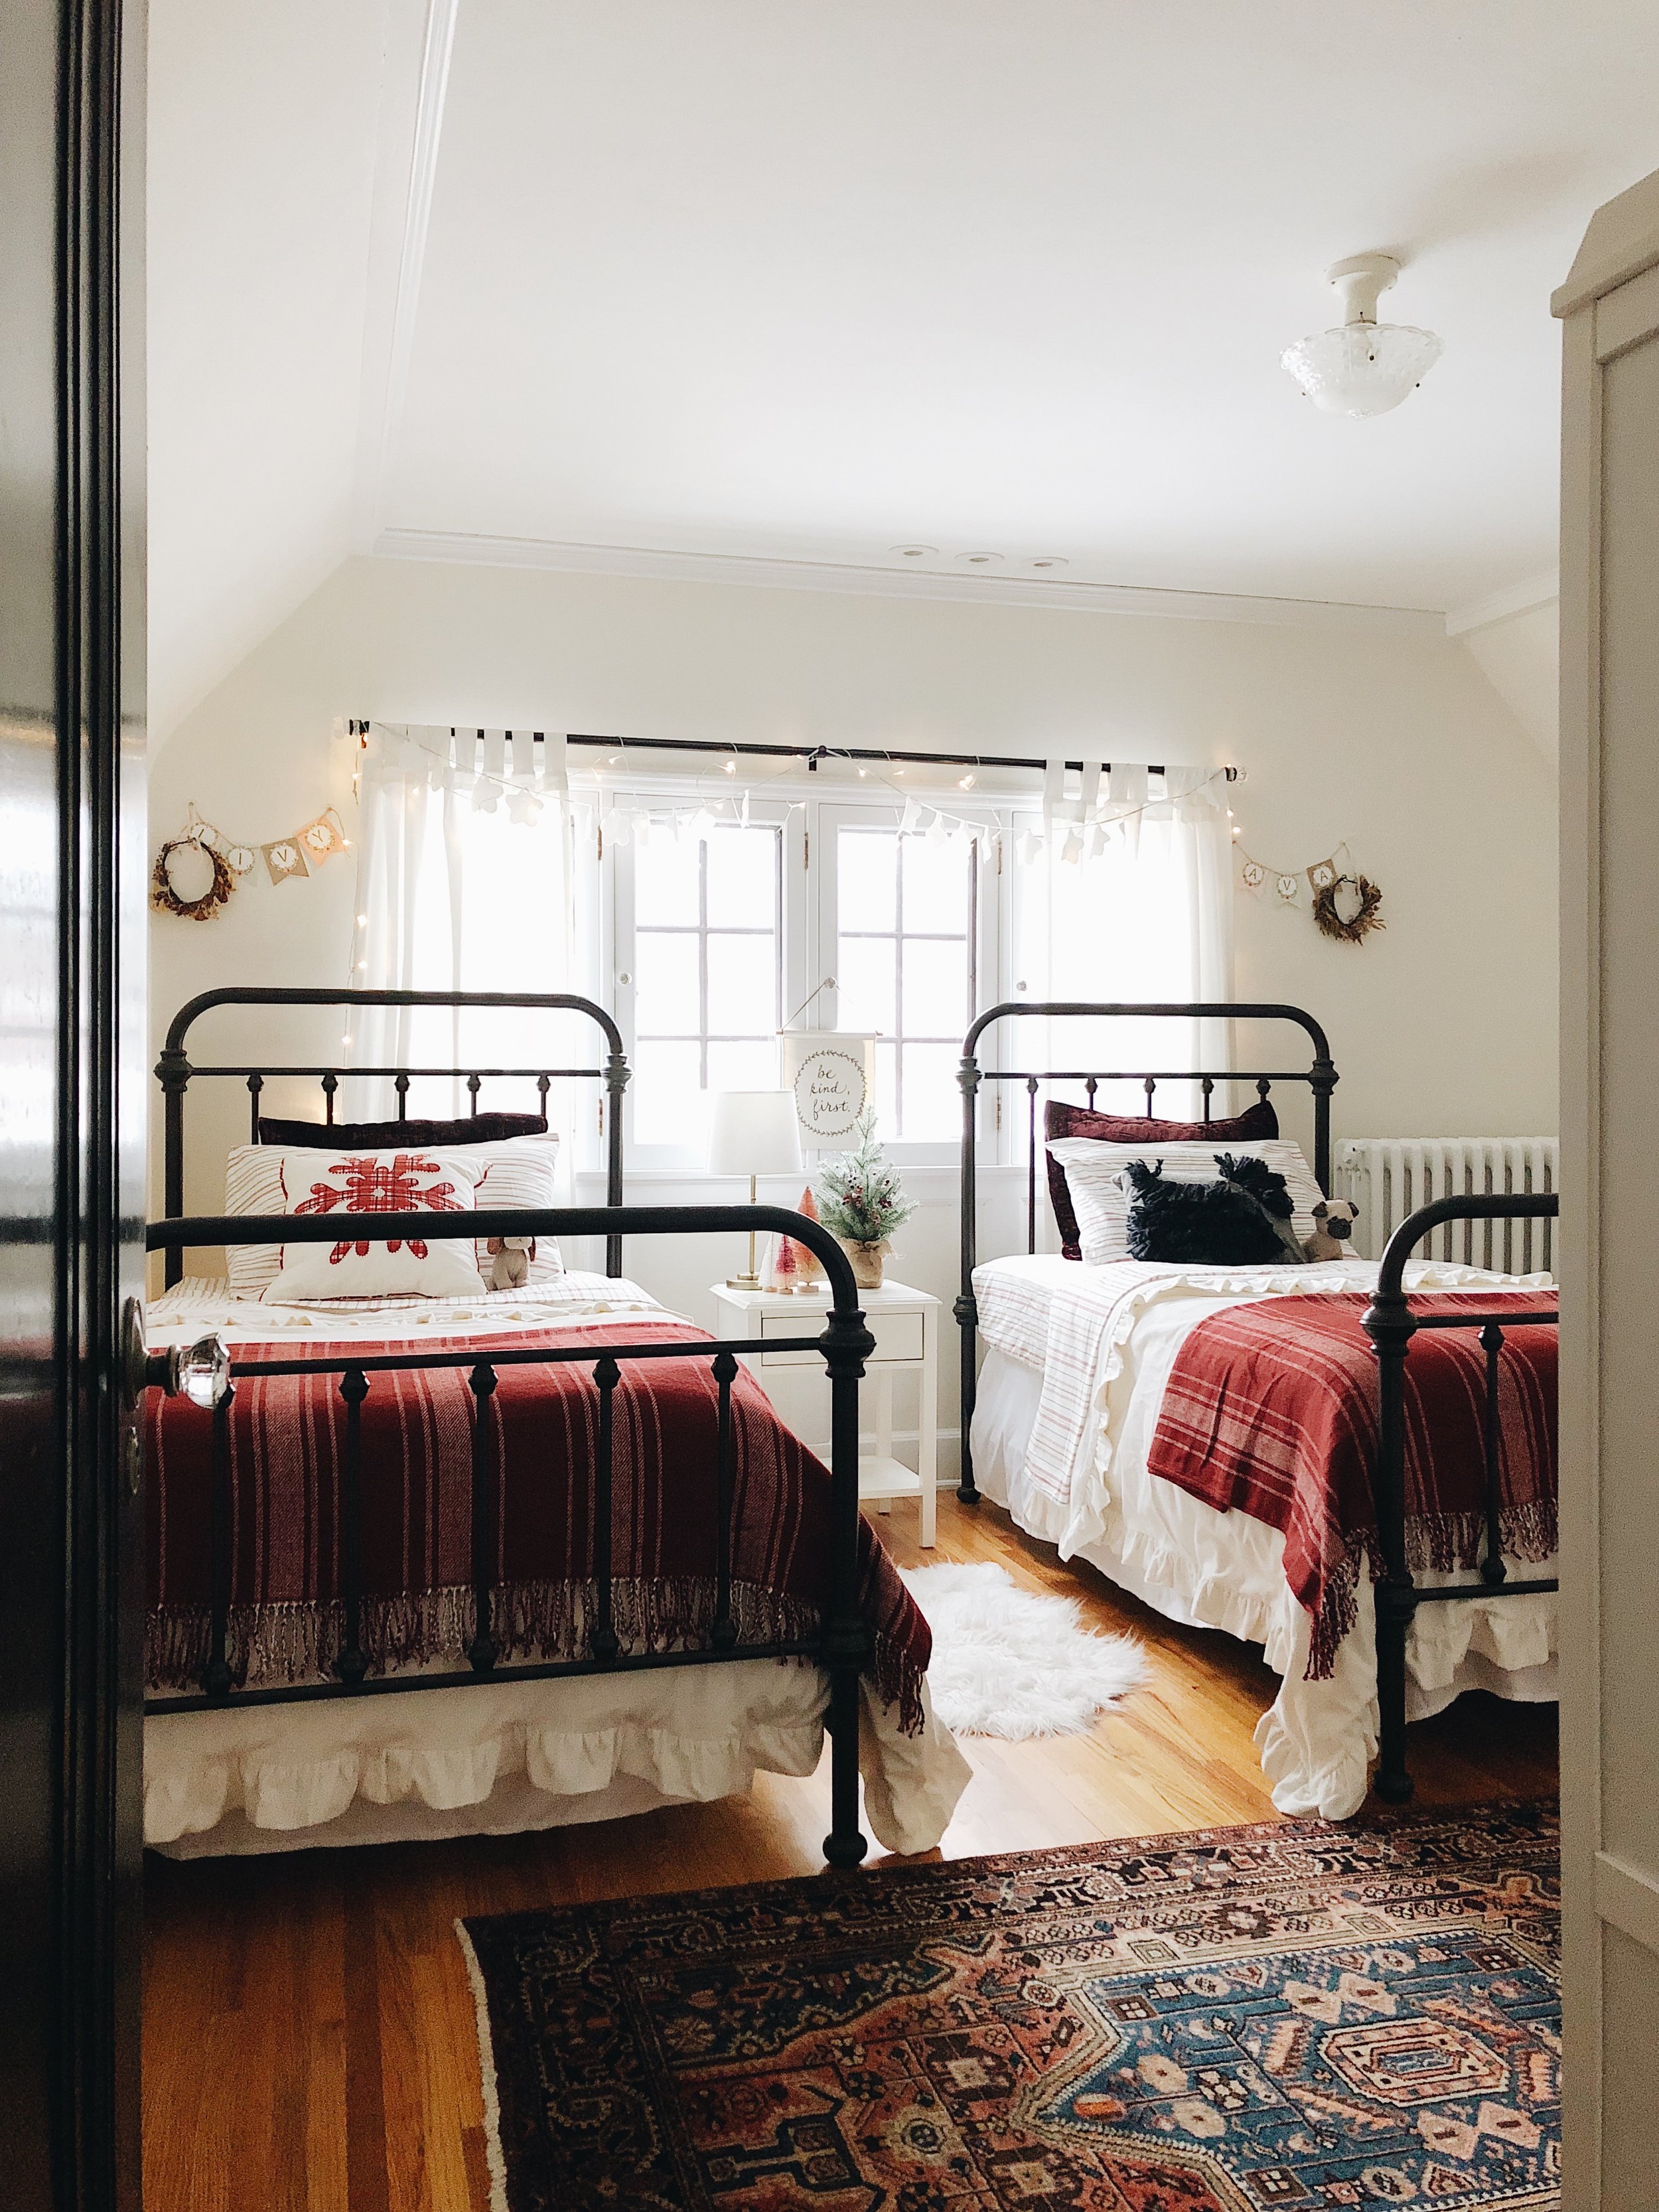
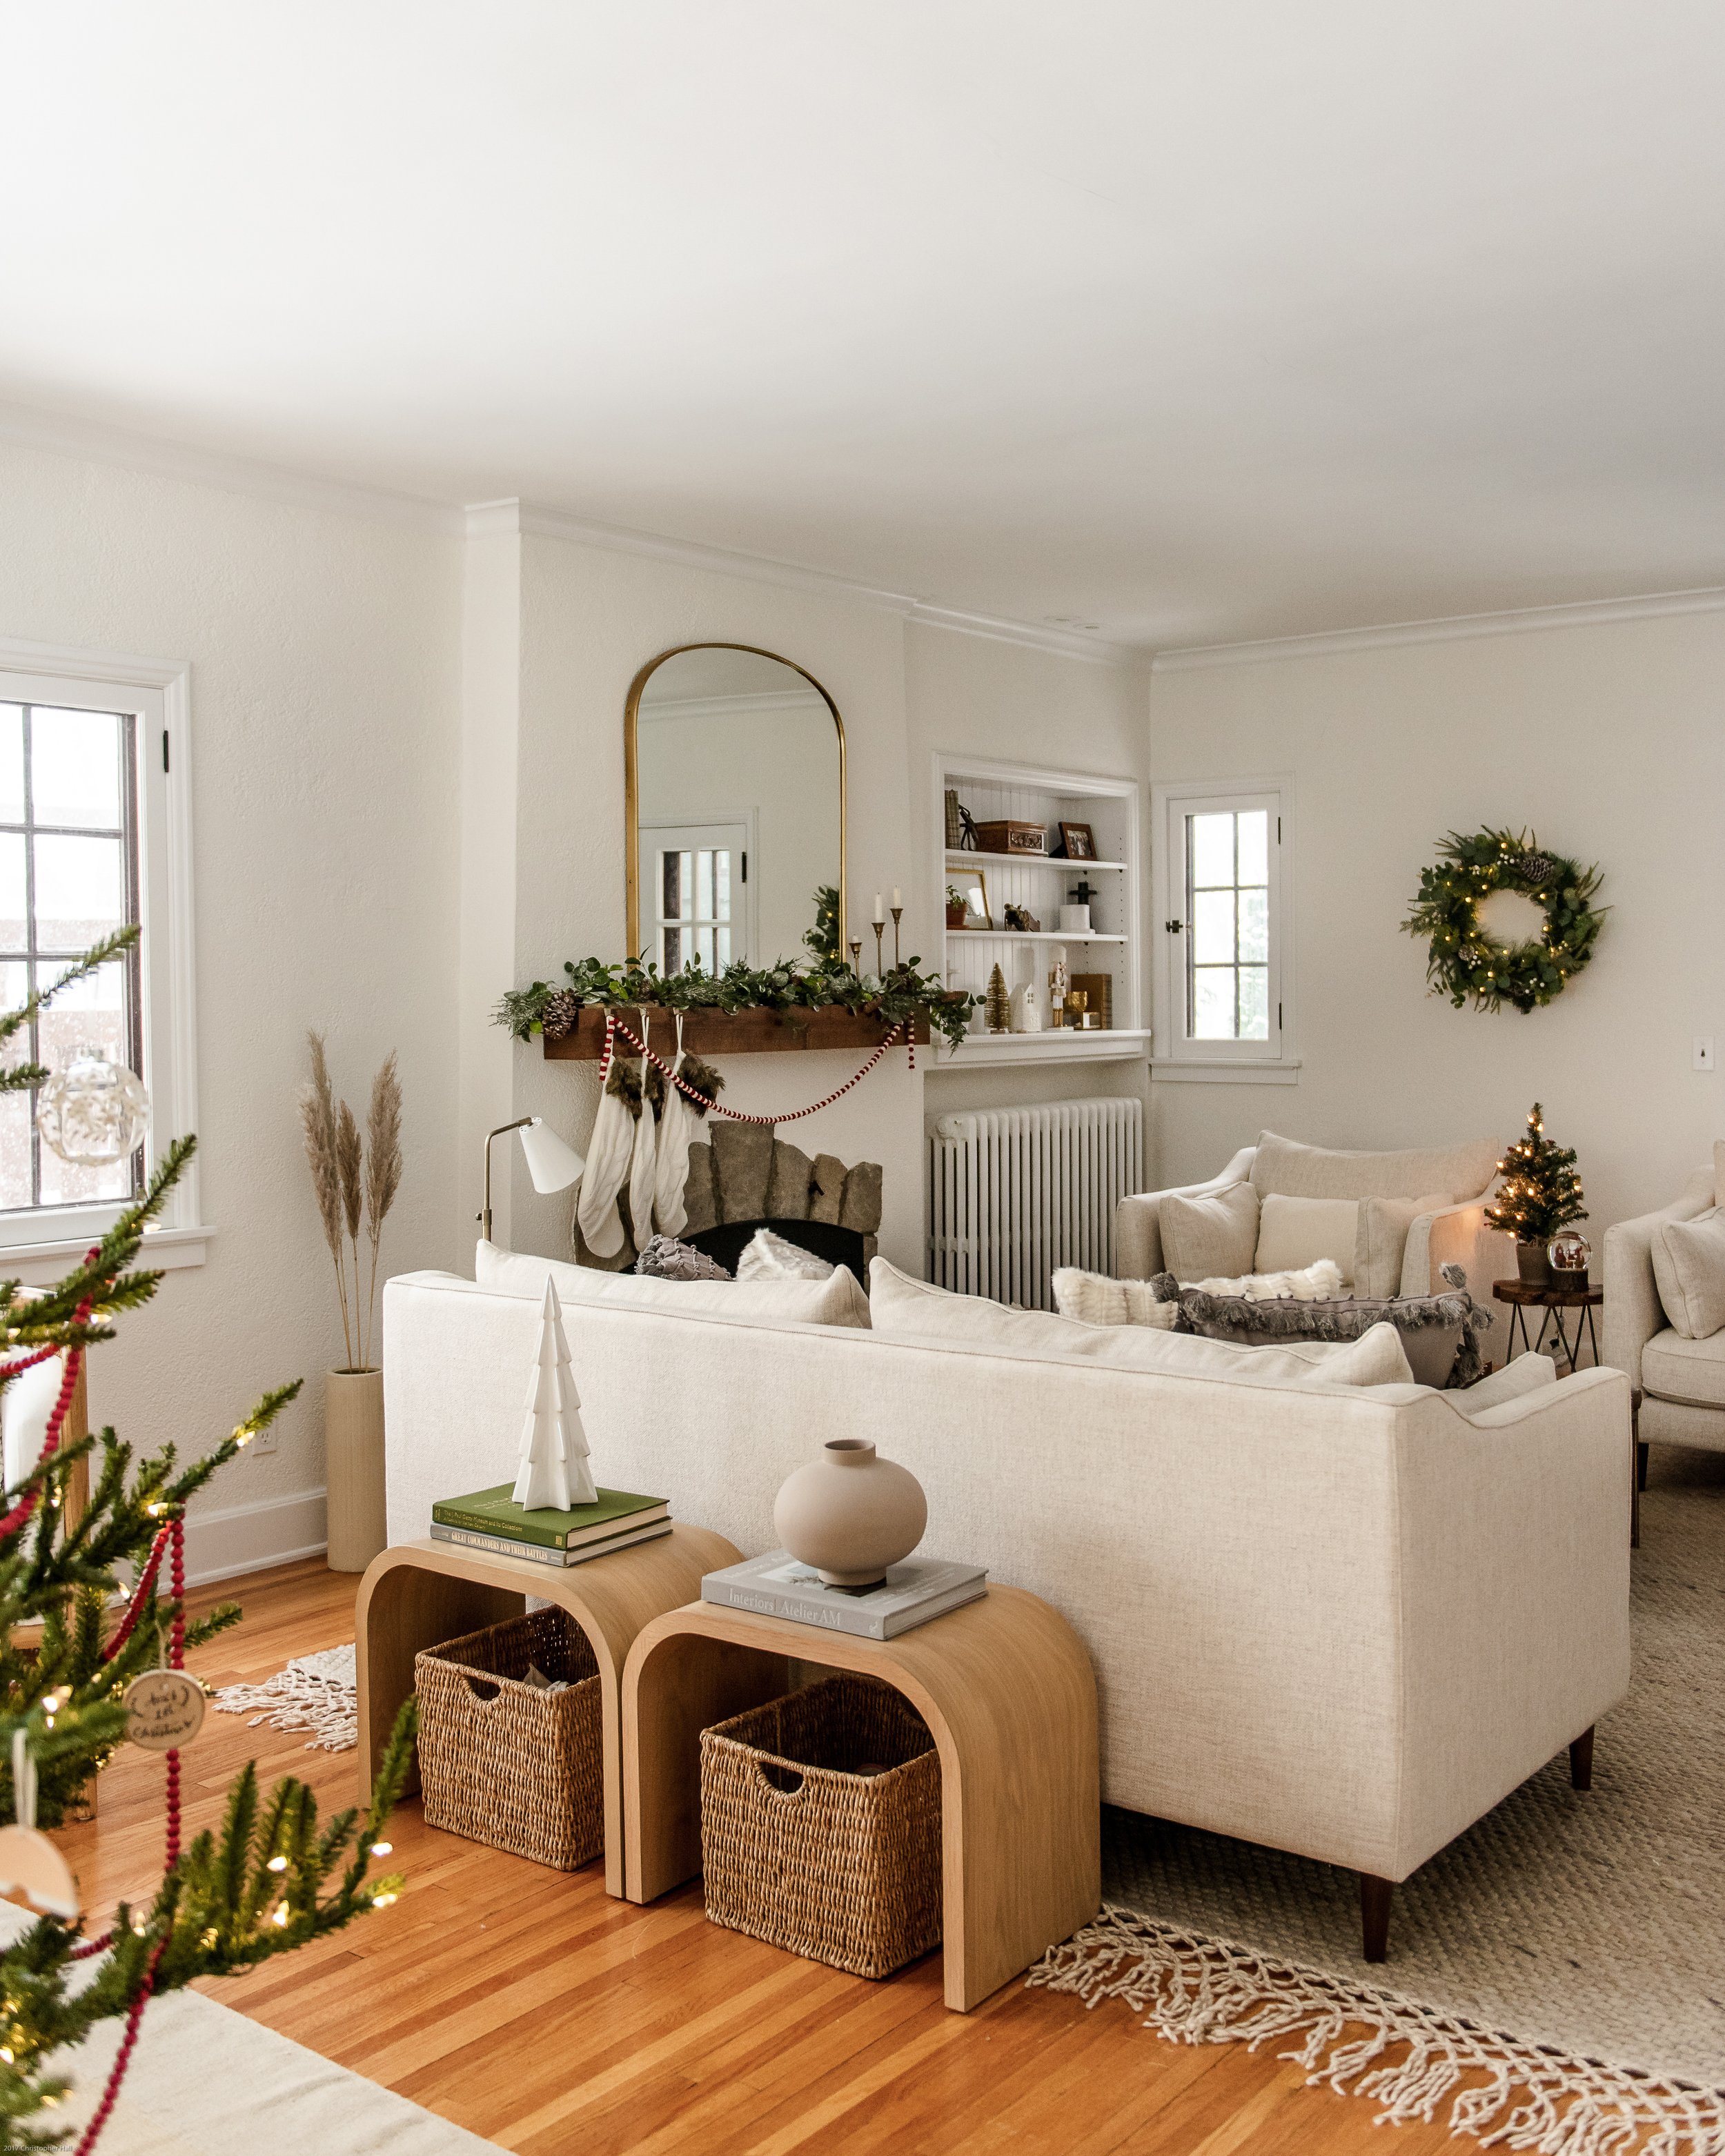
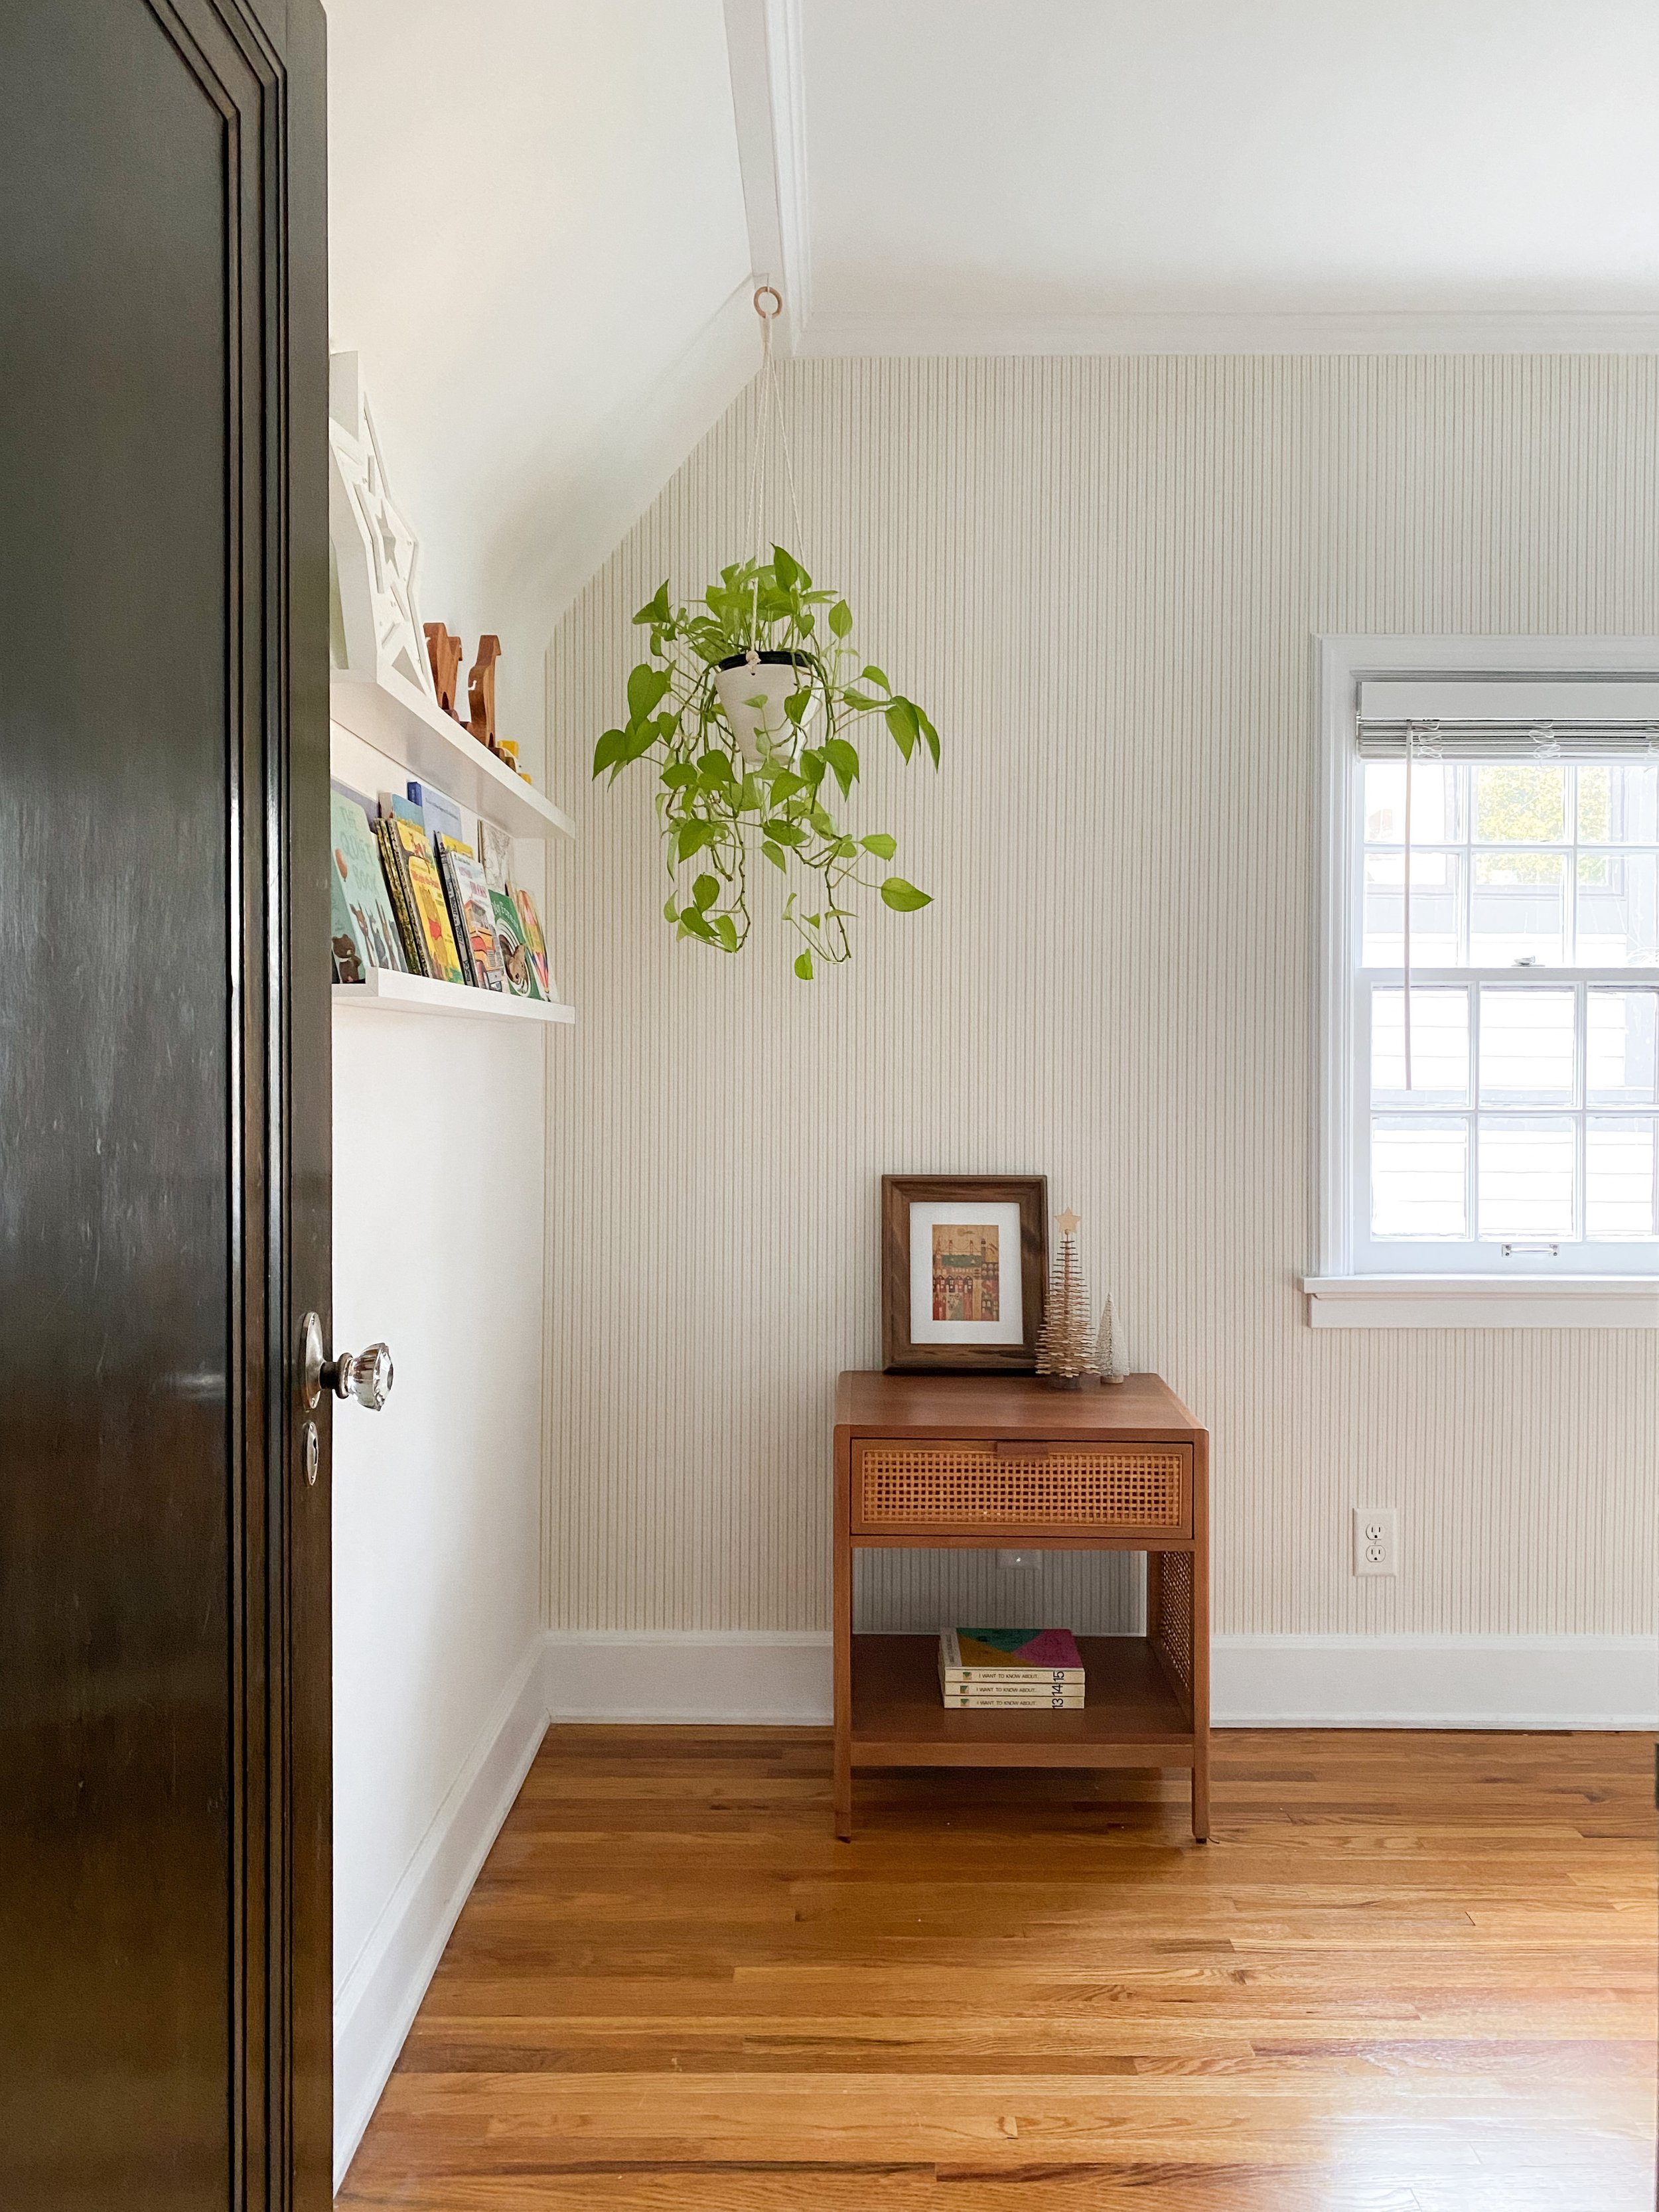
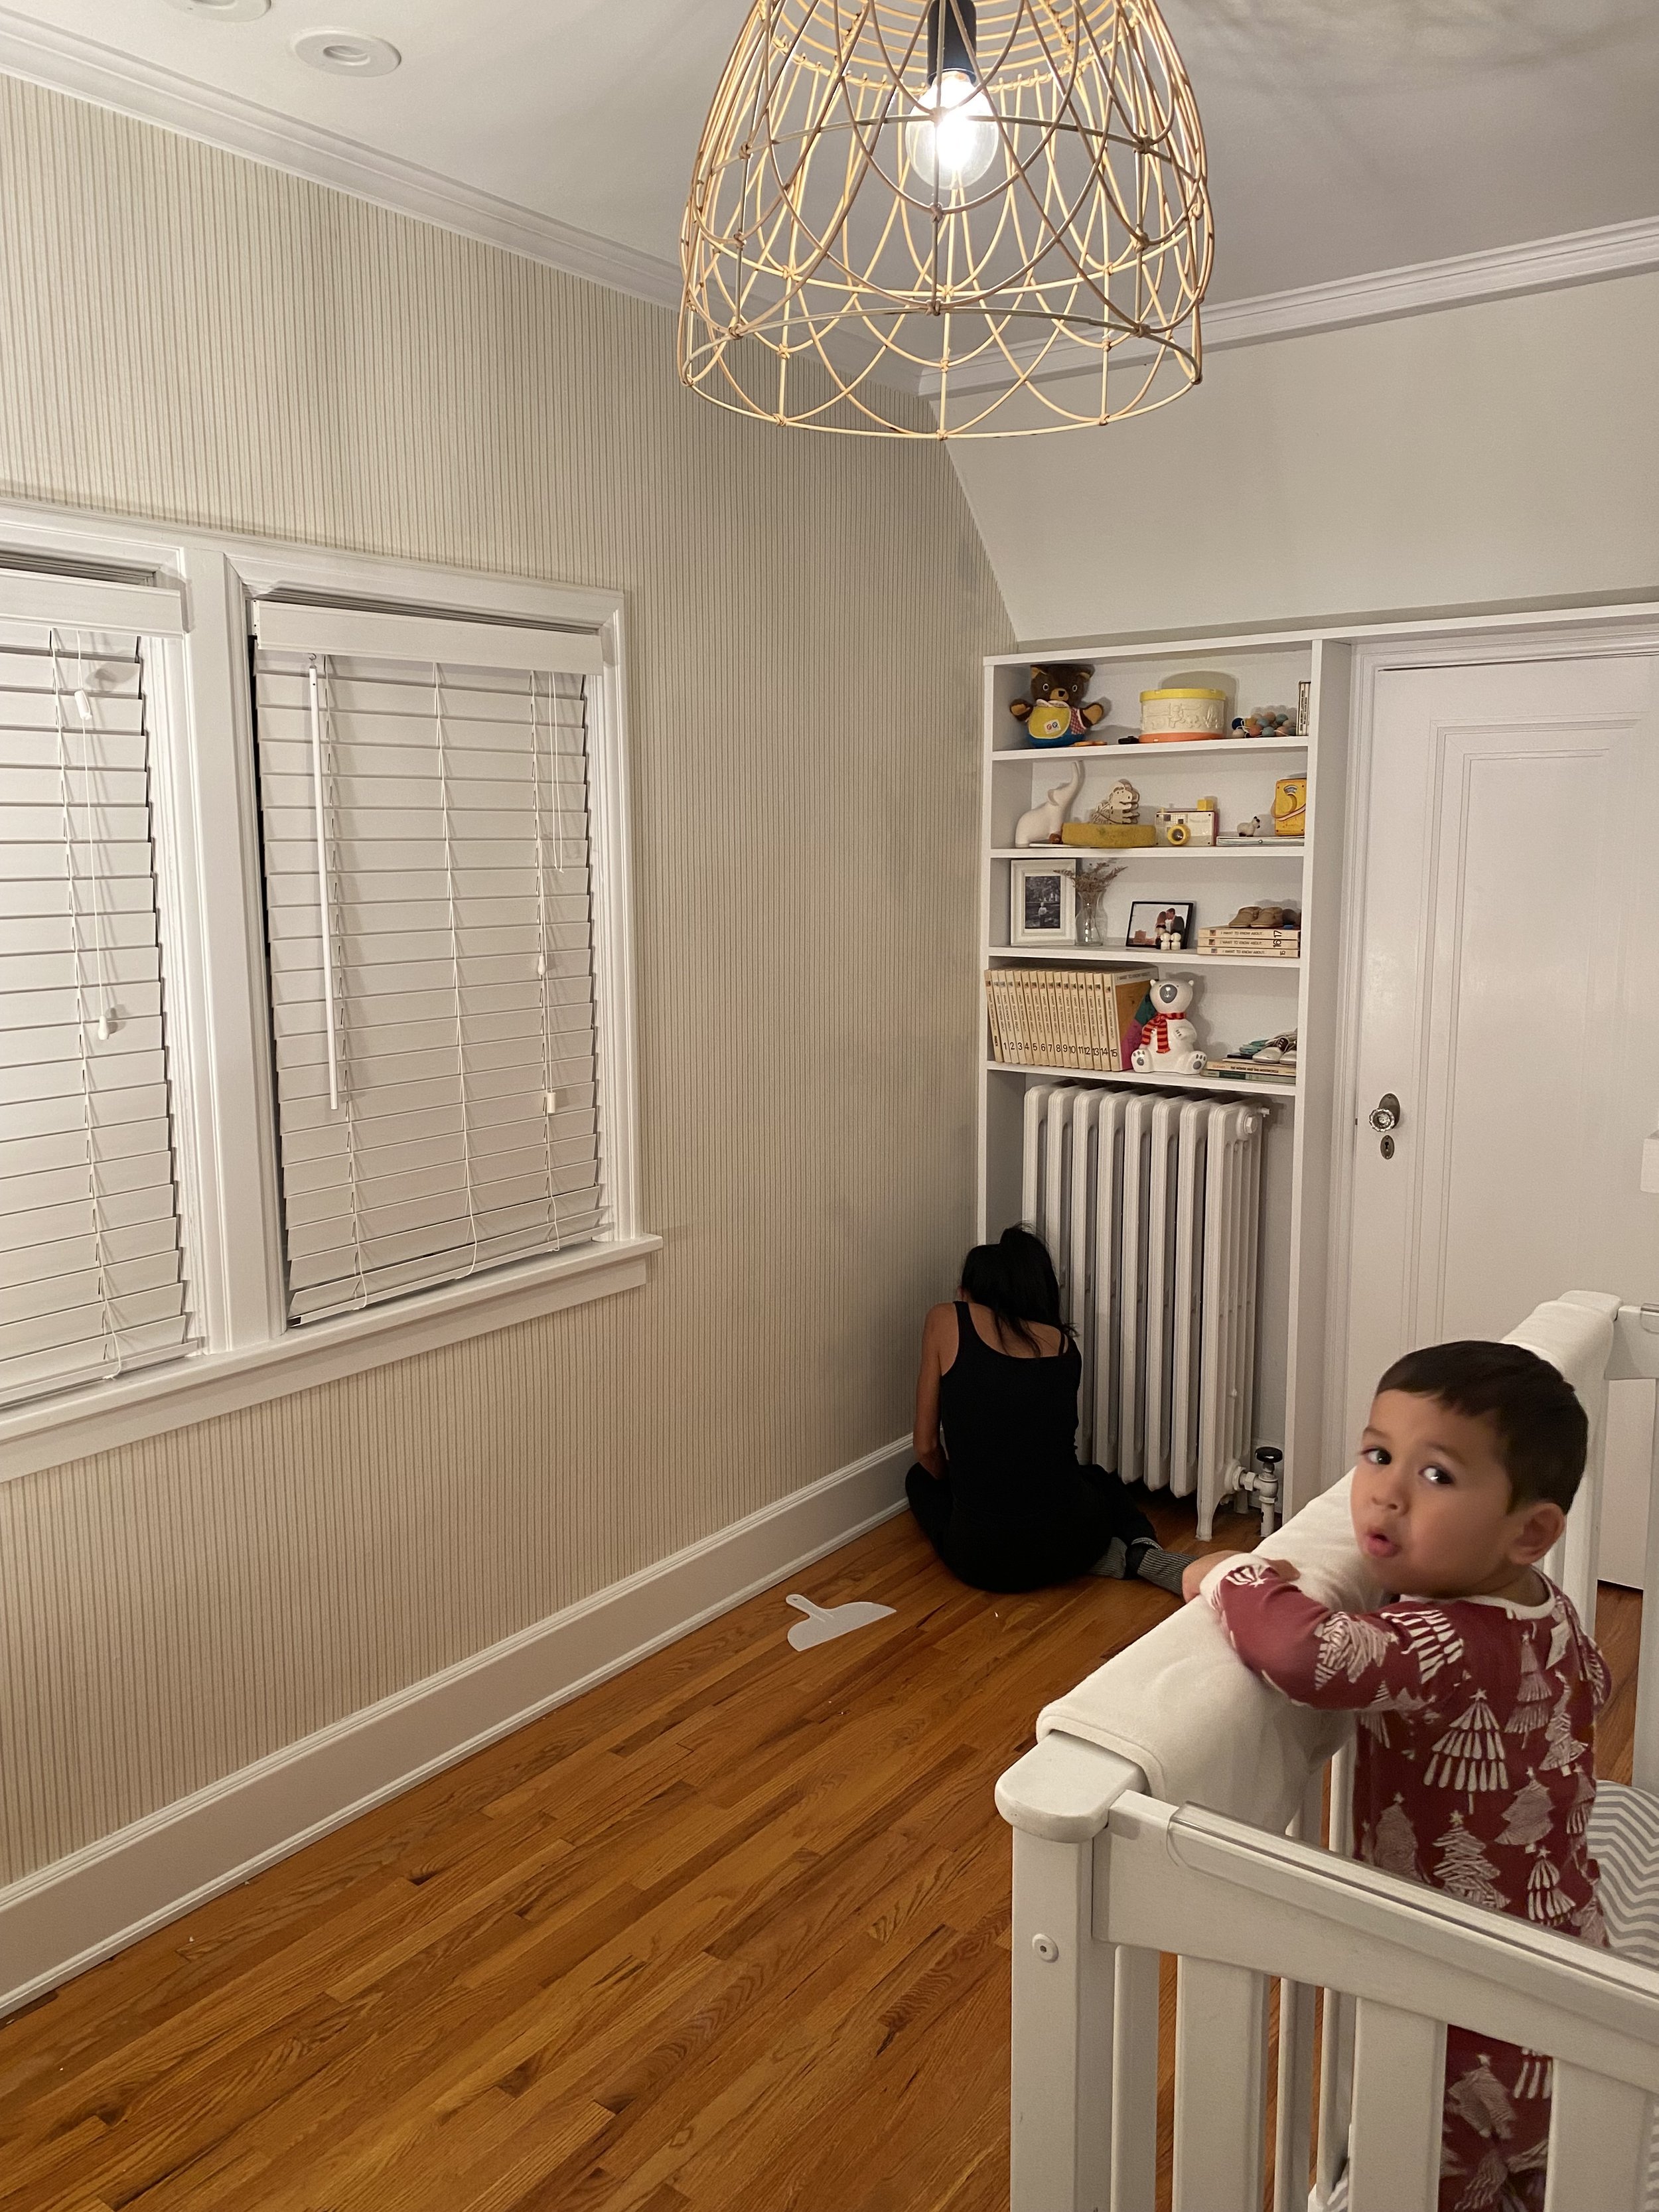
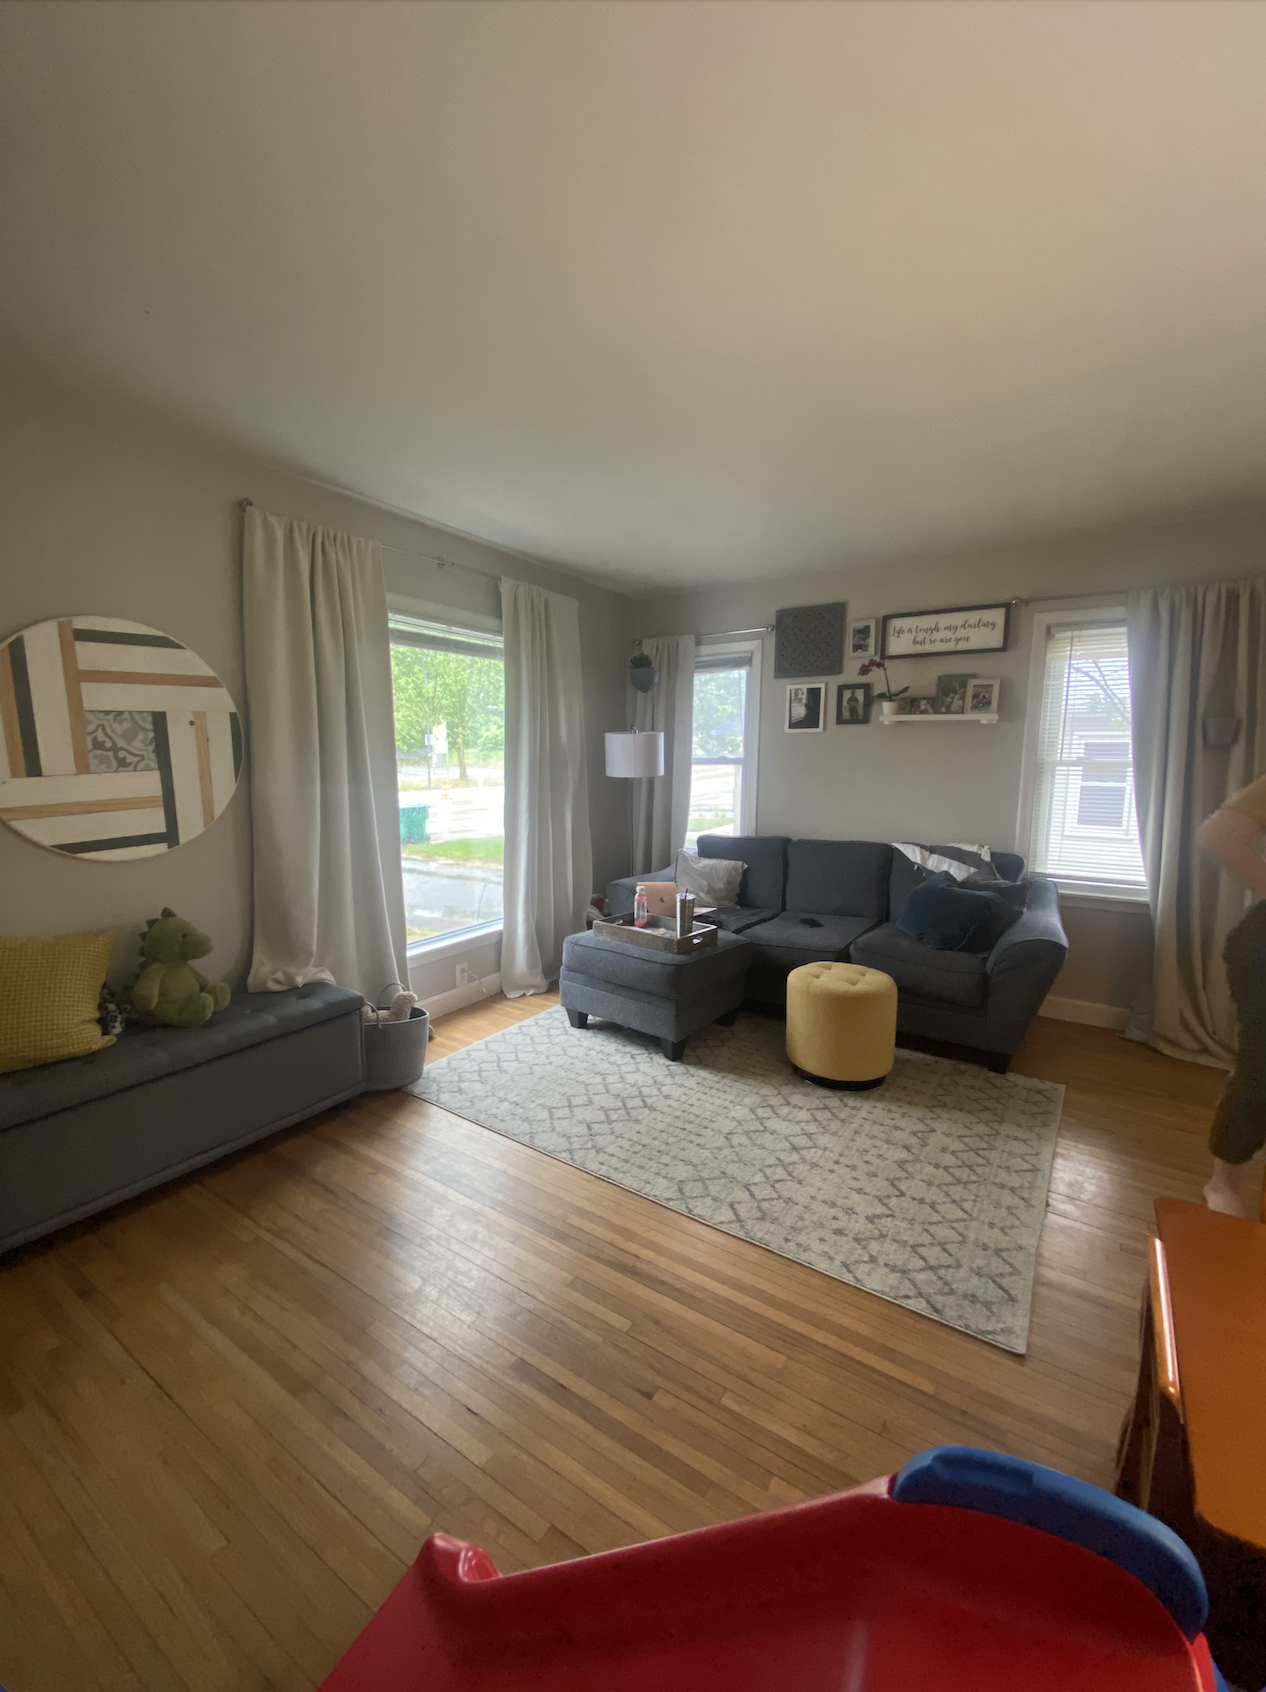
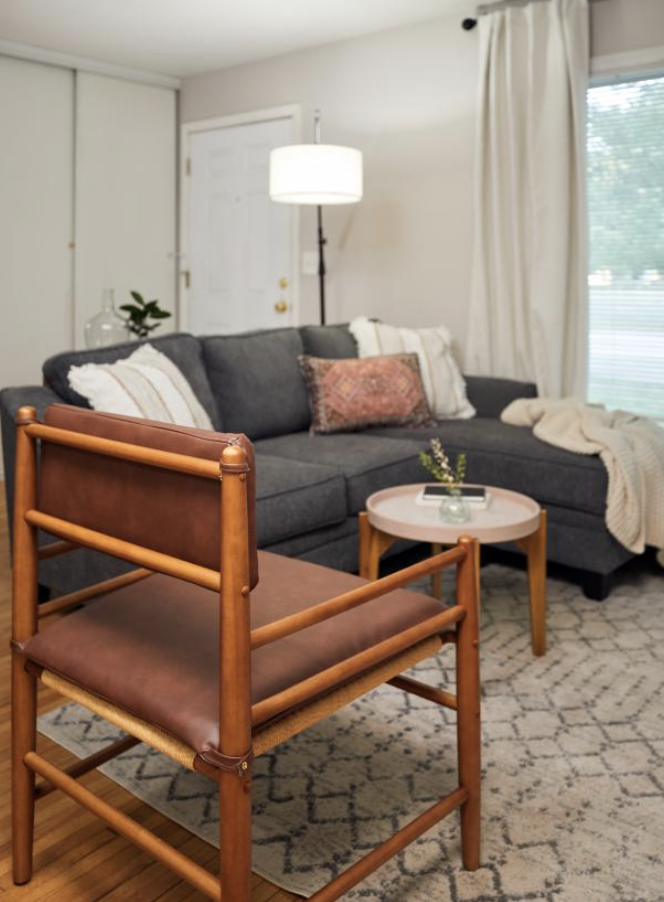
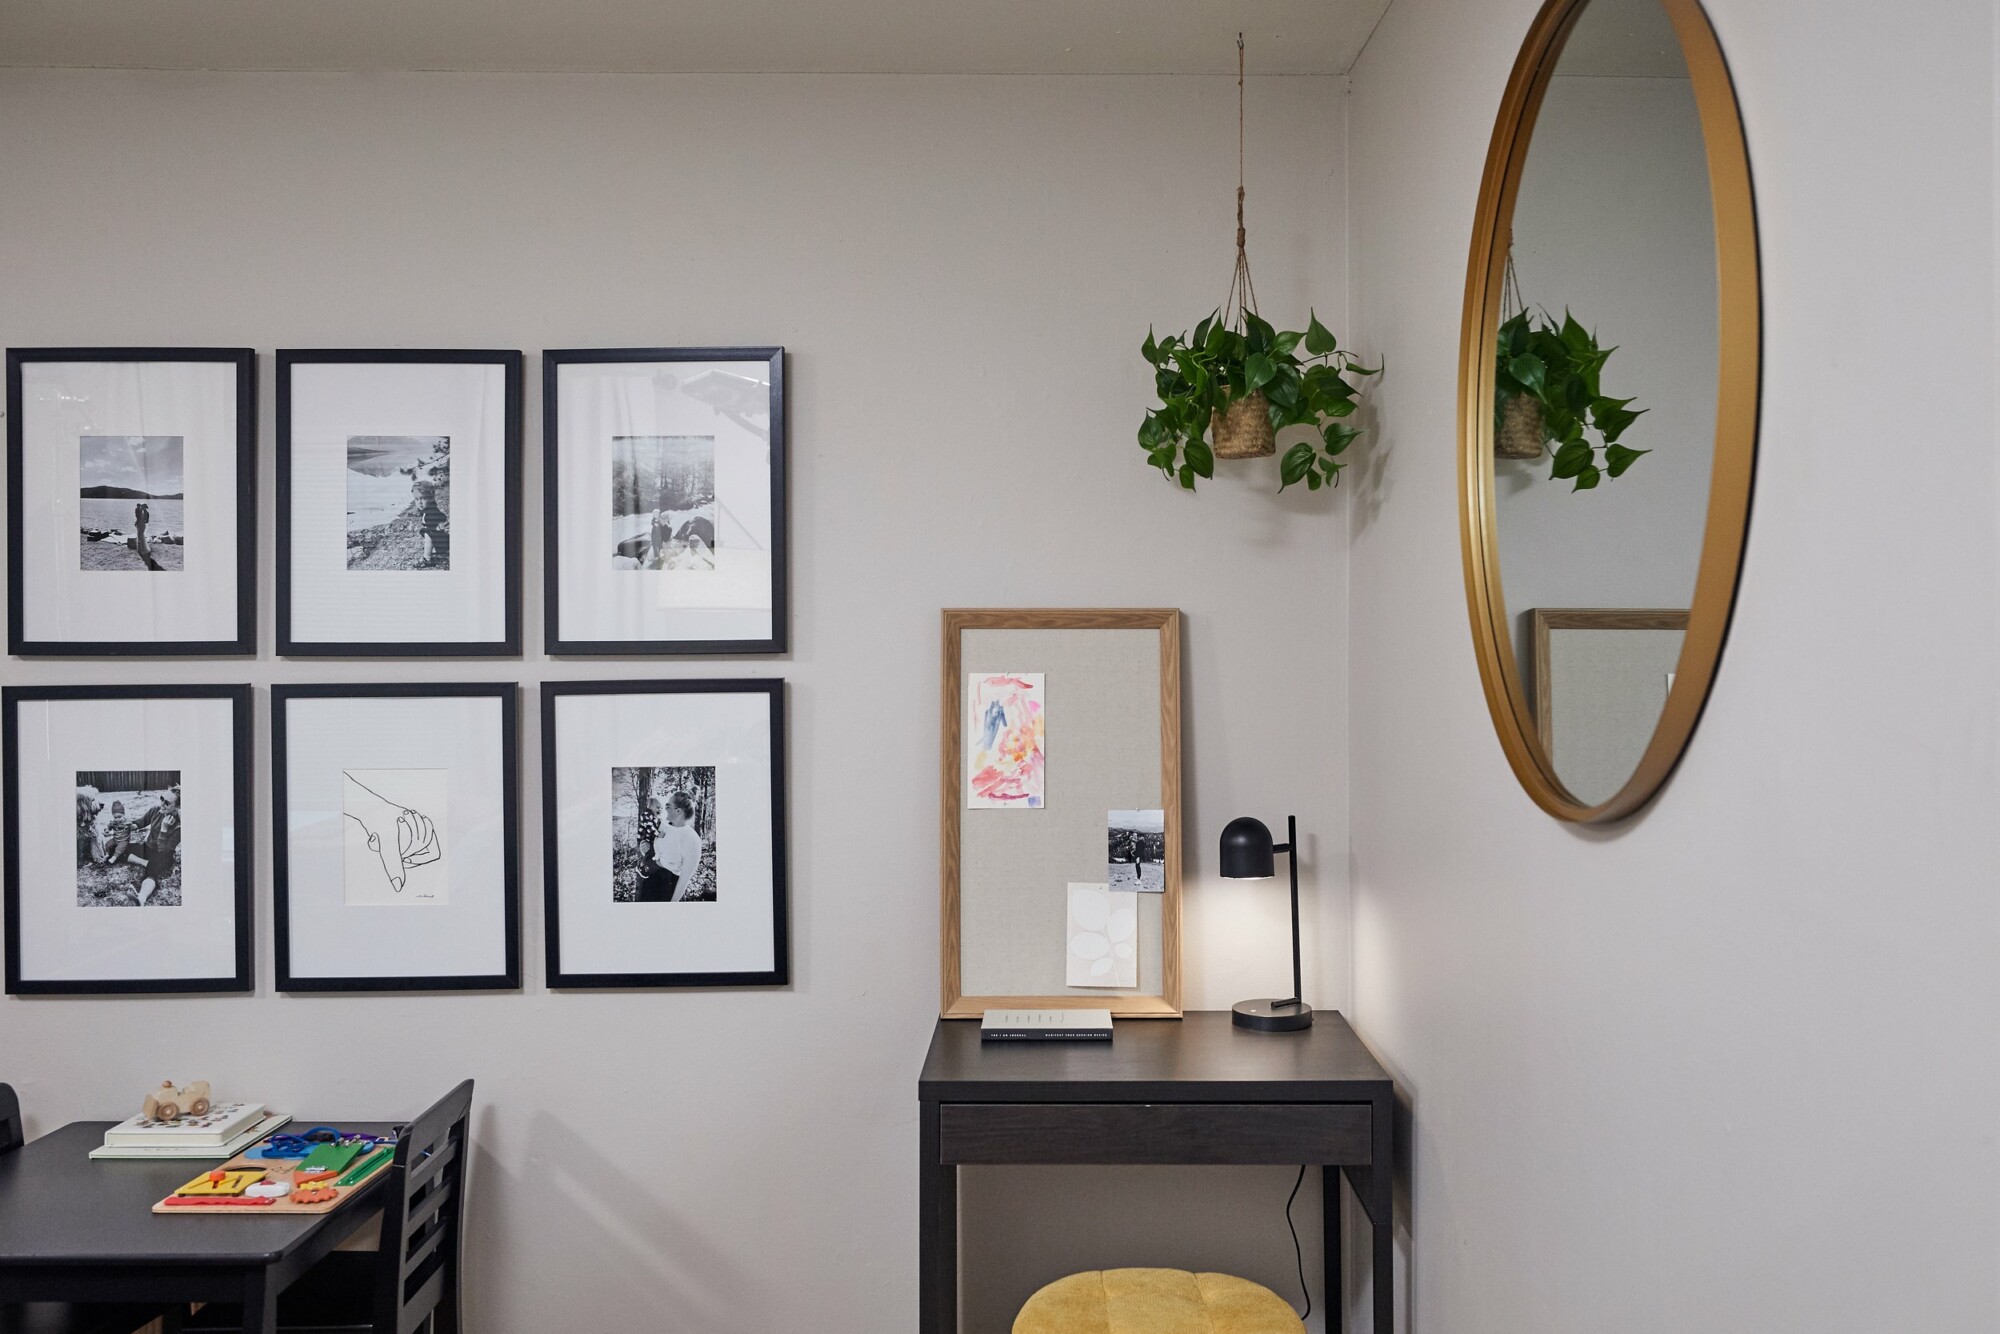
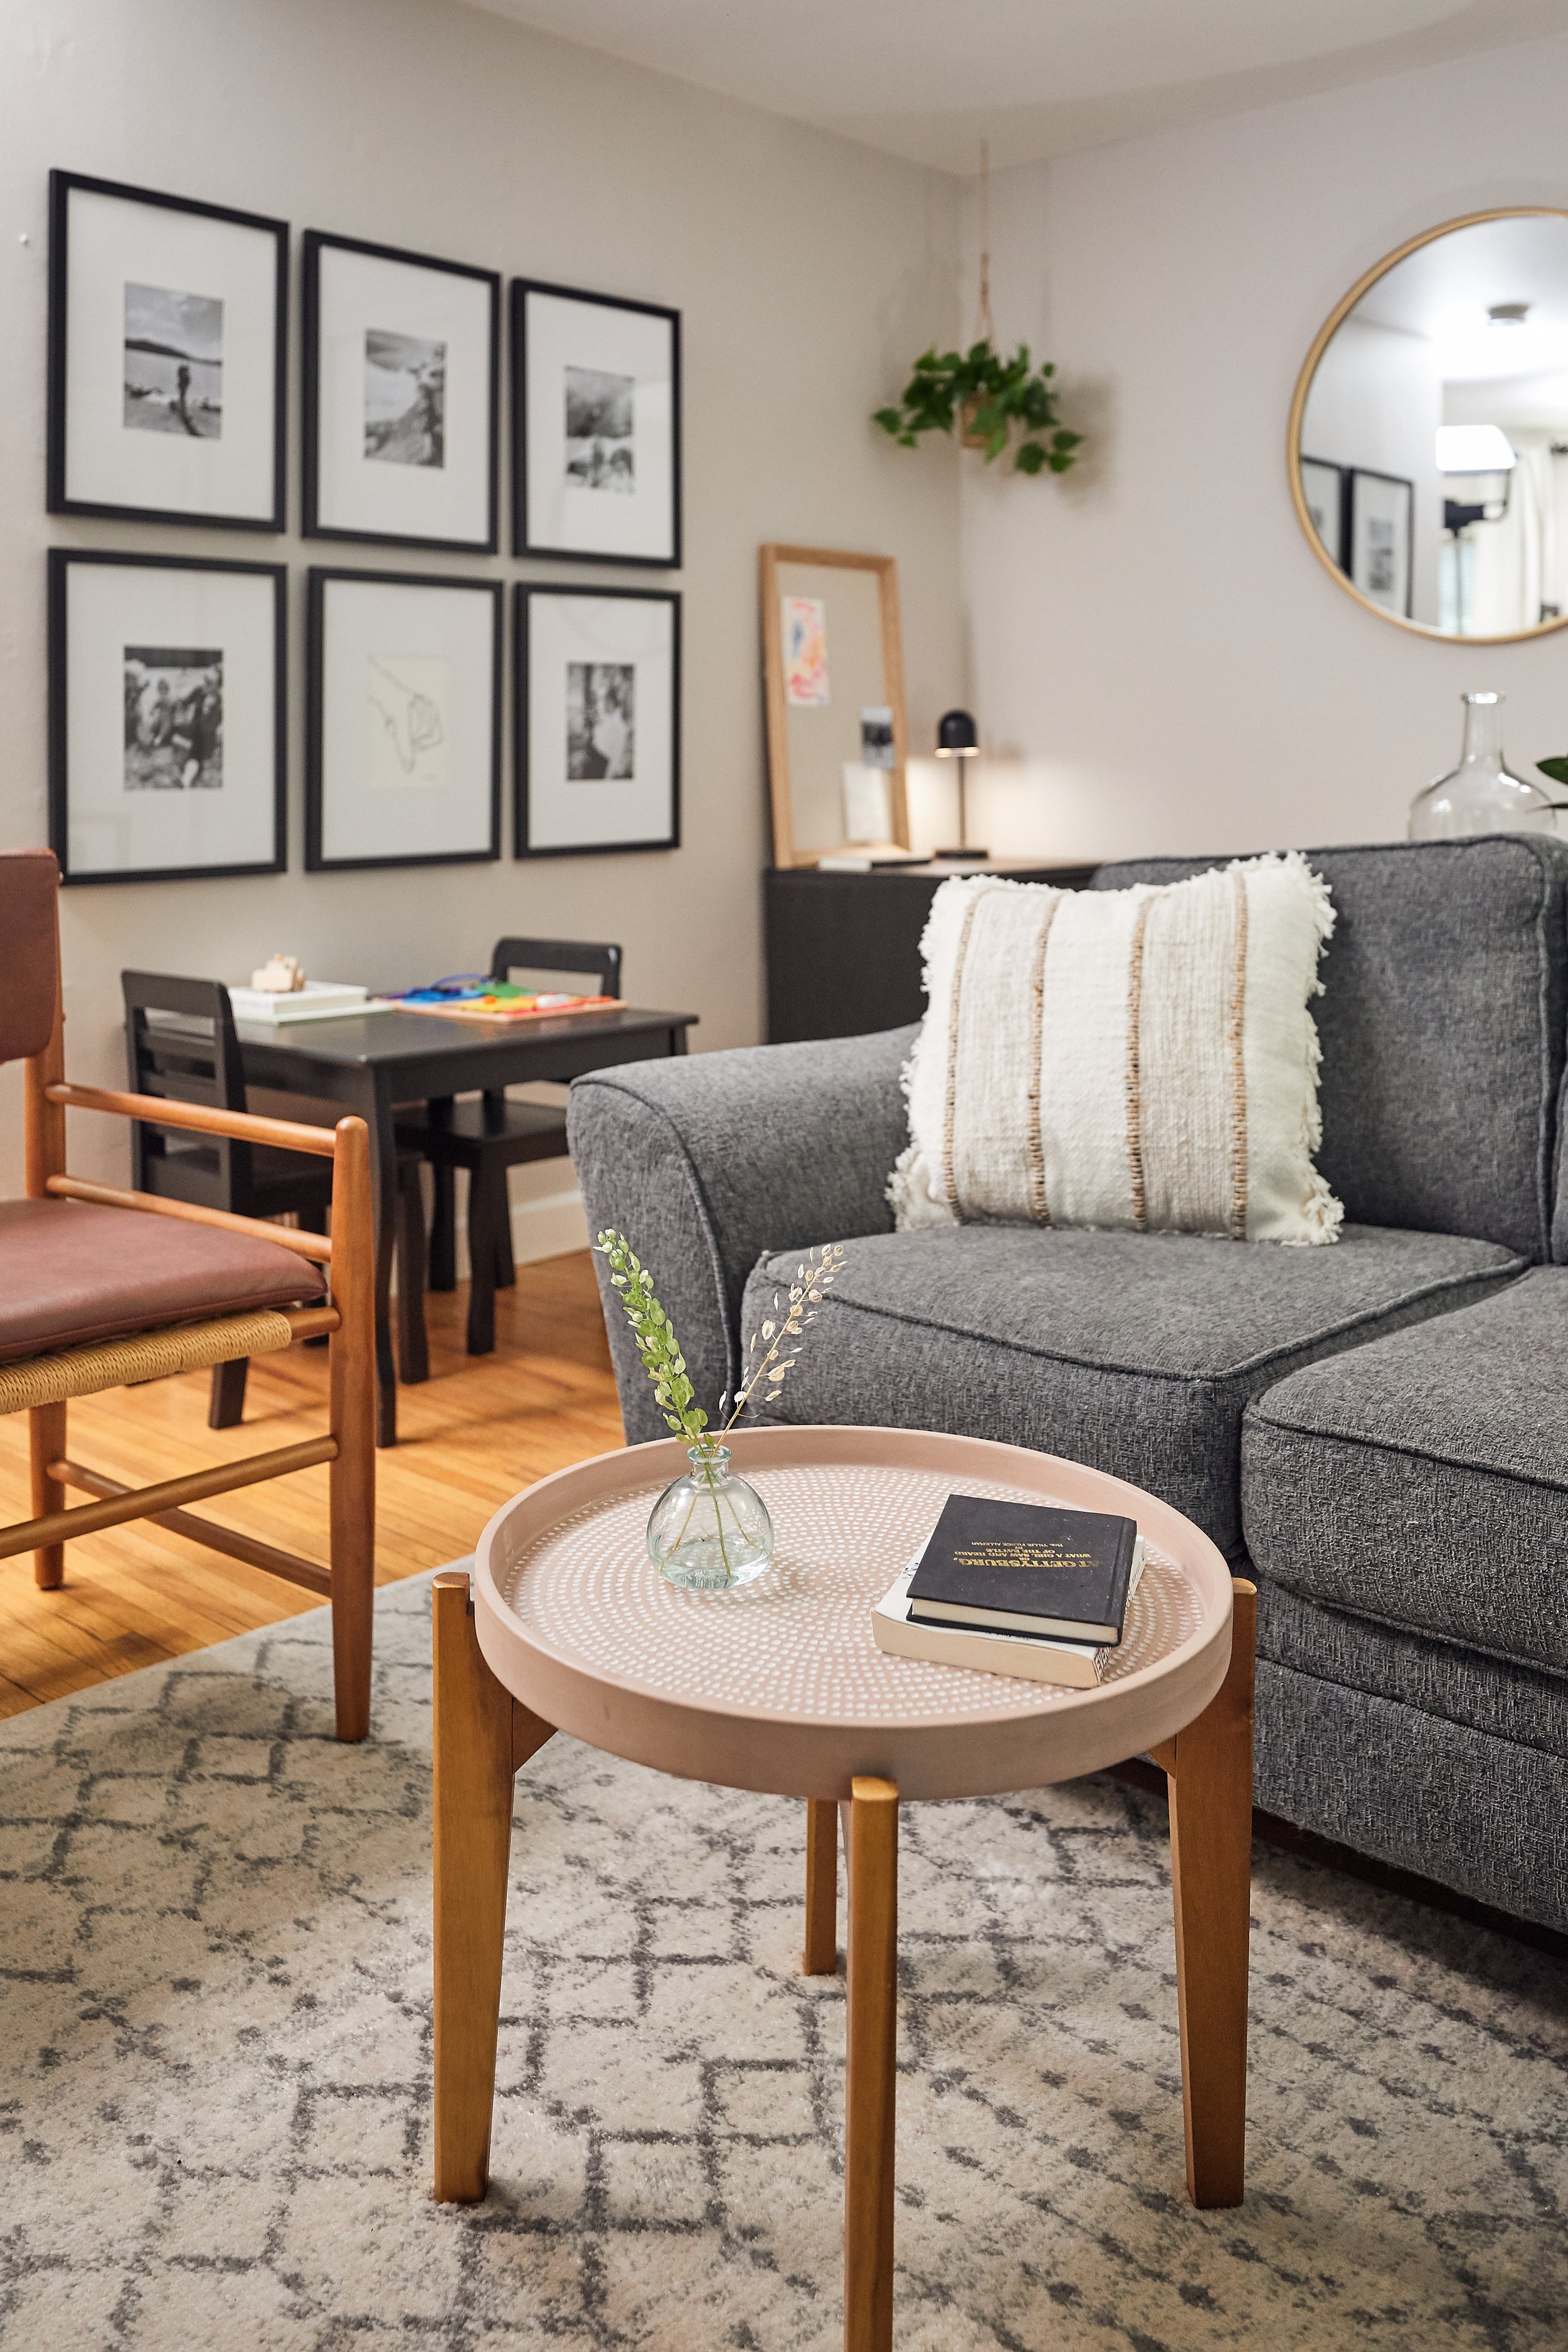
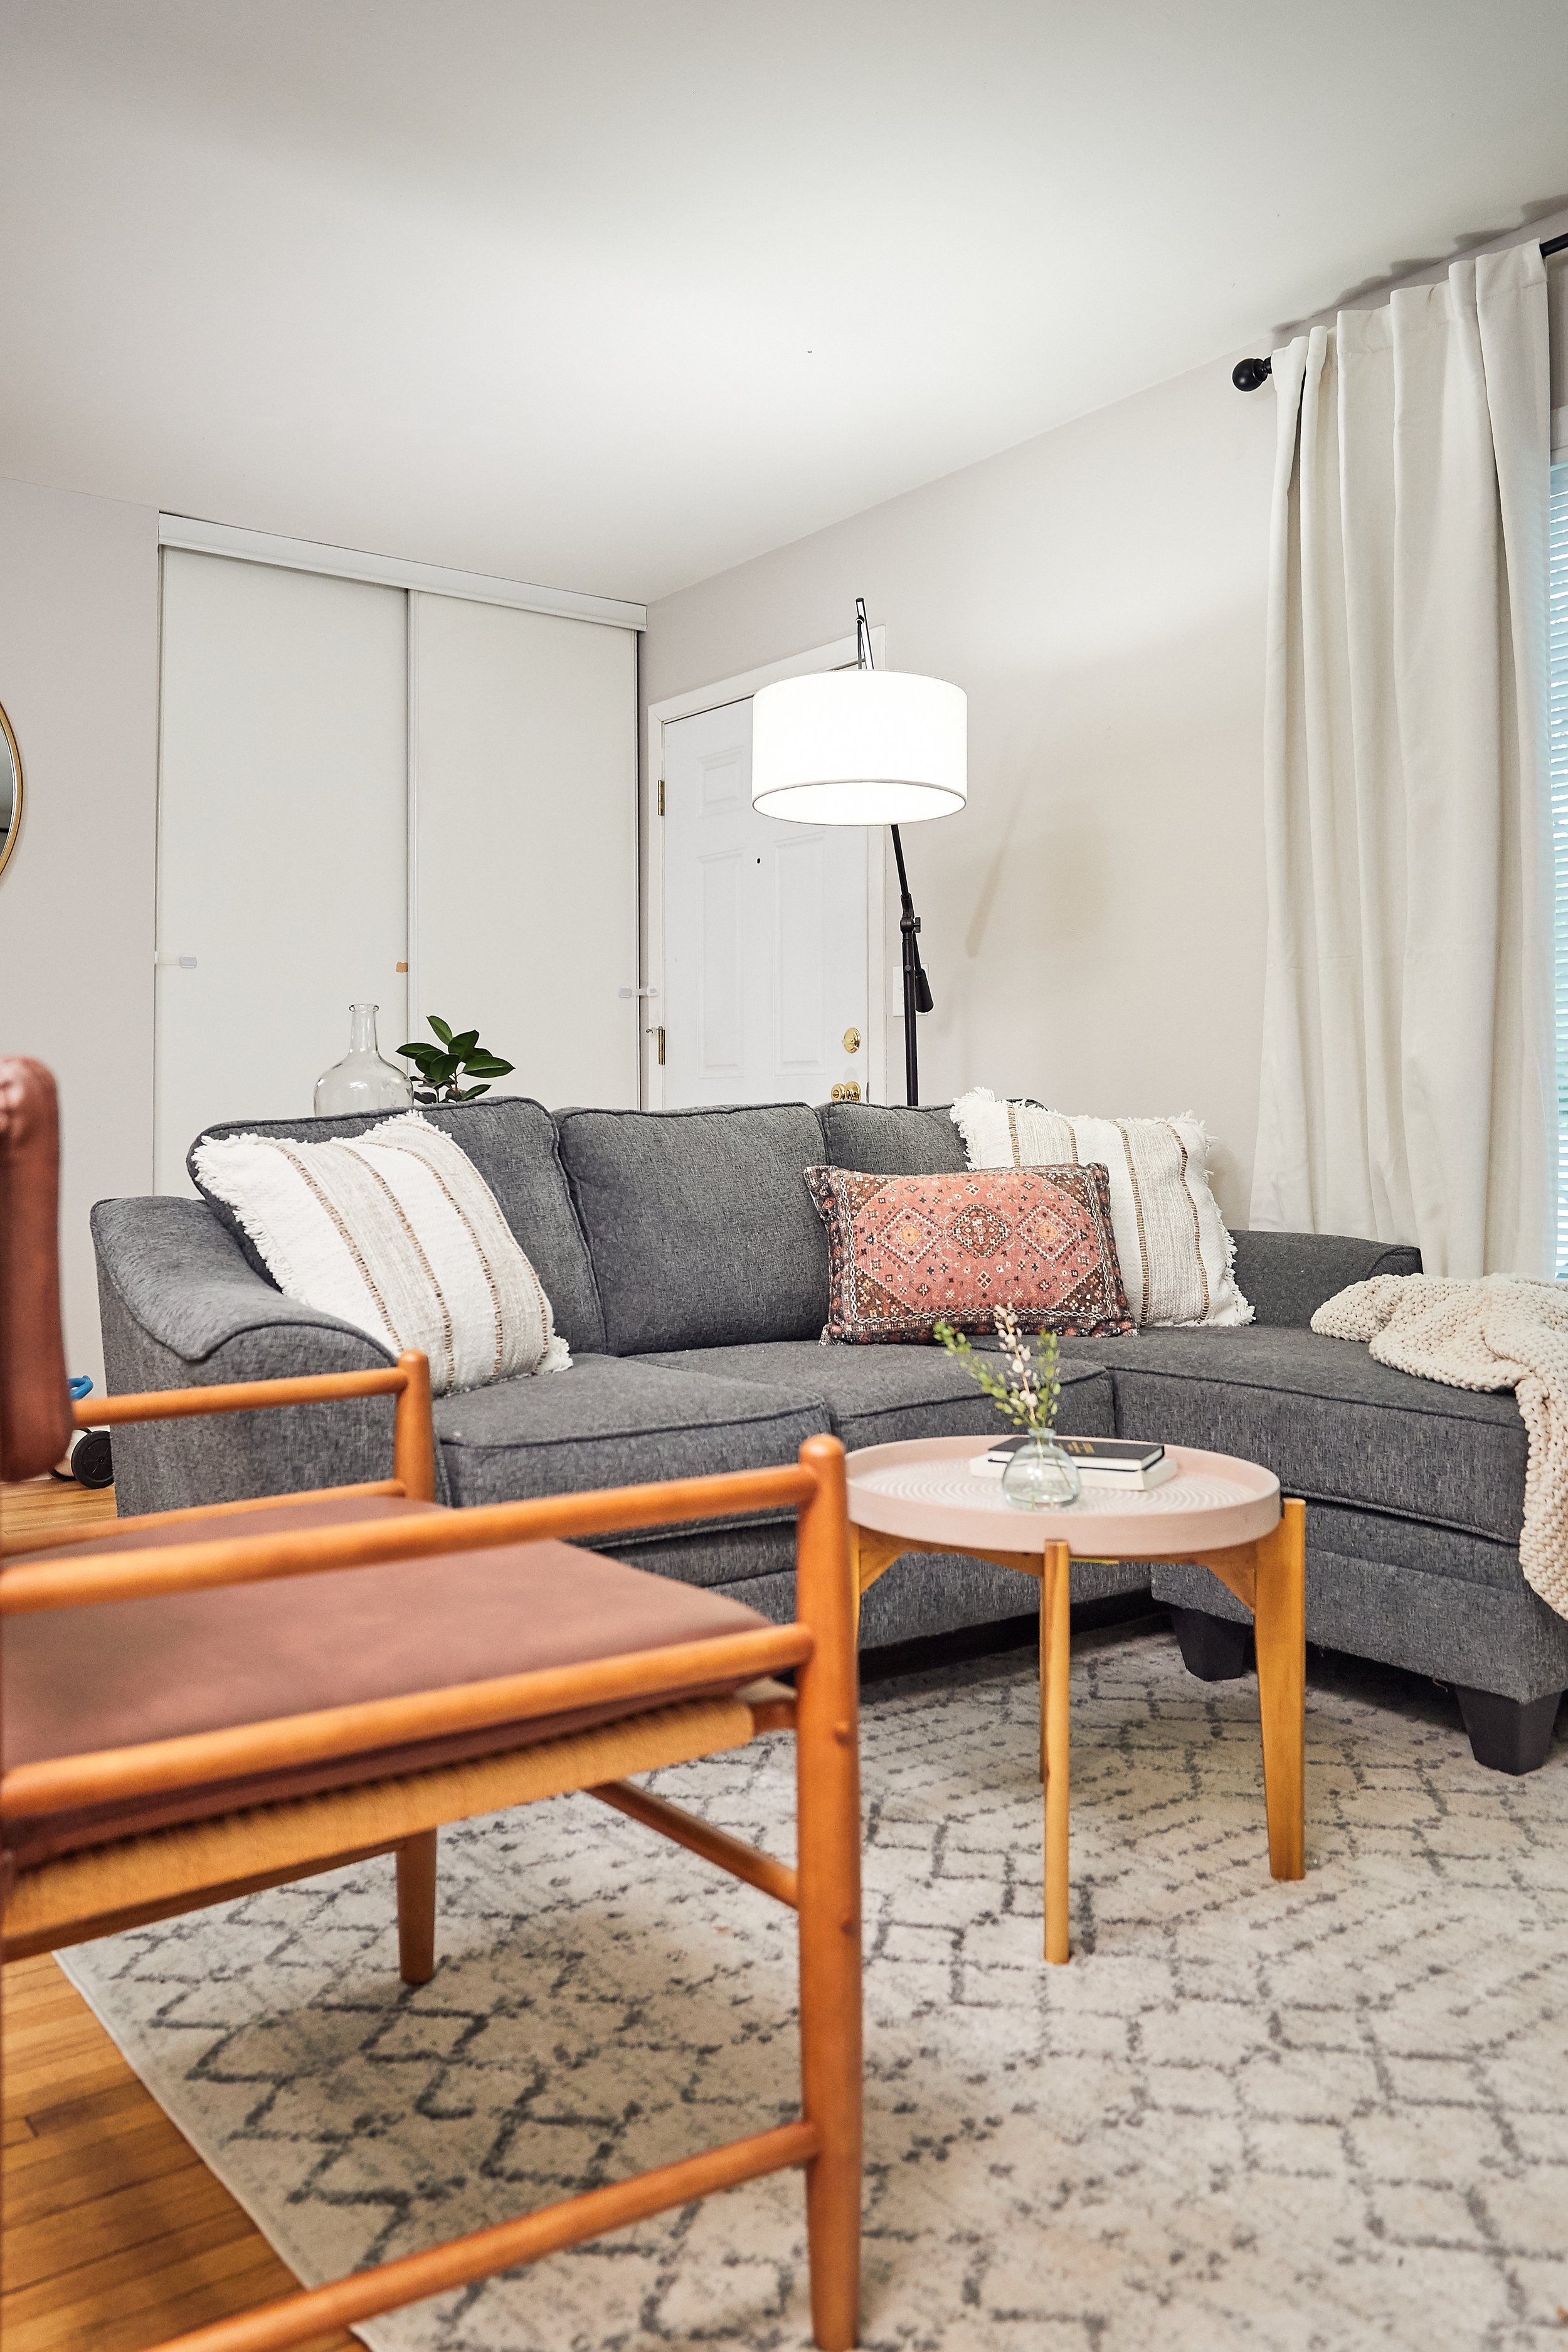
vintage rug from Swoonrugs
Home
Swoonrugs: 20% off use code THANKFUL. Tabi carries an amazing collection of vintage rugs. The picture above of the girls’ room has one of her vintage rugs.
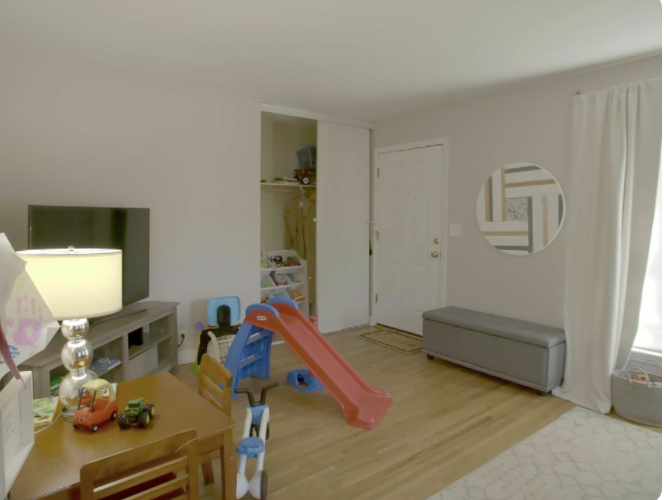
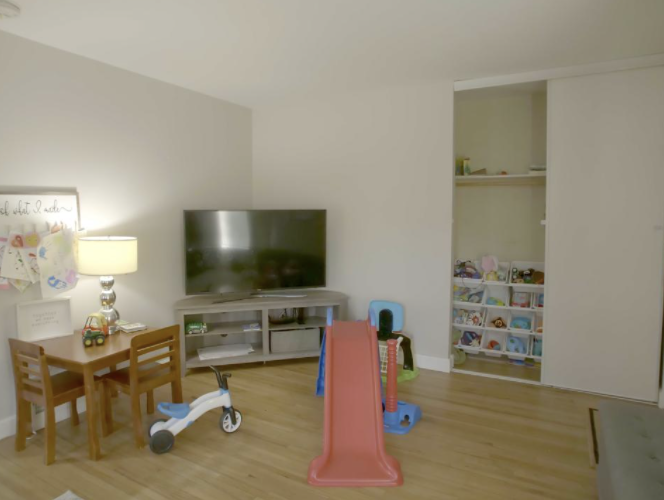
Gathre: free shipping on all domestic orders through 11/29. We love their midi size mats to put underneath the kids’ chairs for easy cleanup and bonus that they’re nice looking. We have the micro size mats that we use for placemats and it’s so easy to wipe up and keeps our table looking nice and prevents scratches.
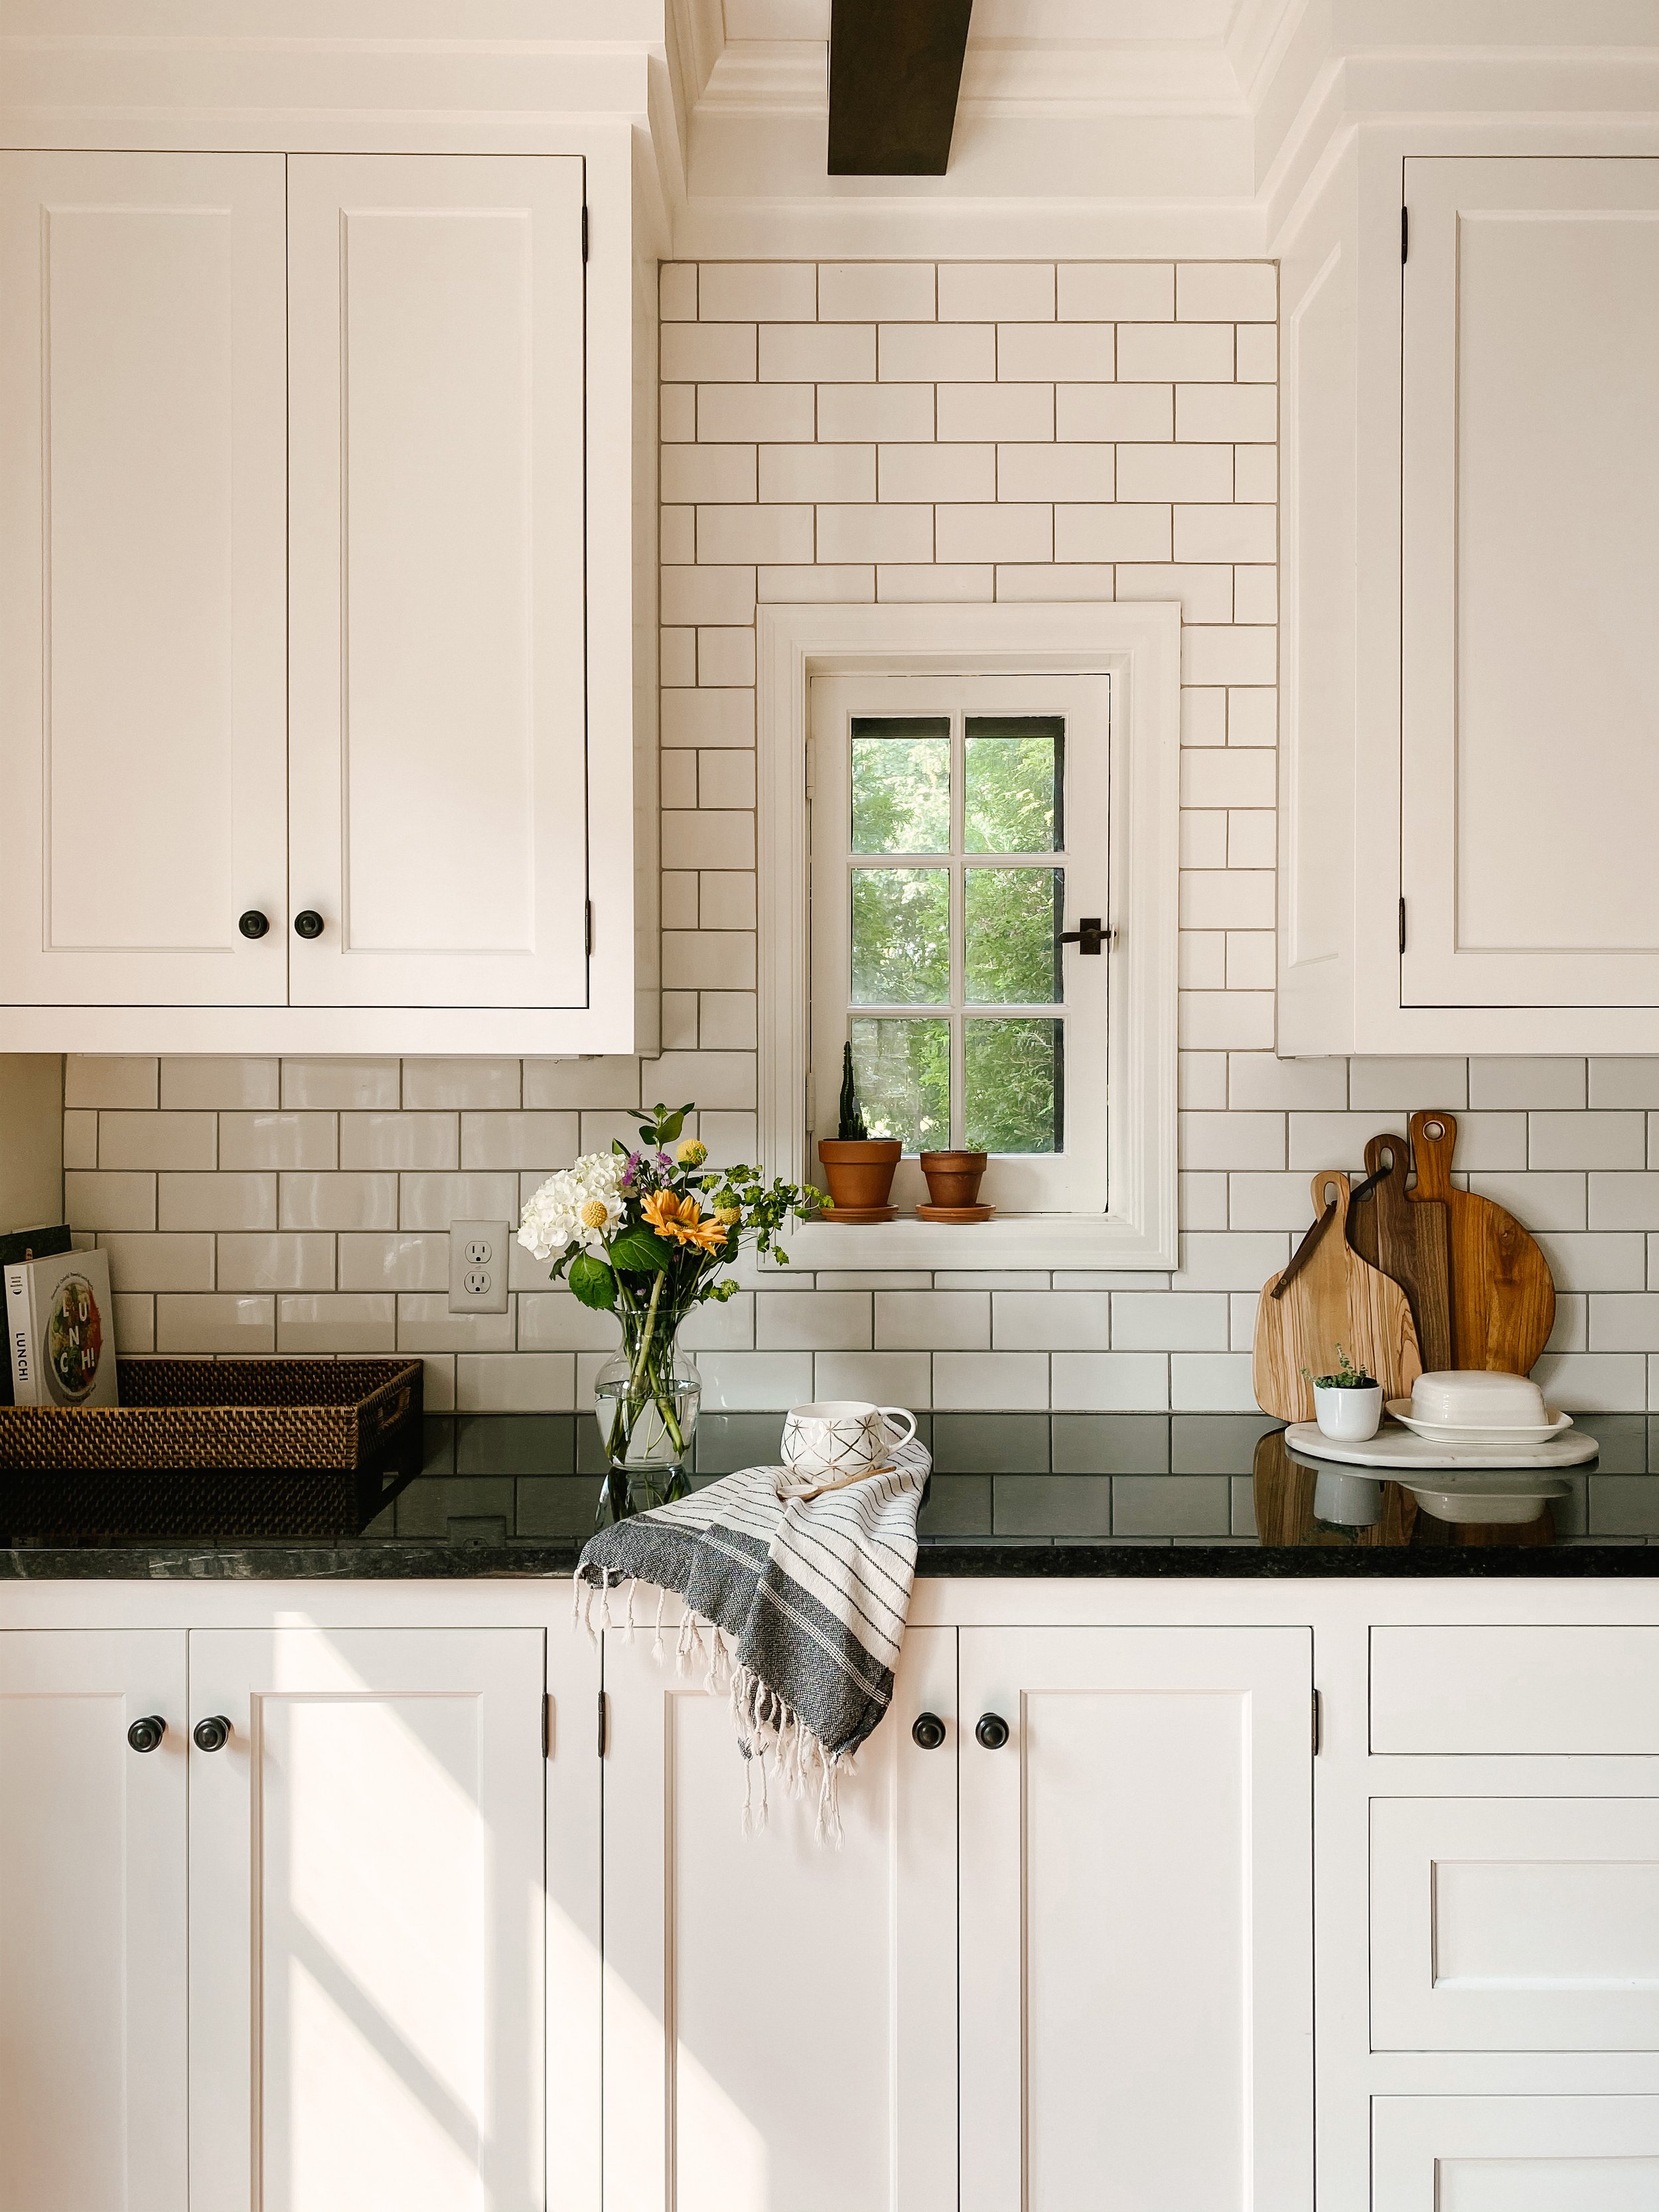
Olive and Linen: Extra 30% OFF with code THANKS30. My favorite Turkish towels for the kitchen and bathroom are from here.
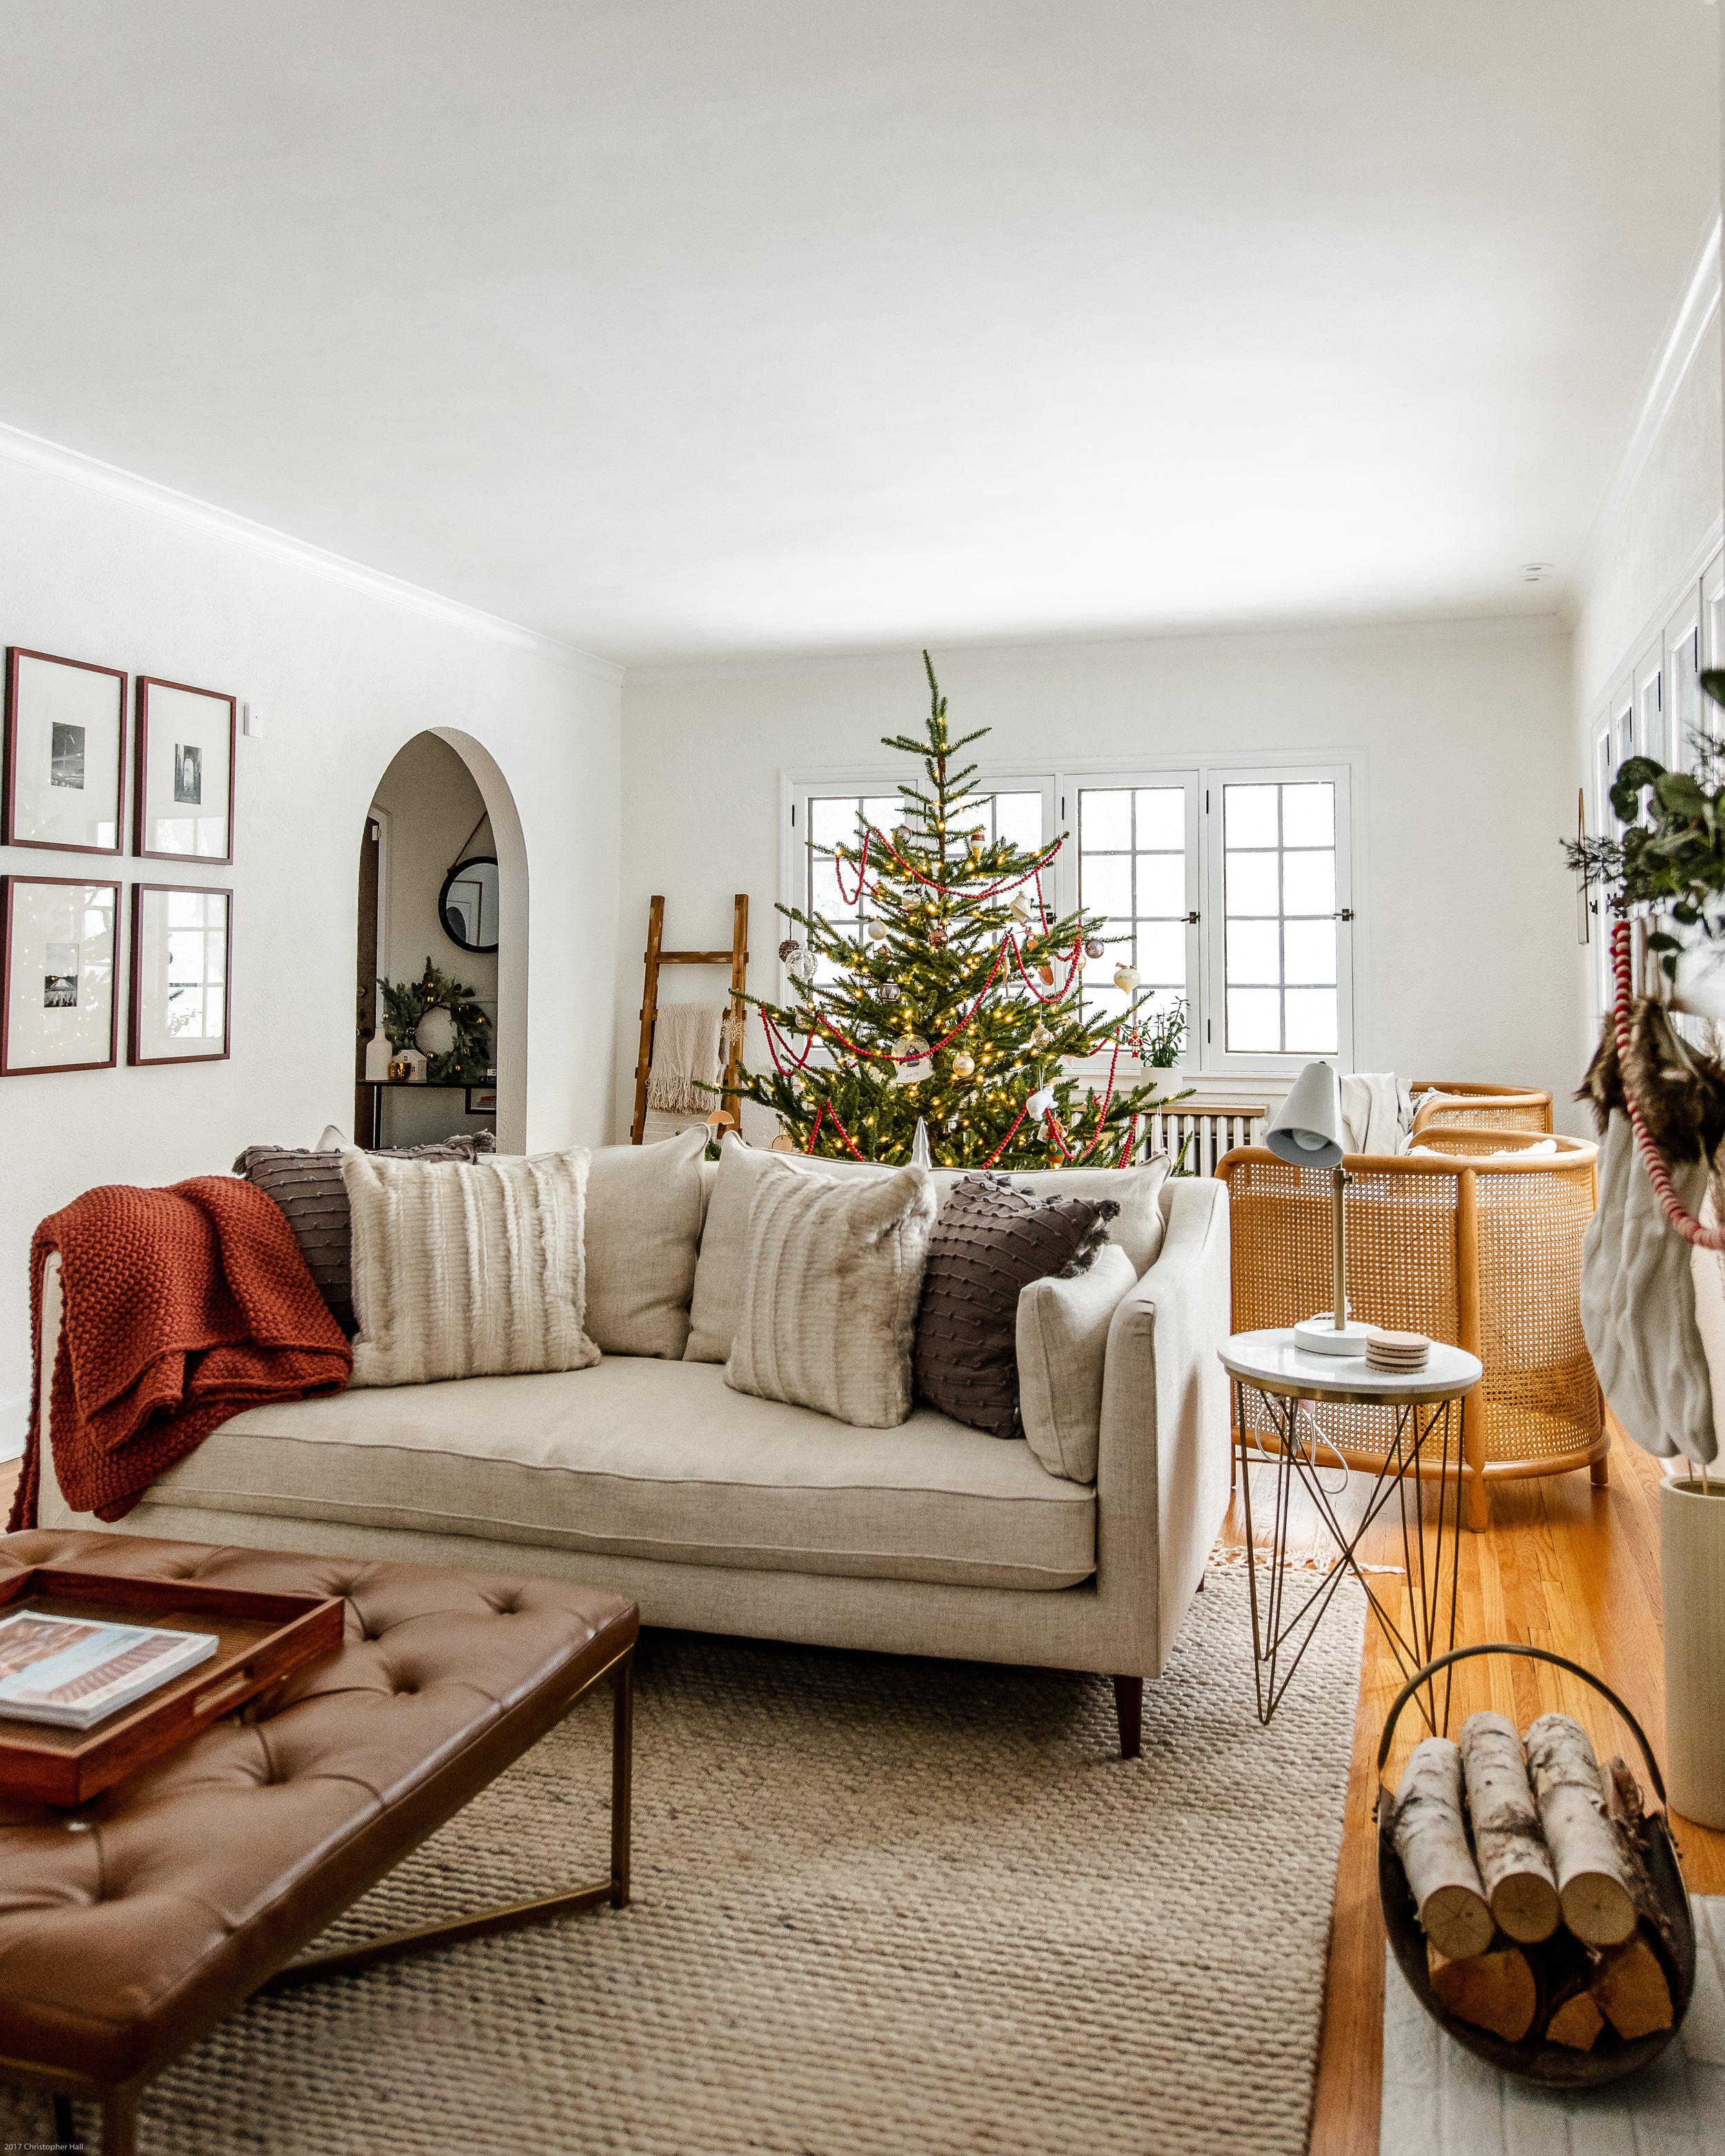
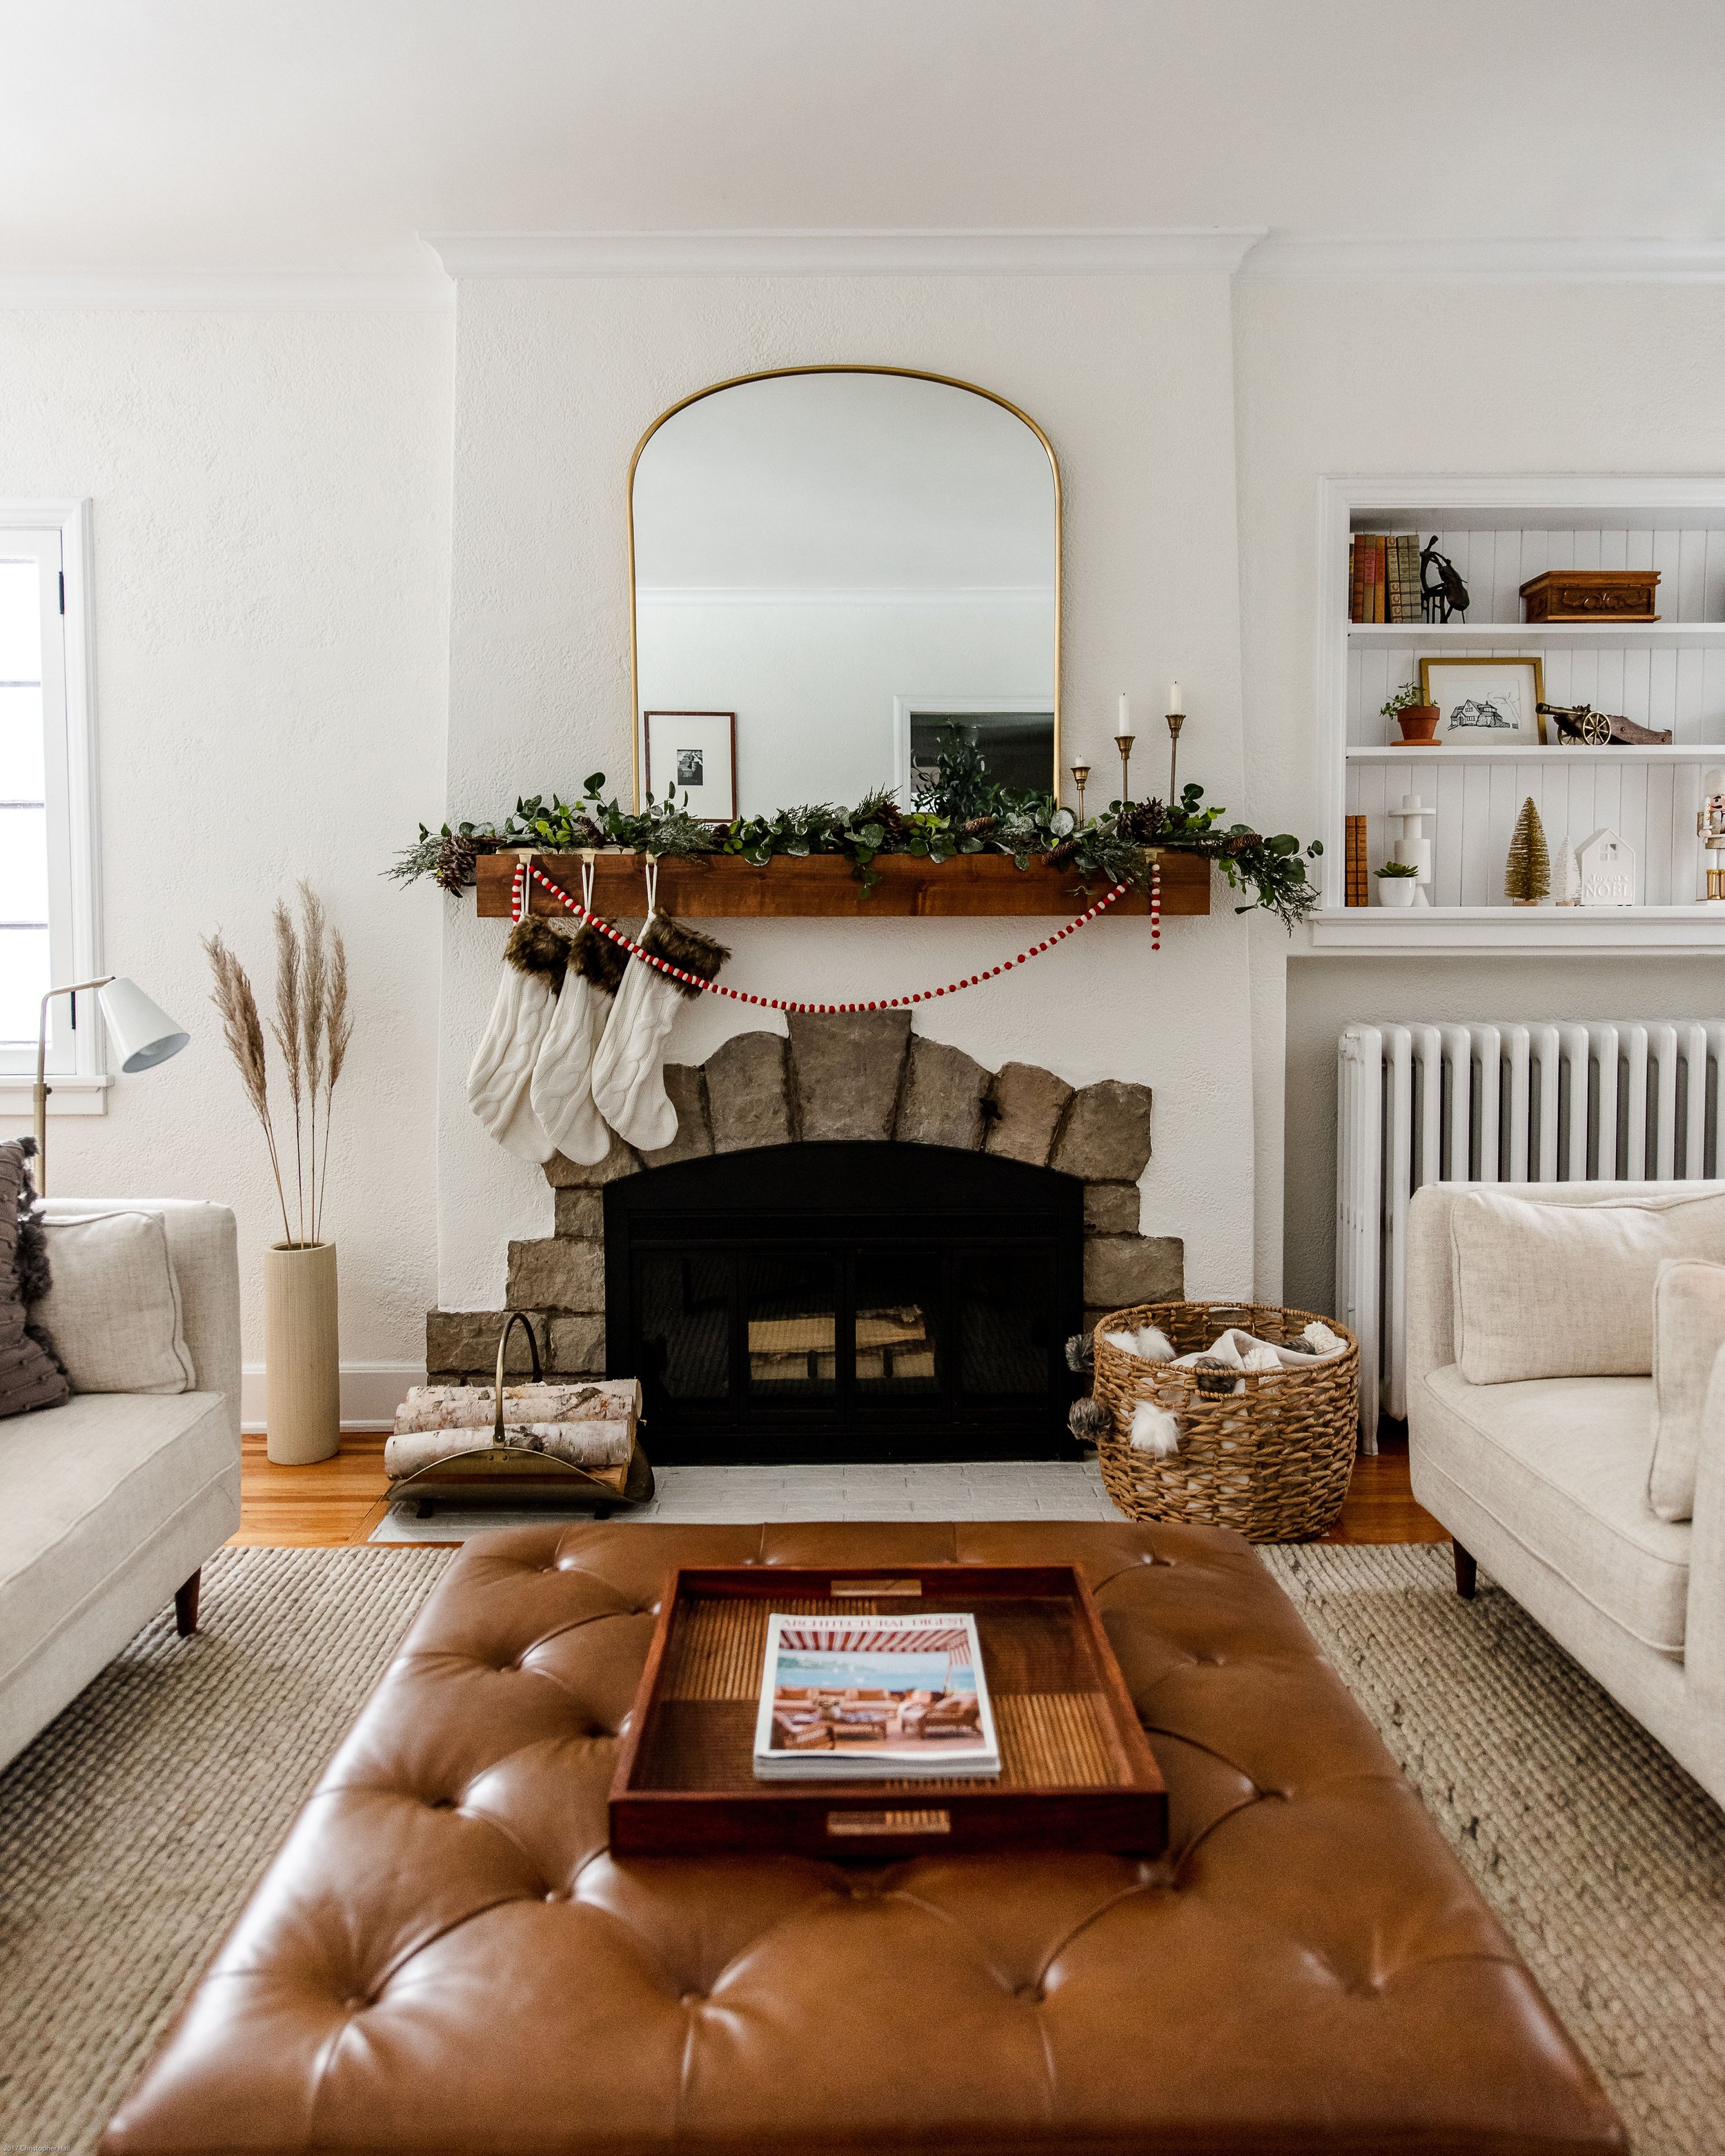
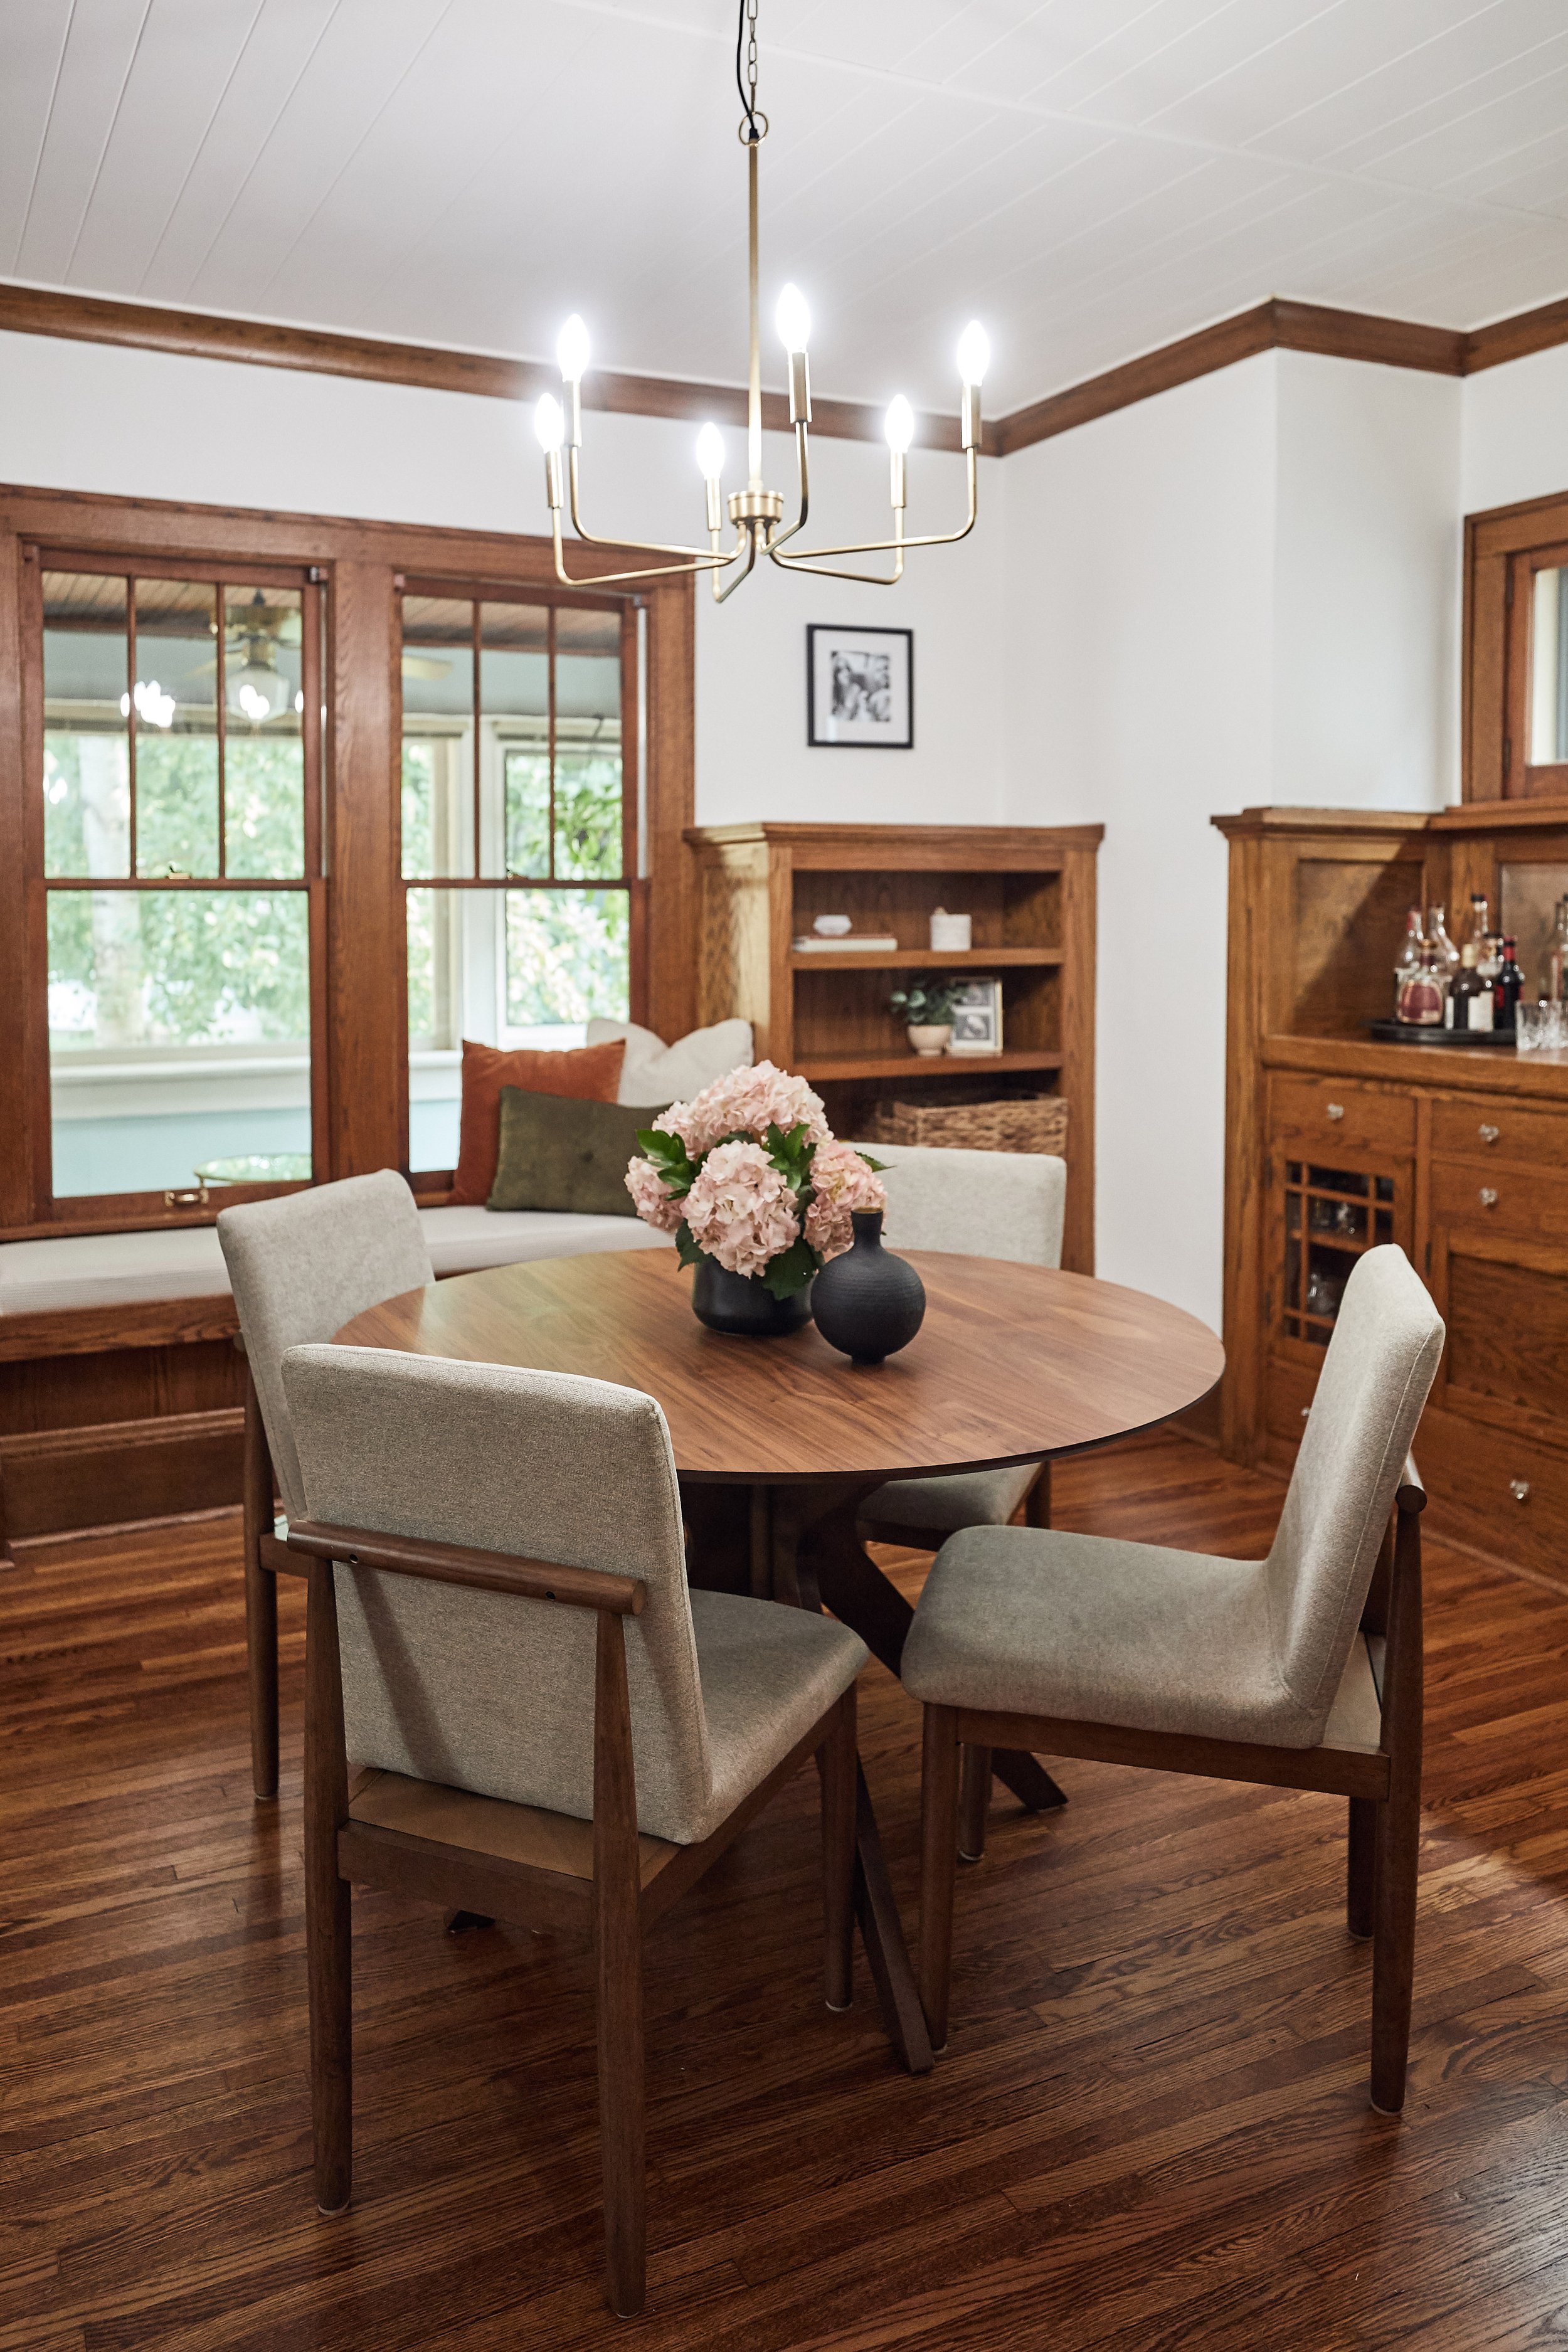
Wood Mantel: items ships free to the US. We bought a mantel from SawtoothRidge and were so impressed by their quality and love sharing the source. With 11,373 sales and 5 stars, you know they do great work!
Shoes, Apparel & Jewelry
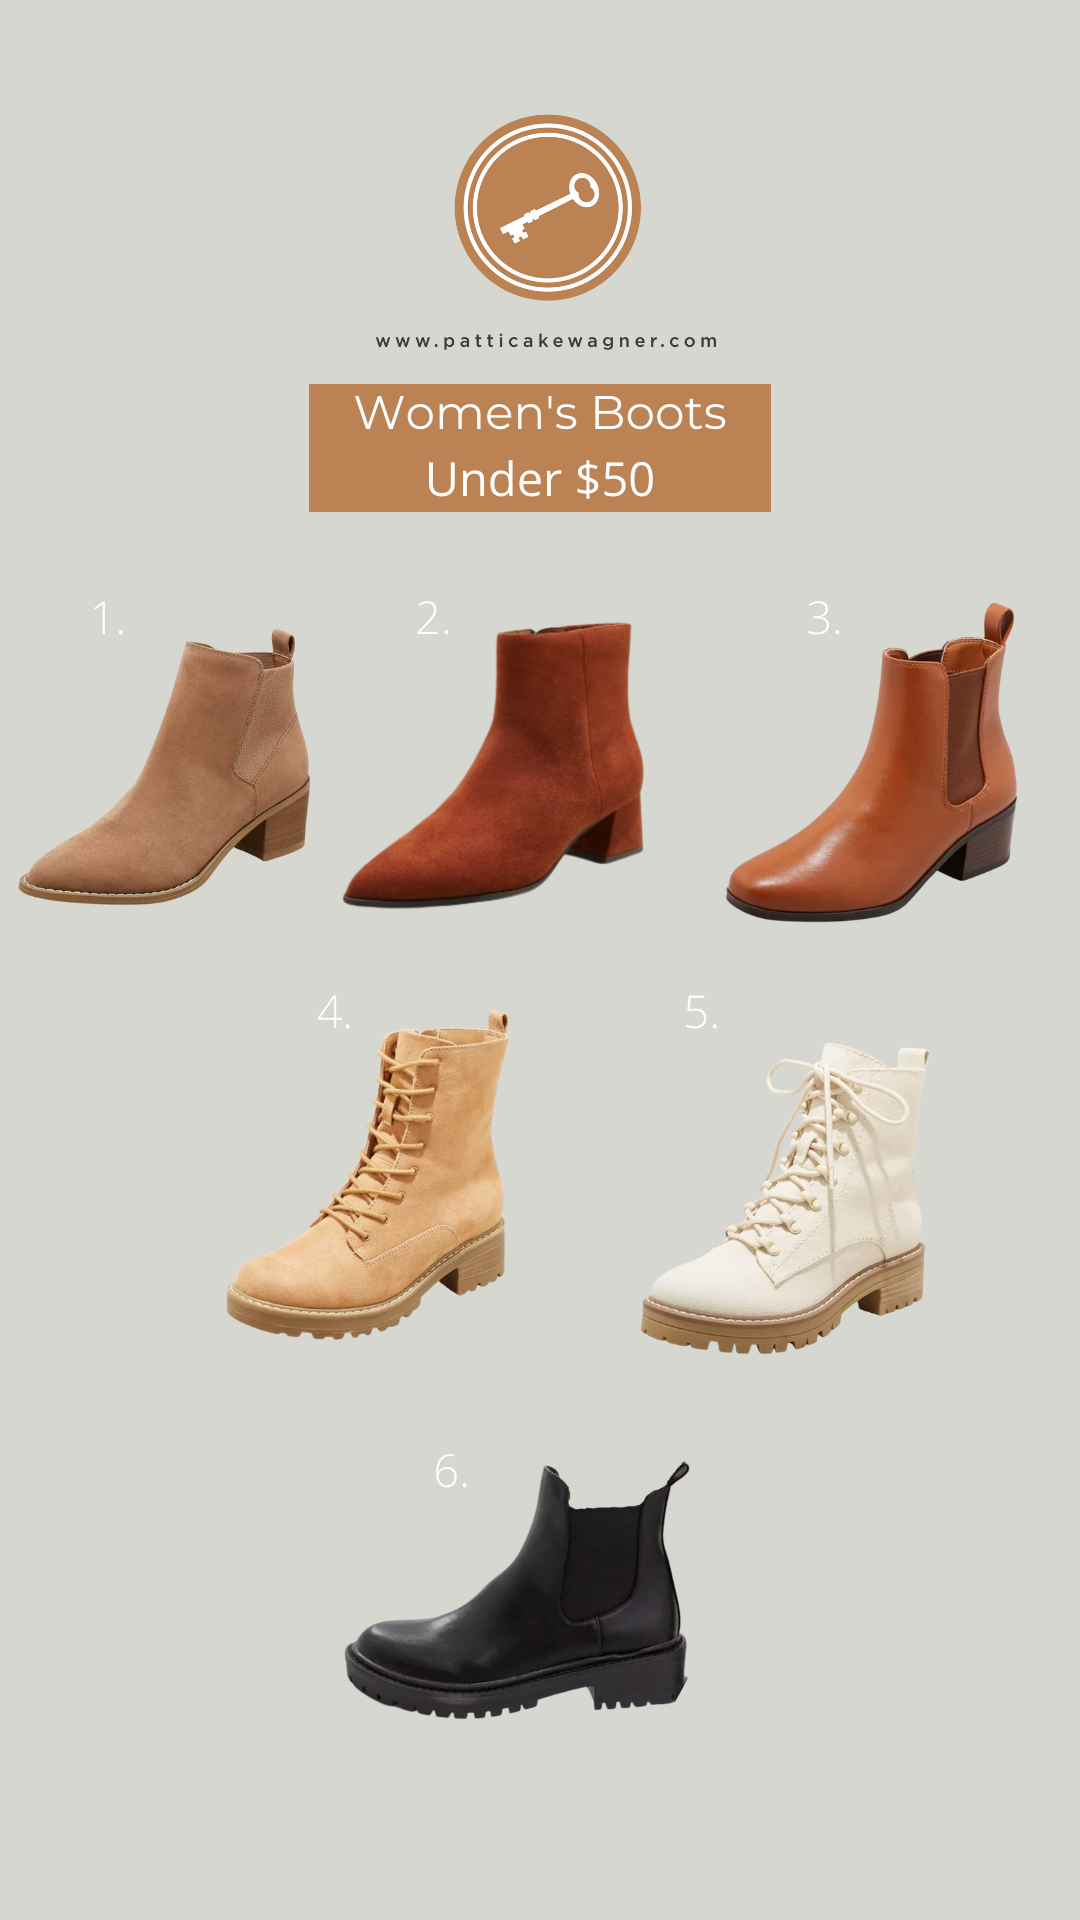
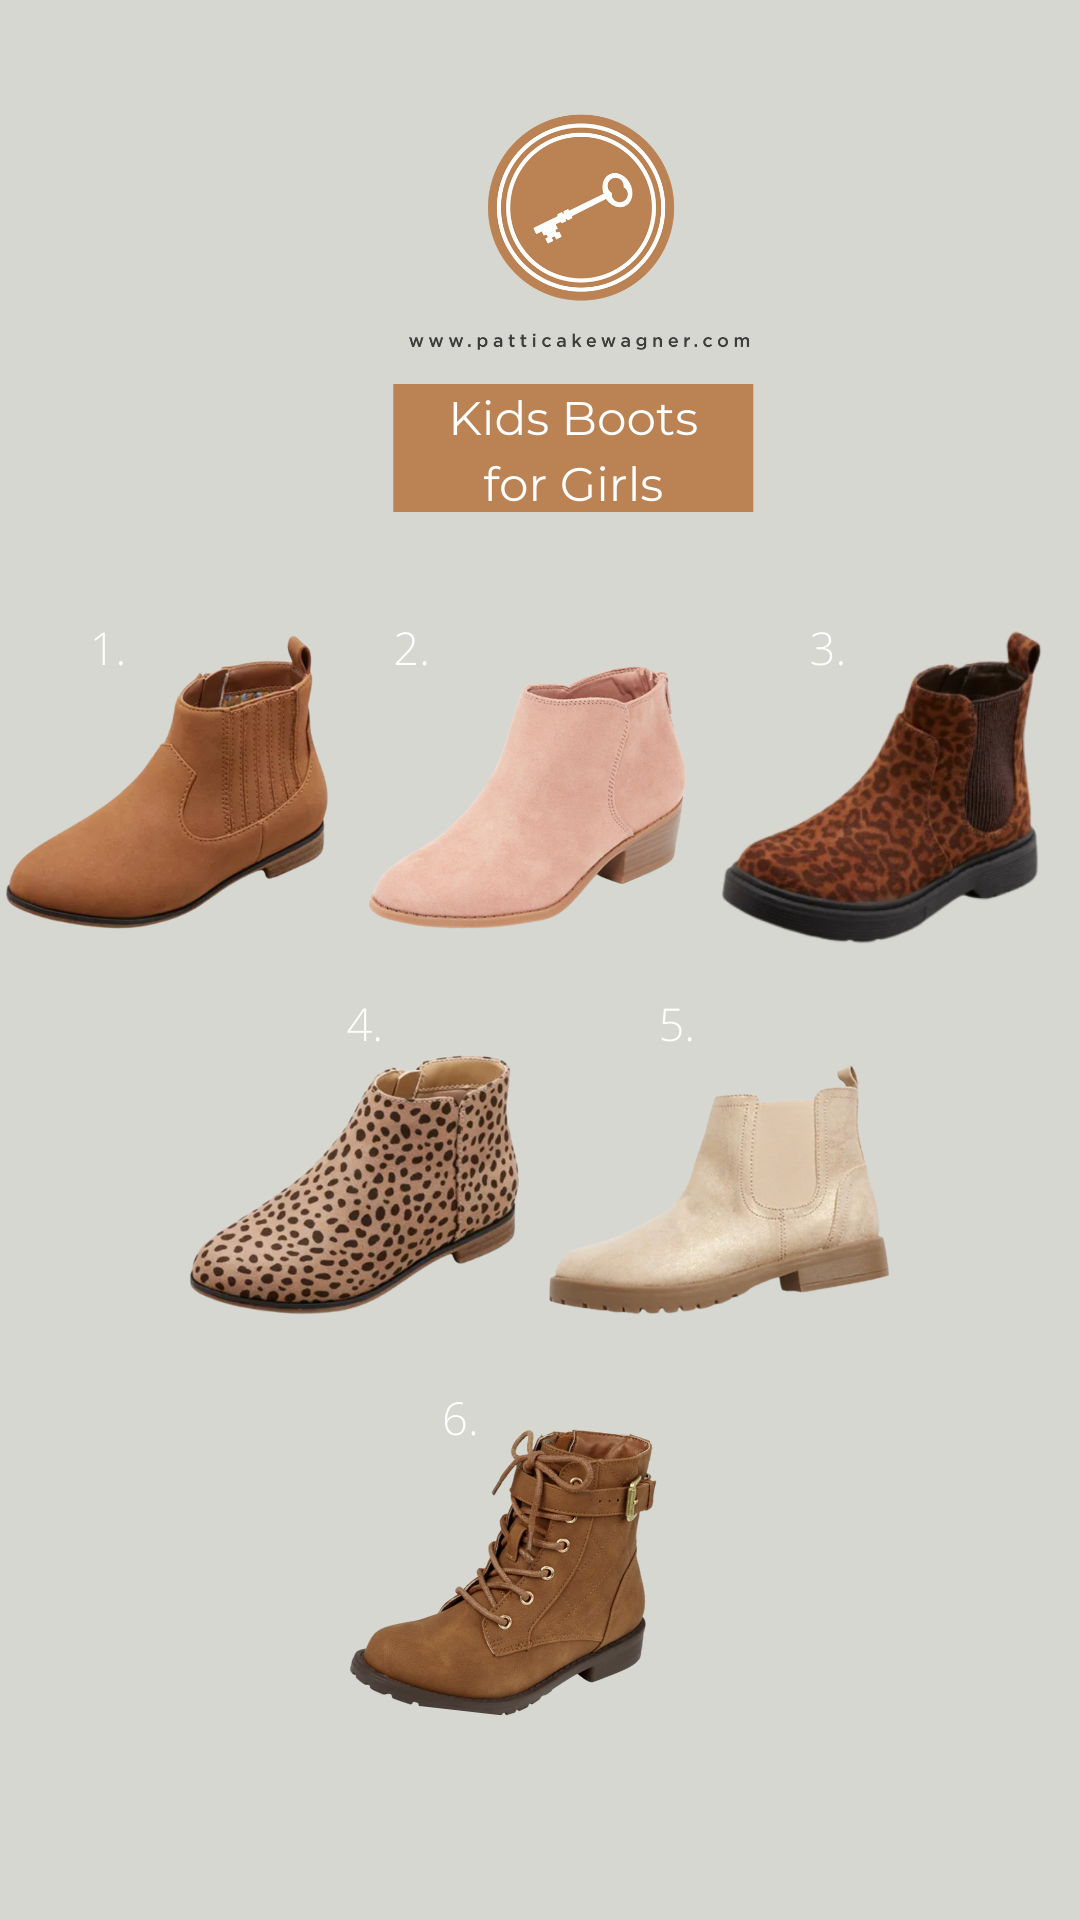
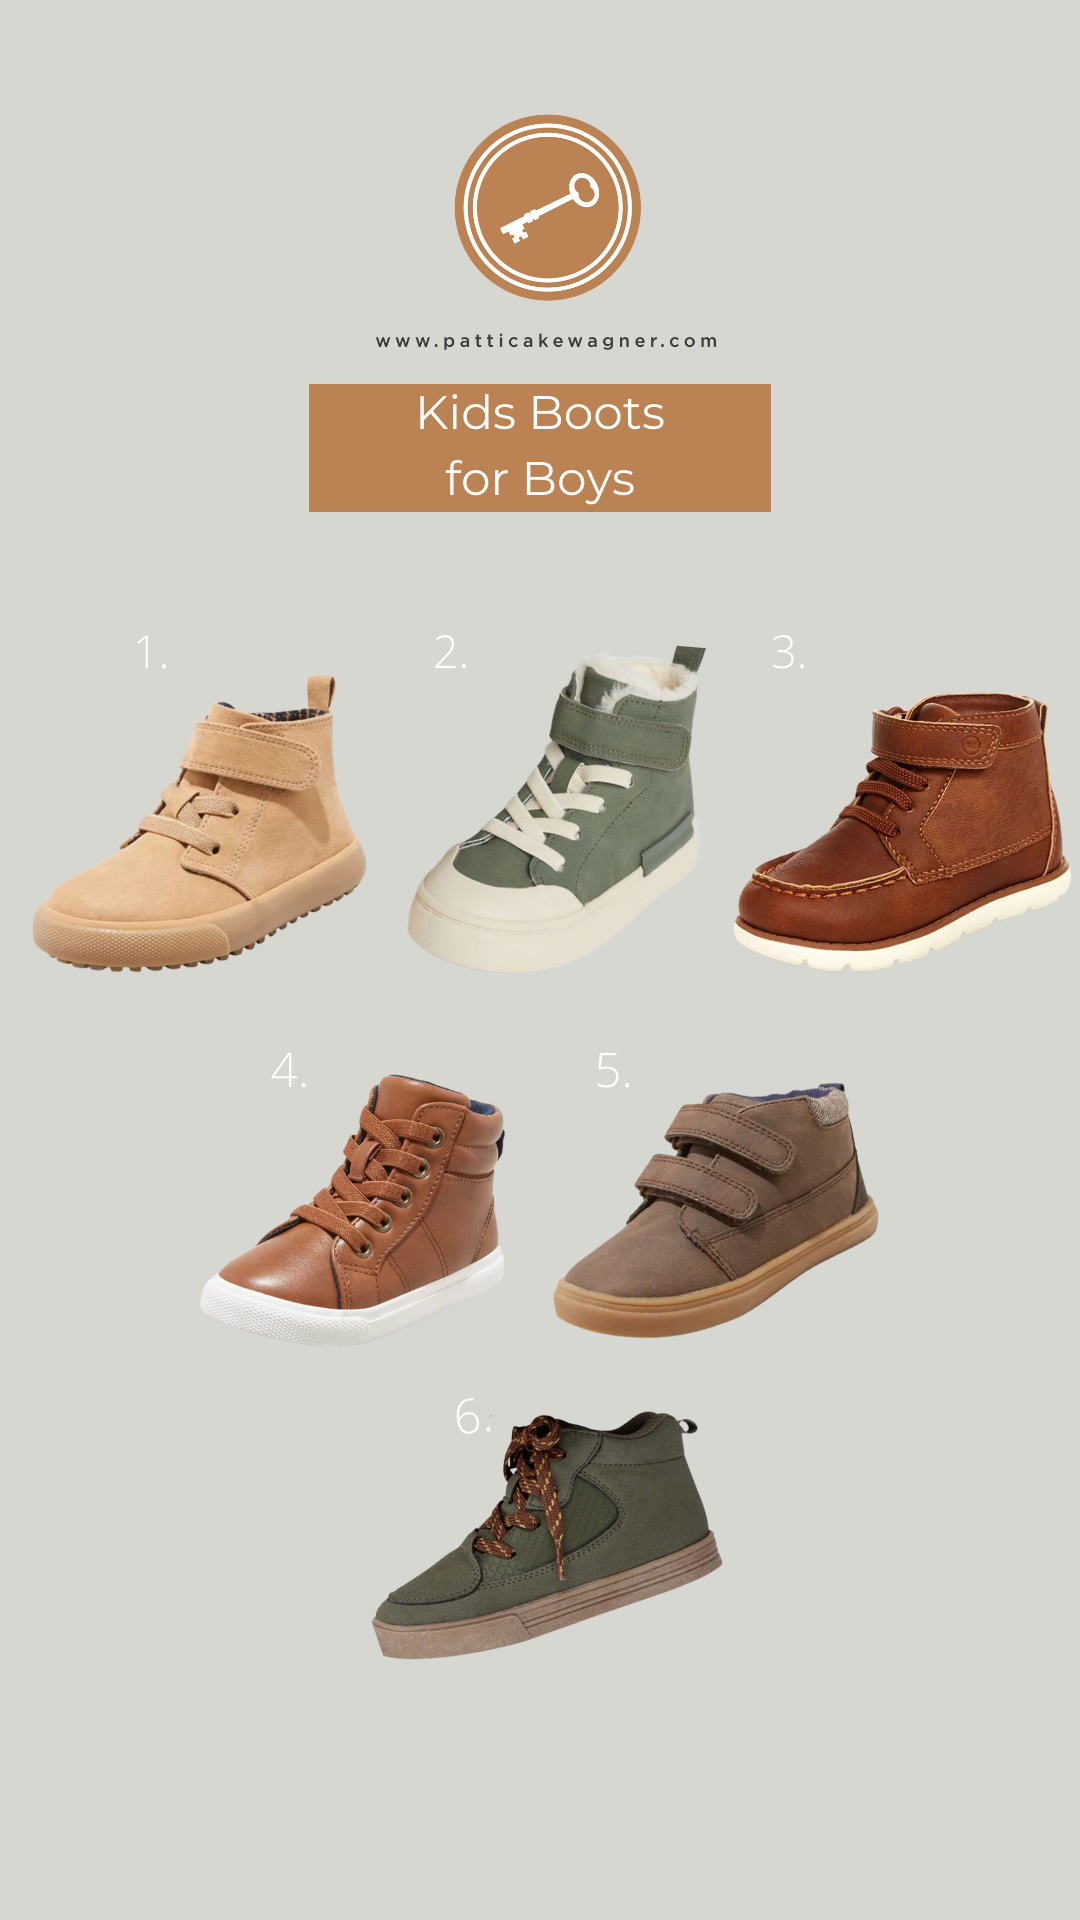
Shopsols: 20 – 50% off beautiful quality handmade leather shoes. I have this pair that I absolutely love! And I’m getting the girls these matching ones.
Pacifier: 15% off your purchase with code GOBBLE15. This is a local shop that carries really great style and quality kids apparel and items. We have quite a few things from here.
Carly Jean Los Angeles: 30% off everything with code CJLABF30
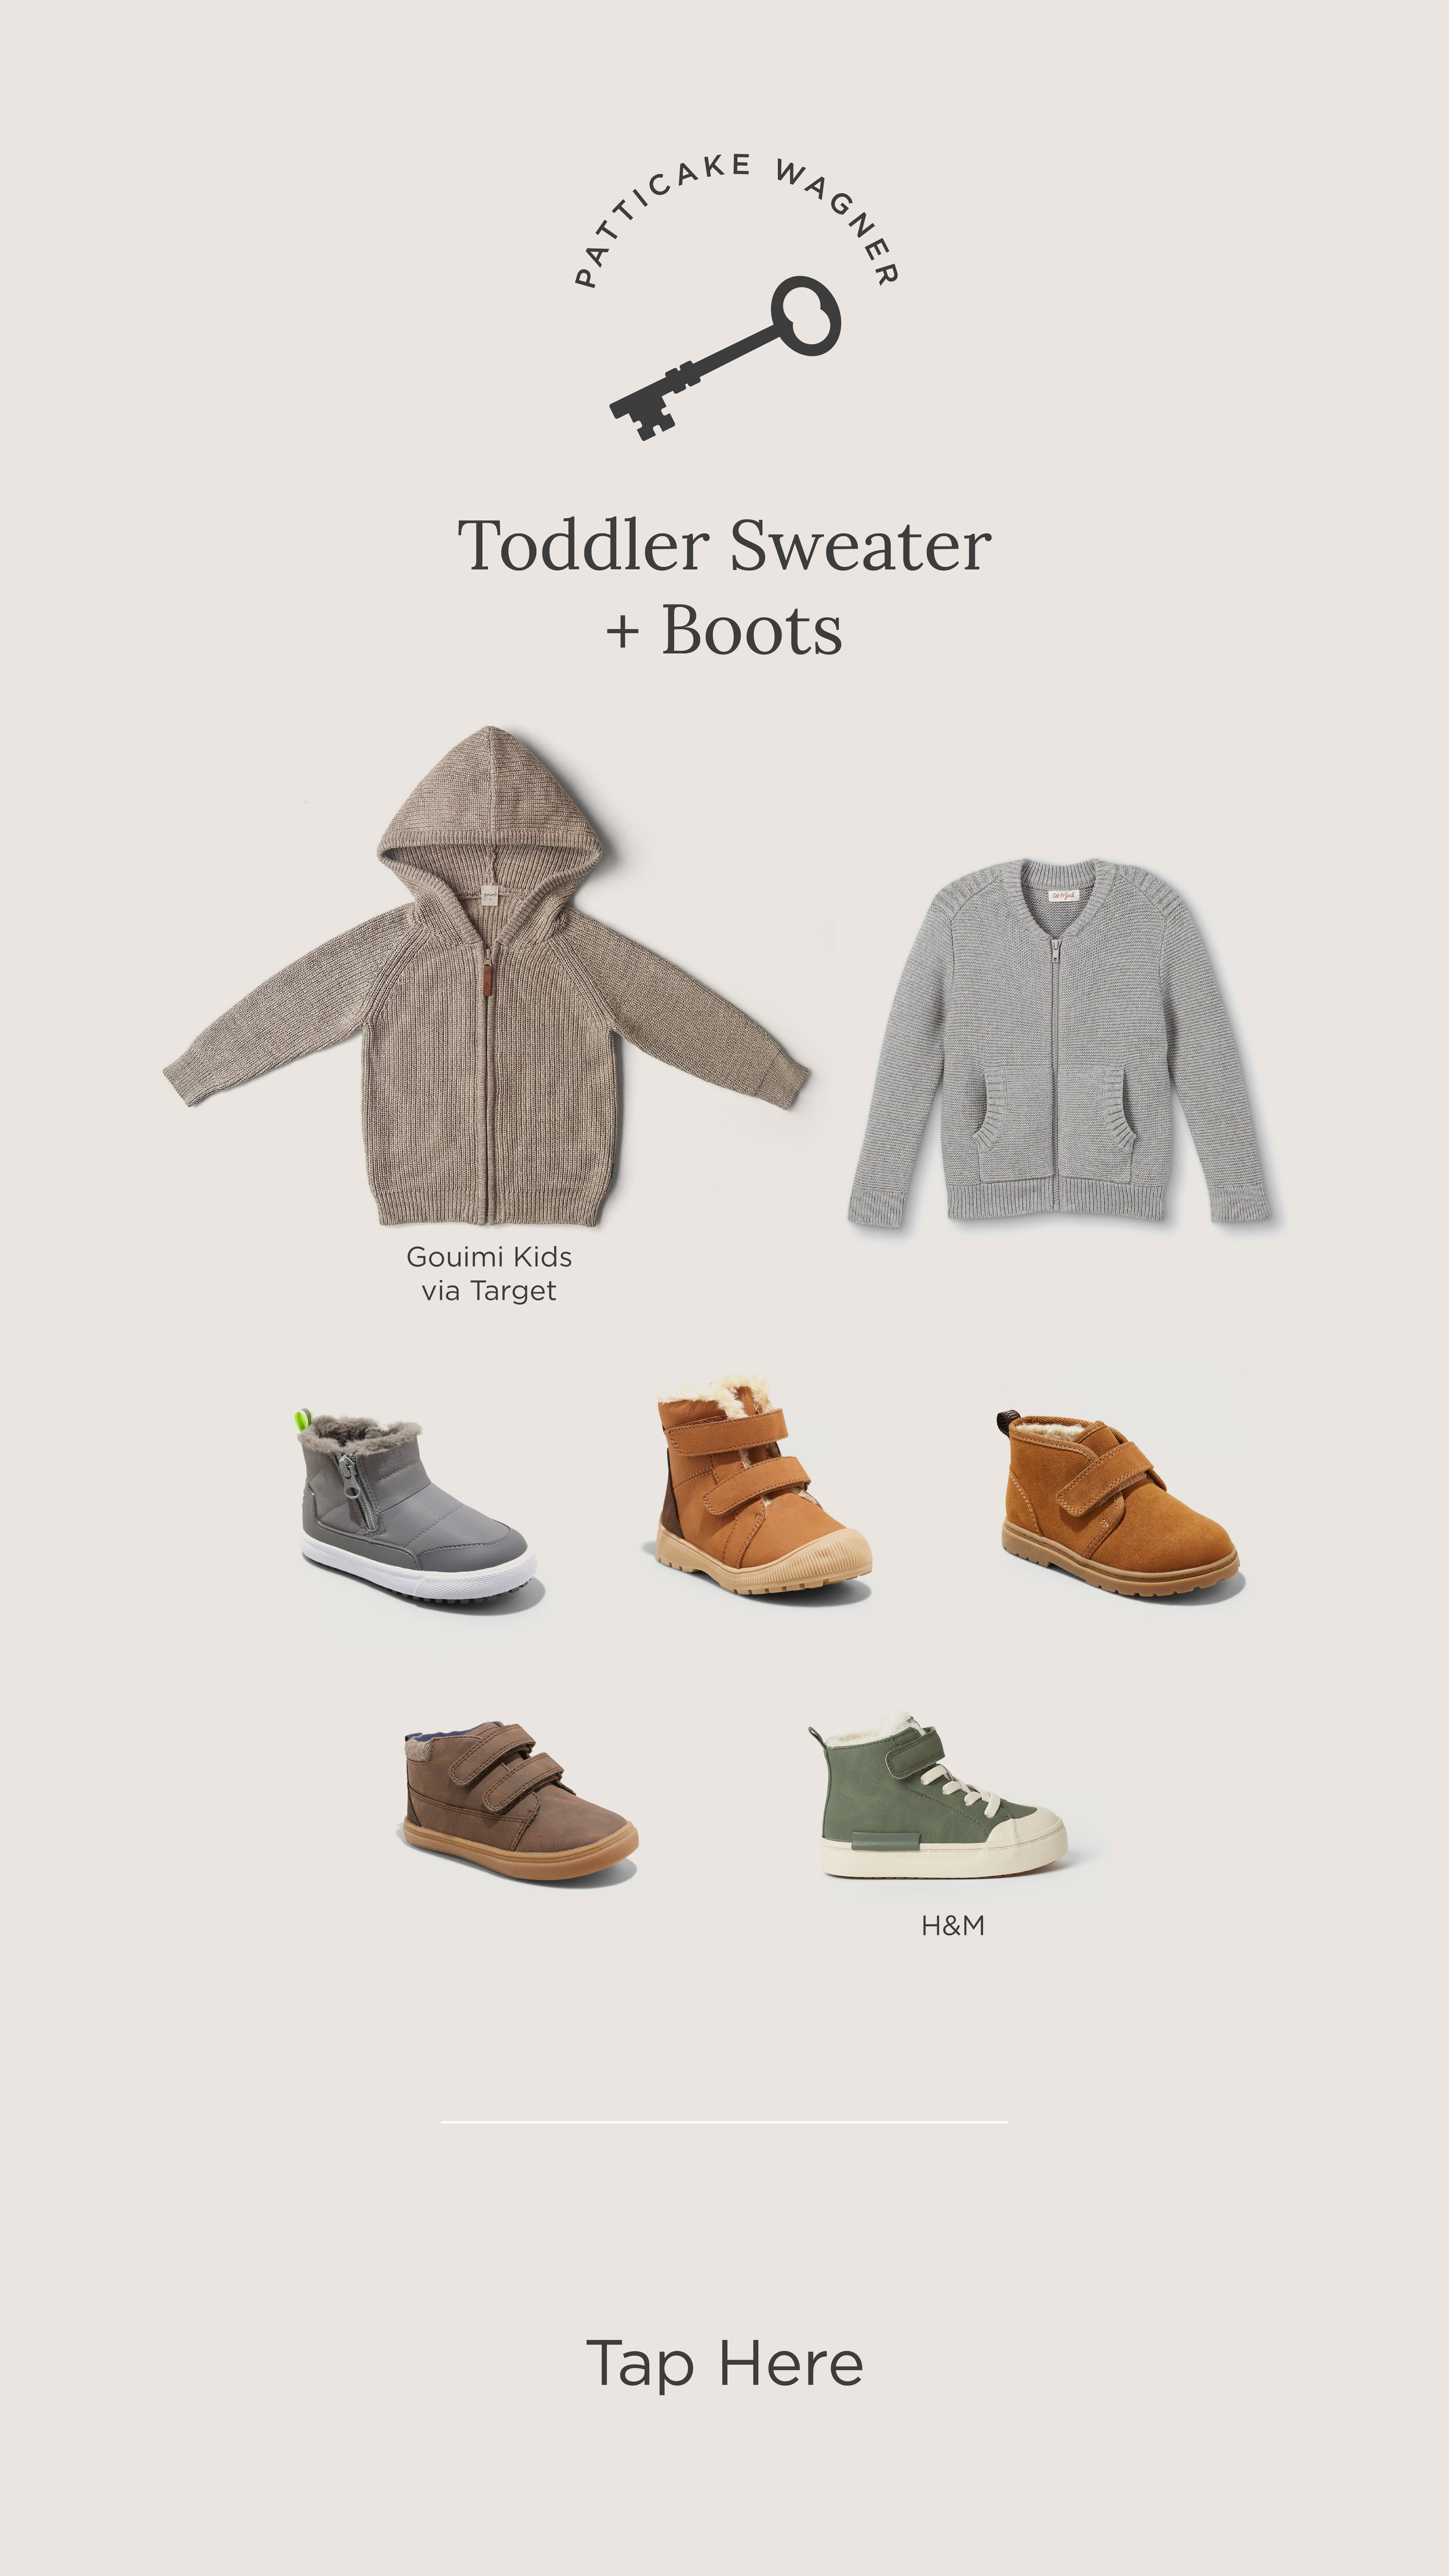
Goumi Kids: 15% off site wide + up to 40% off doorbuster with code GETCOZY. The kids’ super comfy lounge wear is from there.
Sarah O Jewelry: Stack More, Save More. Spend $500 for $50 off code GIFT50; Spend $1000 for $150 off code GIFT150; Spend $3000 for $600 off code GIFT600. Keep your eyes out for a fun surprise I’ll be doing with Sarah O that you don’t want to miss!


