
A New Year, A New Website Look
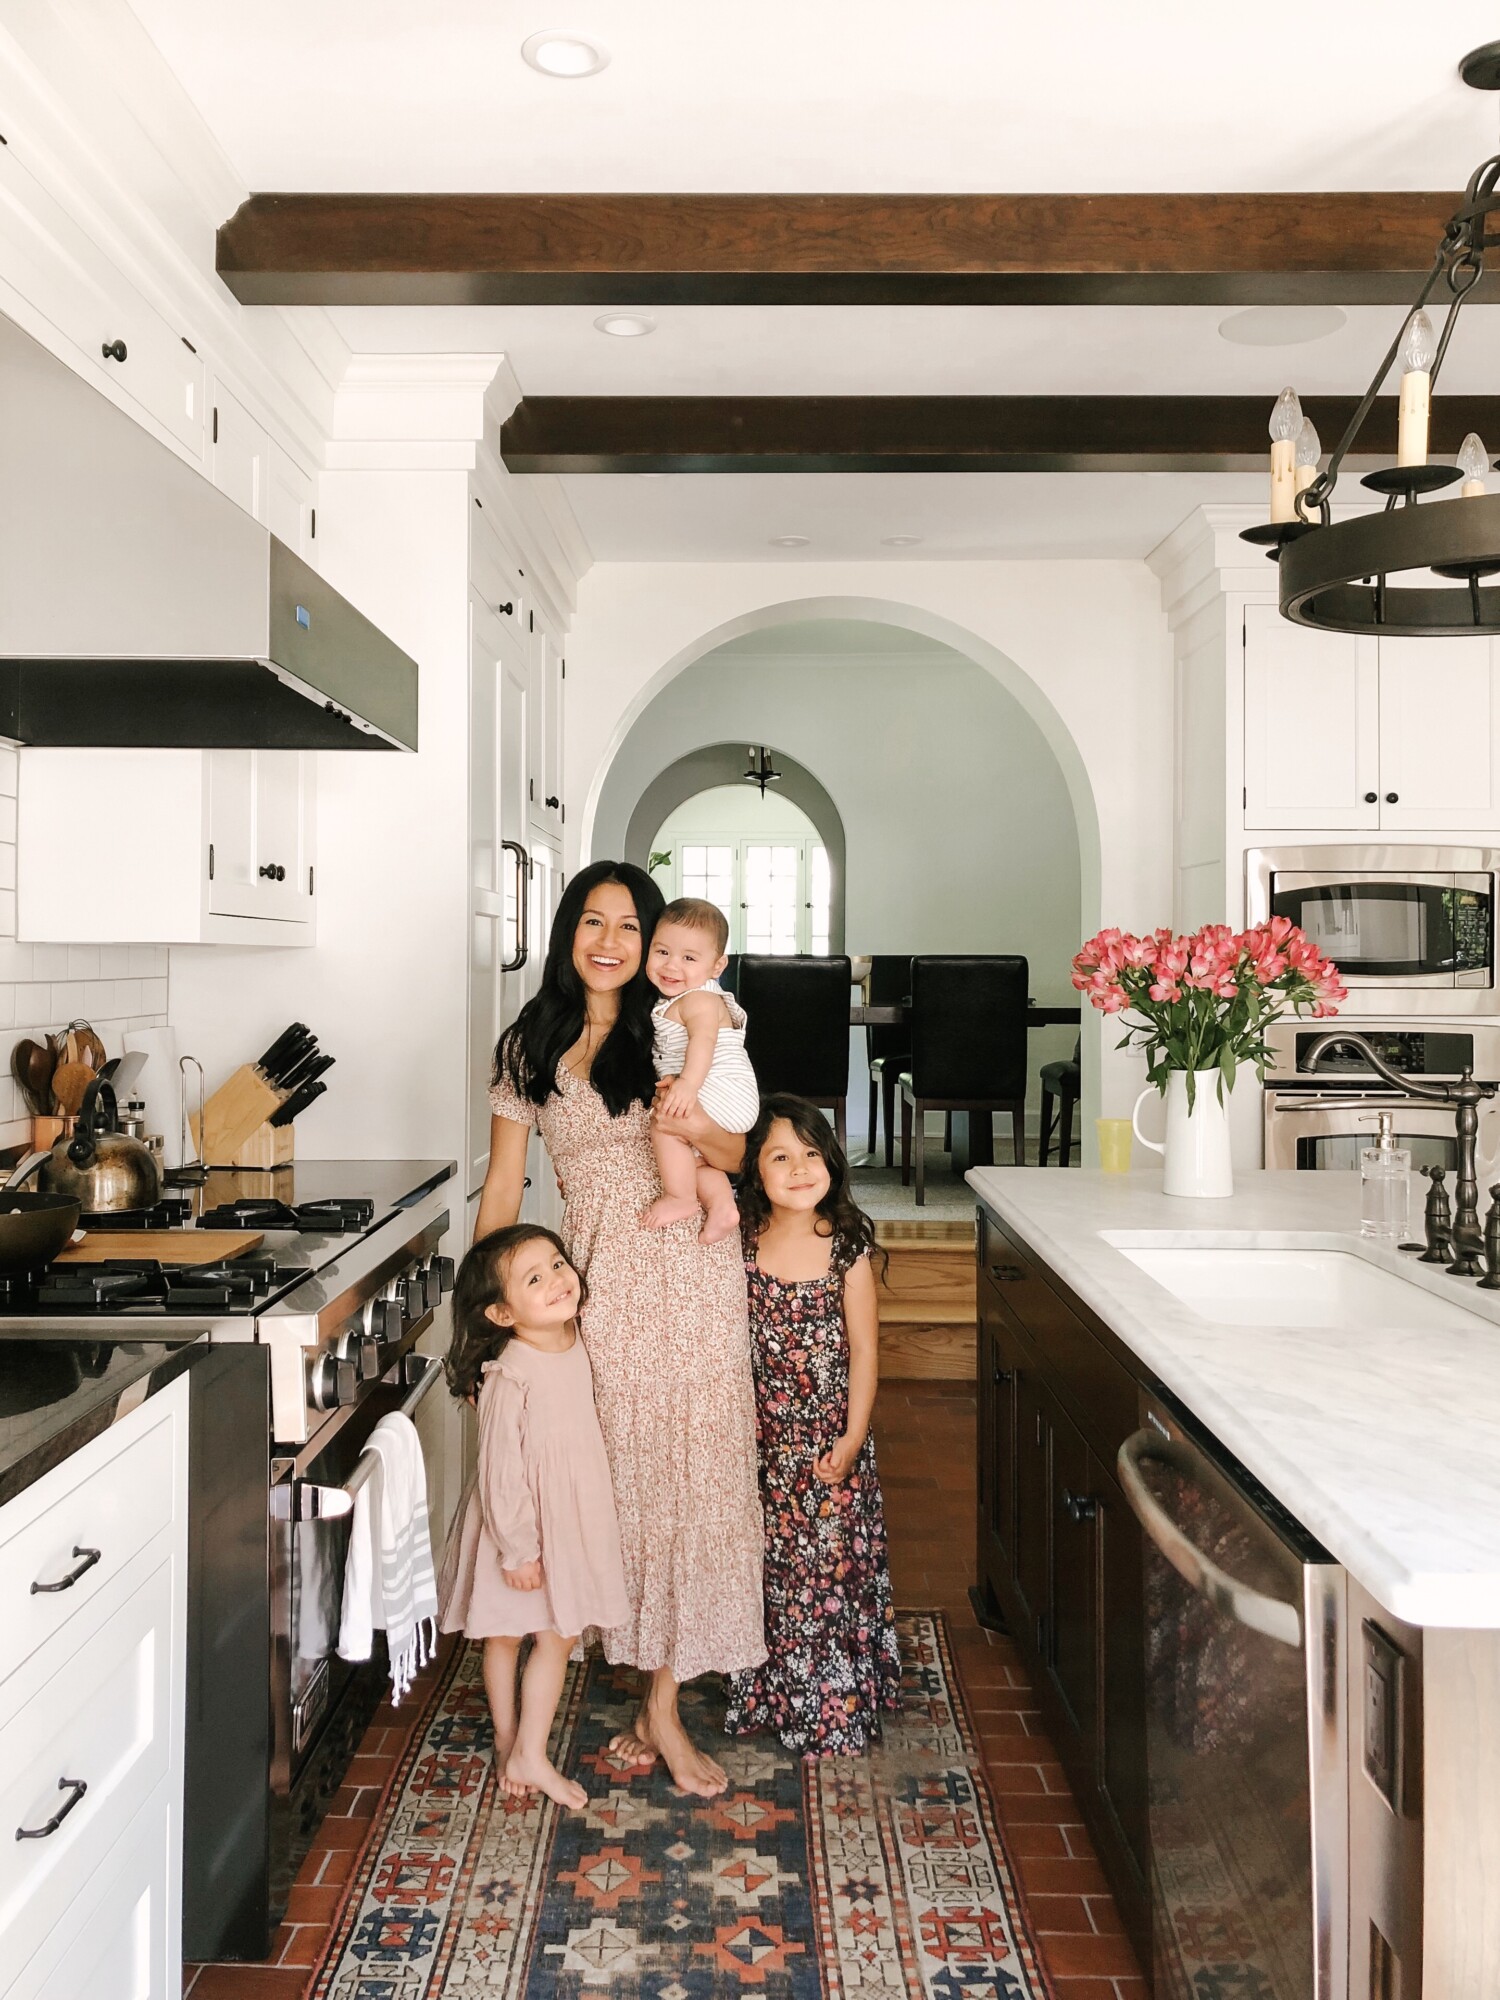
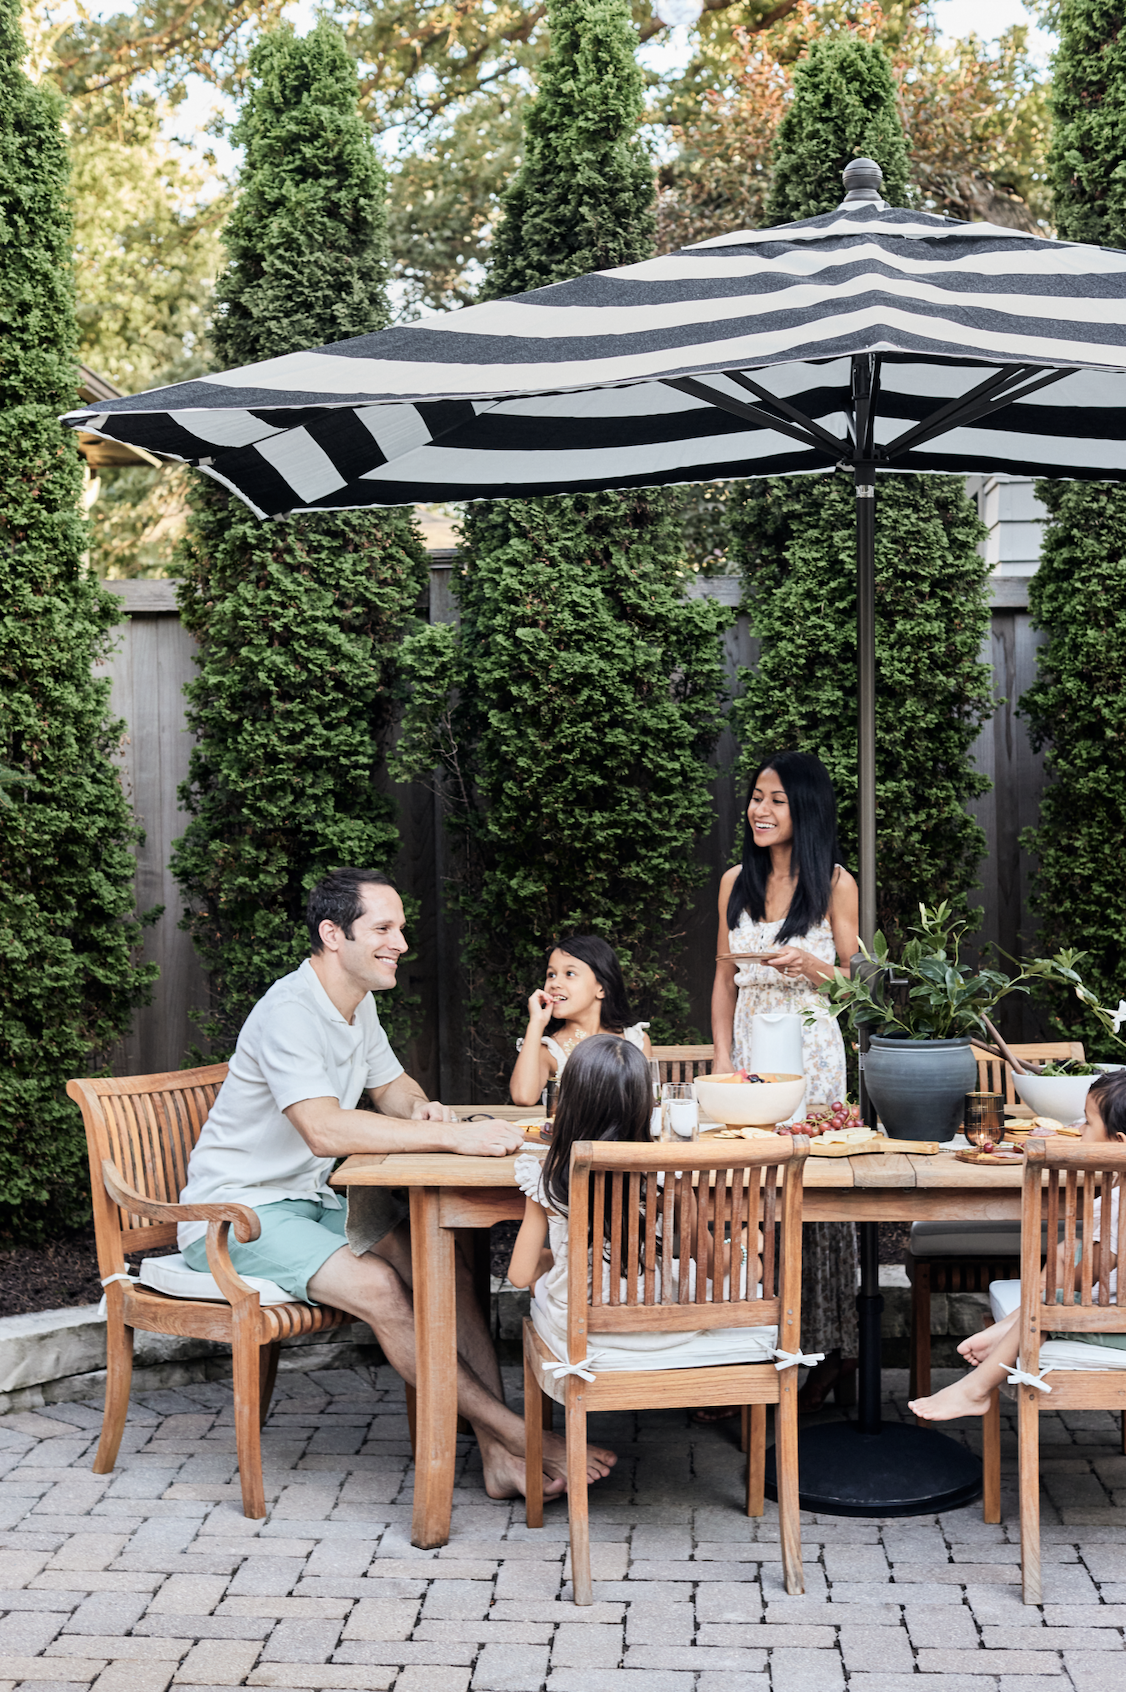
Who is Patticake Wagner? Patticake Wagner emerged publicly in 2015 on Instagram sharing glimpses of motherhood and our home. In 2019, I launched my blog after leaving my Sr. Product Designer role and wrote my first post ever which you can read here. It was a new chapter after 13 years in the industry. I left something that was comfortable to pursue the unknown. The decision was rooted in craving more time with my children so I felt it was the right move. They are my everything.
The Unknown
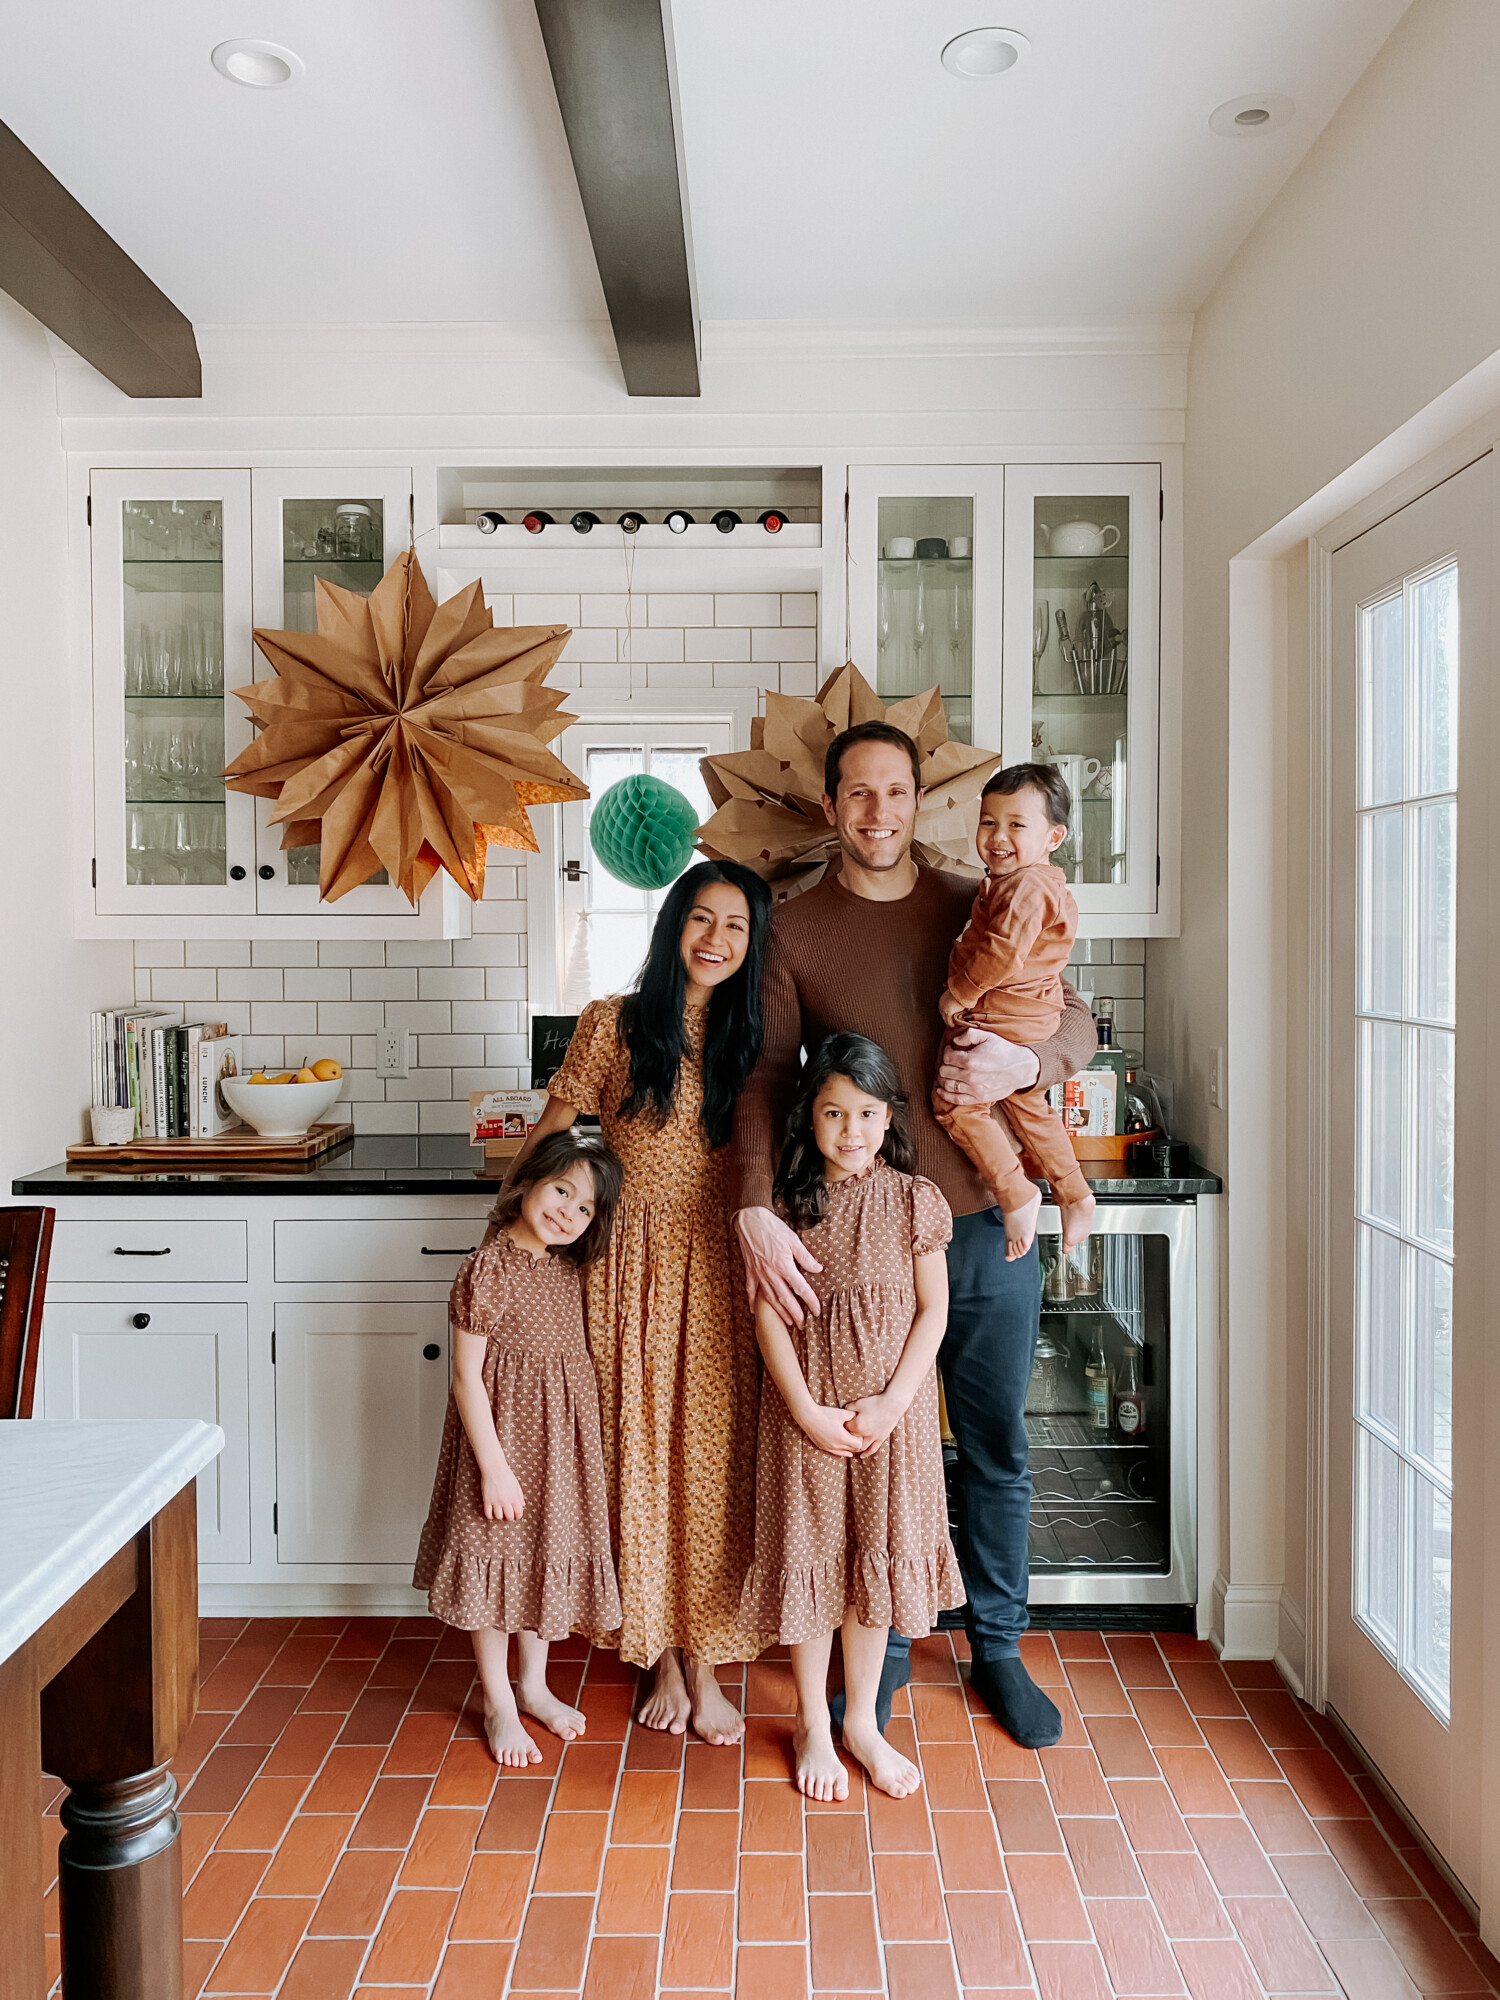
Then 2020 changed us all. I wasn’t able to invest as much time as I needed in the blog and kept chugging along. For almost a year, I was working from home, acting as teacher during distance learning and caring for all three of my kiddos without much help. Brian was required to be in the office every weekday and the unknown lingered over us. Will Brian still have his job? What will happen to our rental business? I just left my comfortable salary, what in the world did I do? Daily anxiety (and breakouts) kicked in but fortunately, I’ve always had the “you’ll figure it out” and “keep on working hard” mindset. That’s what I did. Staying up until 1:00am – 4:00am to get work done, to only get up at 6:30am to do all the mom duties.
I Love What I Do
I was thankful for the brand partnerships that came along and took on as many as I could authentically share. Lots of late nights creating content and meeting all of the deliverables by their deadlines. Looking back, I know why I did it but have wondered how on earth I did it?
But when I really think about it, I was able to do it because I love what I do. I love creating beautiful spaces and sharing my ideas, inspiration, projects and tips. And because you continue to read, watch and listen, I know I have the best community. I’m so grateful for you.
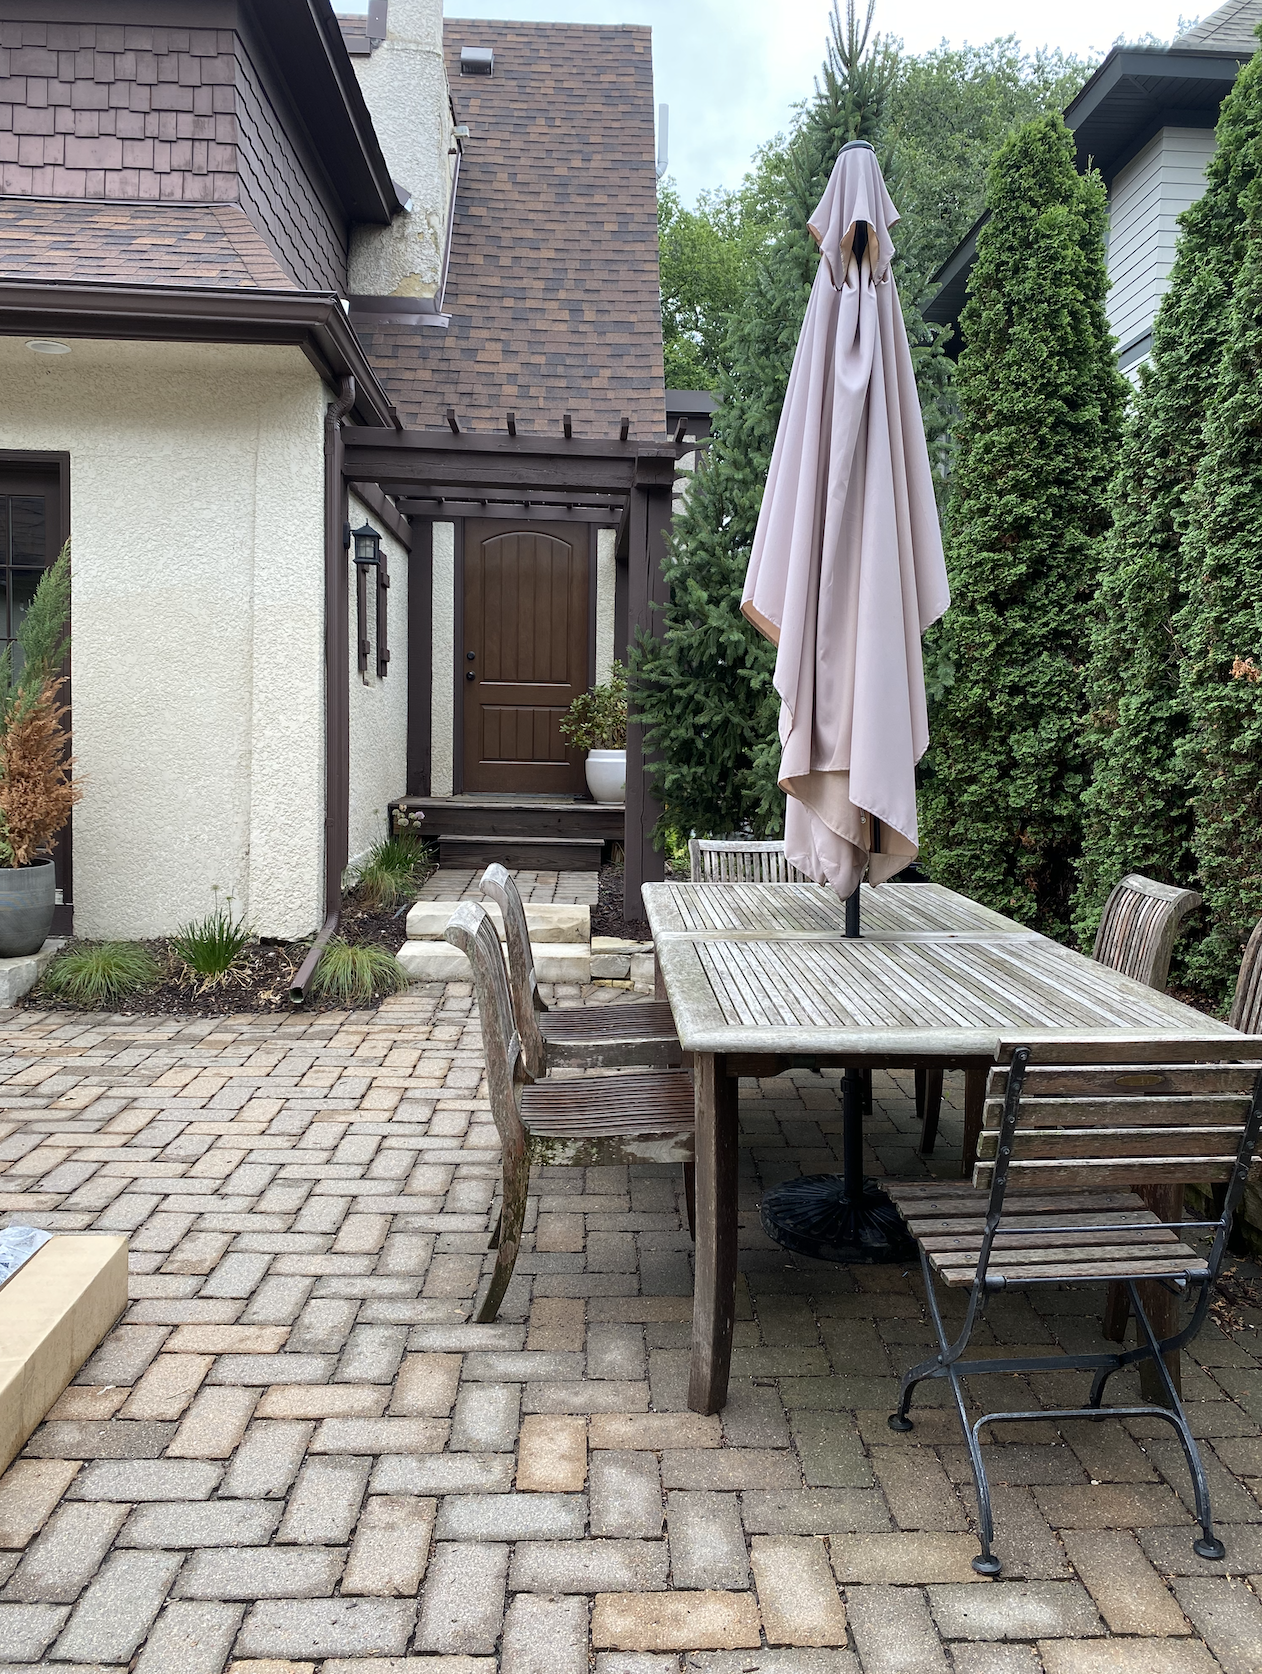
A New Website Look
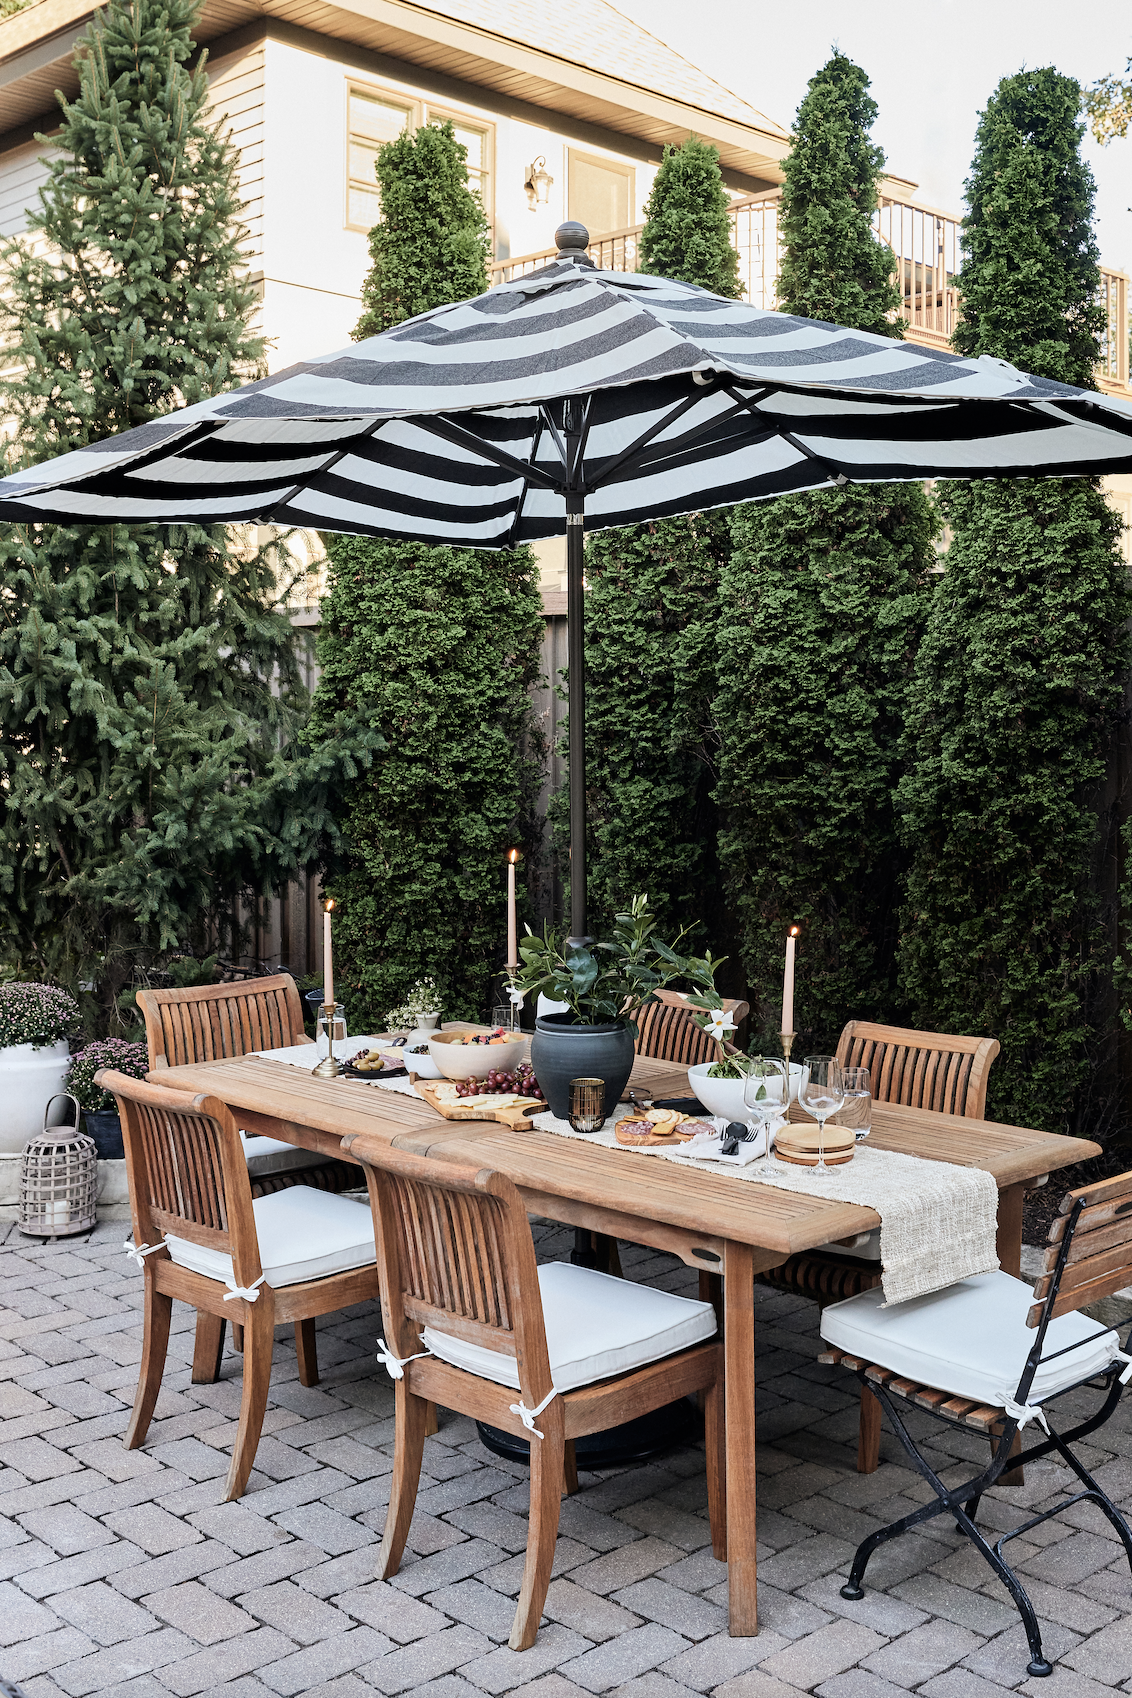
After a whirlwind of amazing opportunities in 2021 following a difficult year, I took it easy in 2022 to refocus. My word for that year was “contentment” and it was the quiet that I needed. This year, my word is “confidence” and it felt right to introduce a new website look. I’m excited to finally share it with you!
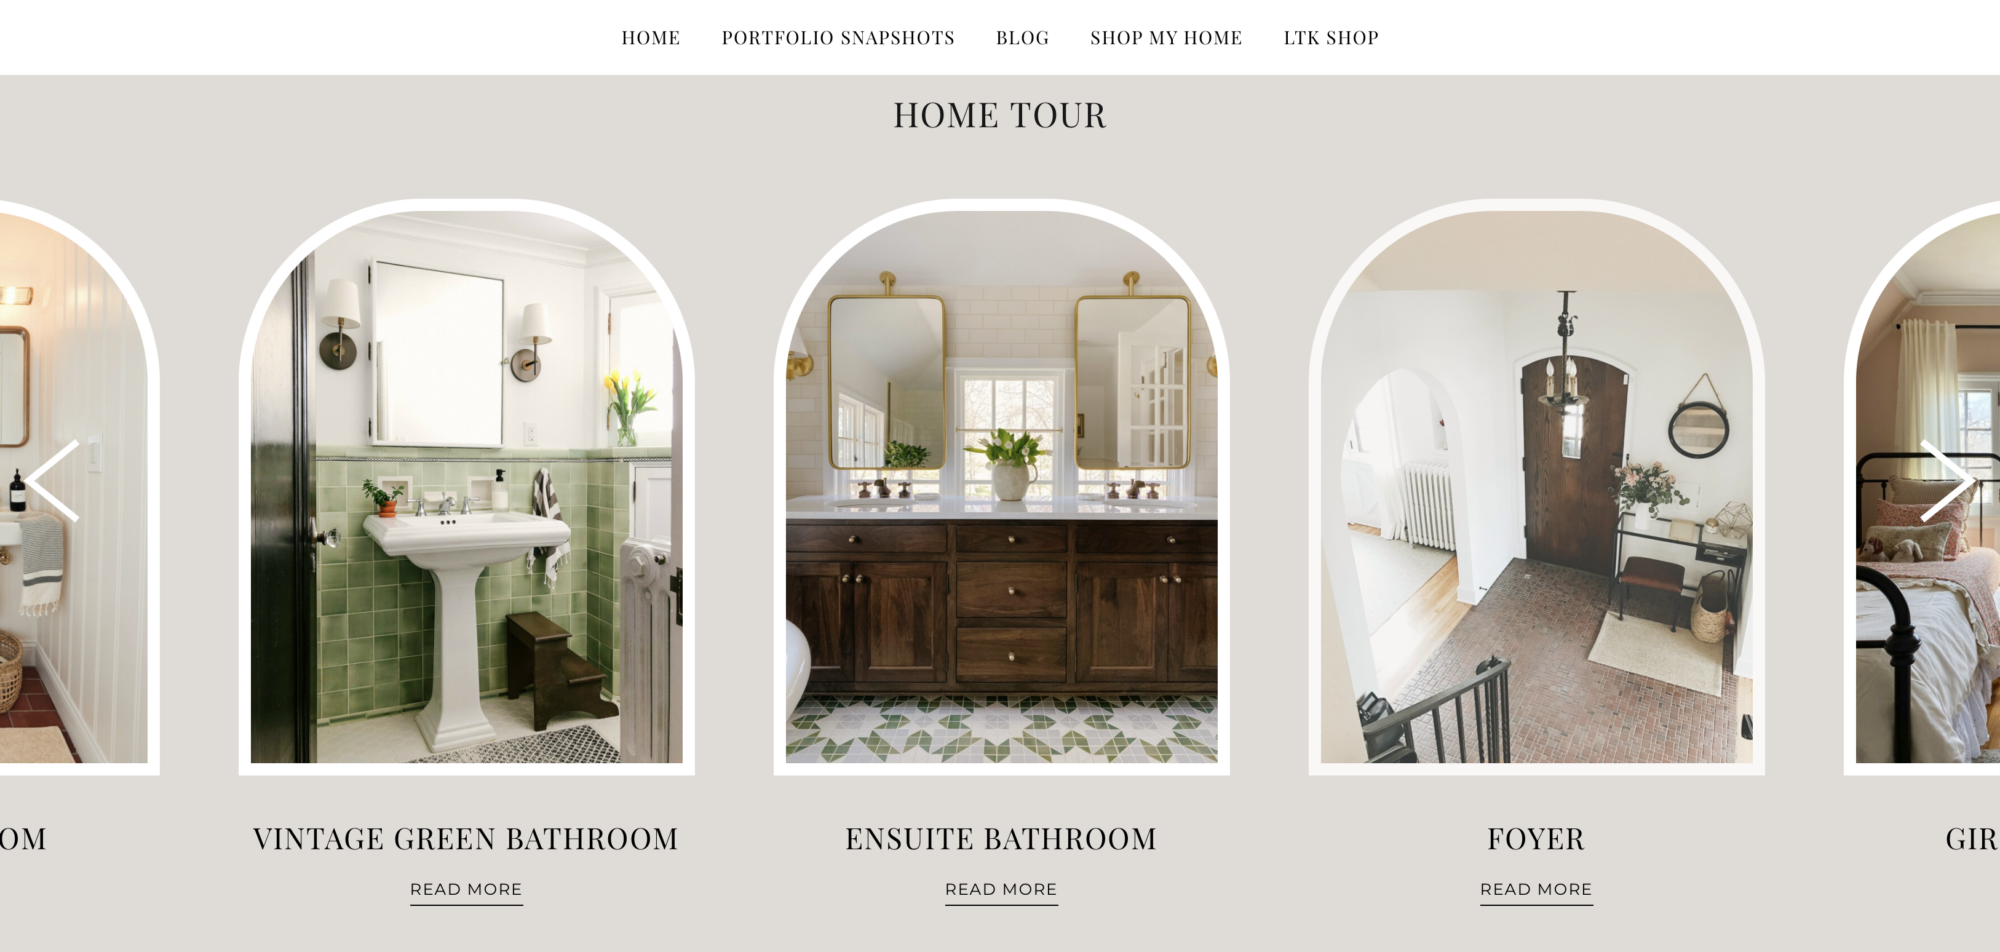
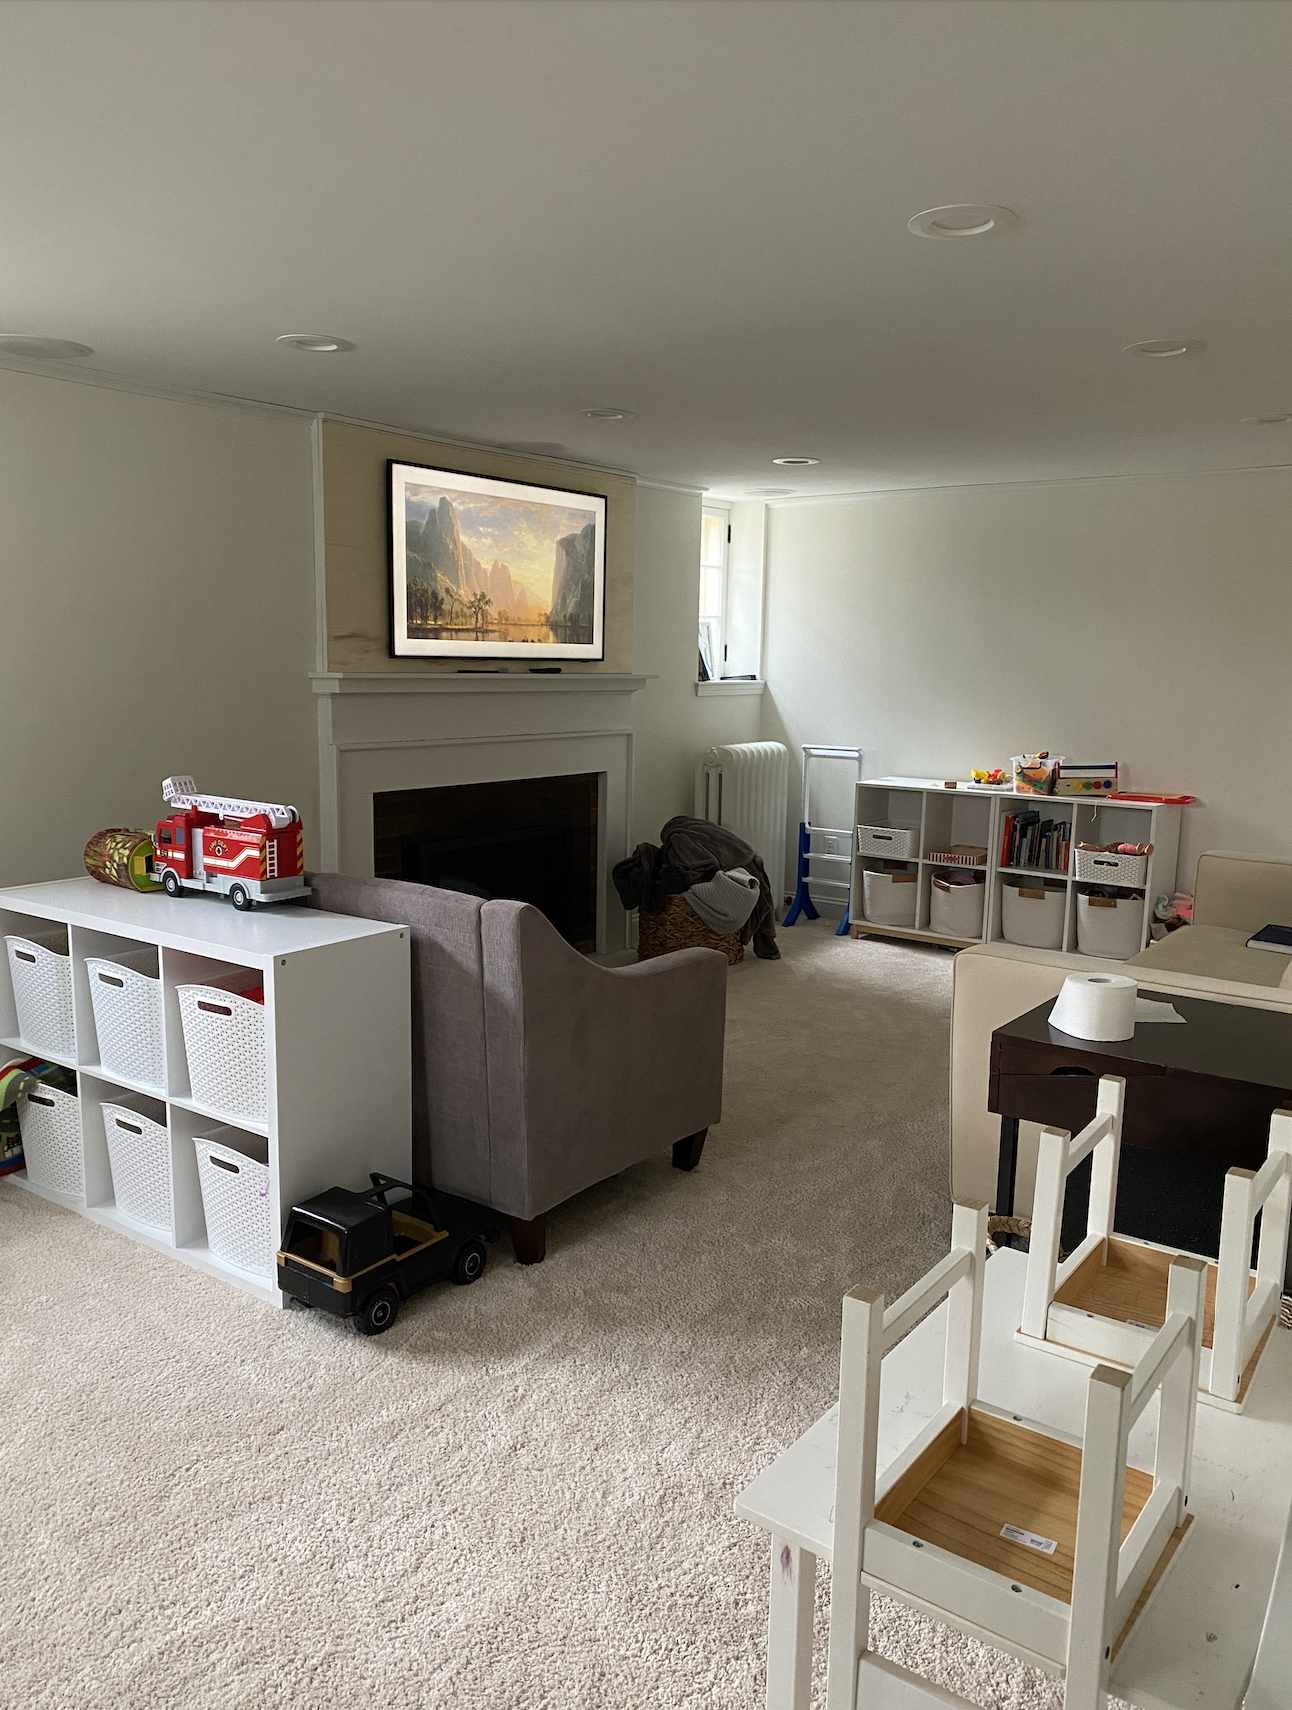
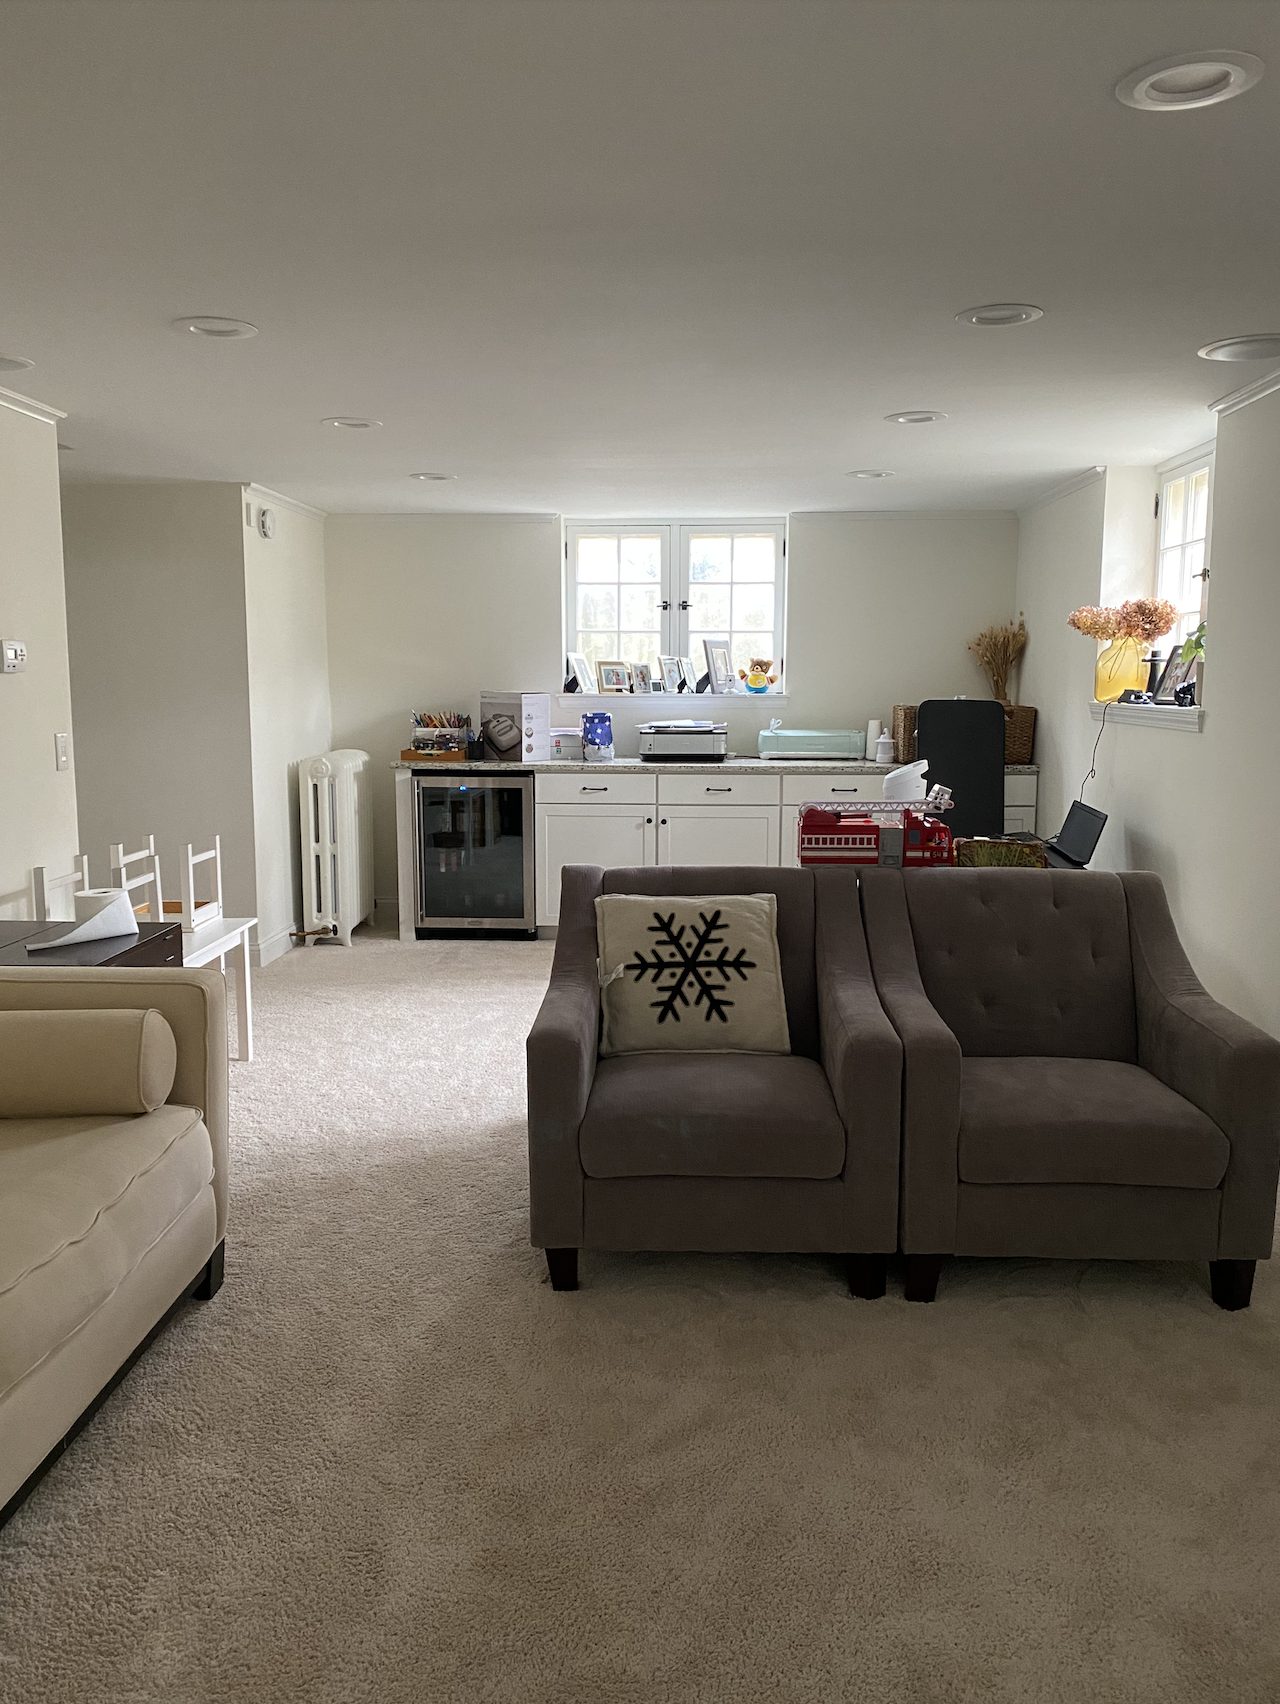
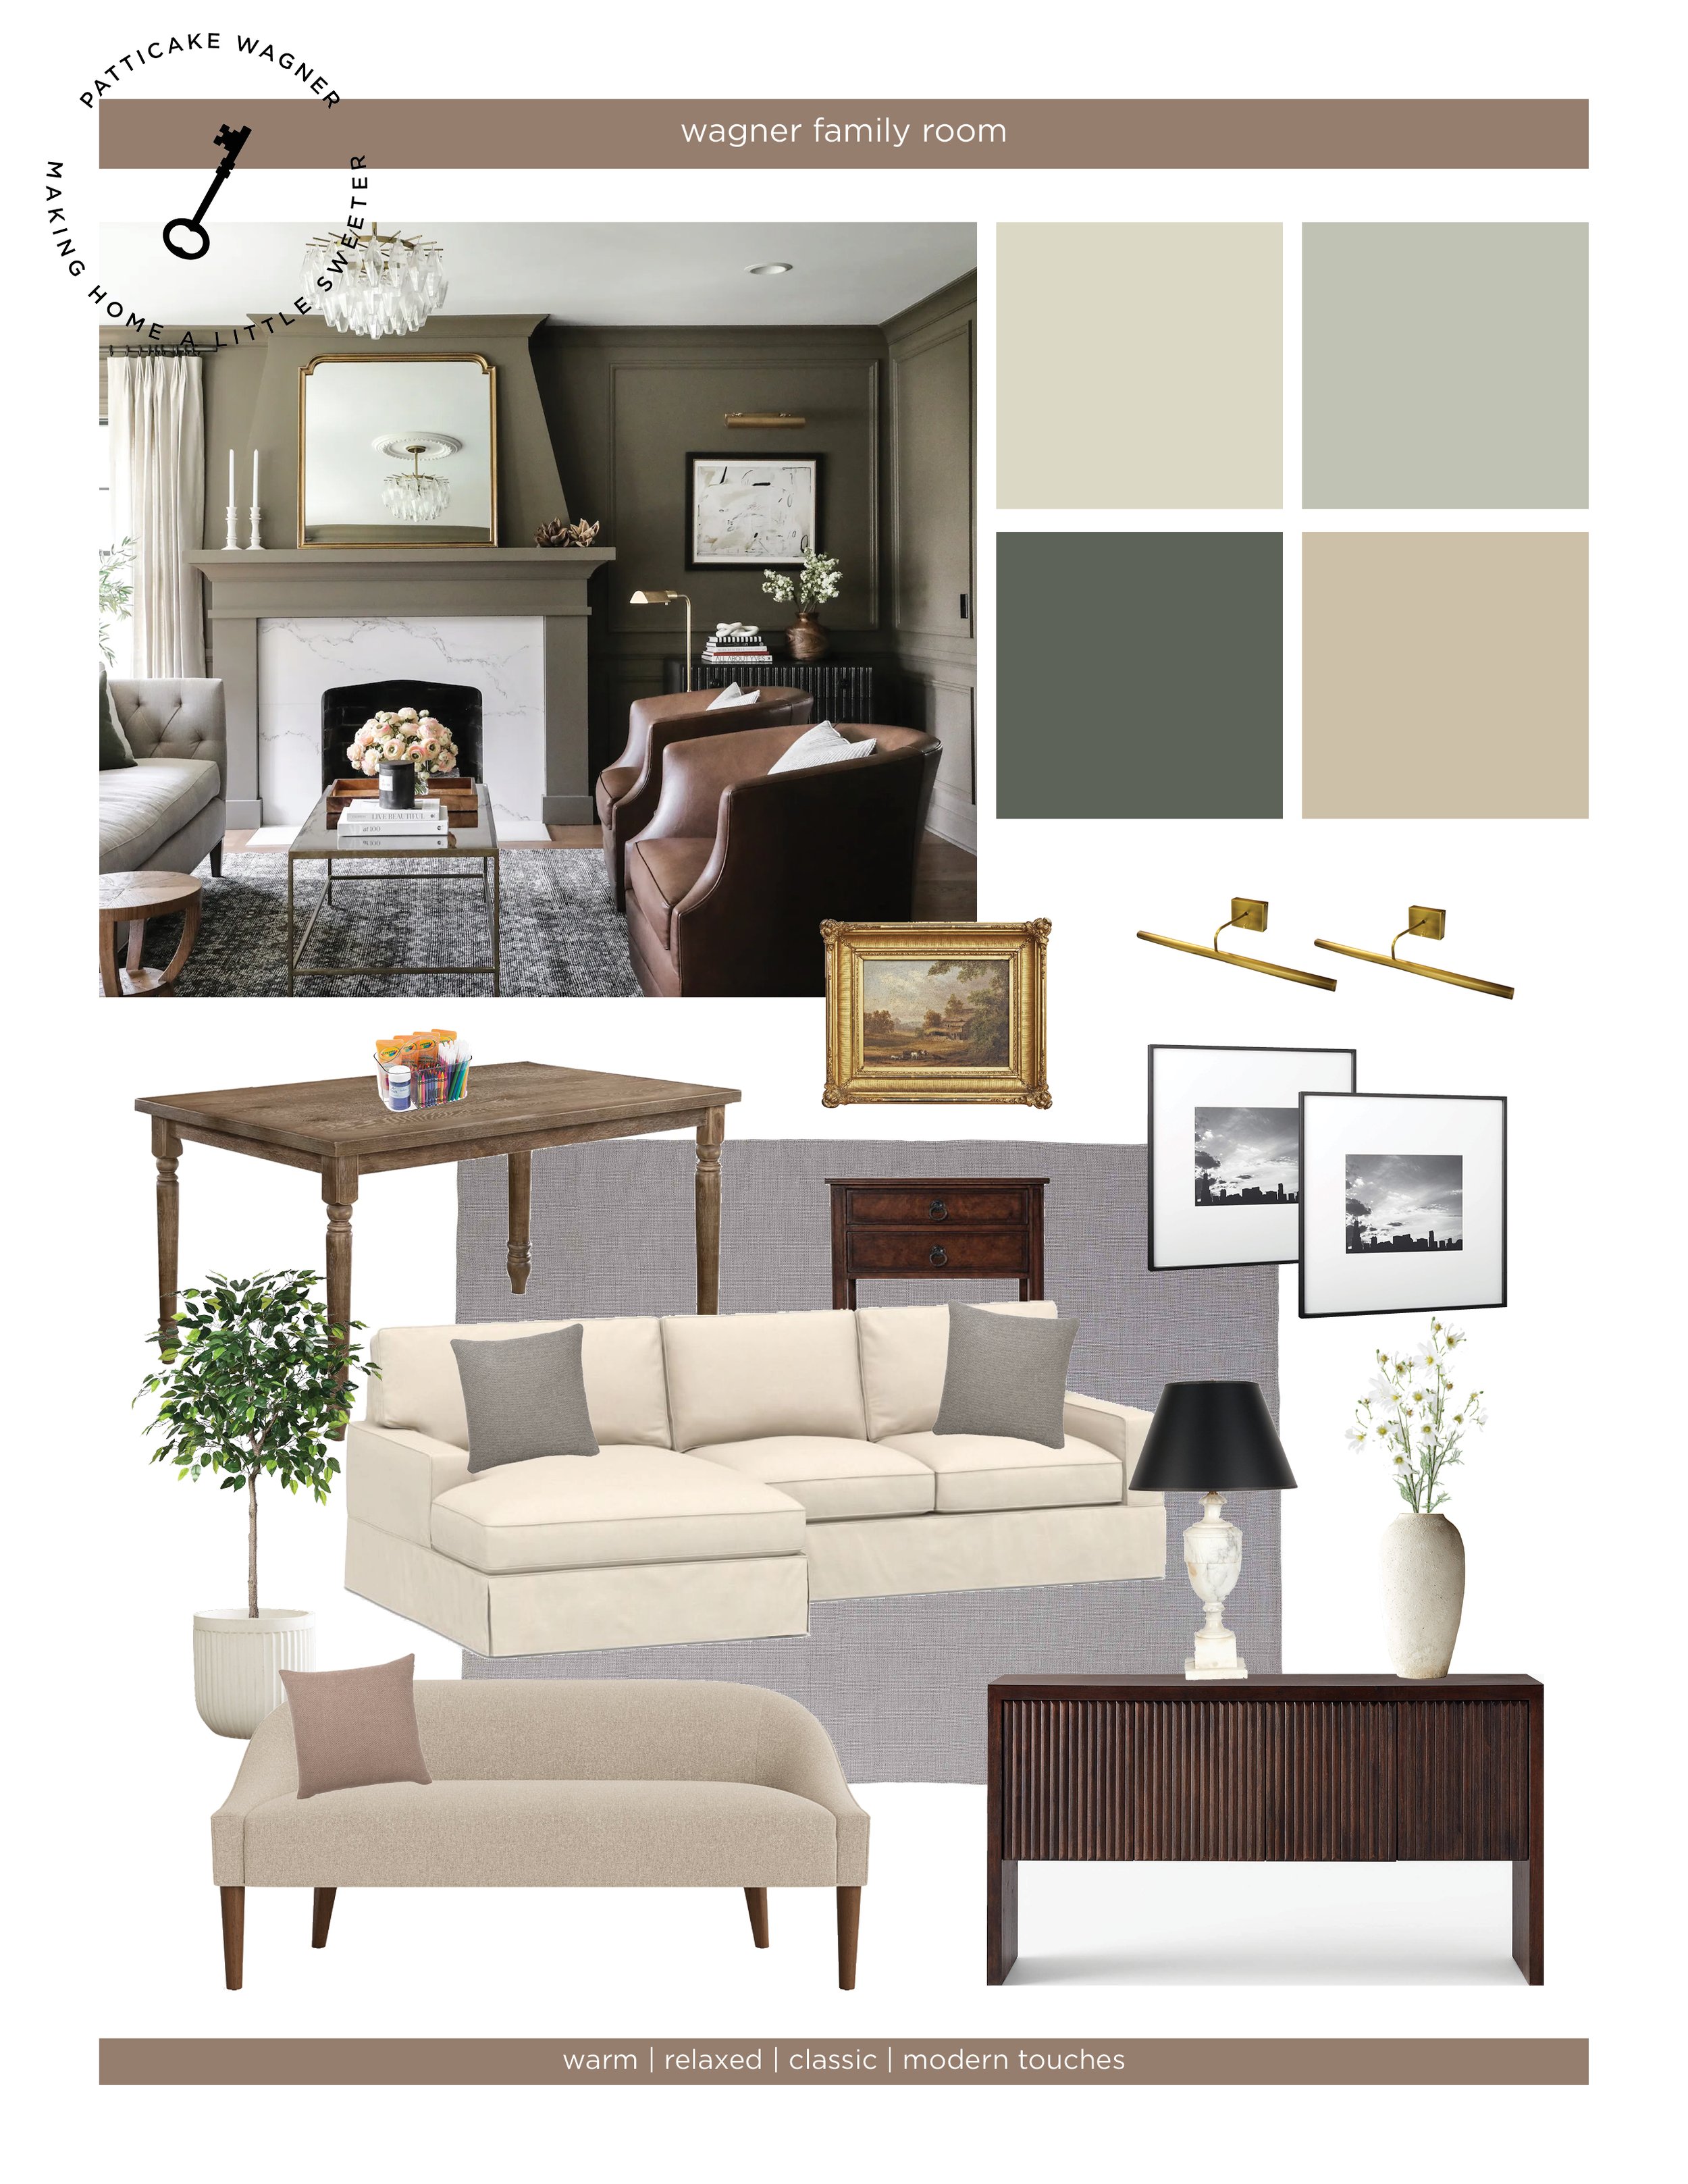
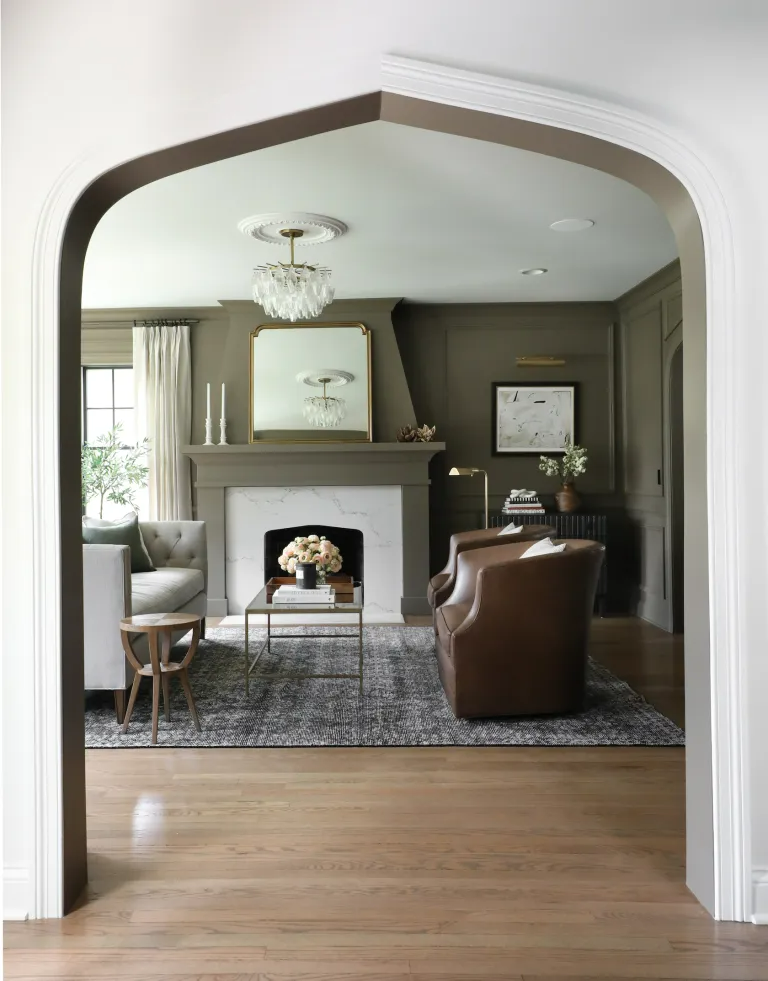
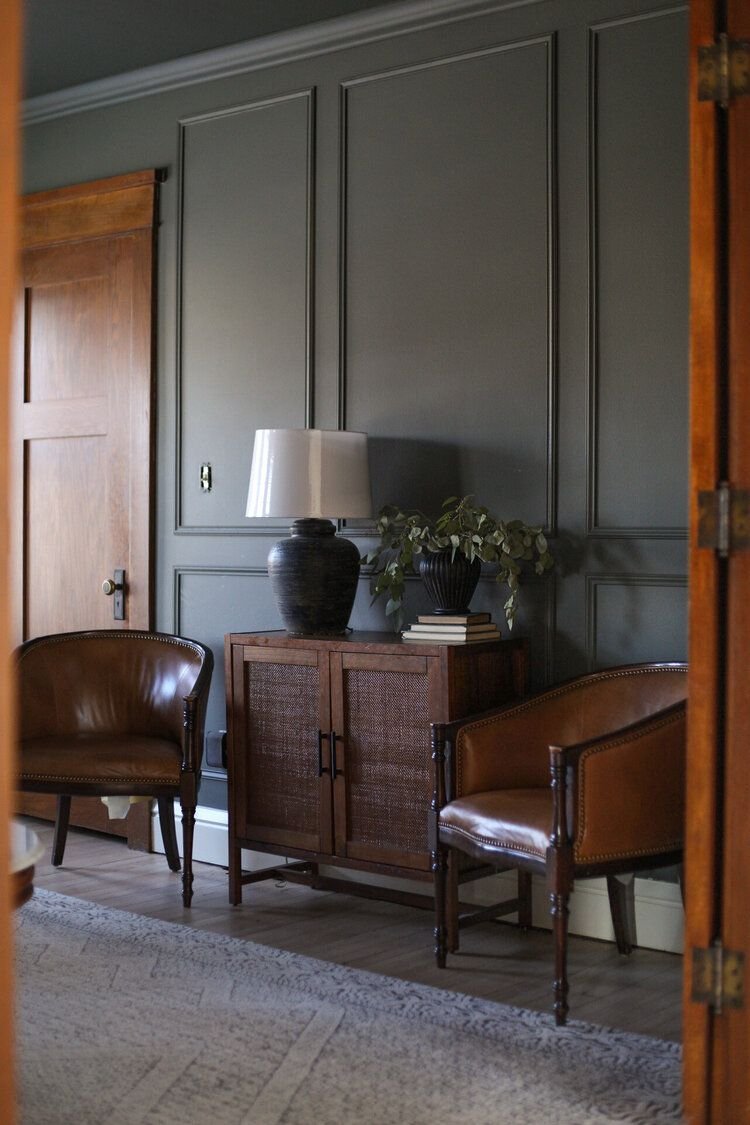
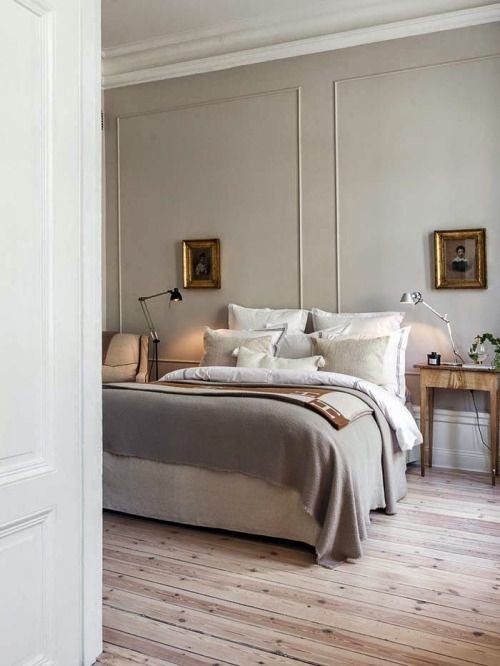
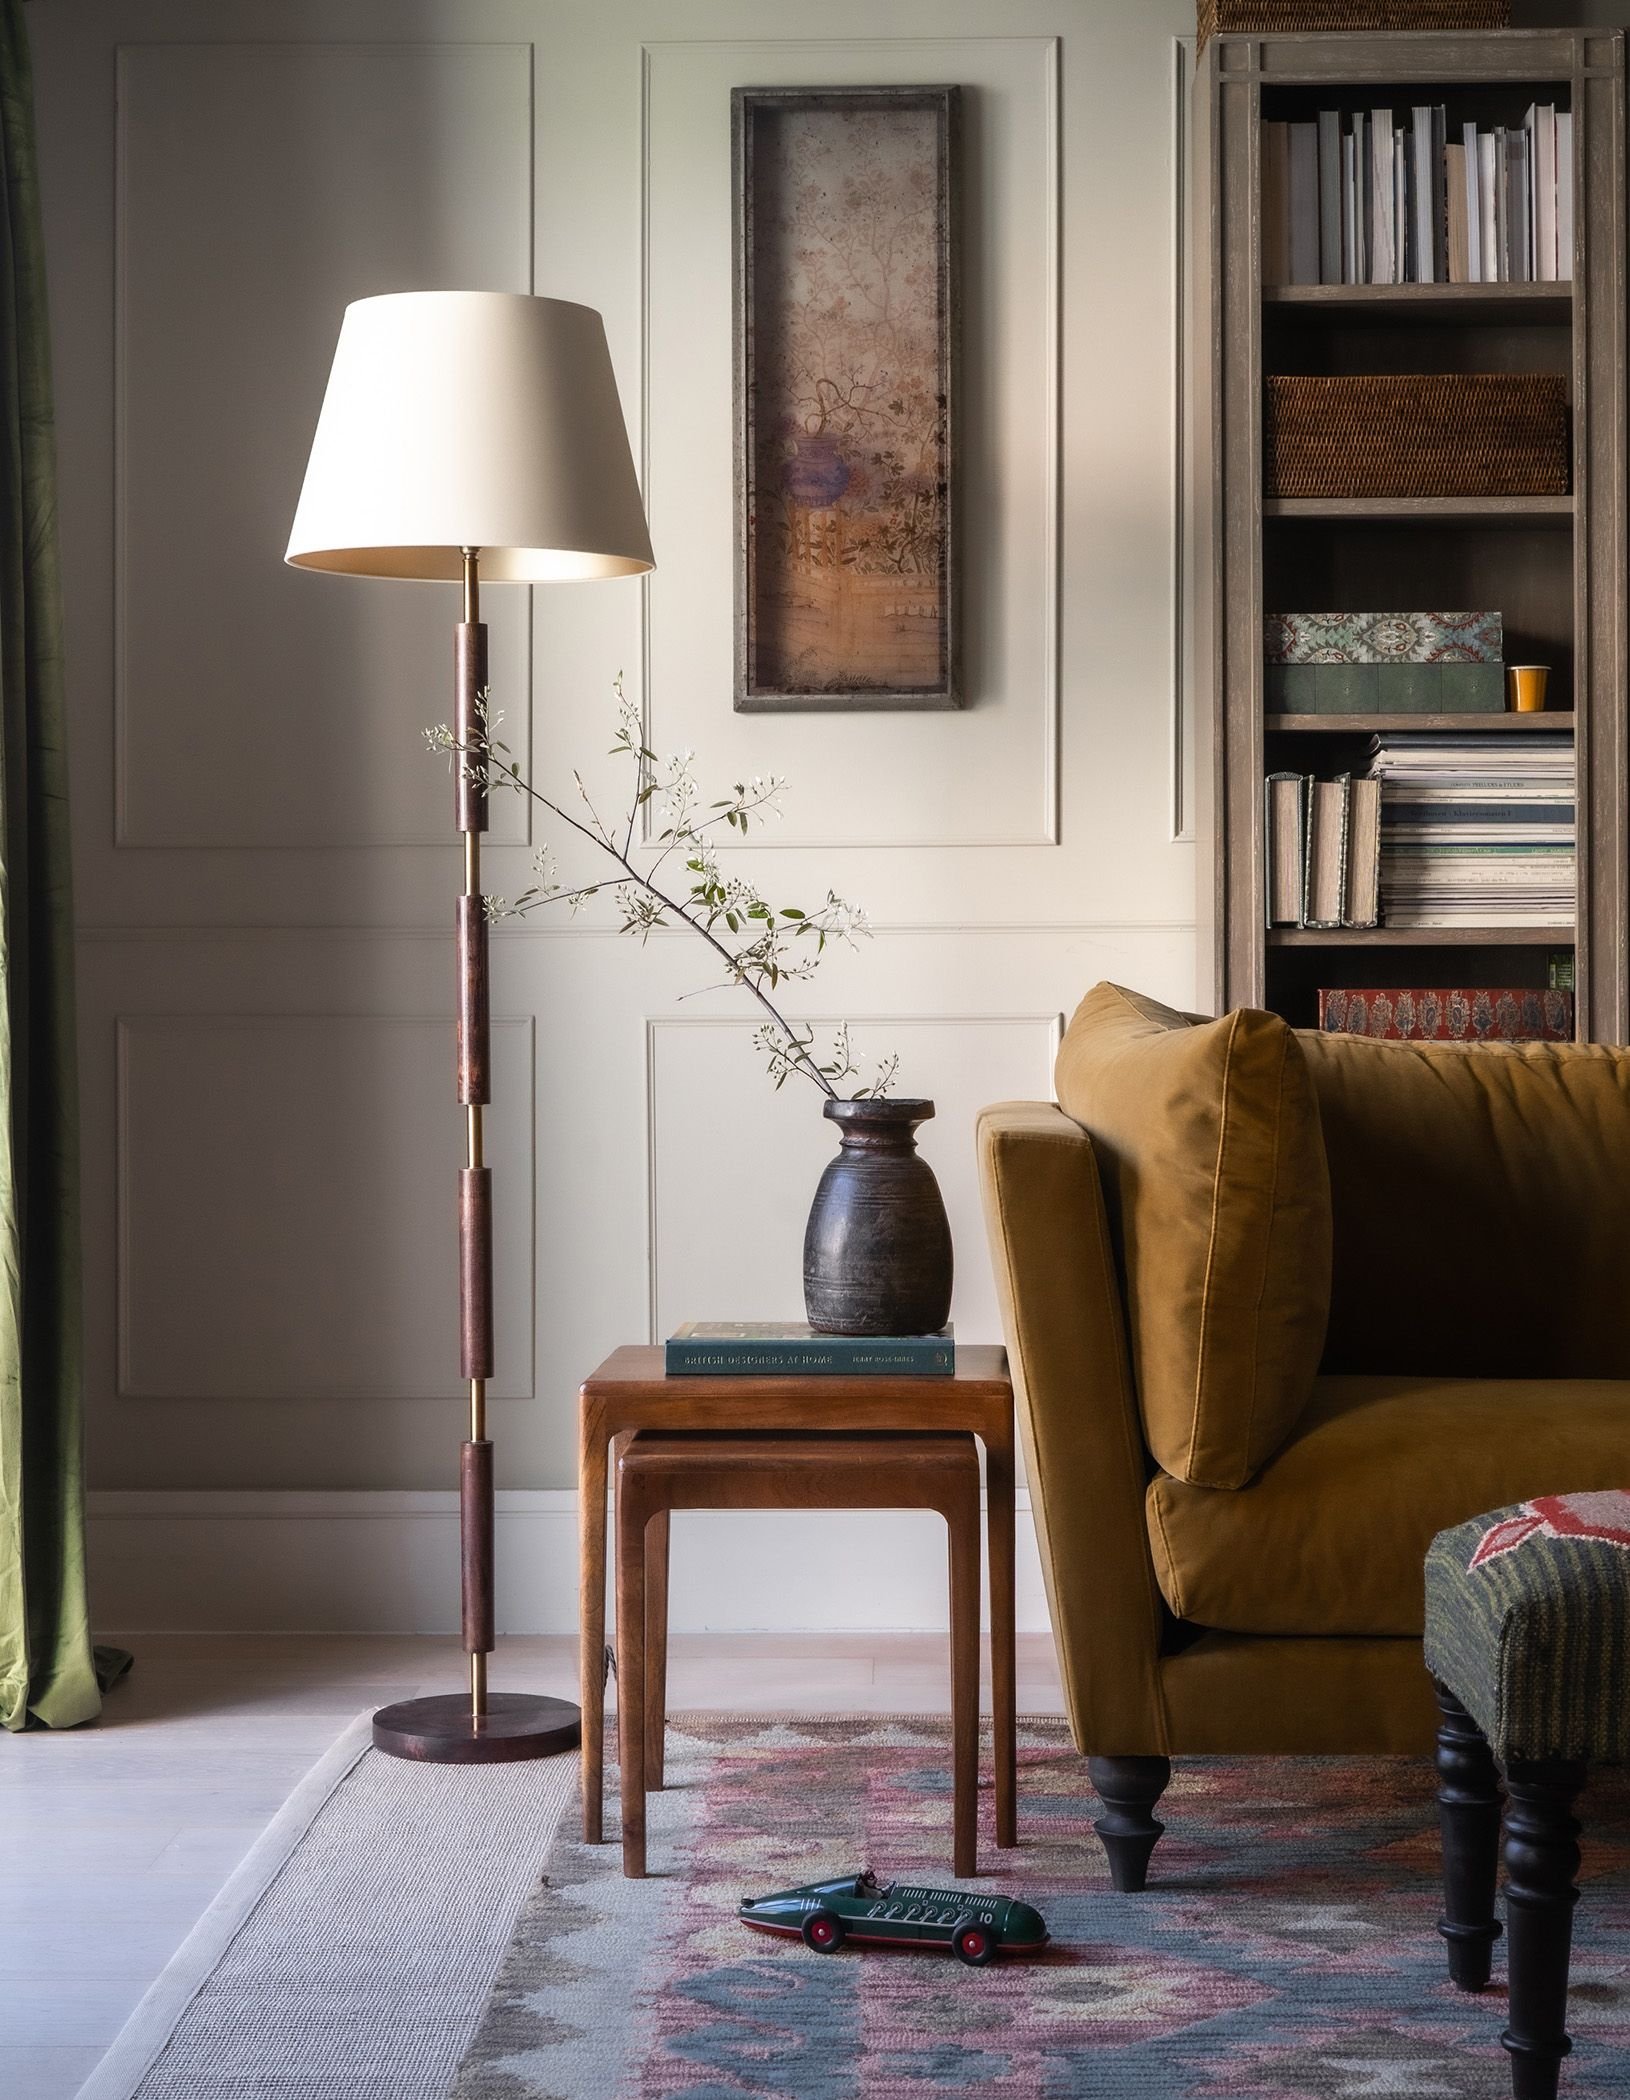
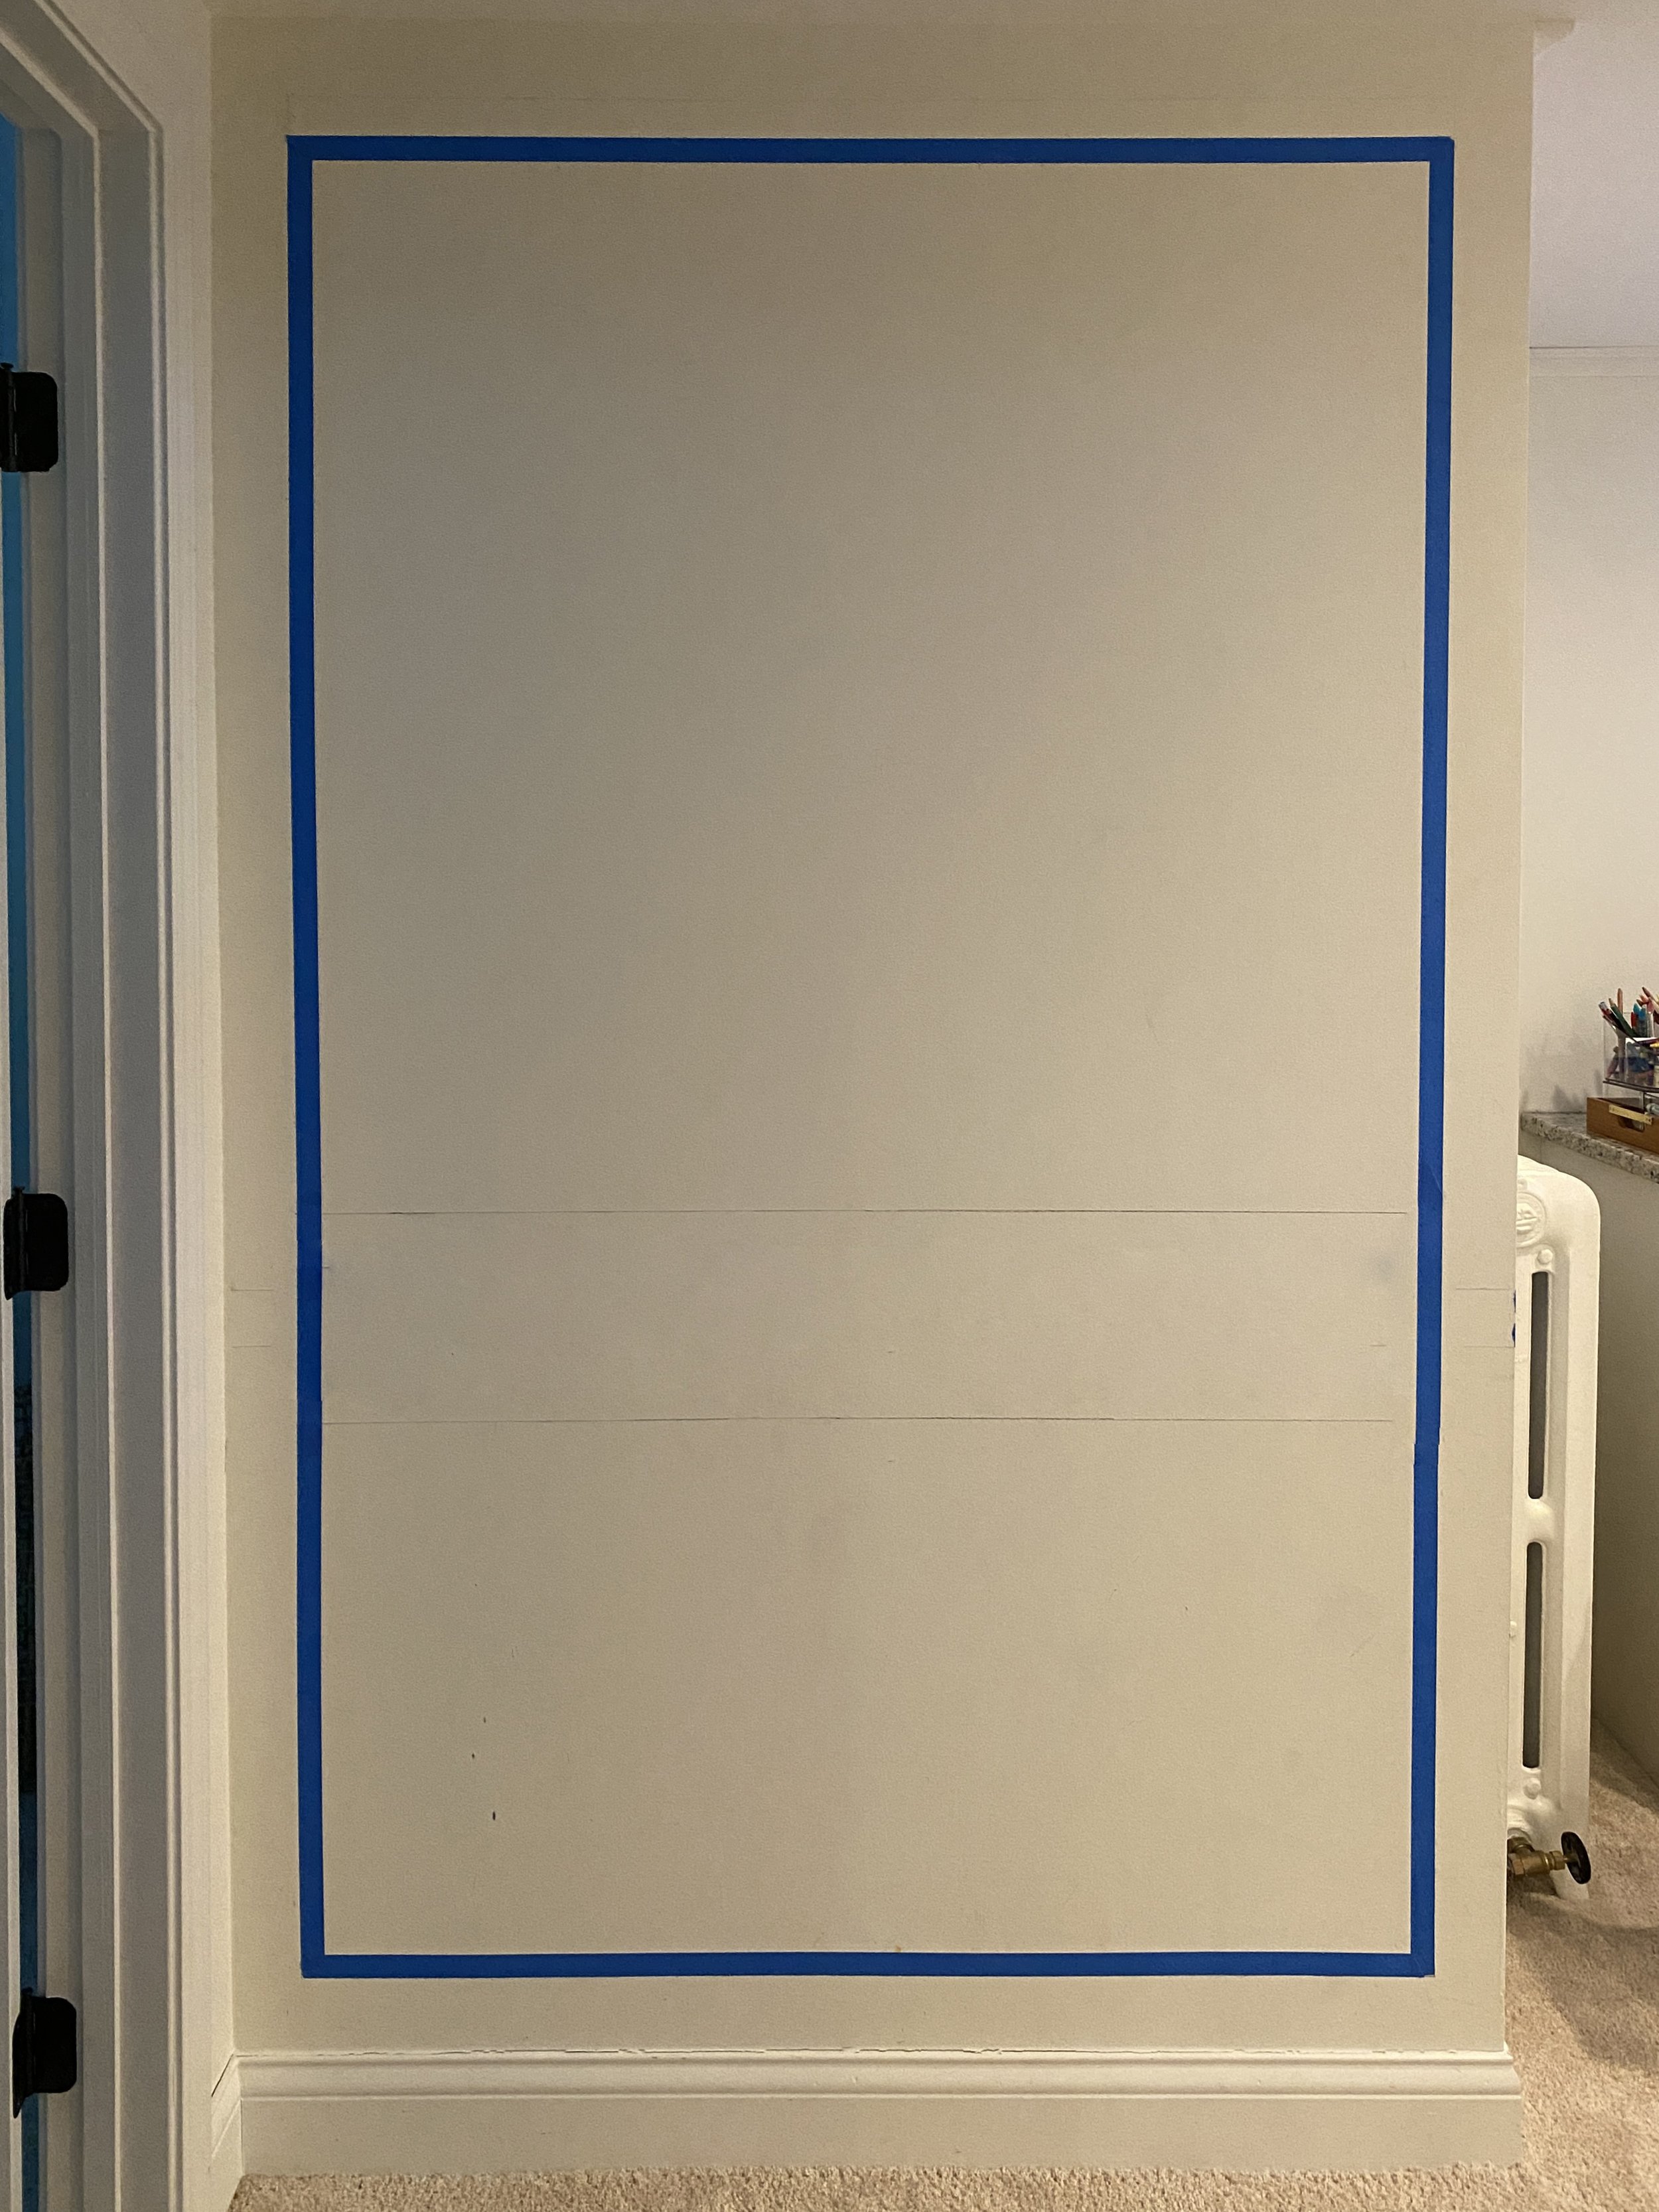
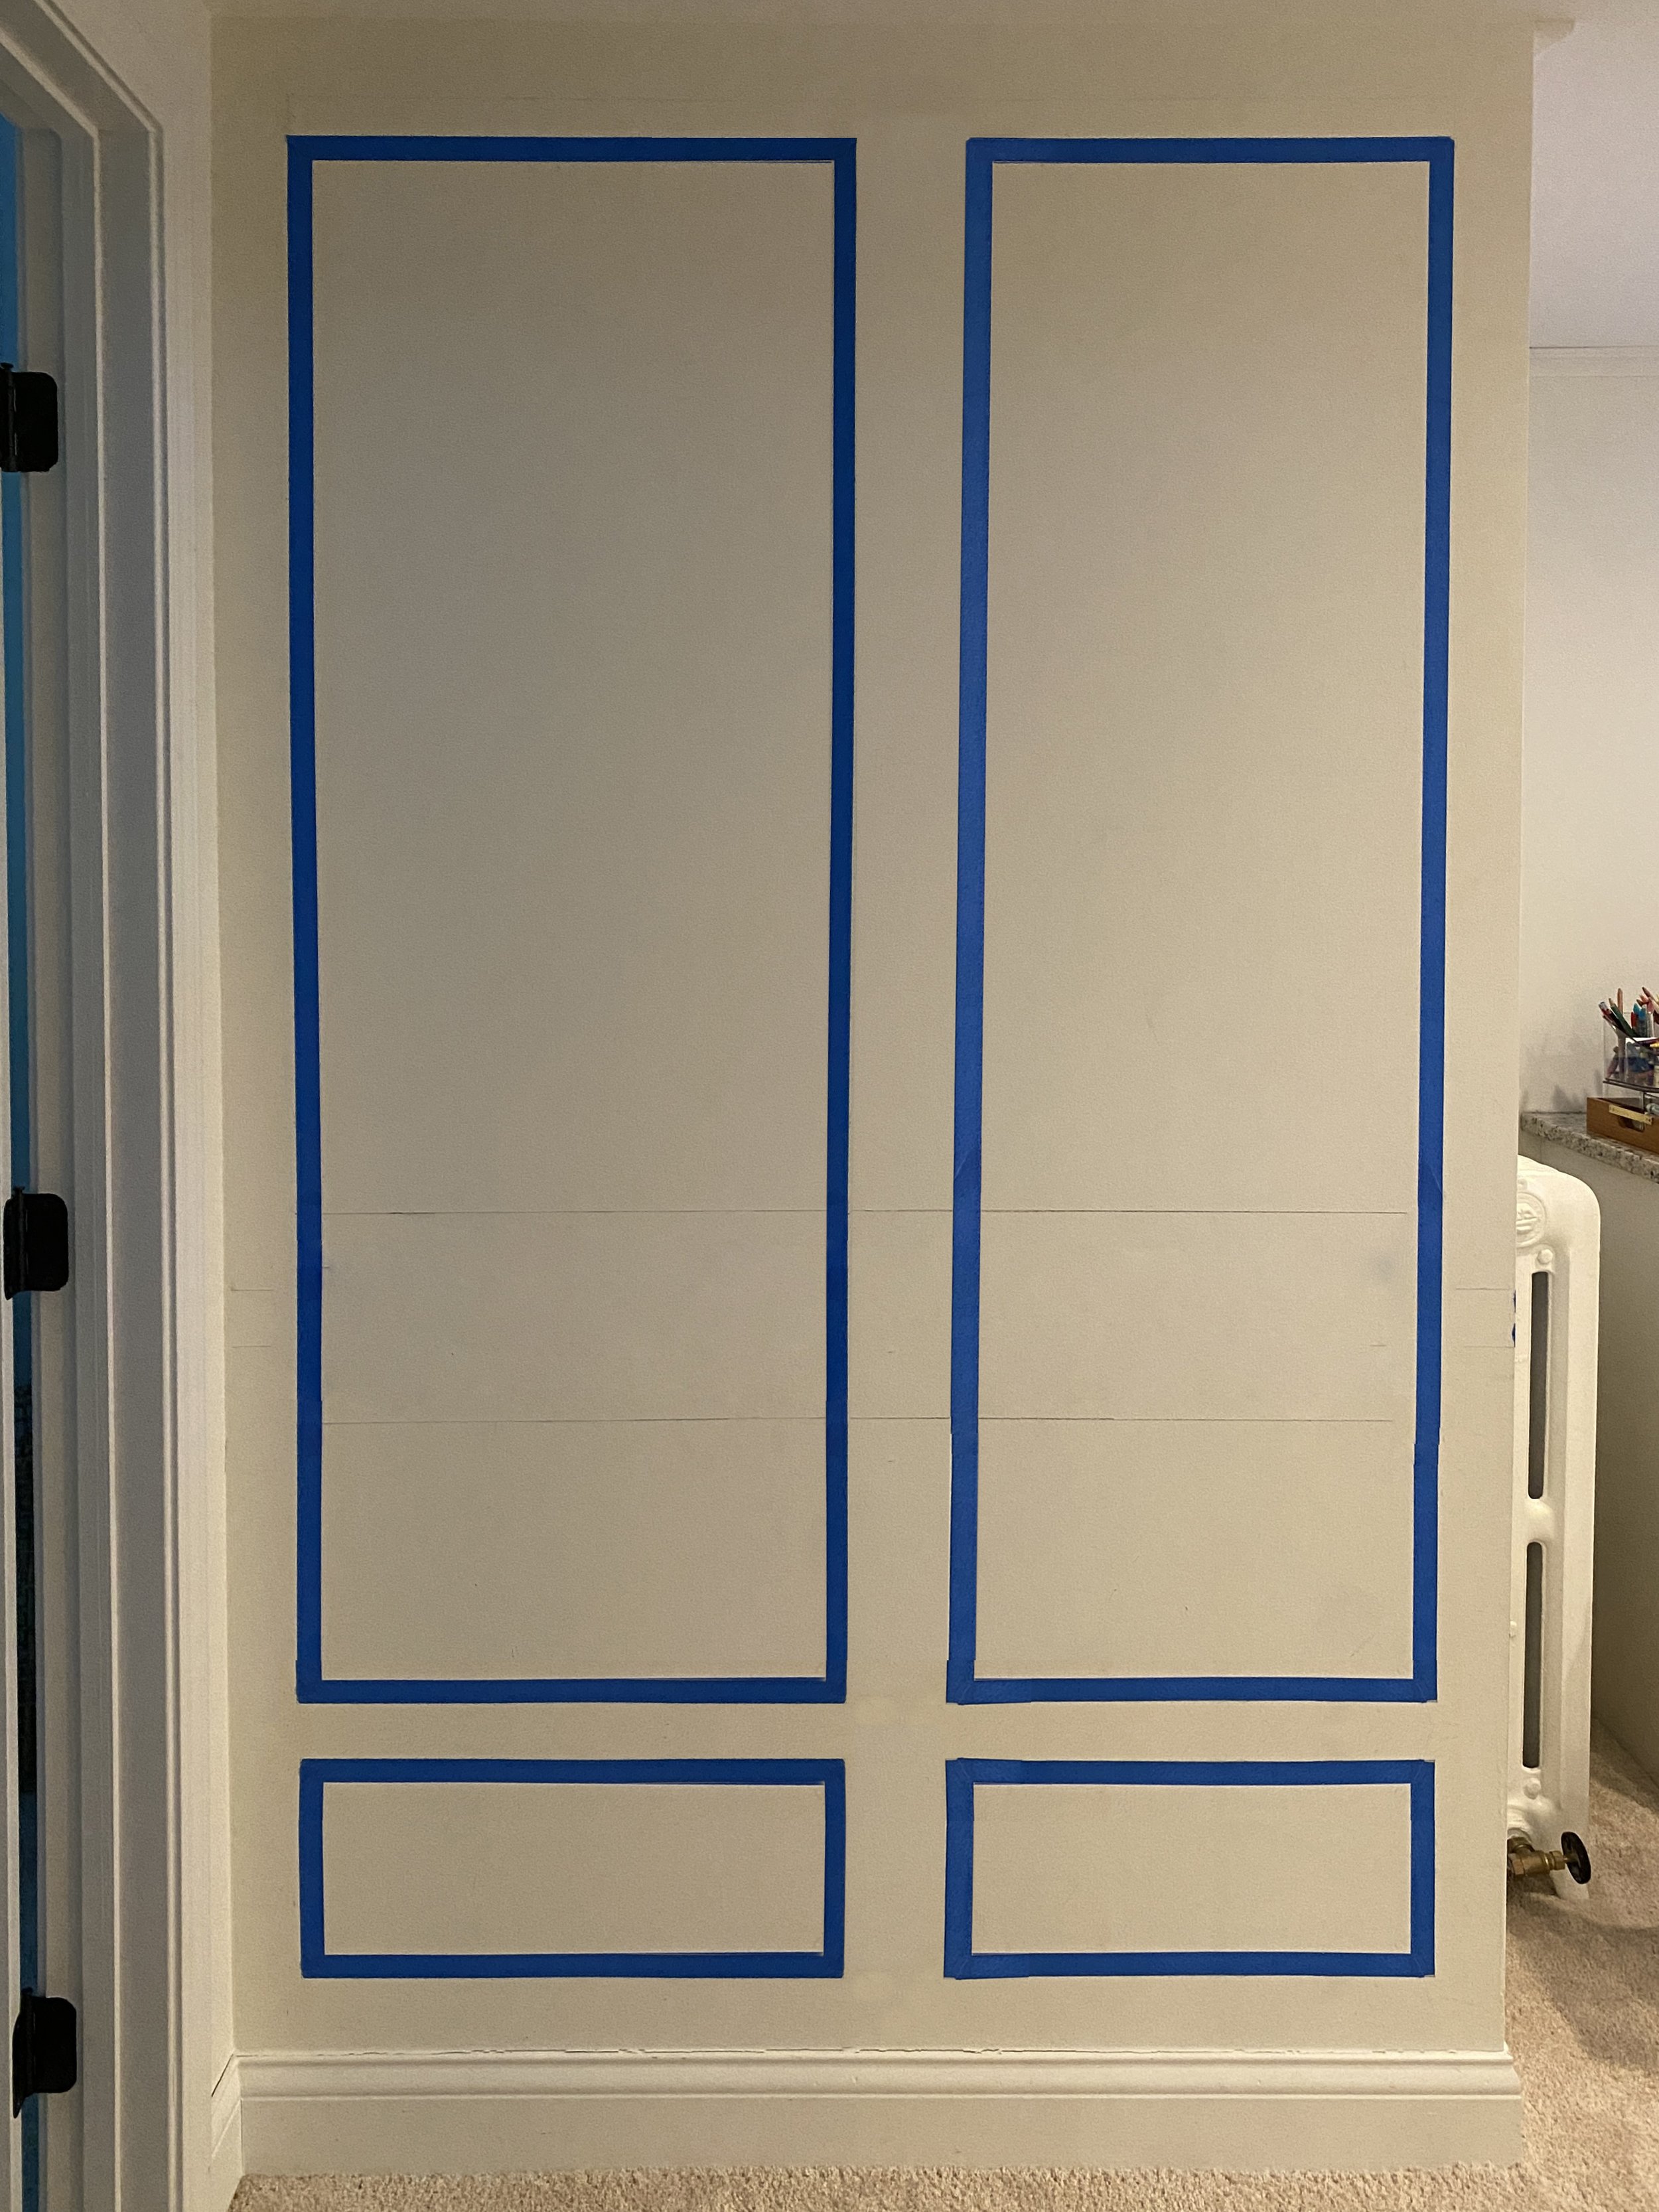
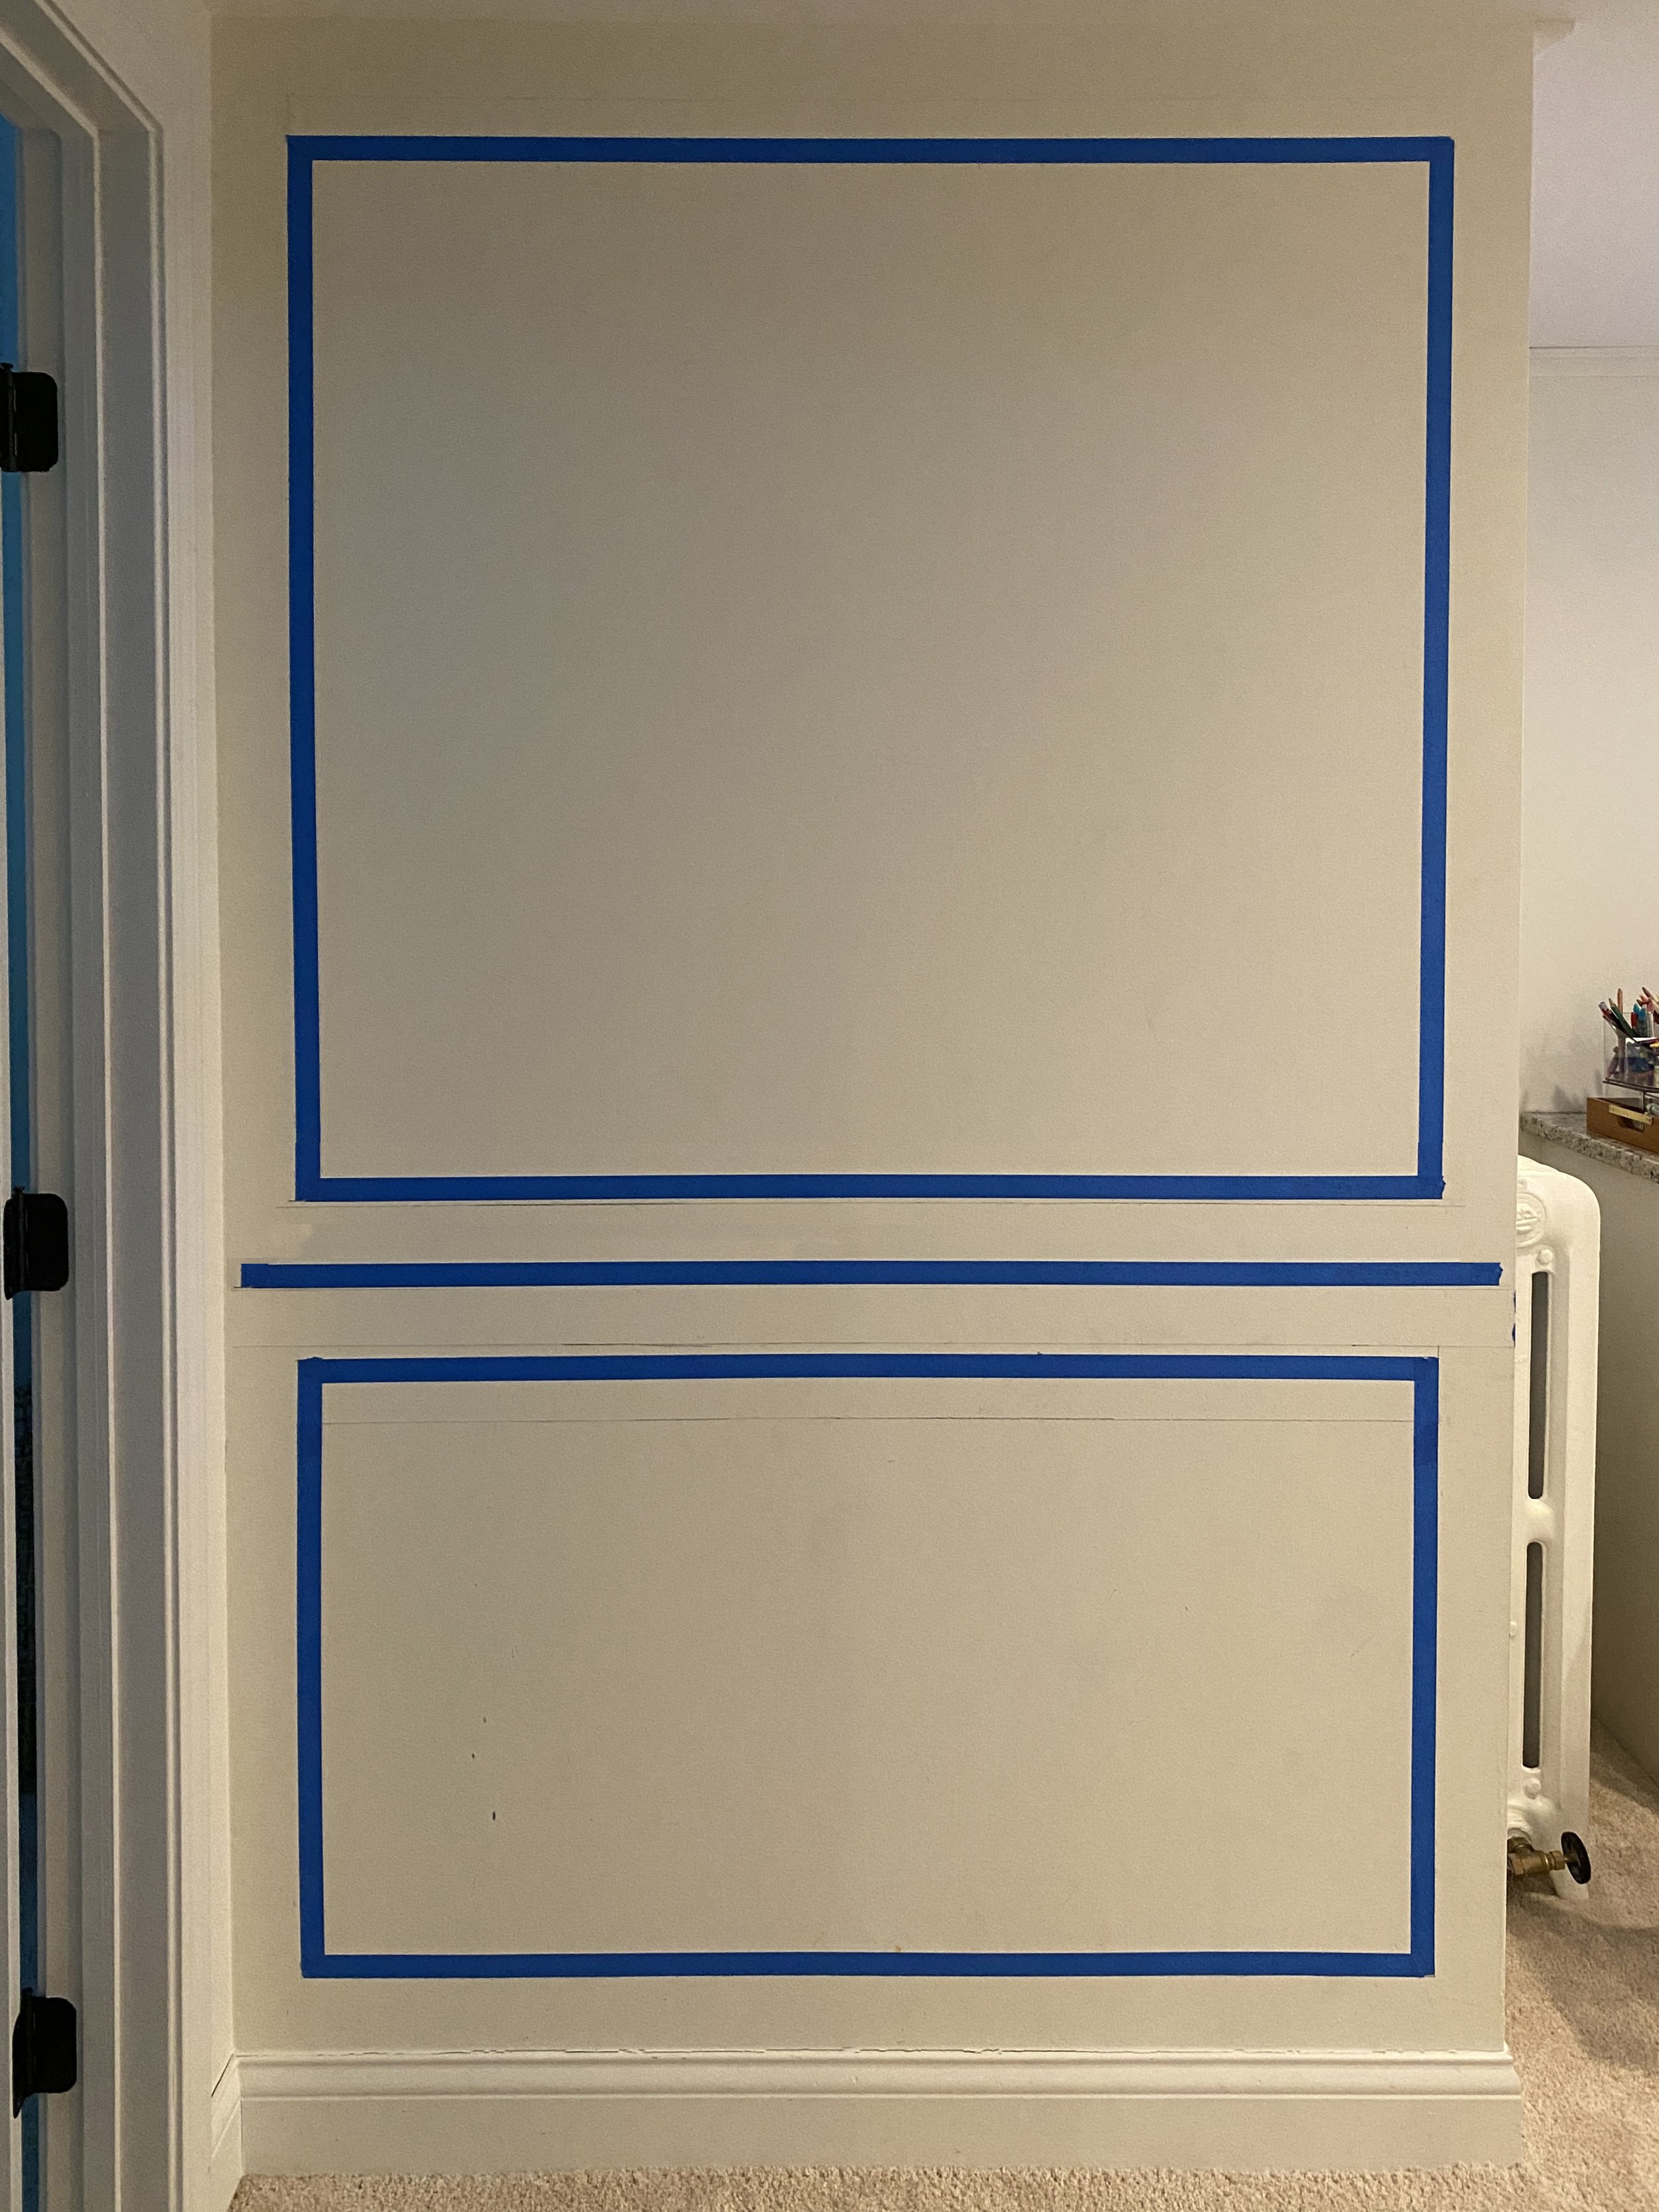
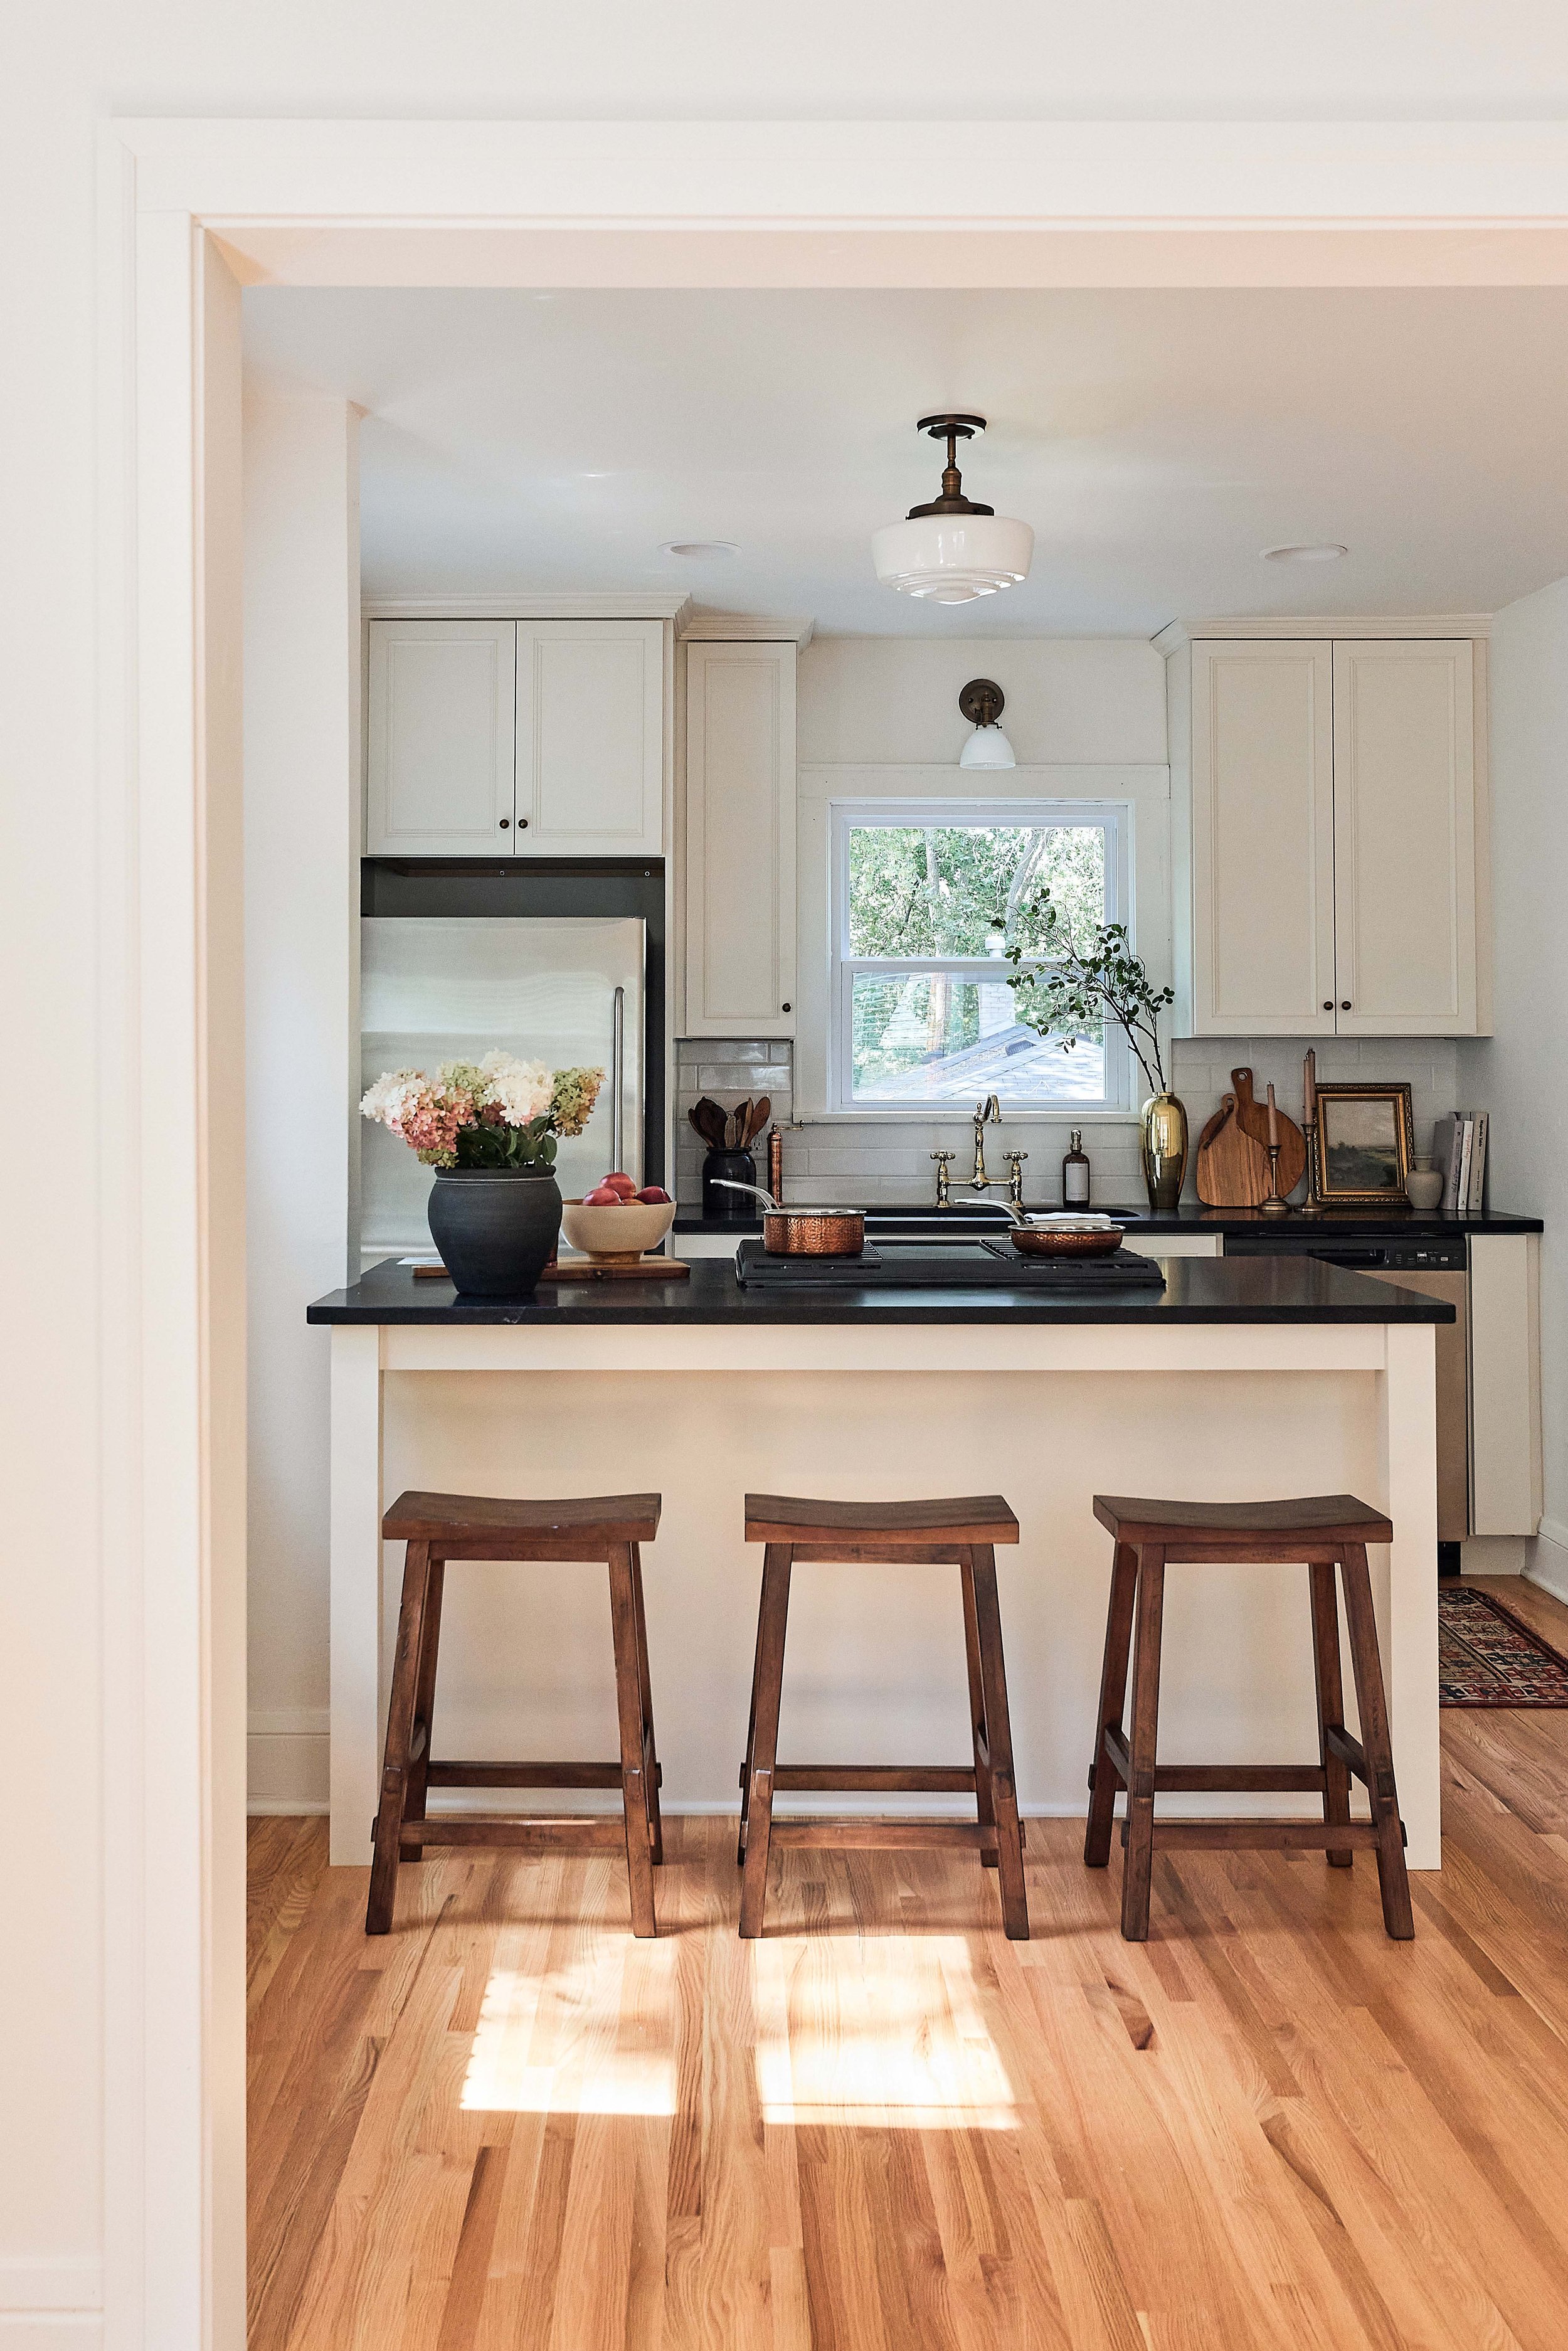
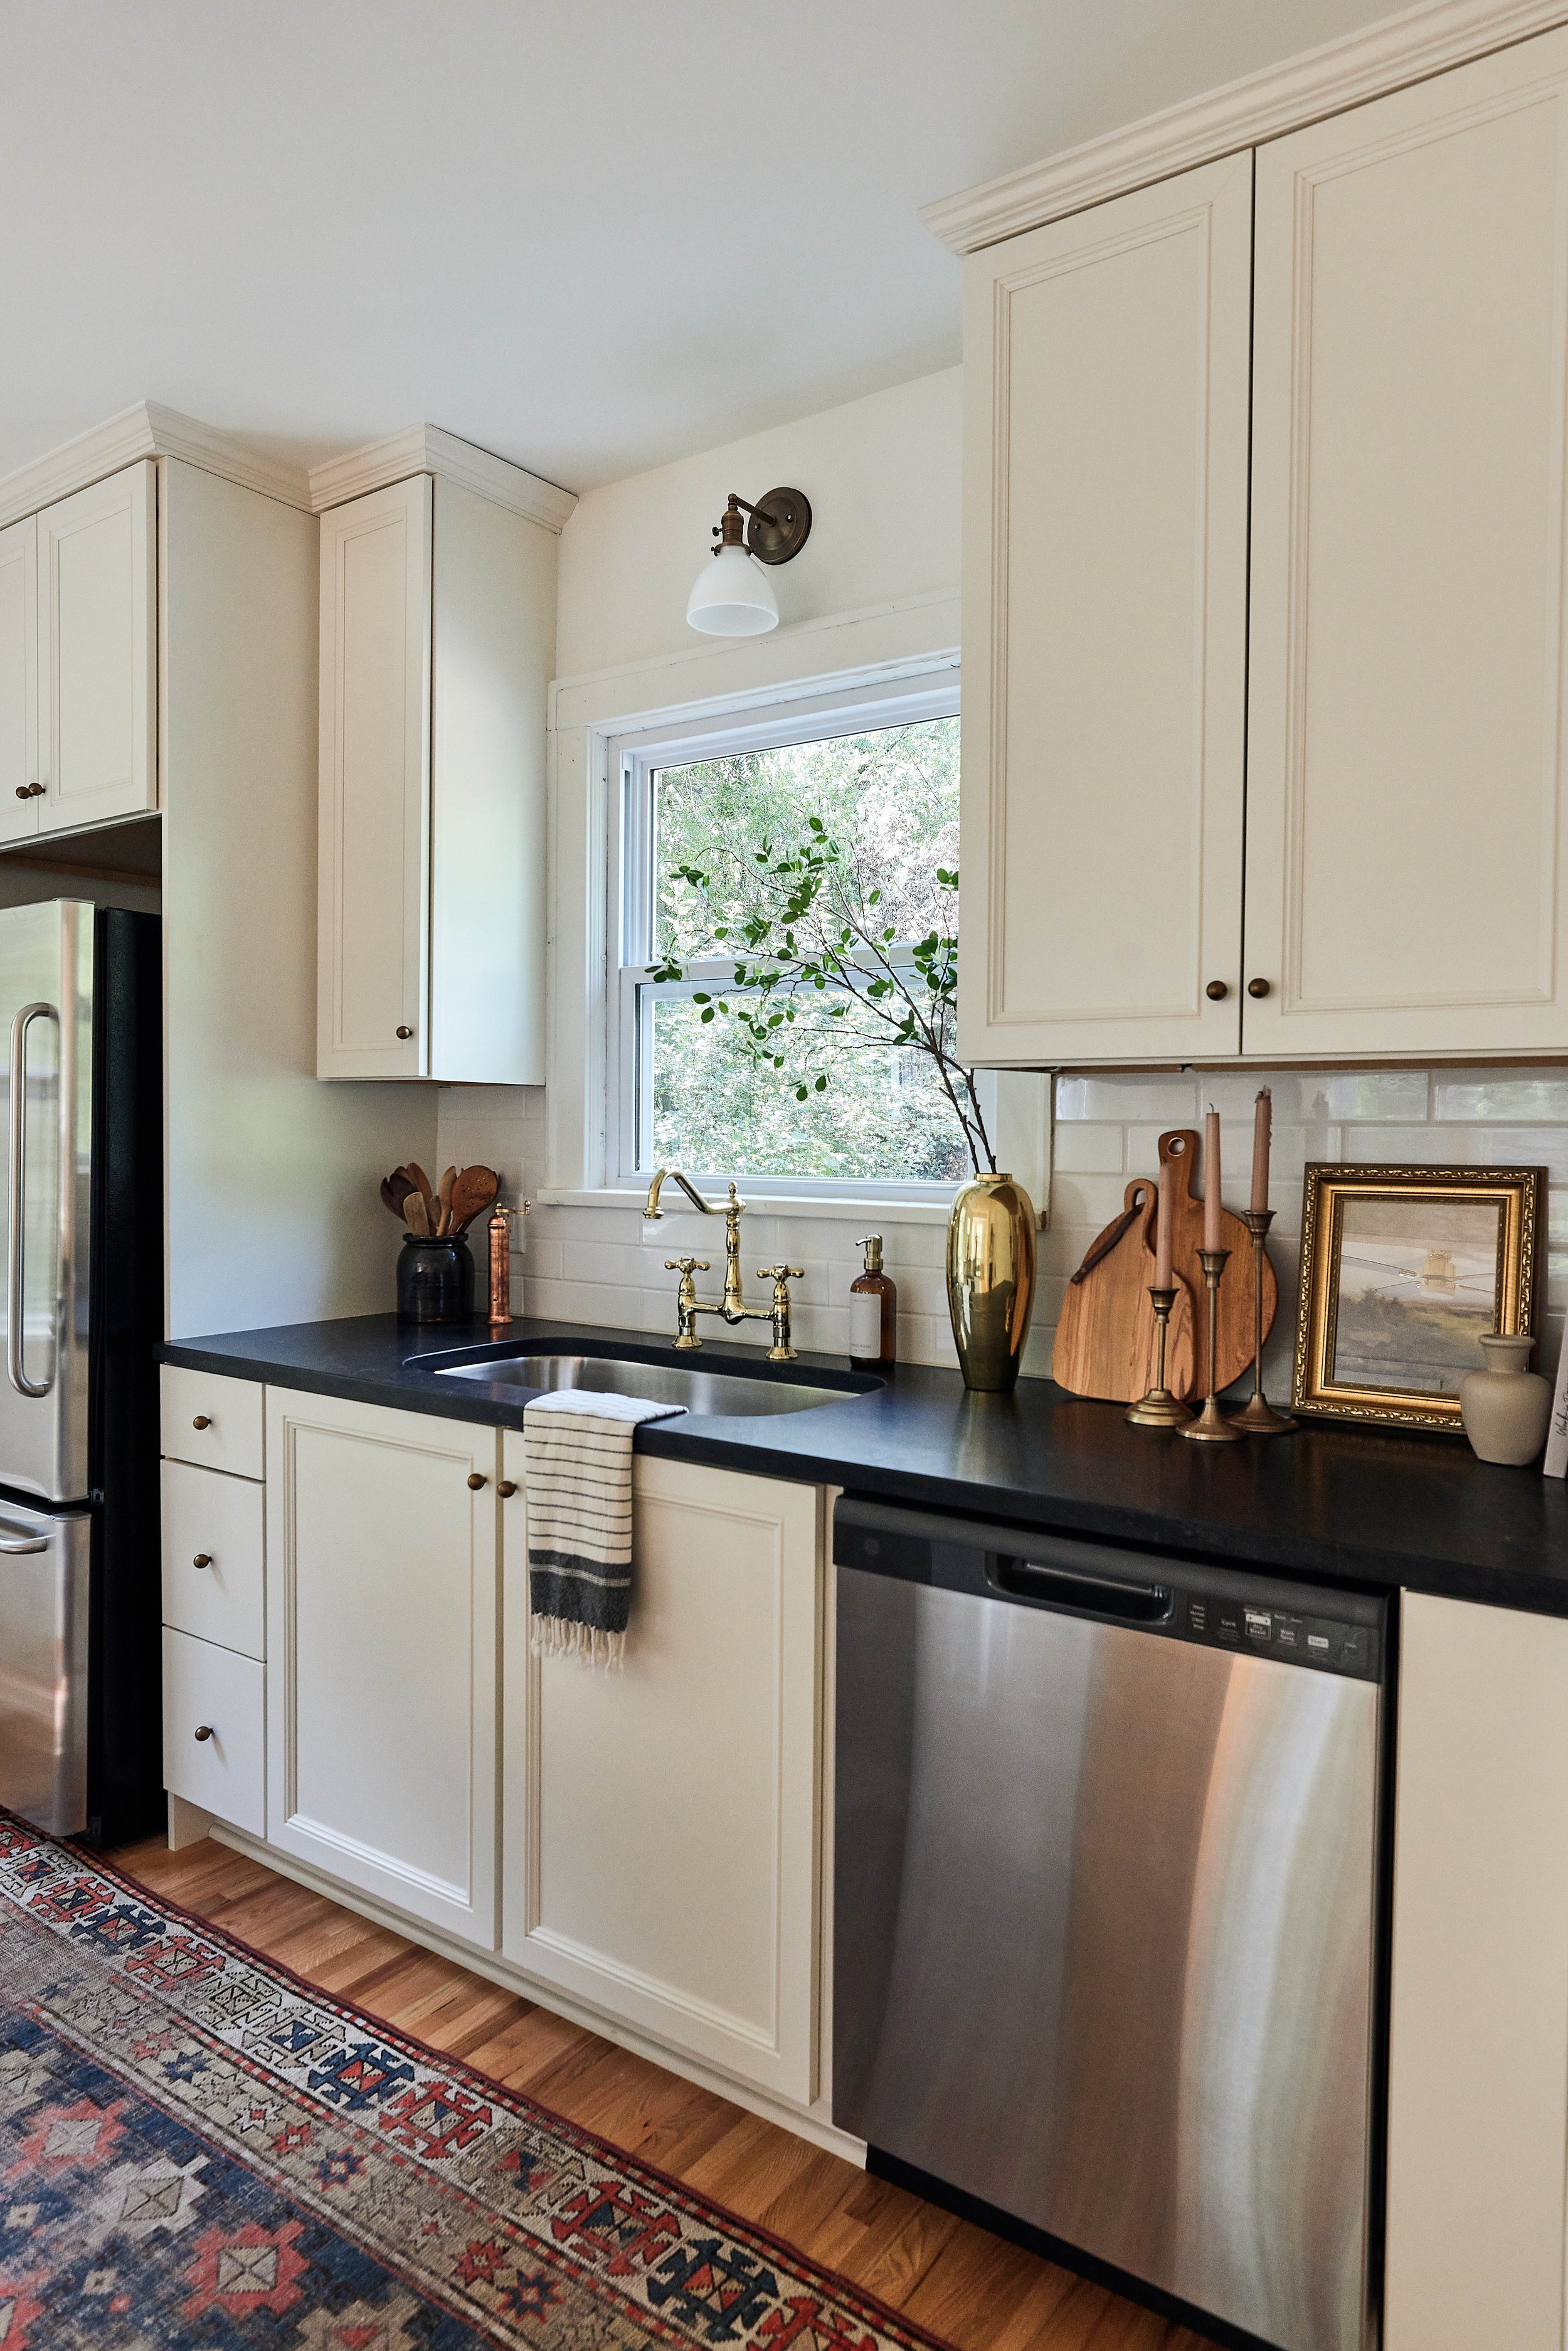
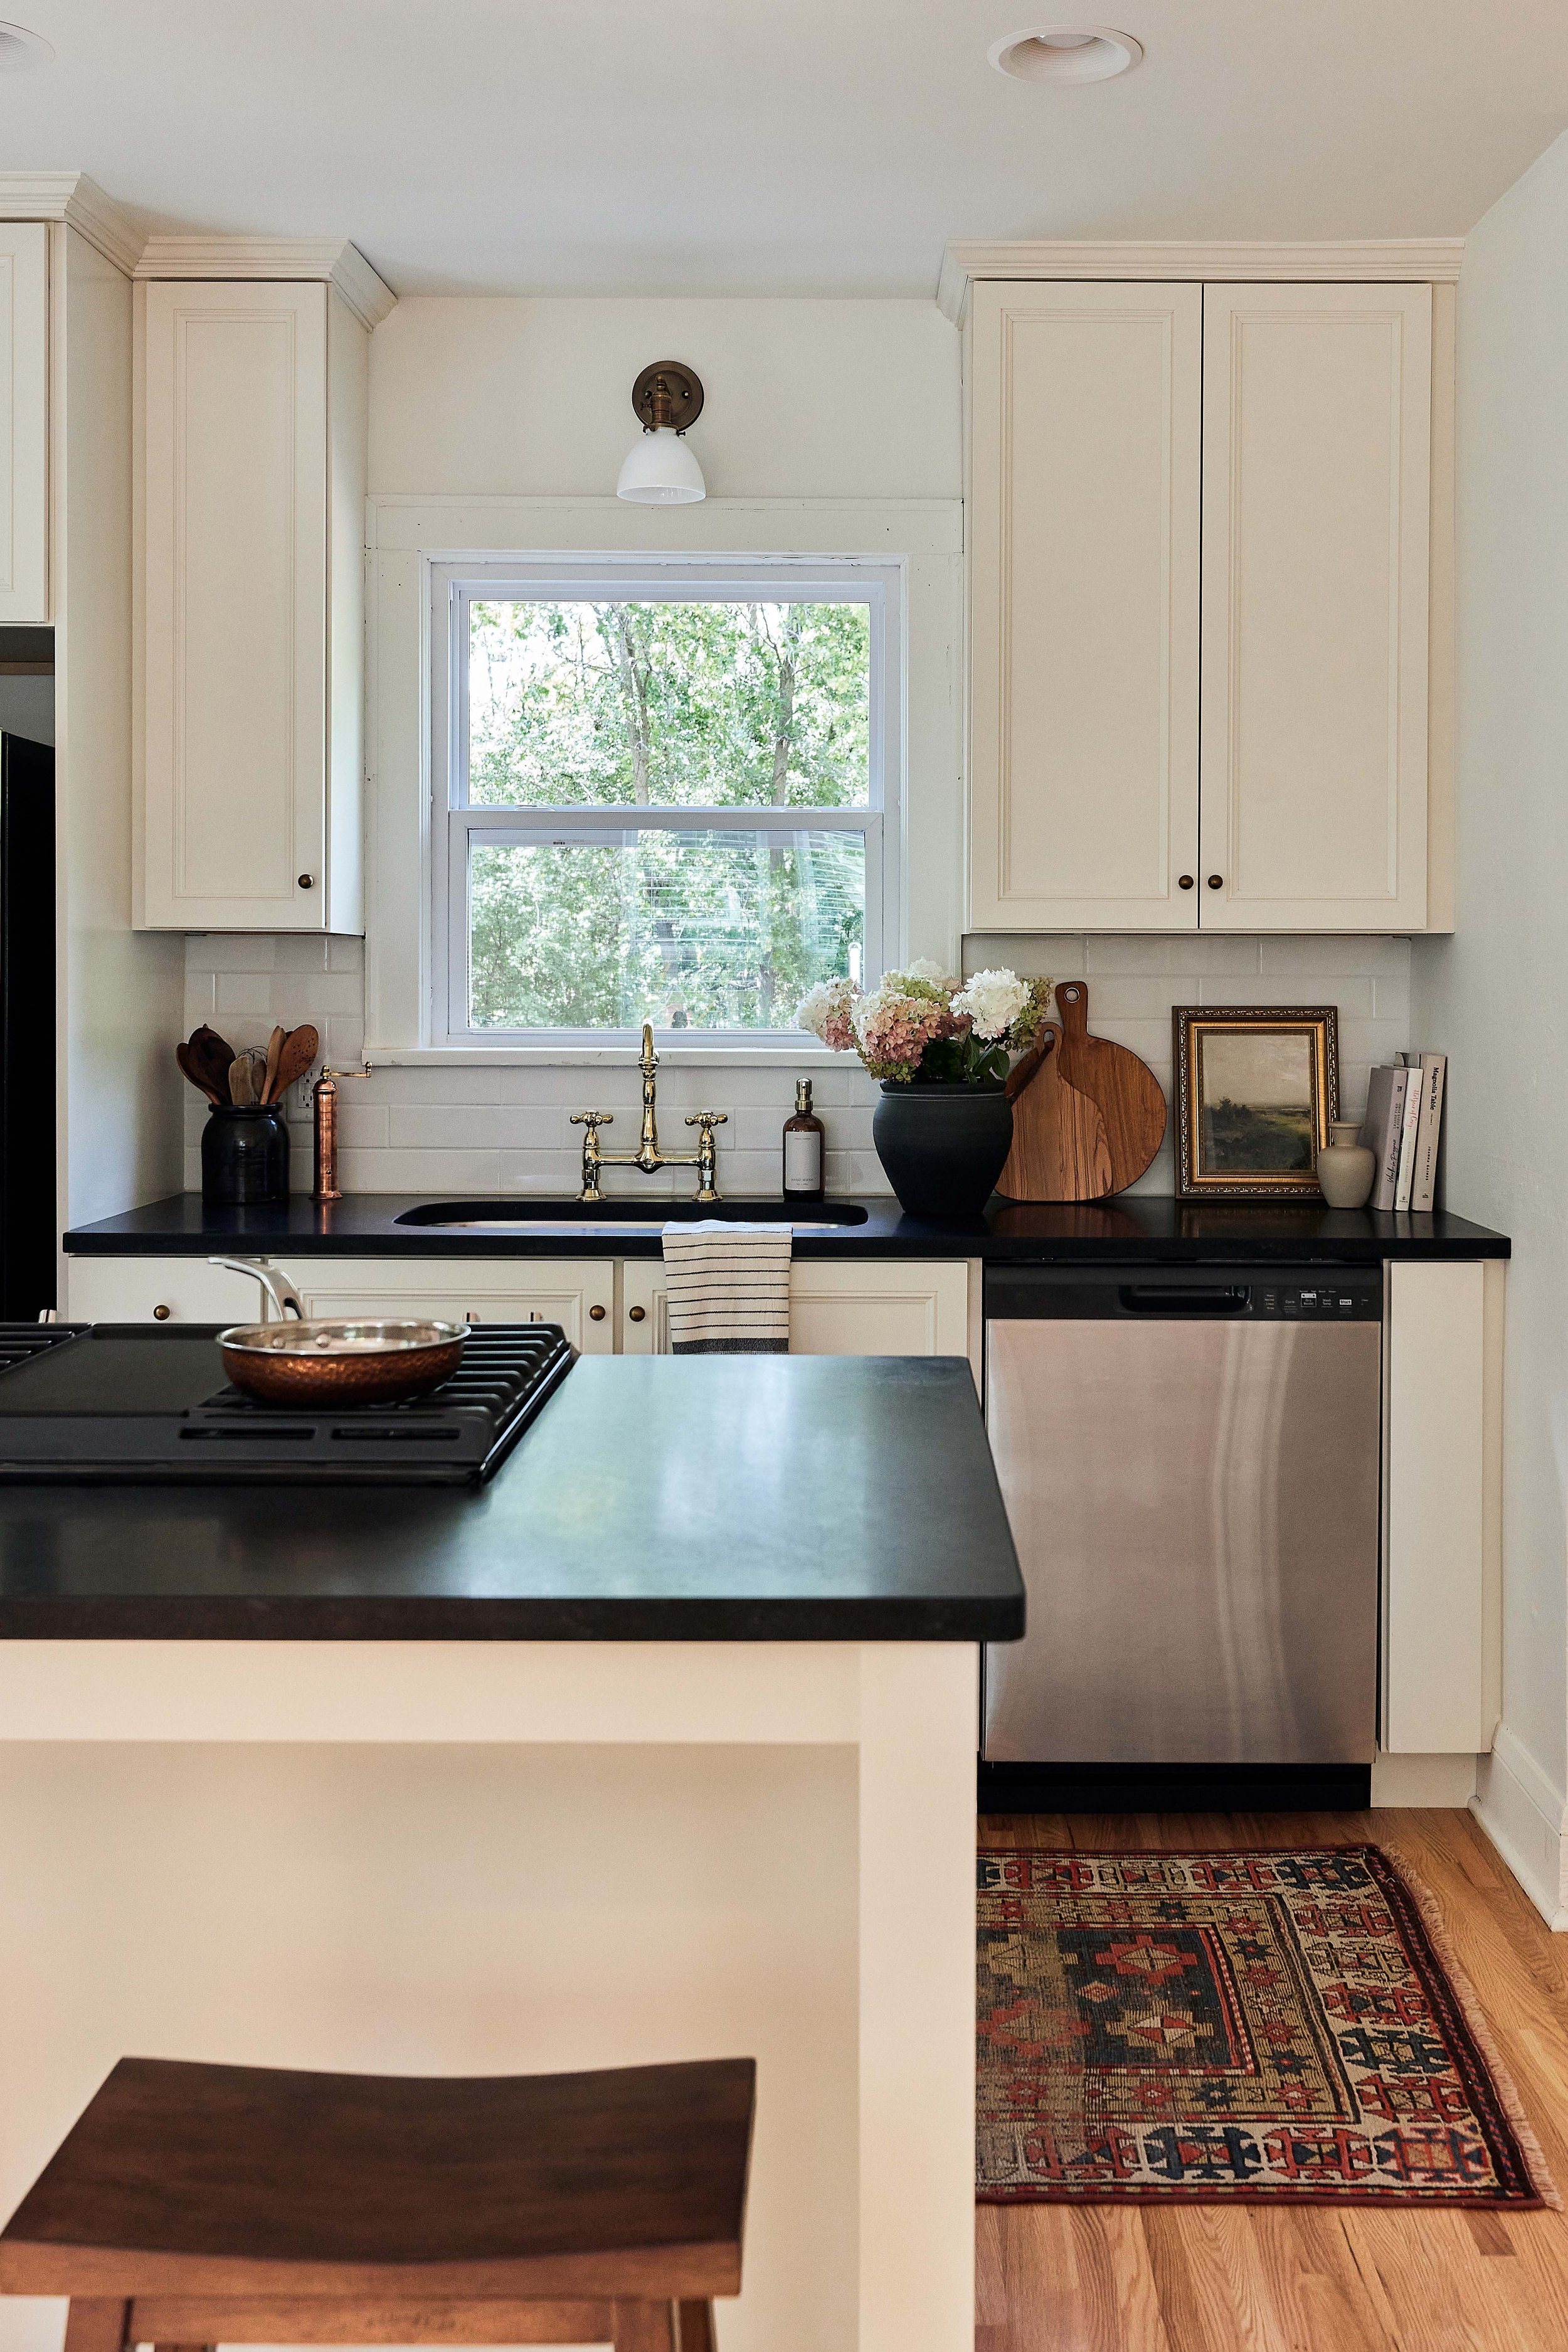
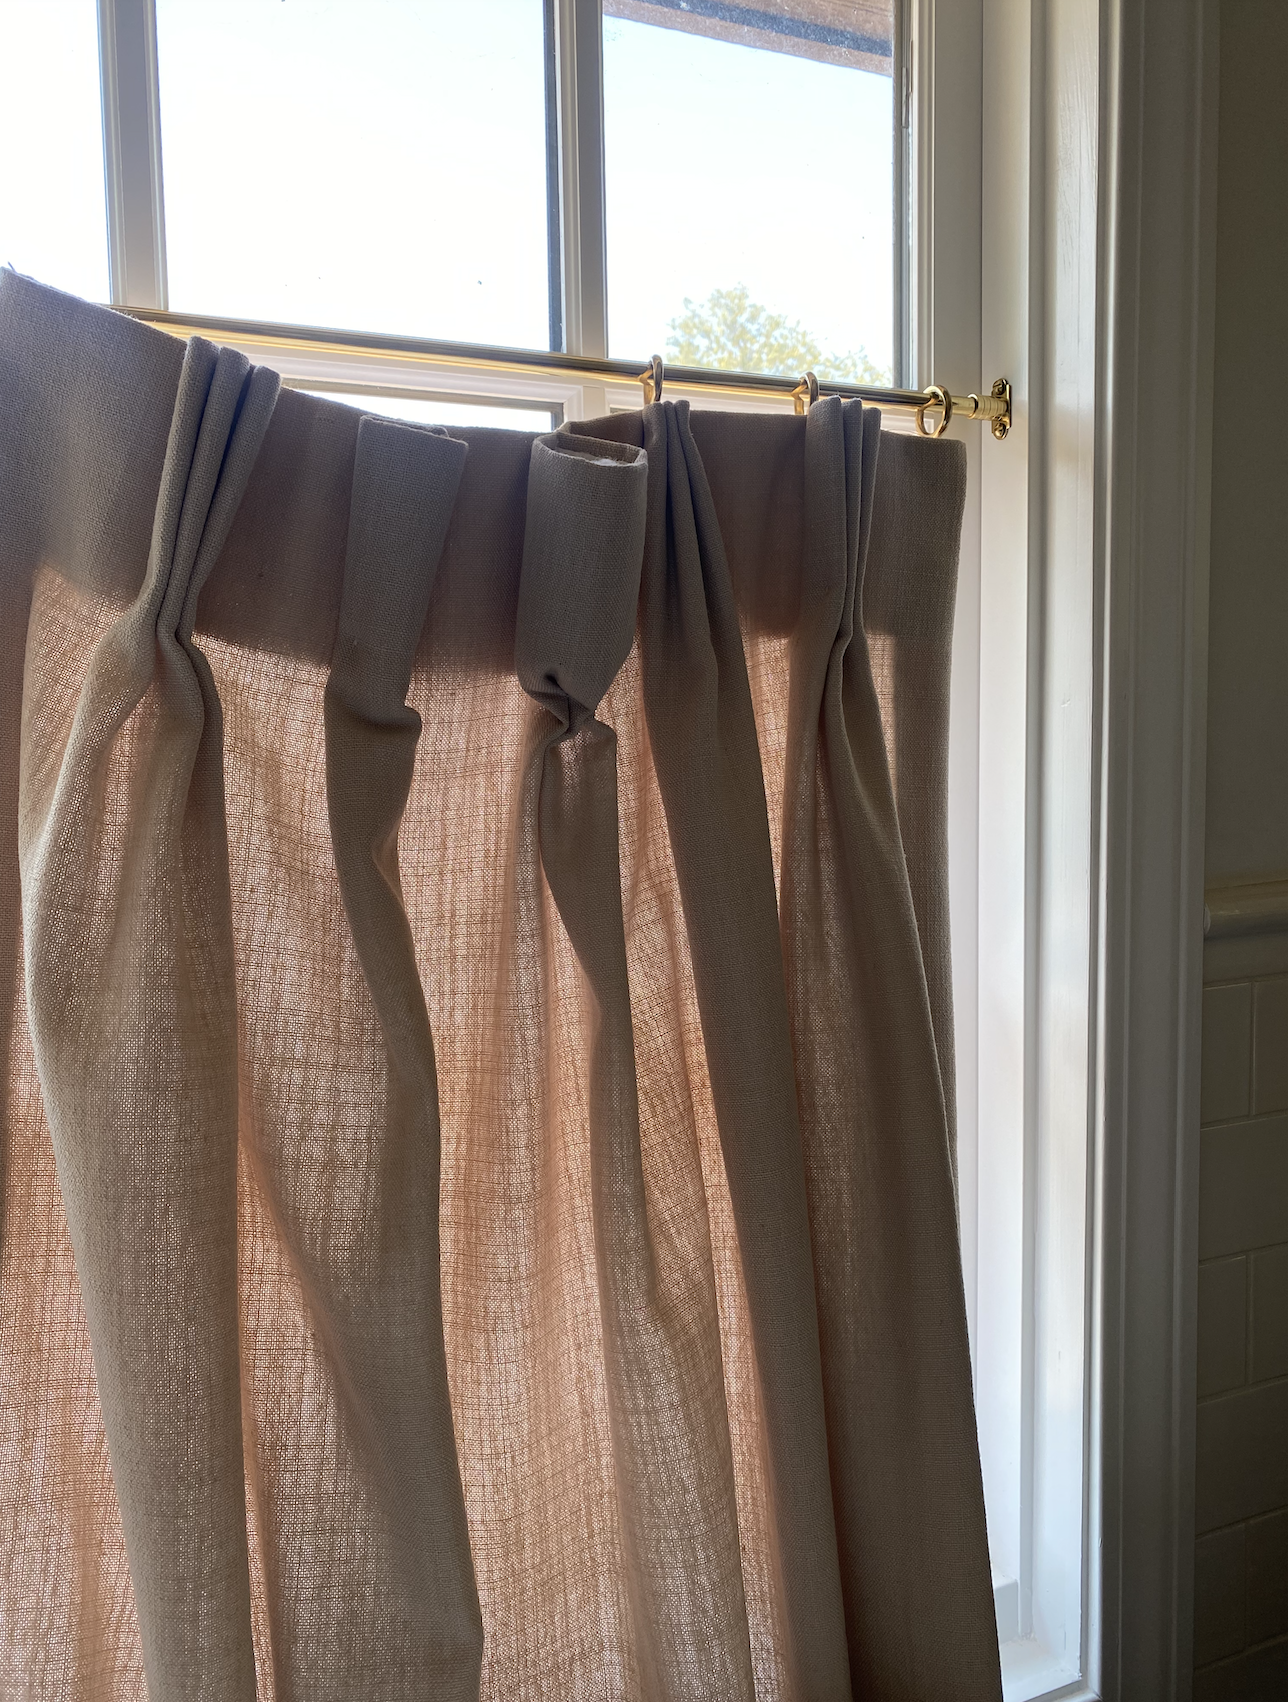
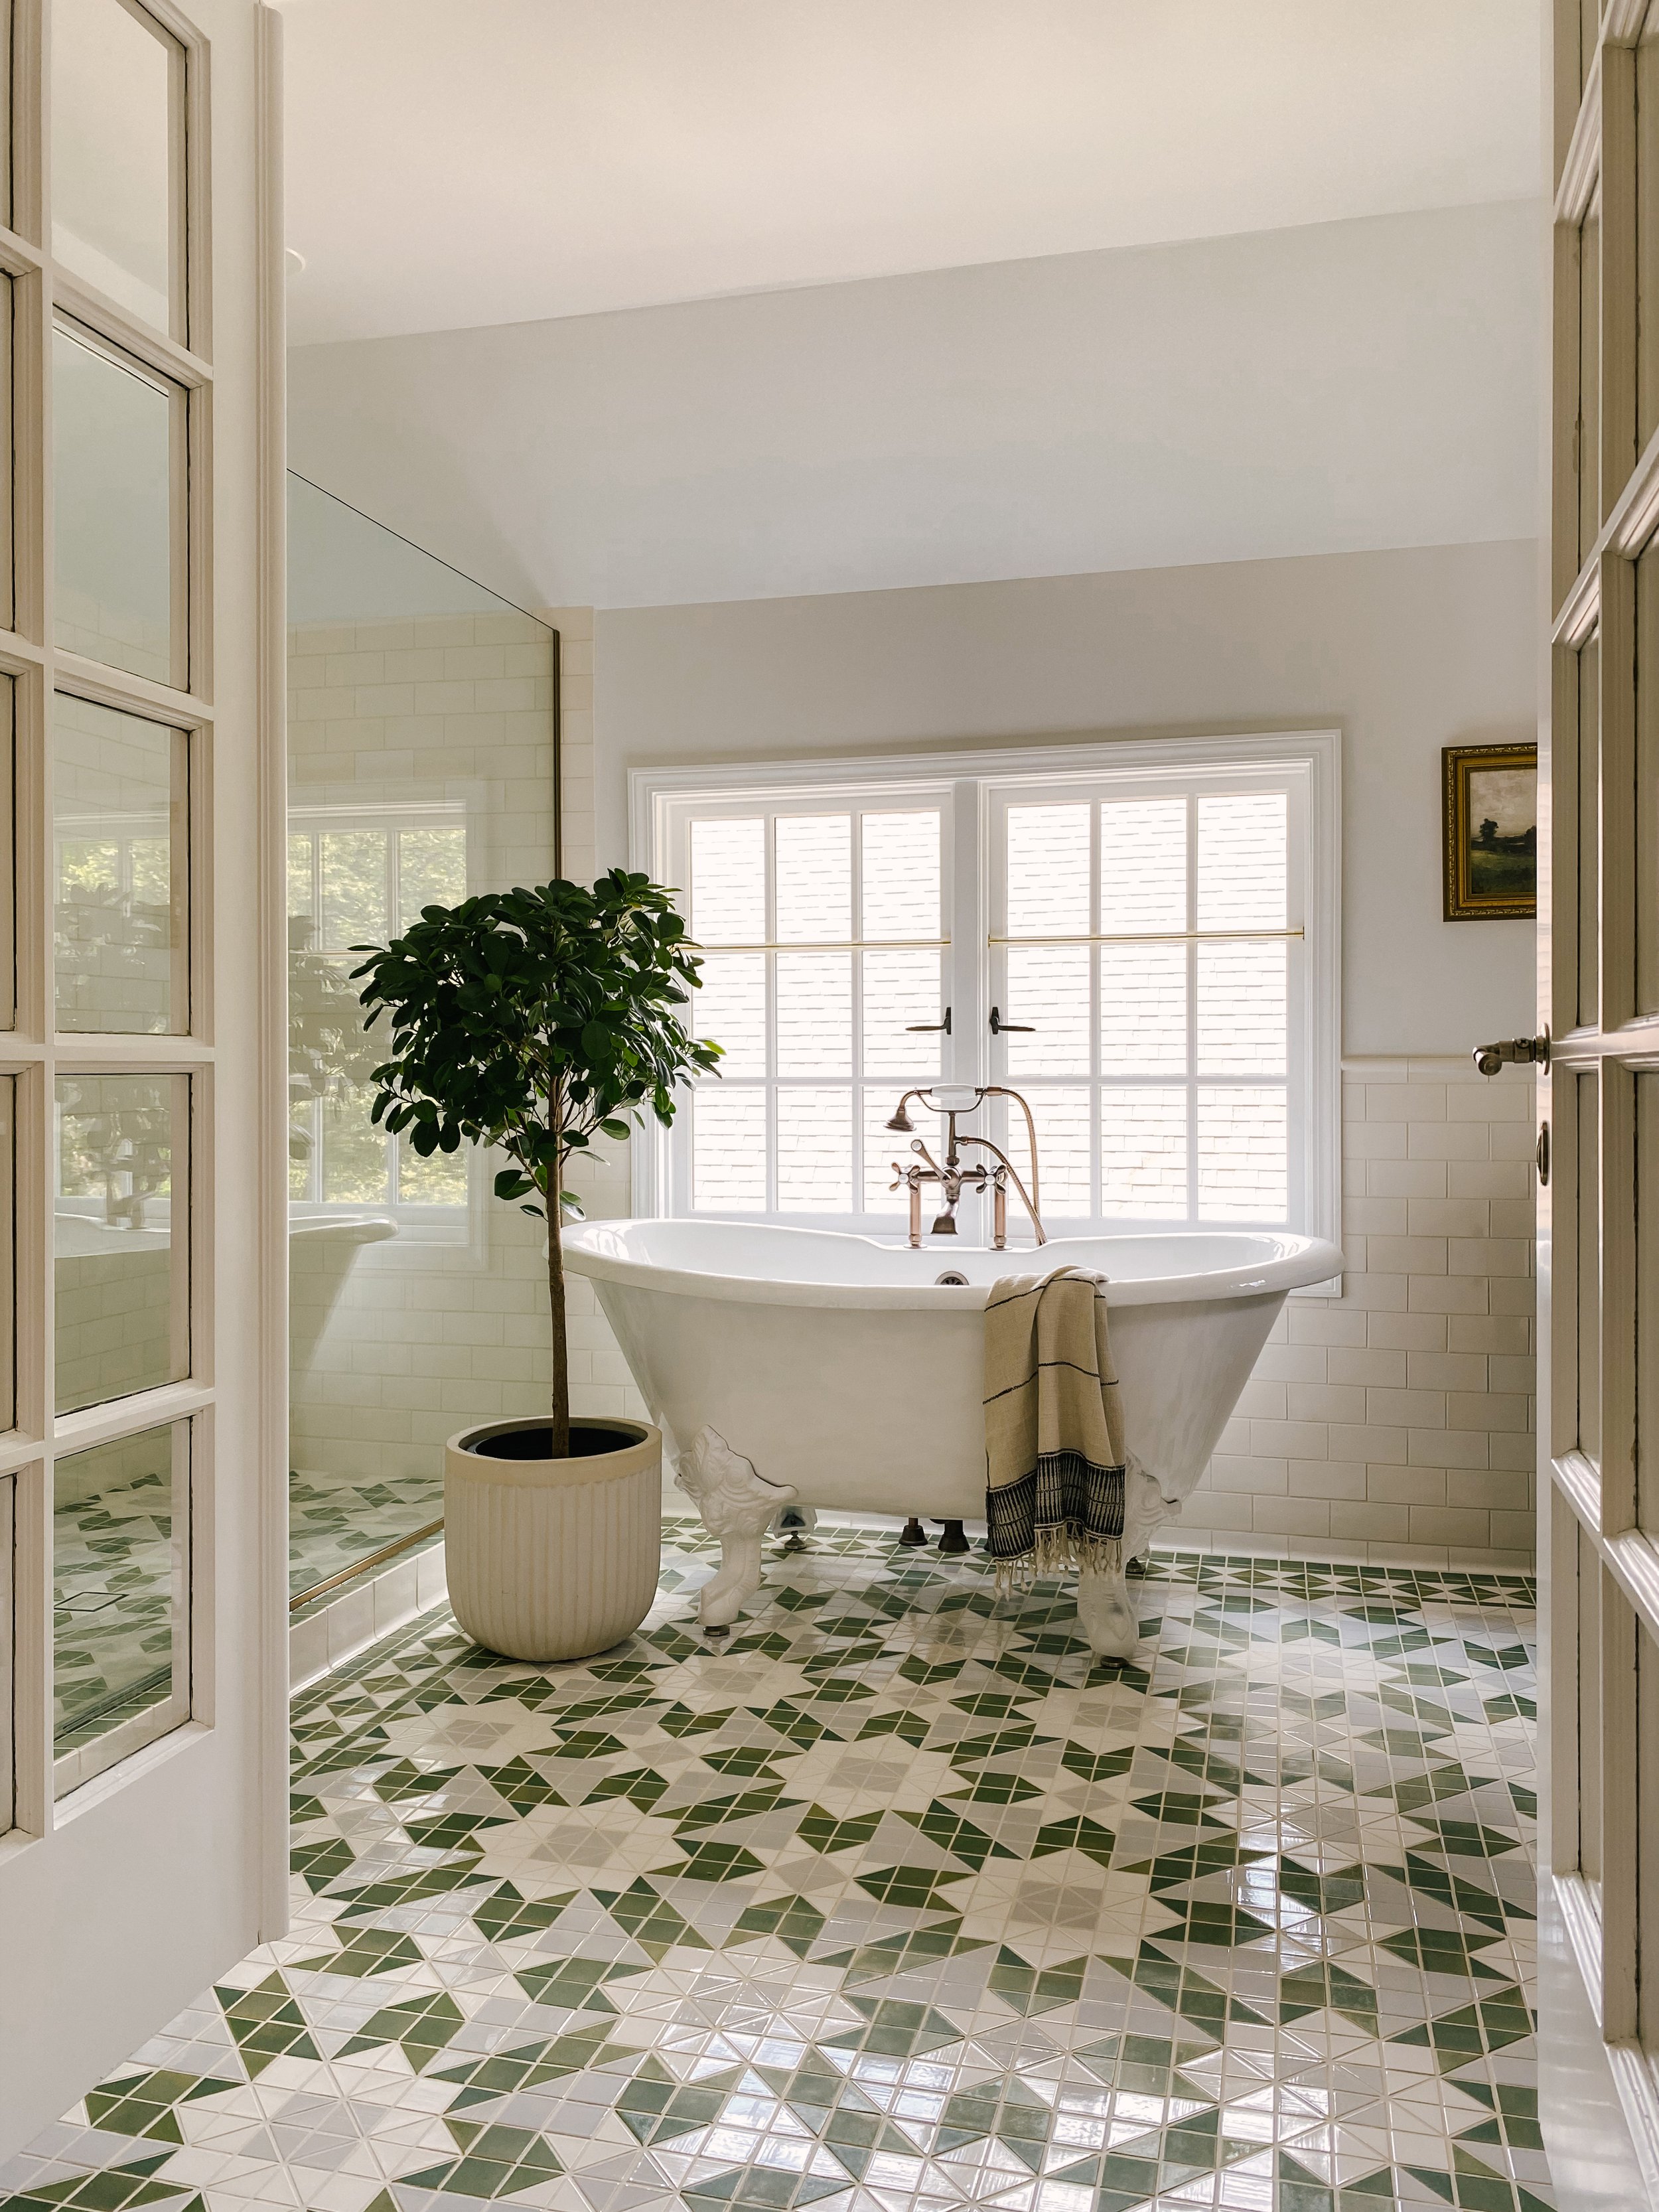
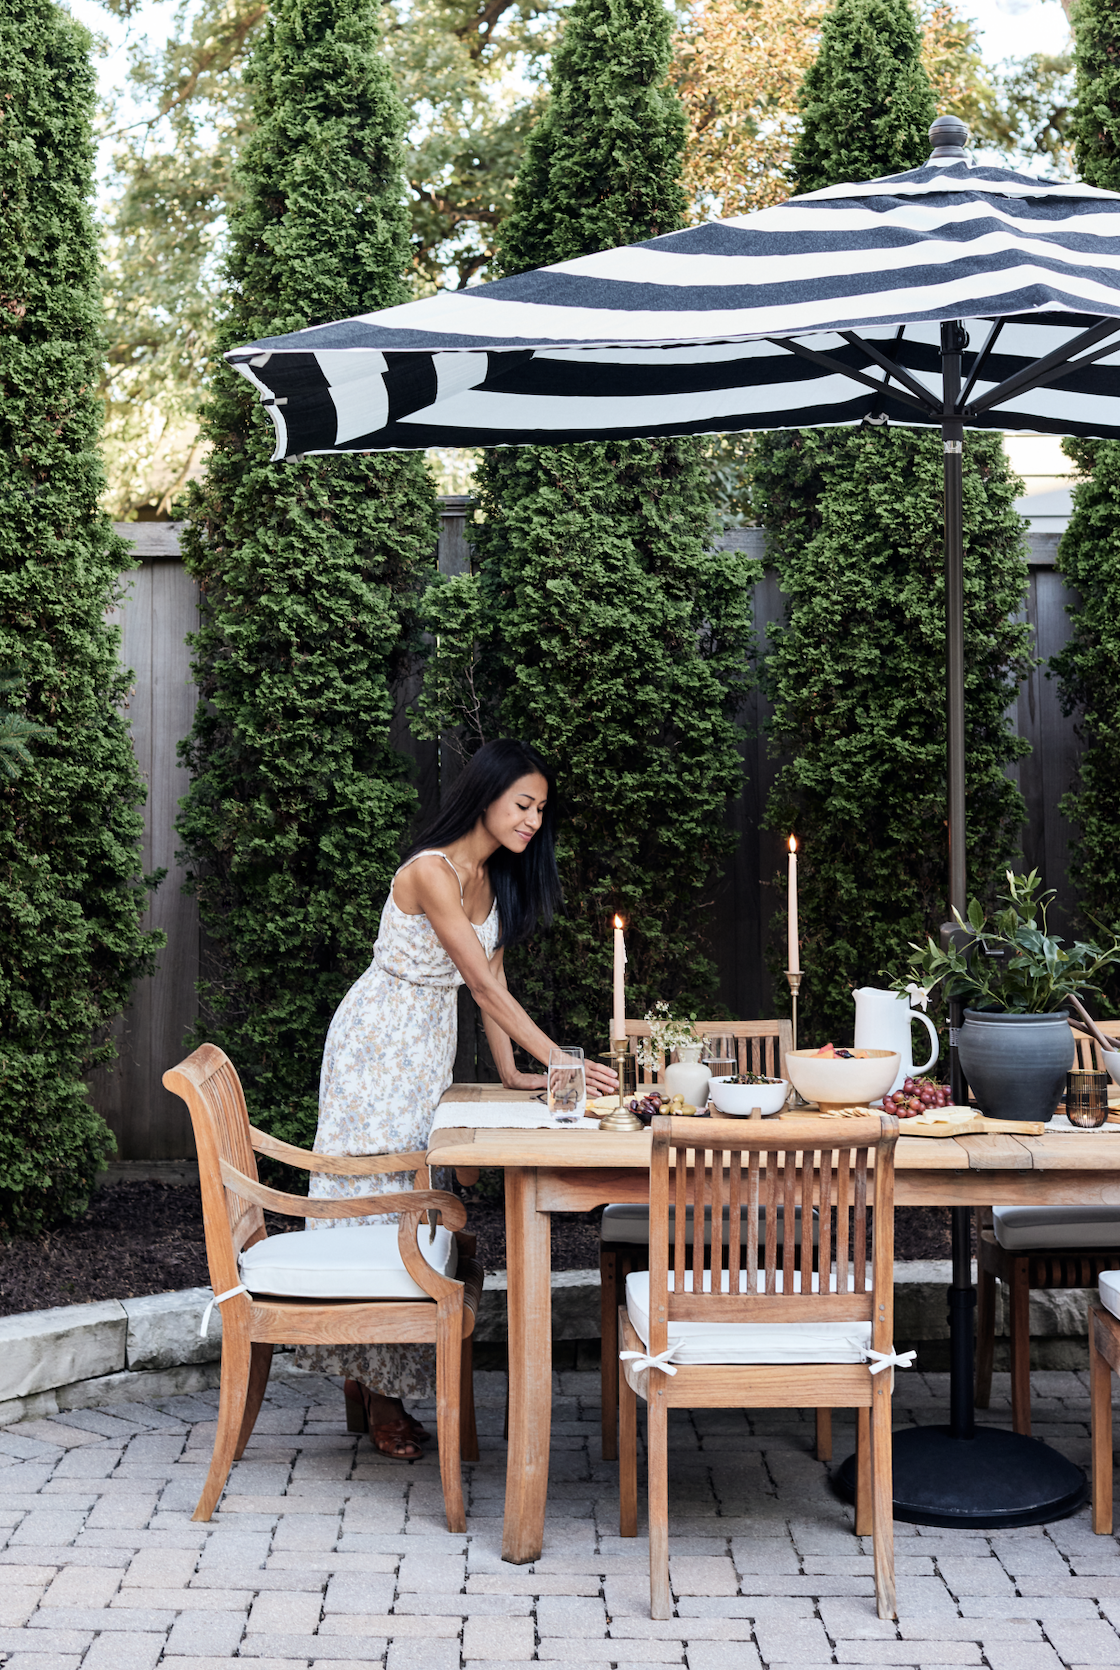
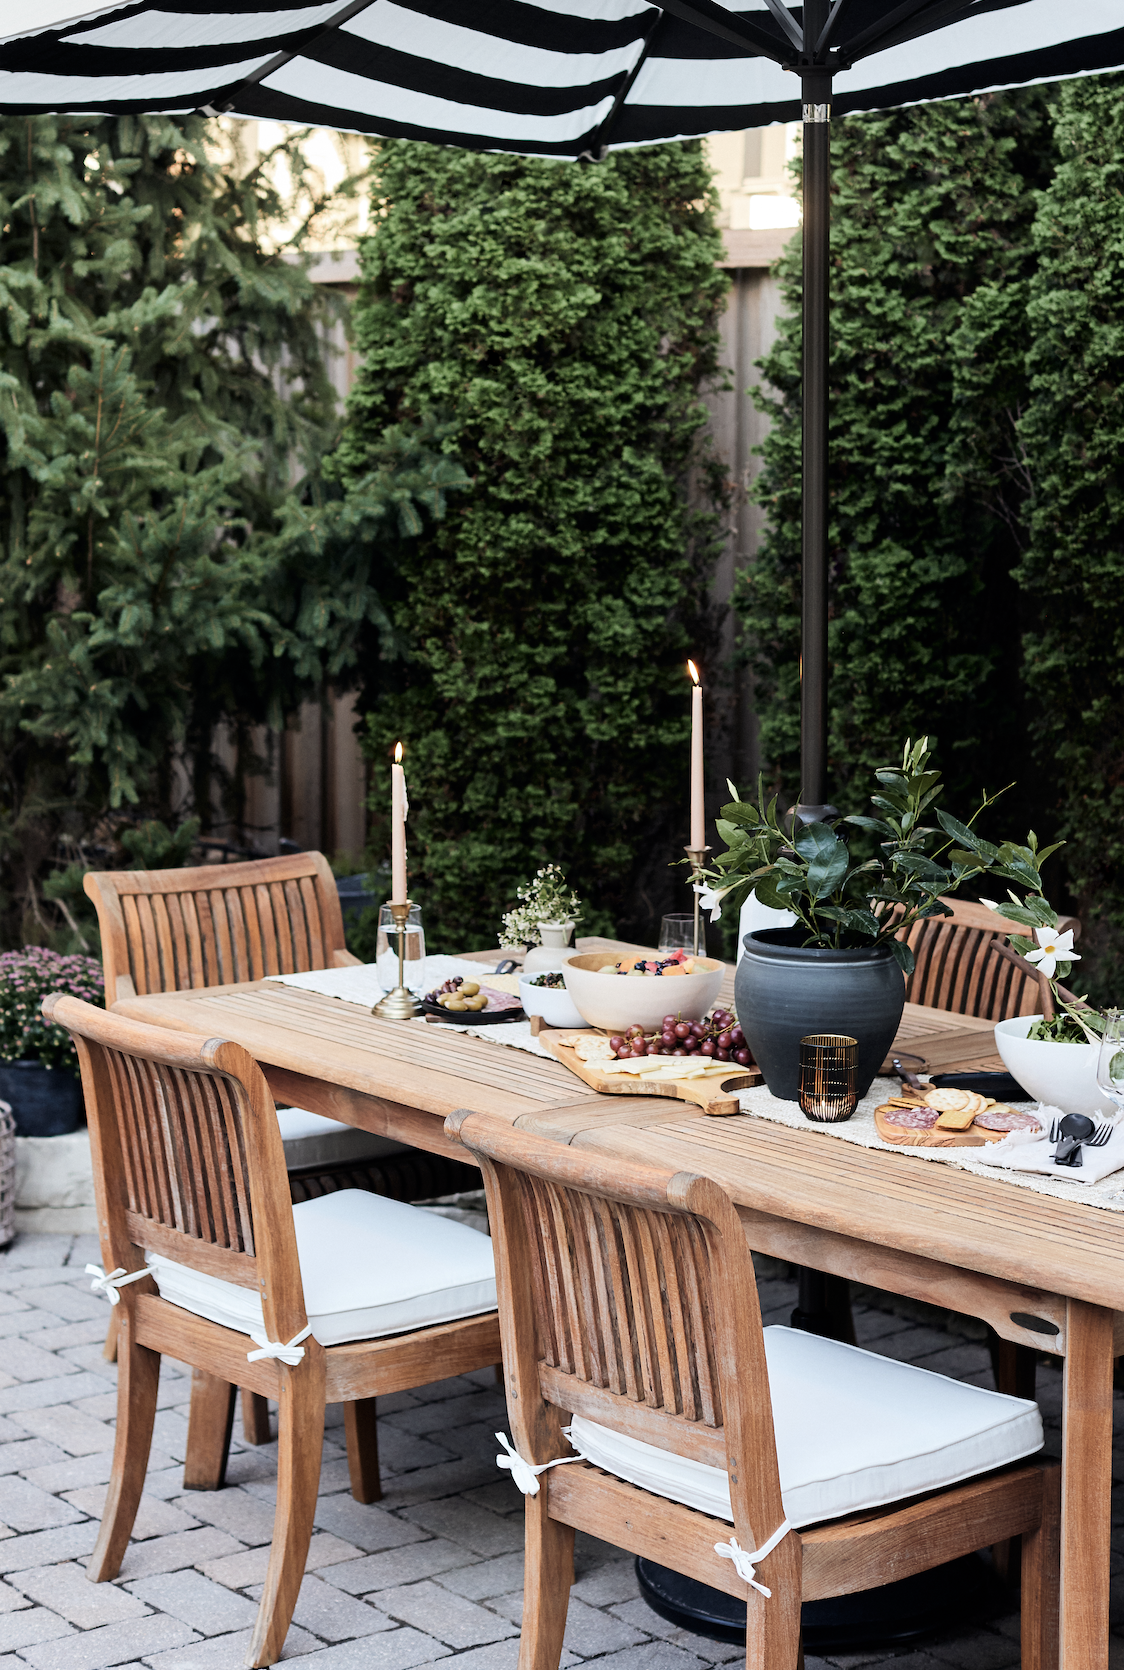
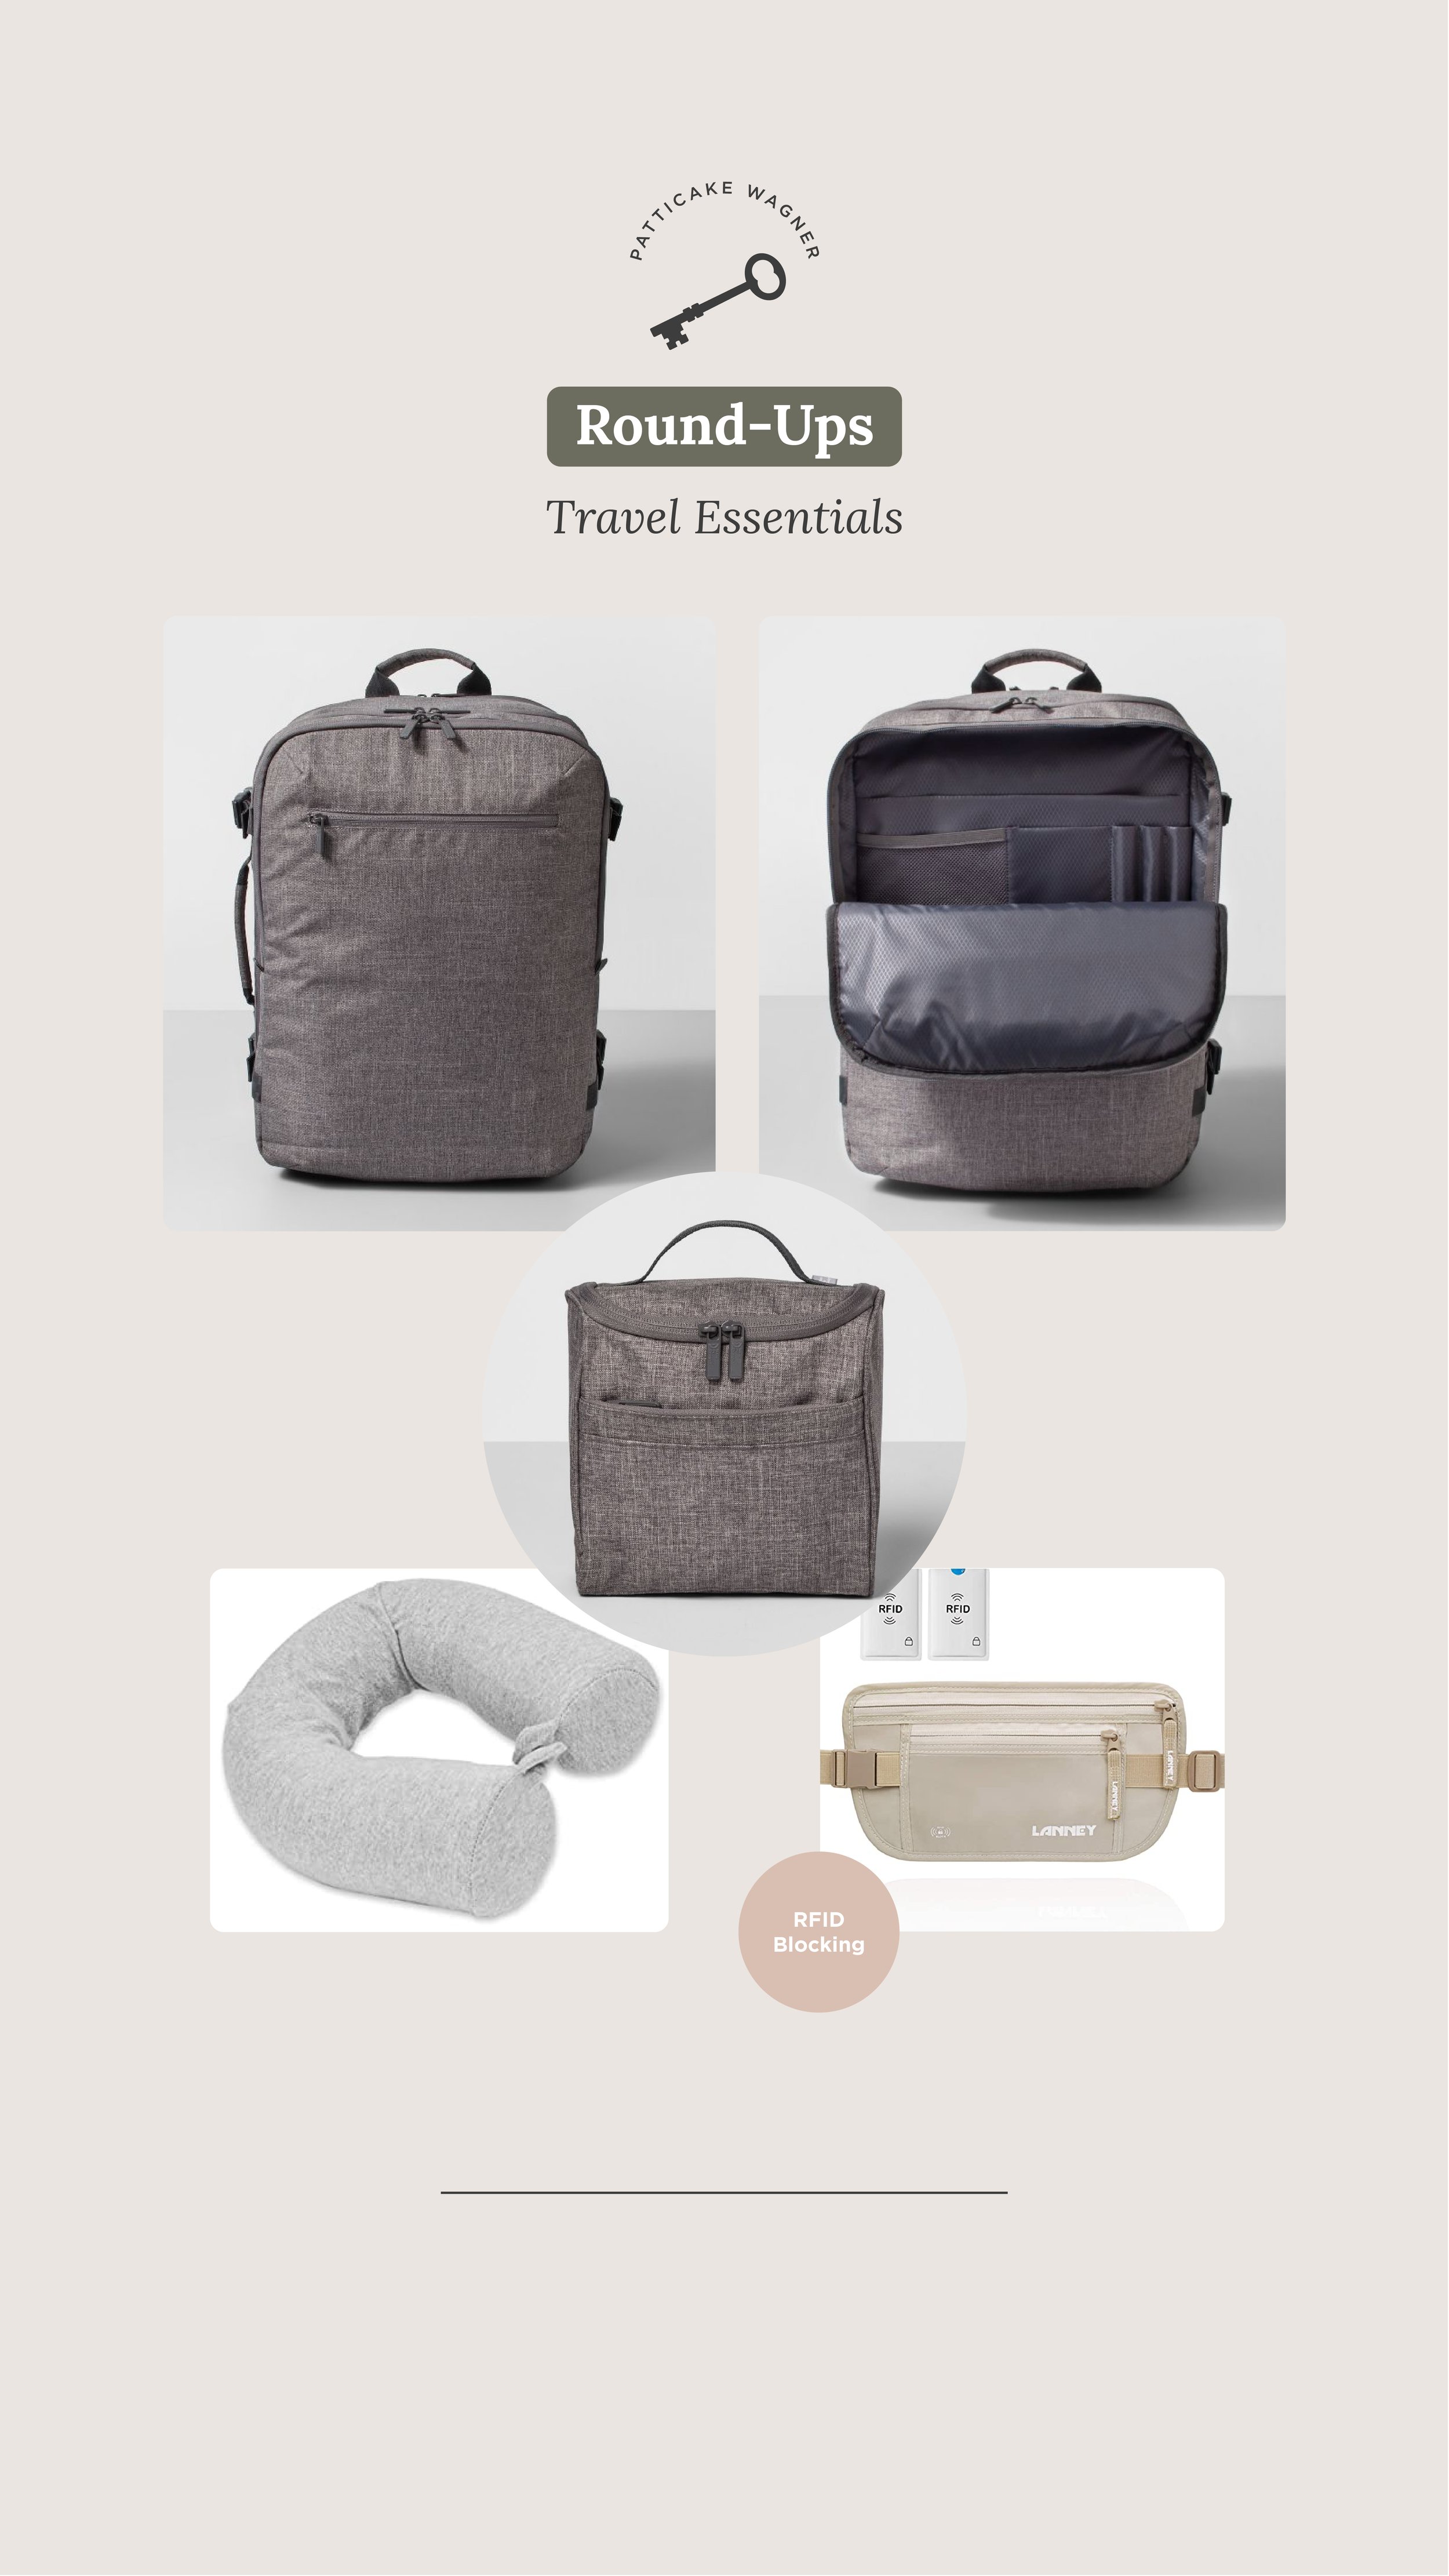
This new look reflects more of my style and I look forward to connecting with you outside of social media apps. Here you’ll find a full updated home tour with sources, inspiration for designing & curating spaces, DIY tutorials, behind the scenes of our projects and product finds + honest reviews. Ideas that are both attainable and aspirational to keep your creativity flowing as you dream big. My tagline is “Making Home a Little Sweeter” a play on the “cake” of Patticake Wagner. No matter where you call home, I hope you make it feel as sweet as it can be.
Happy You’re Here
Thanks for stopping in! Take a look around and stay awhile. To kick off the new website look, I will be choosing one person each week from the newsletter sign up and send over something fun. This week, I’m *sending someone a $100 gift card to Crate and Barrel. So don’t forget to sign up! Newsletters will be sent once a month. I promise to make them worth your time with exclusive content. I appreciate your support and am happy you’re here!
Disclaimer: Not affiliated with Crate and Barrel. Winners will be emailed + announced the Friday of each week in my Instagram stories.


