Organizing for the Holidays | Don’t Wait, Start Now!
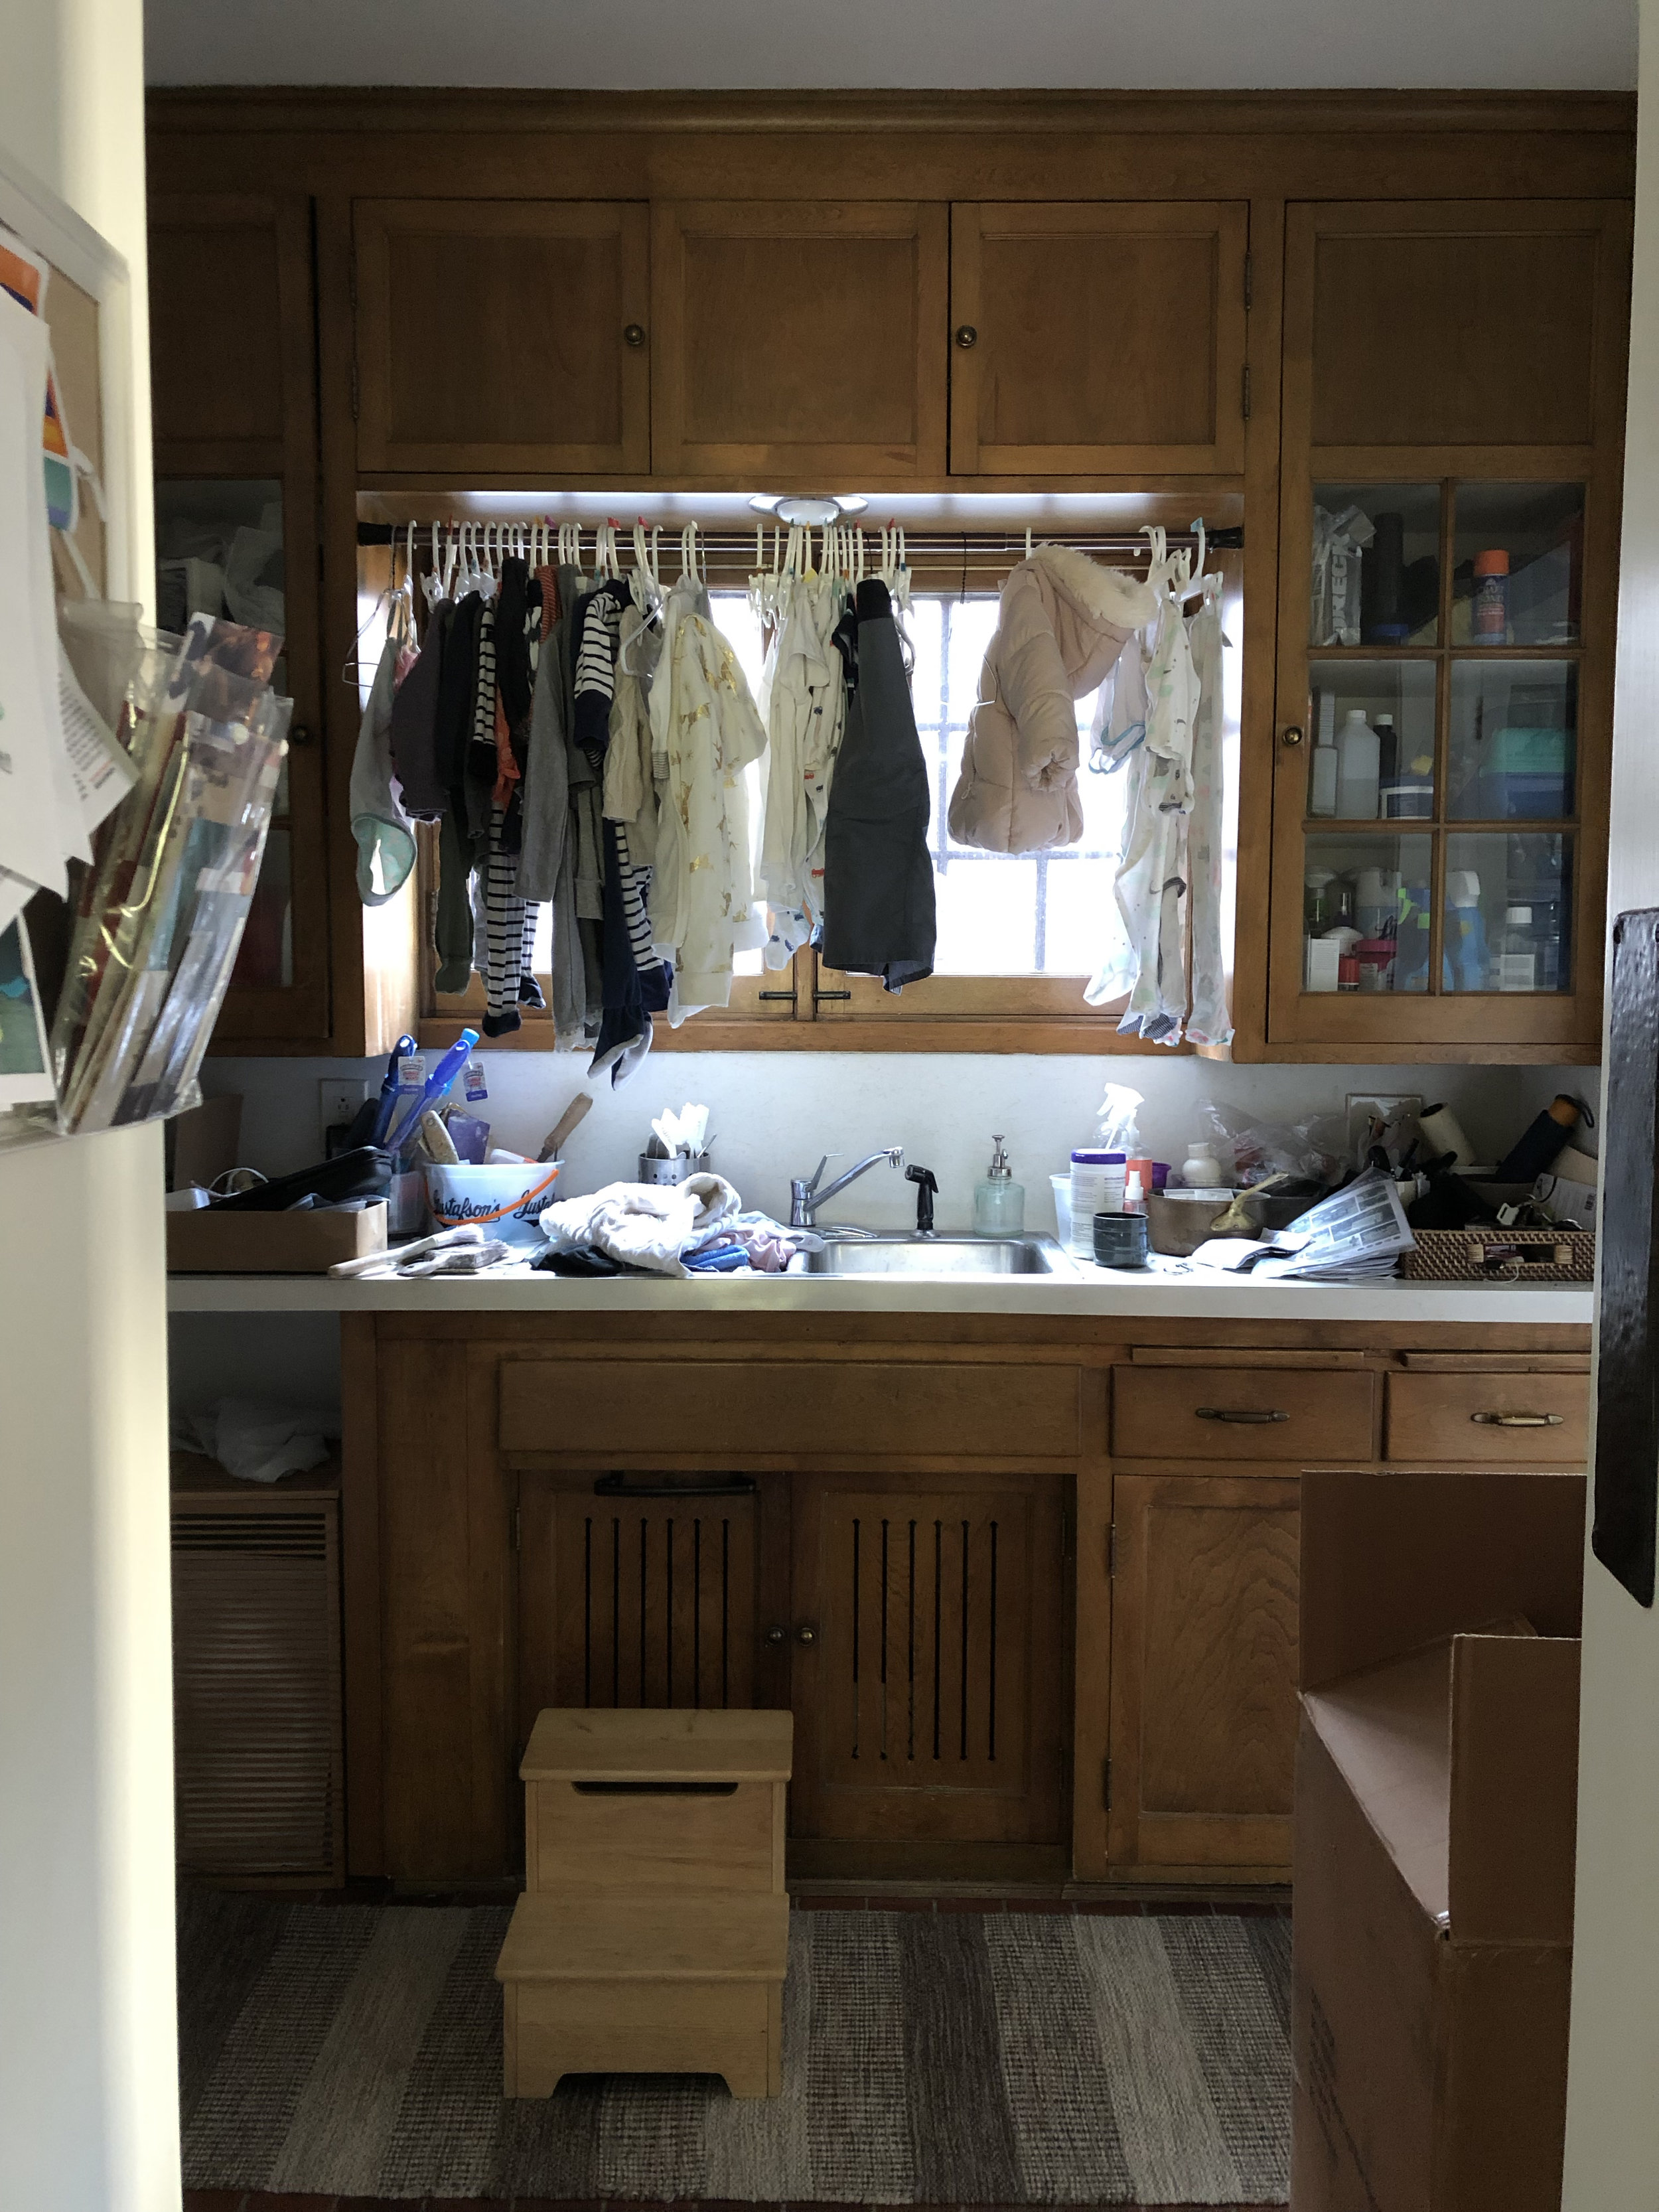
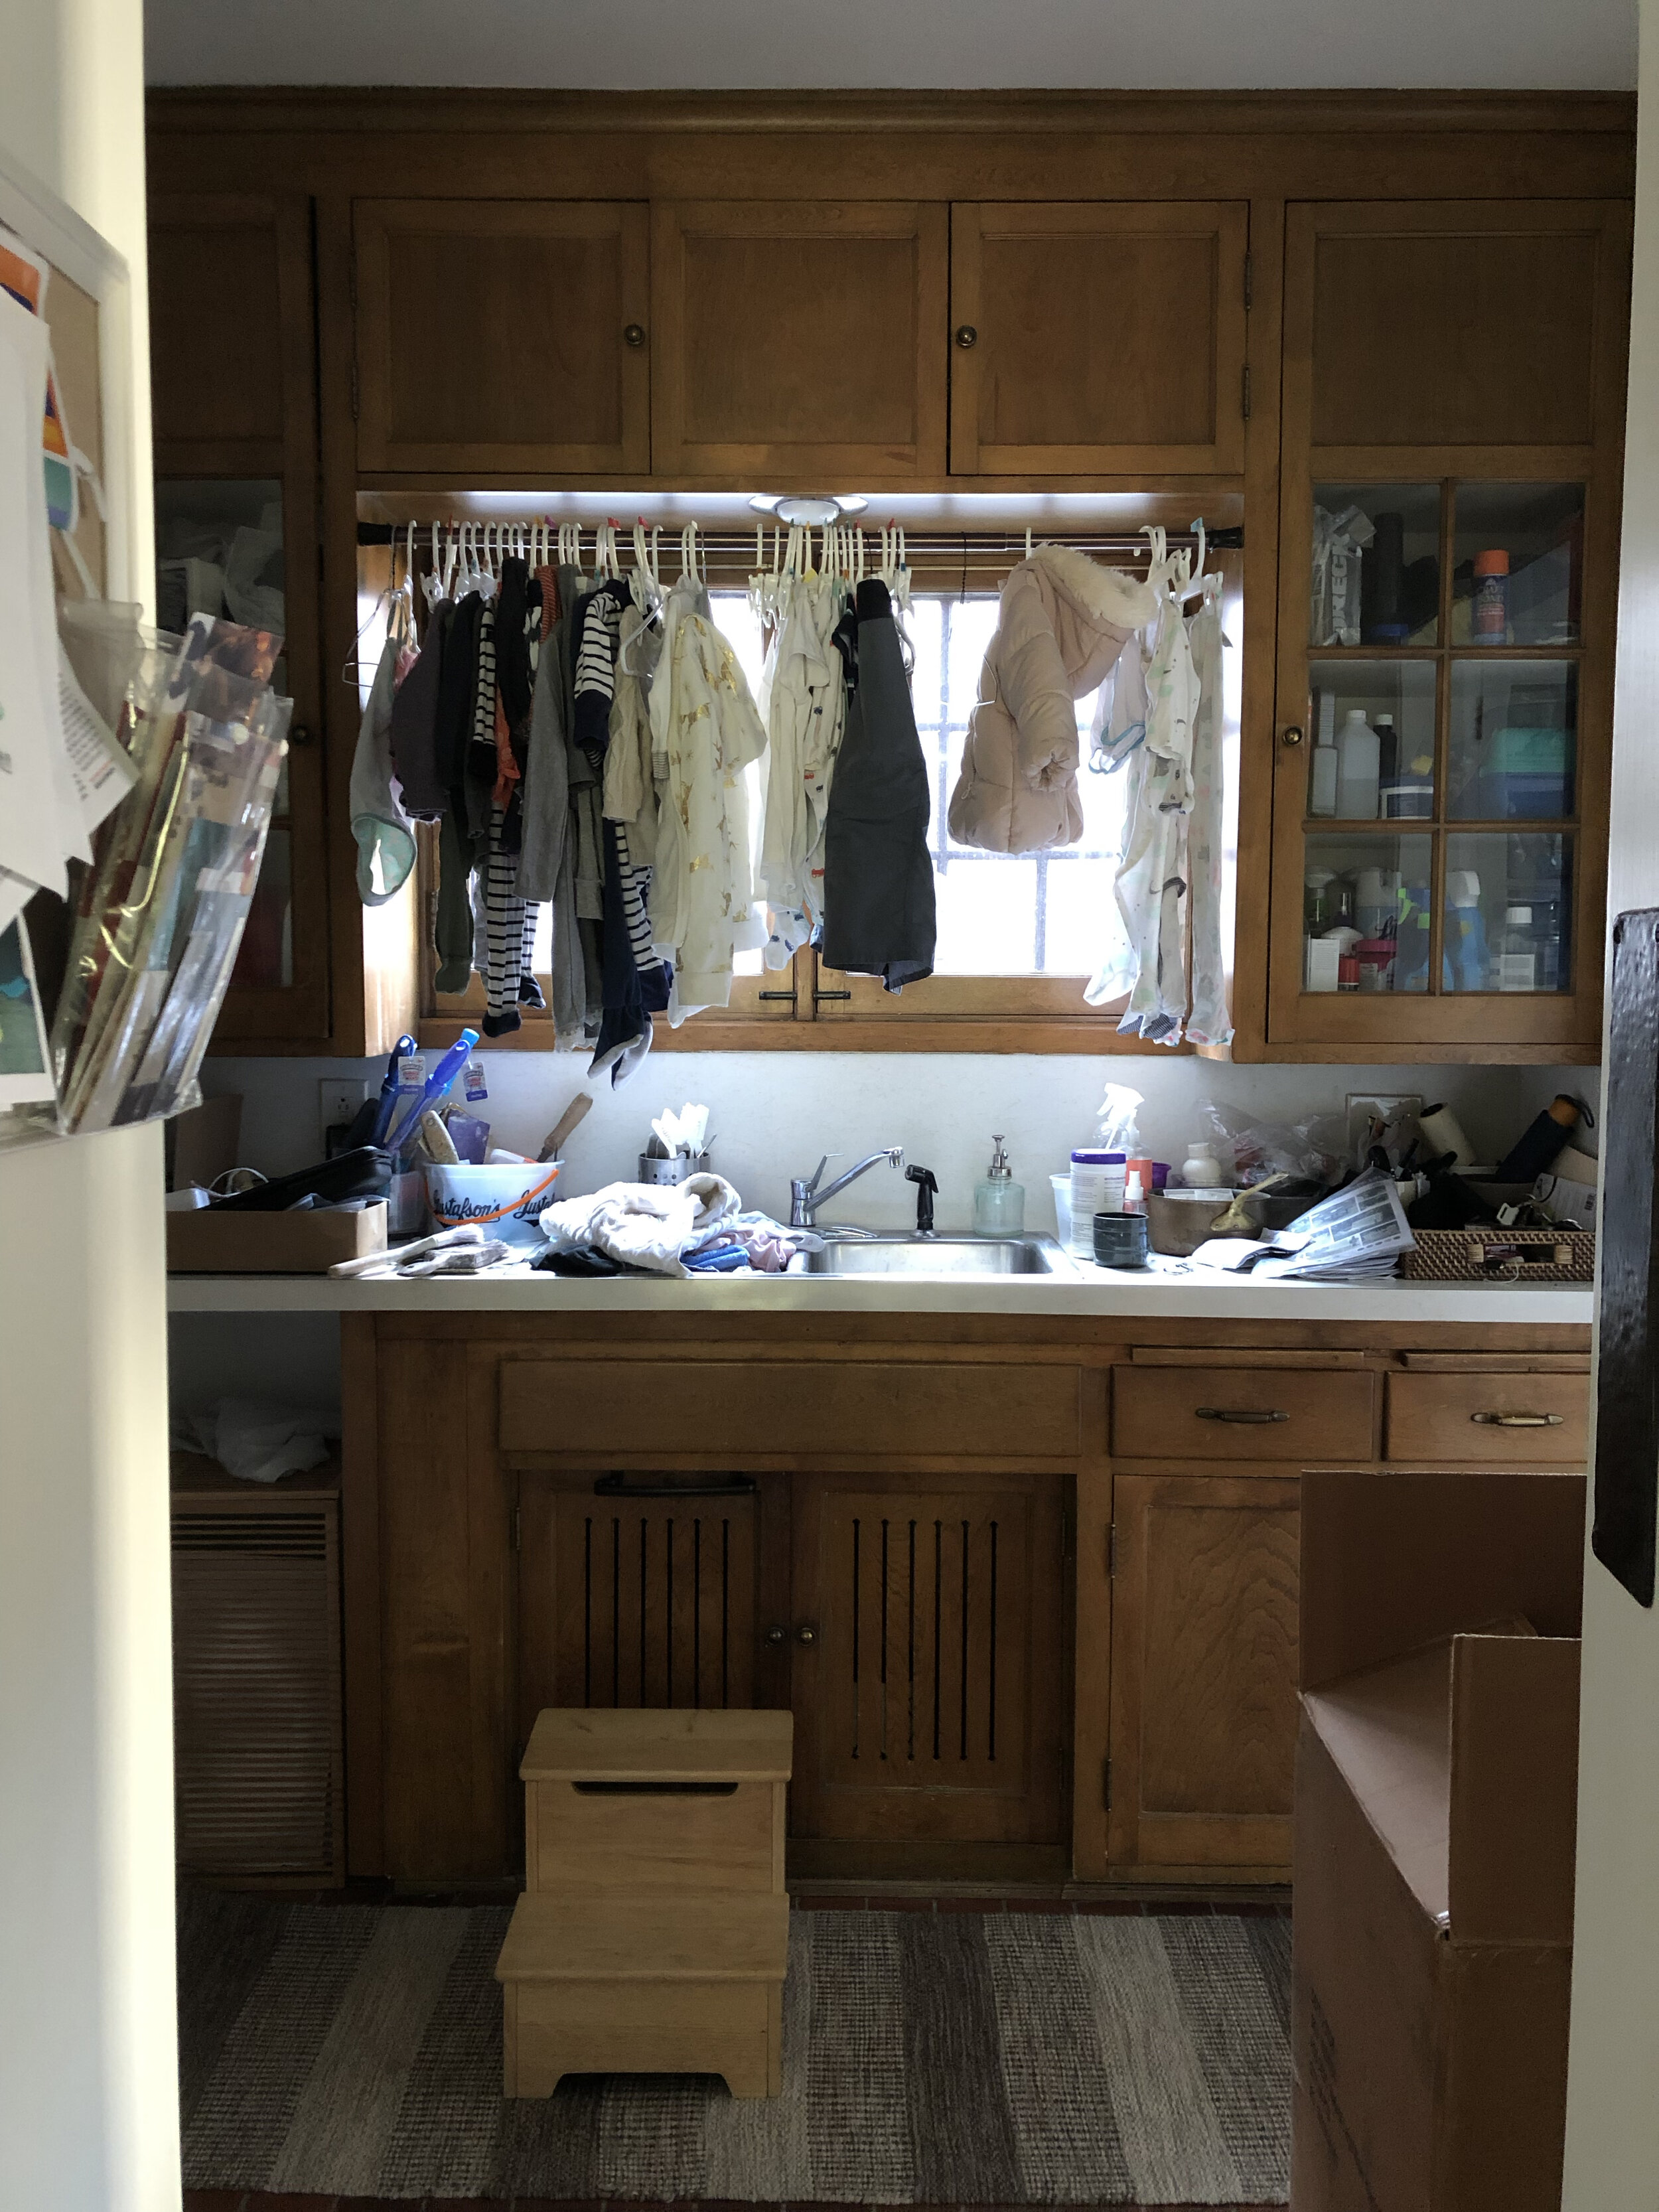
Is having a disorganized house and clutter keeping you up at night? It definitely was for me. Yet, I couldn’t pin-point what it was at first. But as the clutter grew worse, I couldn’t push it off any longer and knew exactly what was stressing me out – especially since we’re having guests stay with us for the holidays. Our laundry room in particular was the main culprit. It was a huge eyesore and since it was a pass through to so many parts of our house, there was no way to avoid seeing it.
View of our laundry room from the dining room
“The problem with clutter, is that it only gets worse.”
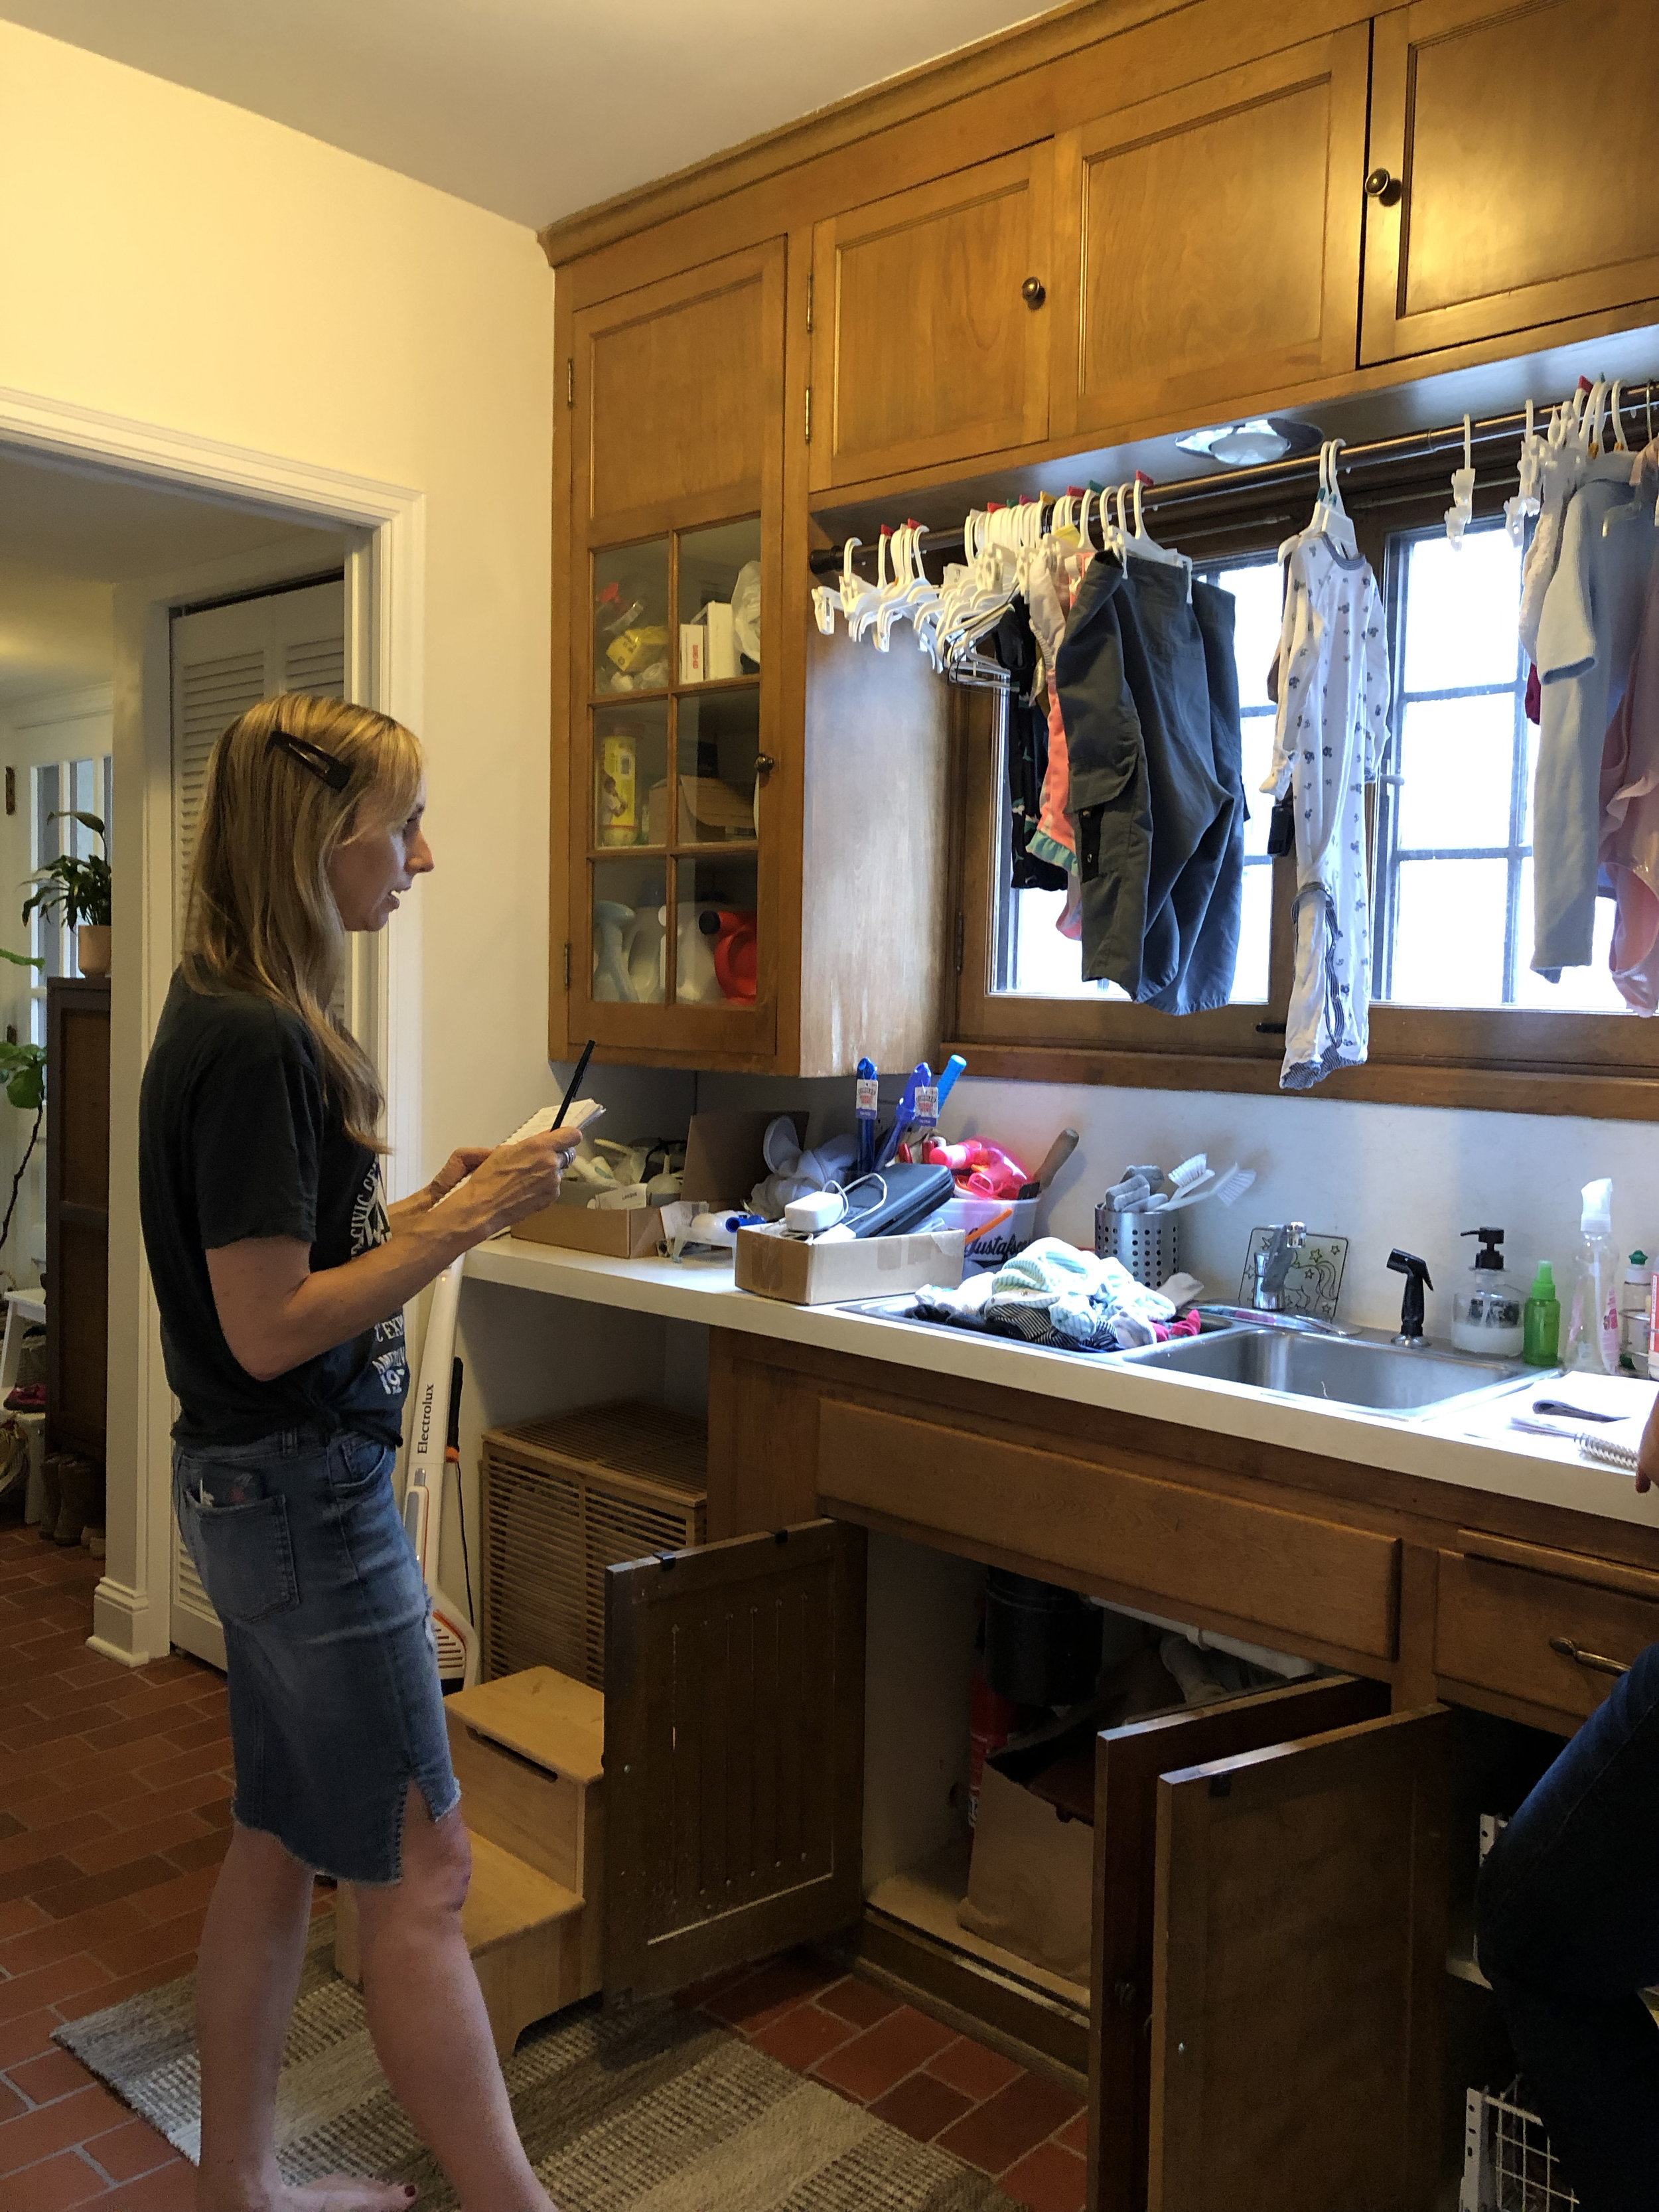
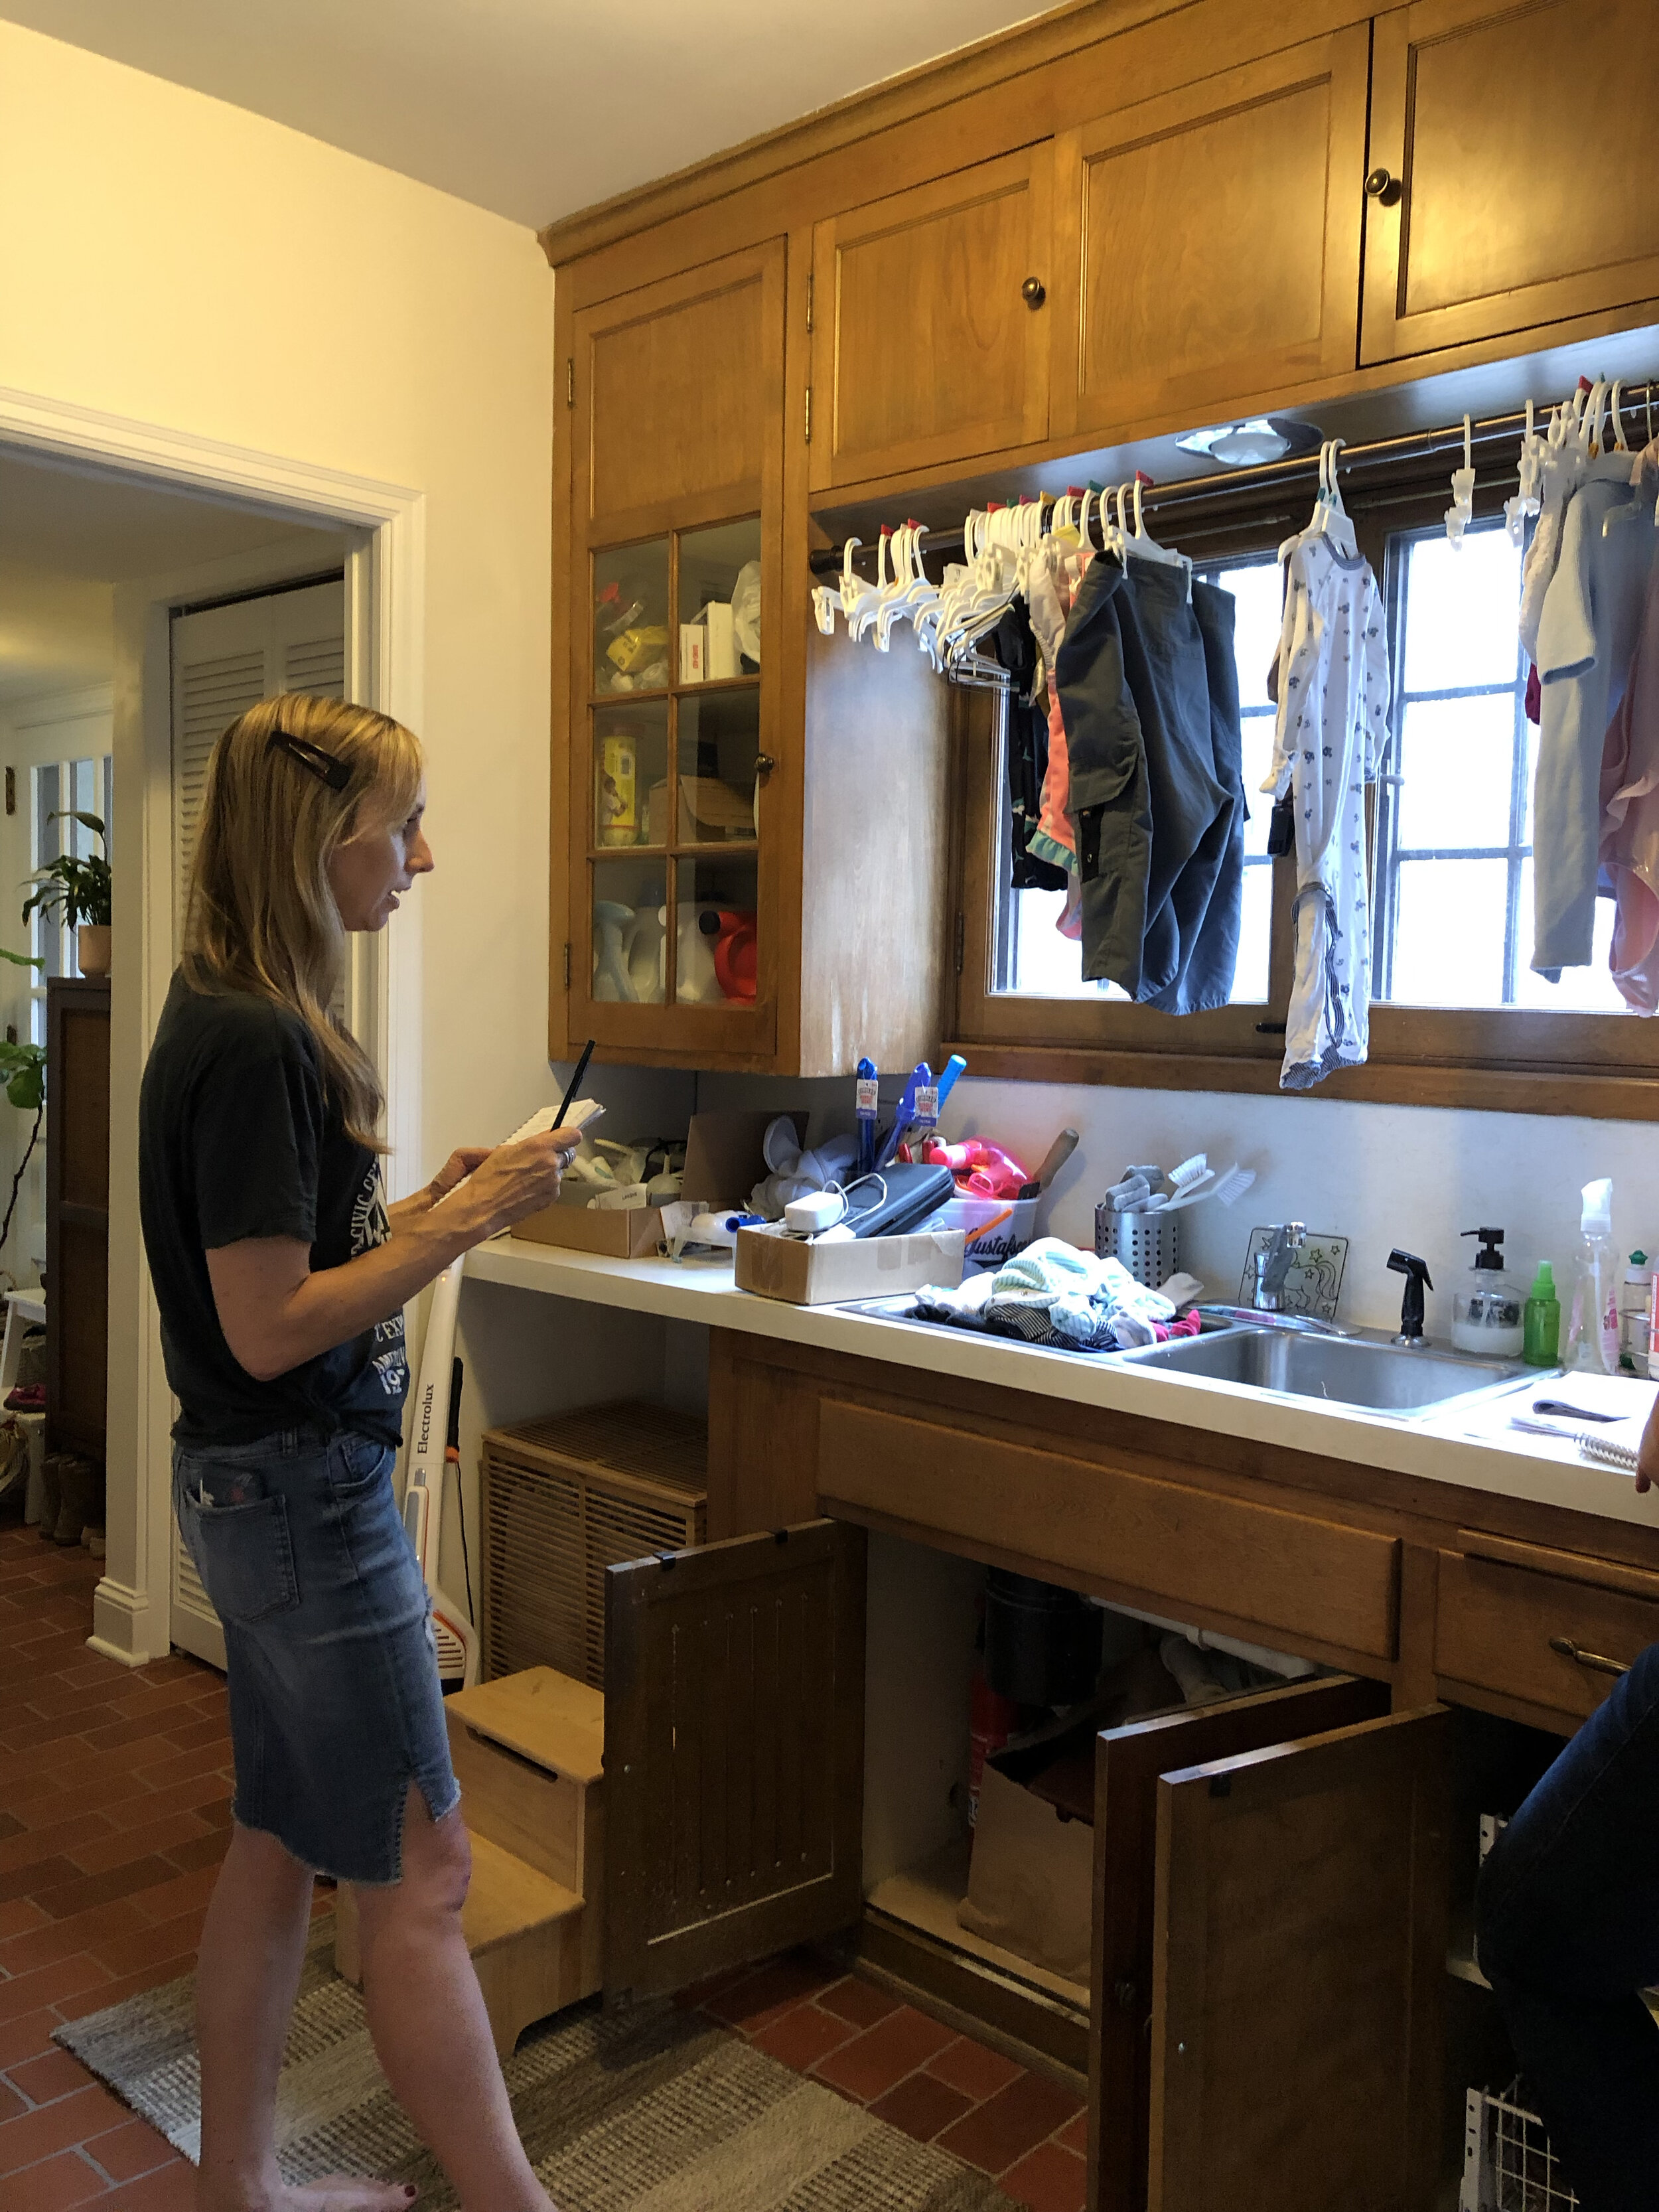
Every year that Brian and I have lived in this house, we’ve waited to clean and organize until the last minute before guests arrive. Often shoving things away and not really organizing at all. Does this sound like you? If so, my advice is don’t wait any longer. “The problem with clutter, is that it only gets worse,” says Lindsay, organizing expert and one of the duos from Style and Dwell who helped me tackle this project. She’s absolutely right. Don’t wait and if it’s overwhelming, it’s okay to ask for help. I met Ashley and Lindsay from Style and Dwell at a local moms event last year. After admitting my frustration with having a disorganized house on my Instagram, they offered a helping hand and I accepted. As ambassadors for The Container Store, they know a thing or two about organizing and I’m delighted to have them share all of these tips they provided to me with all of you.
1. Don’t Wait! Set Time Aside and Commit
This doesn’t mean get everything done at once. It’s good to focus on one space at a time. For this post, I wanted to focus on our laundry room. As you can see above, it was CRAZY! How can the girl with the clean kitchen on Instagram, be this disorganized lol??? What can I say. I’m not perfect or even close. I think it’s important on social media, that we share both the good and the bad. So, here’s my dirty laundry literally. I decided to commit two half days to really tackle this room. My main goals were 1) reduce clutter 2) truly organize and not just shuffle things around.
2. Take EVERYTHING Out and Take Inventory
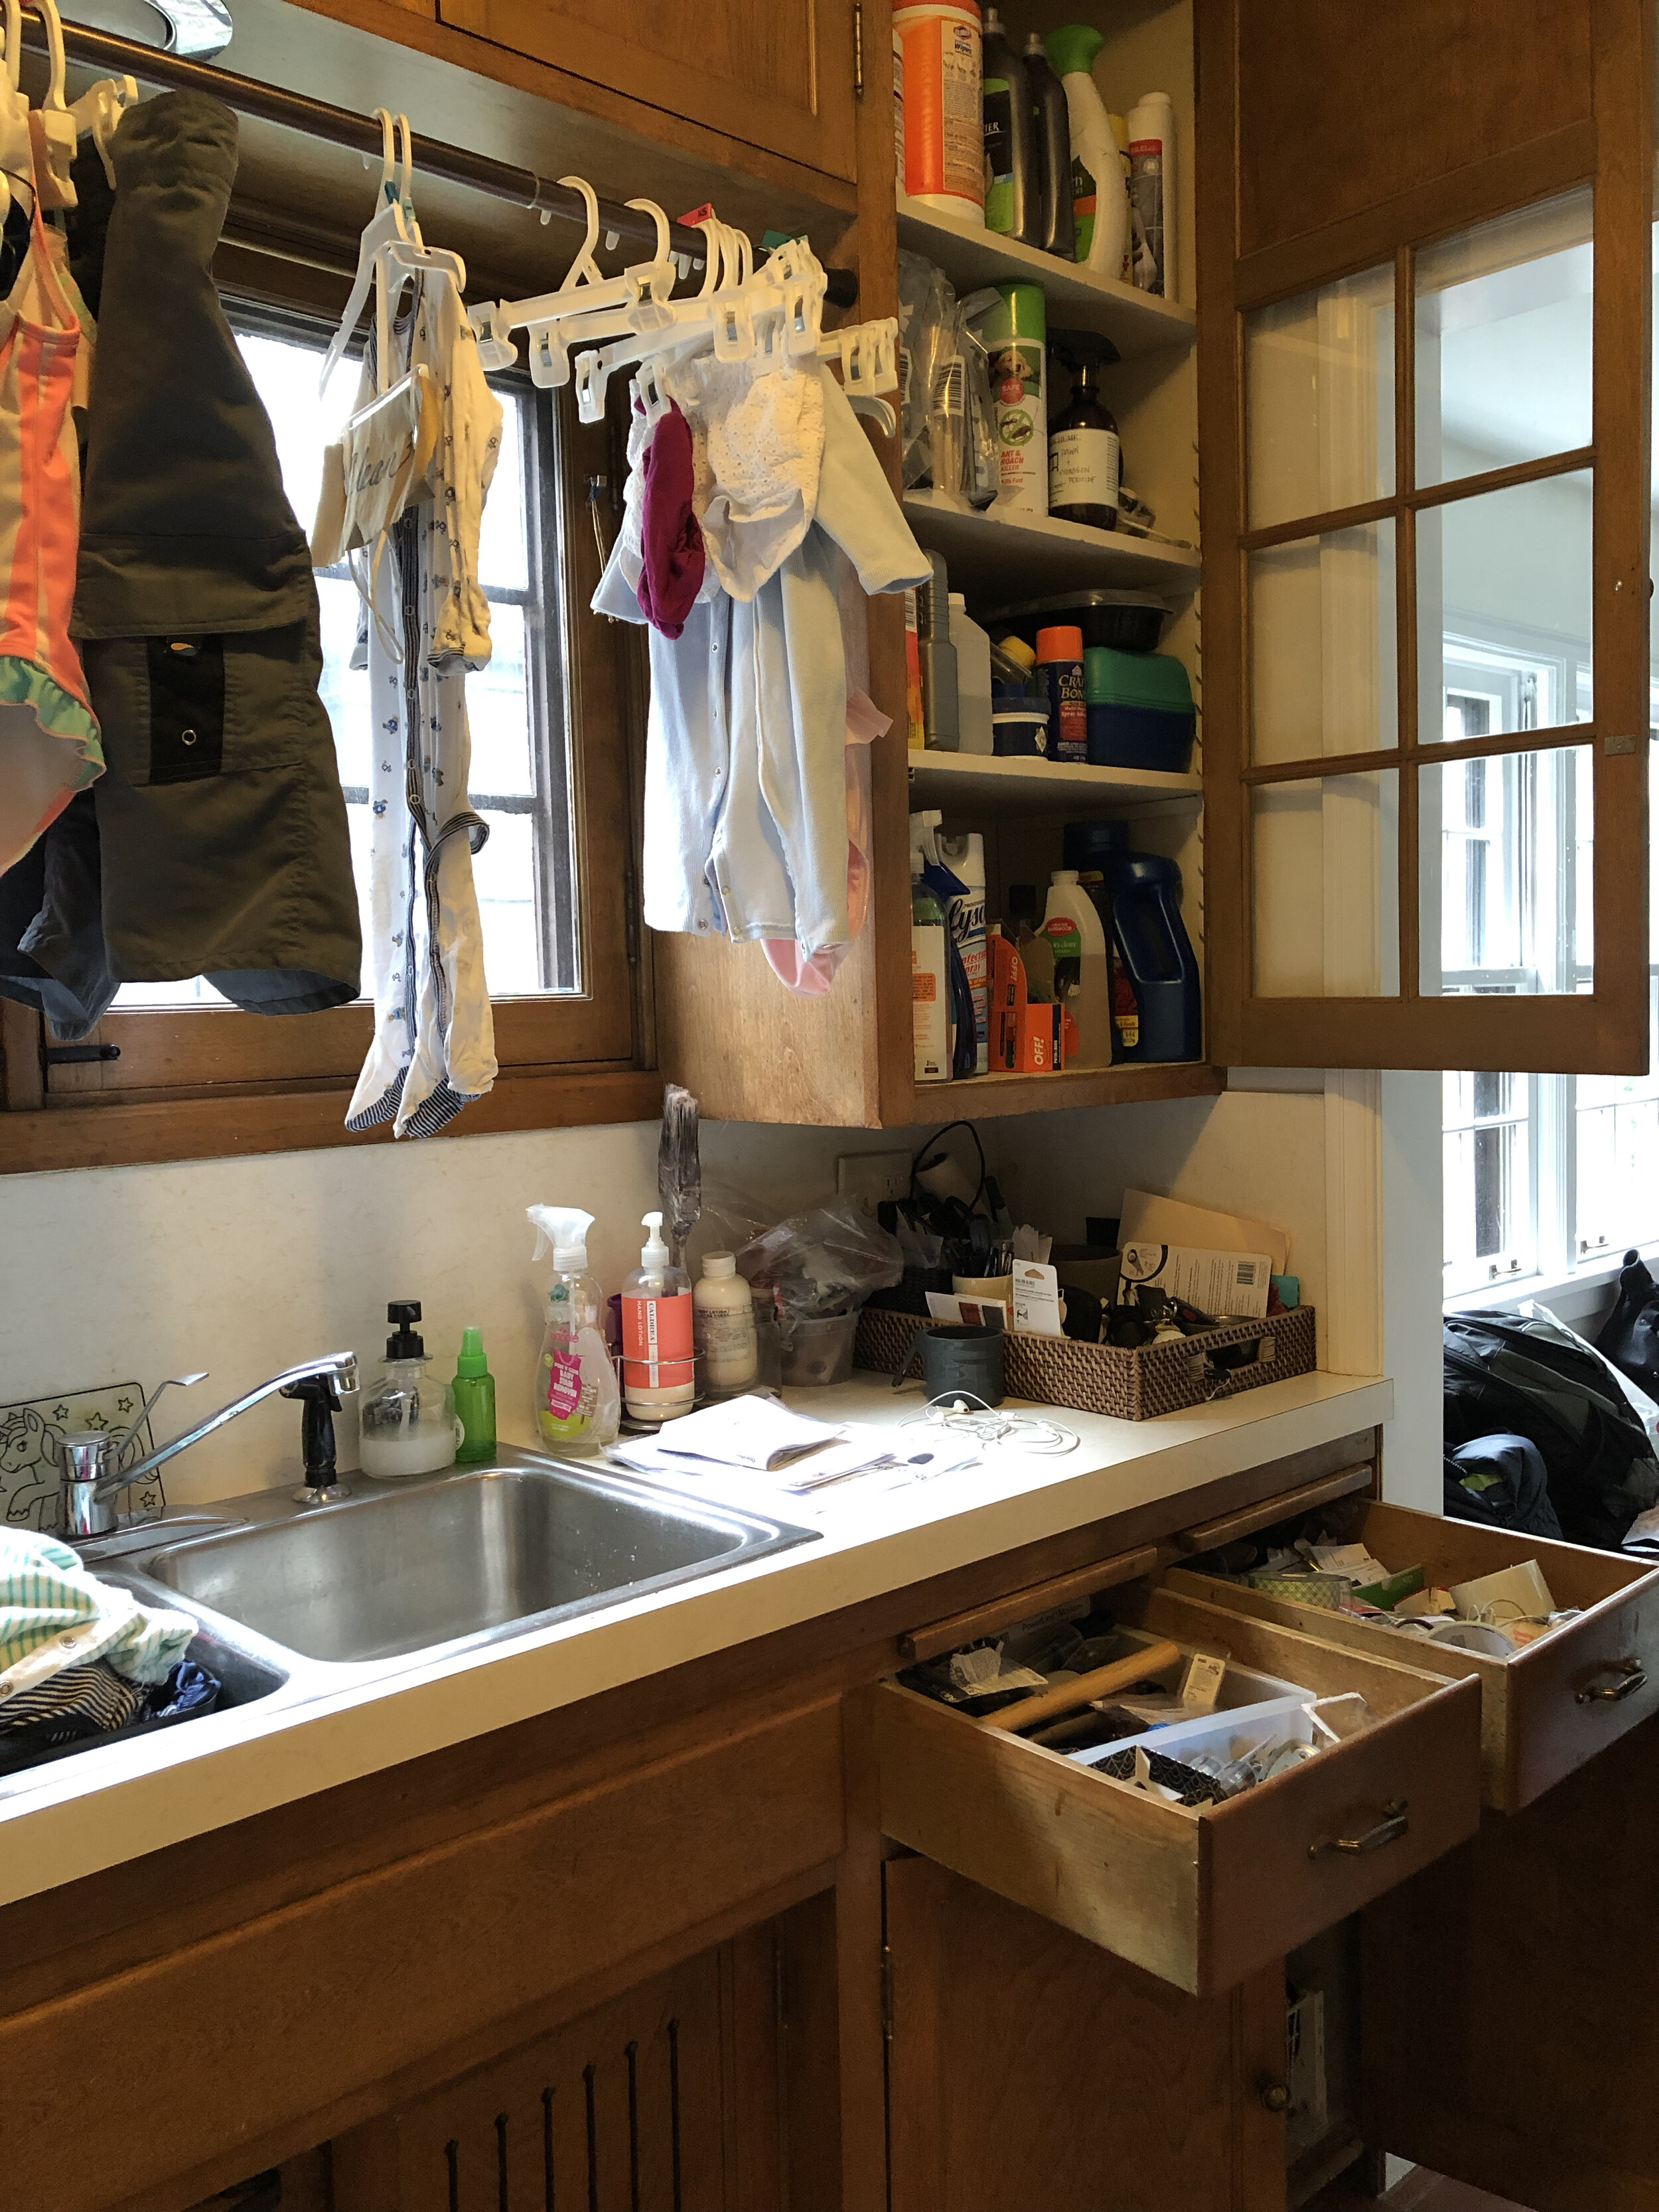
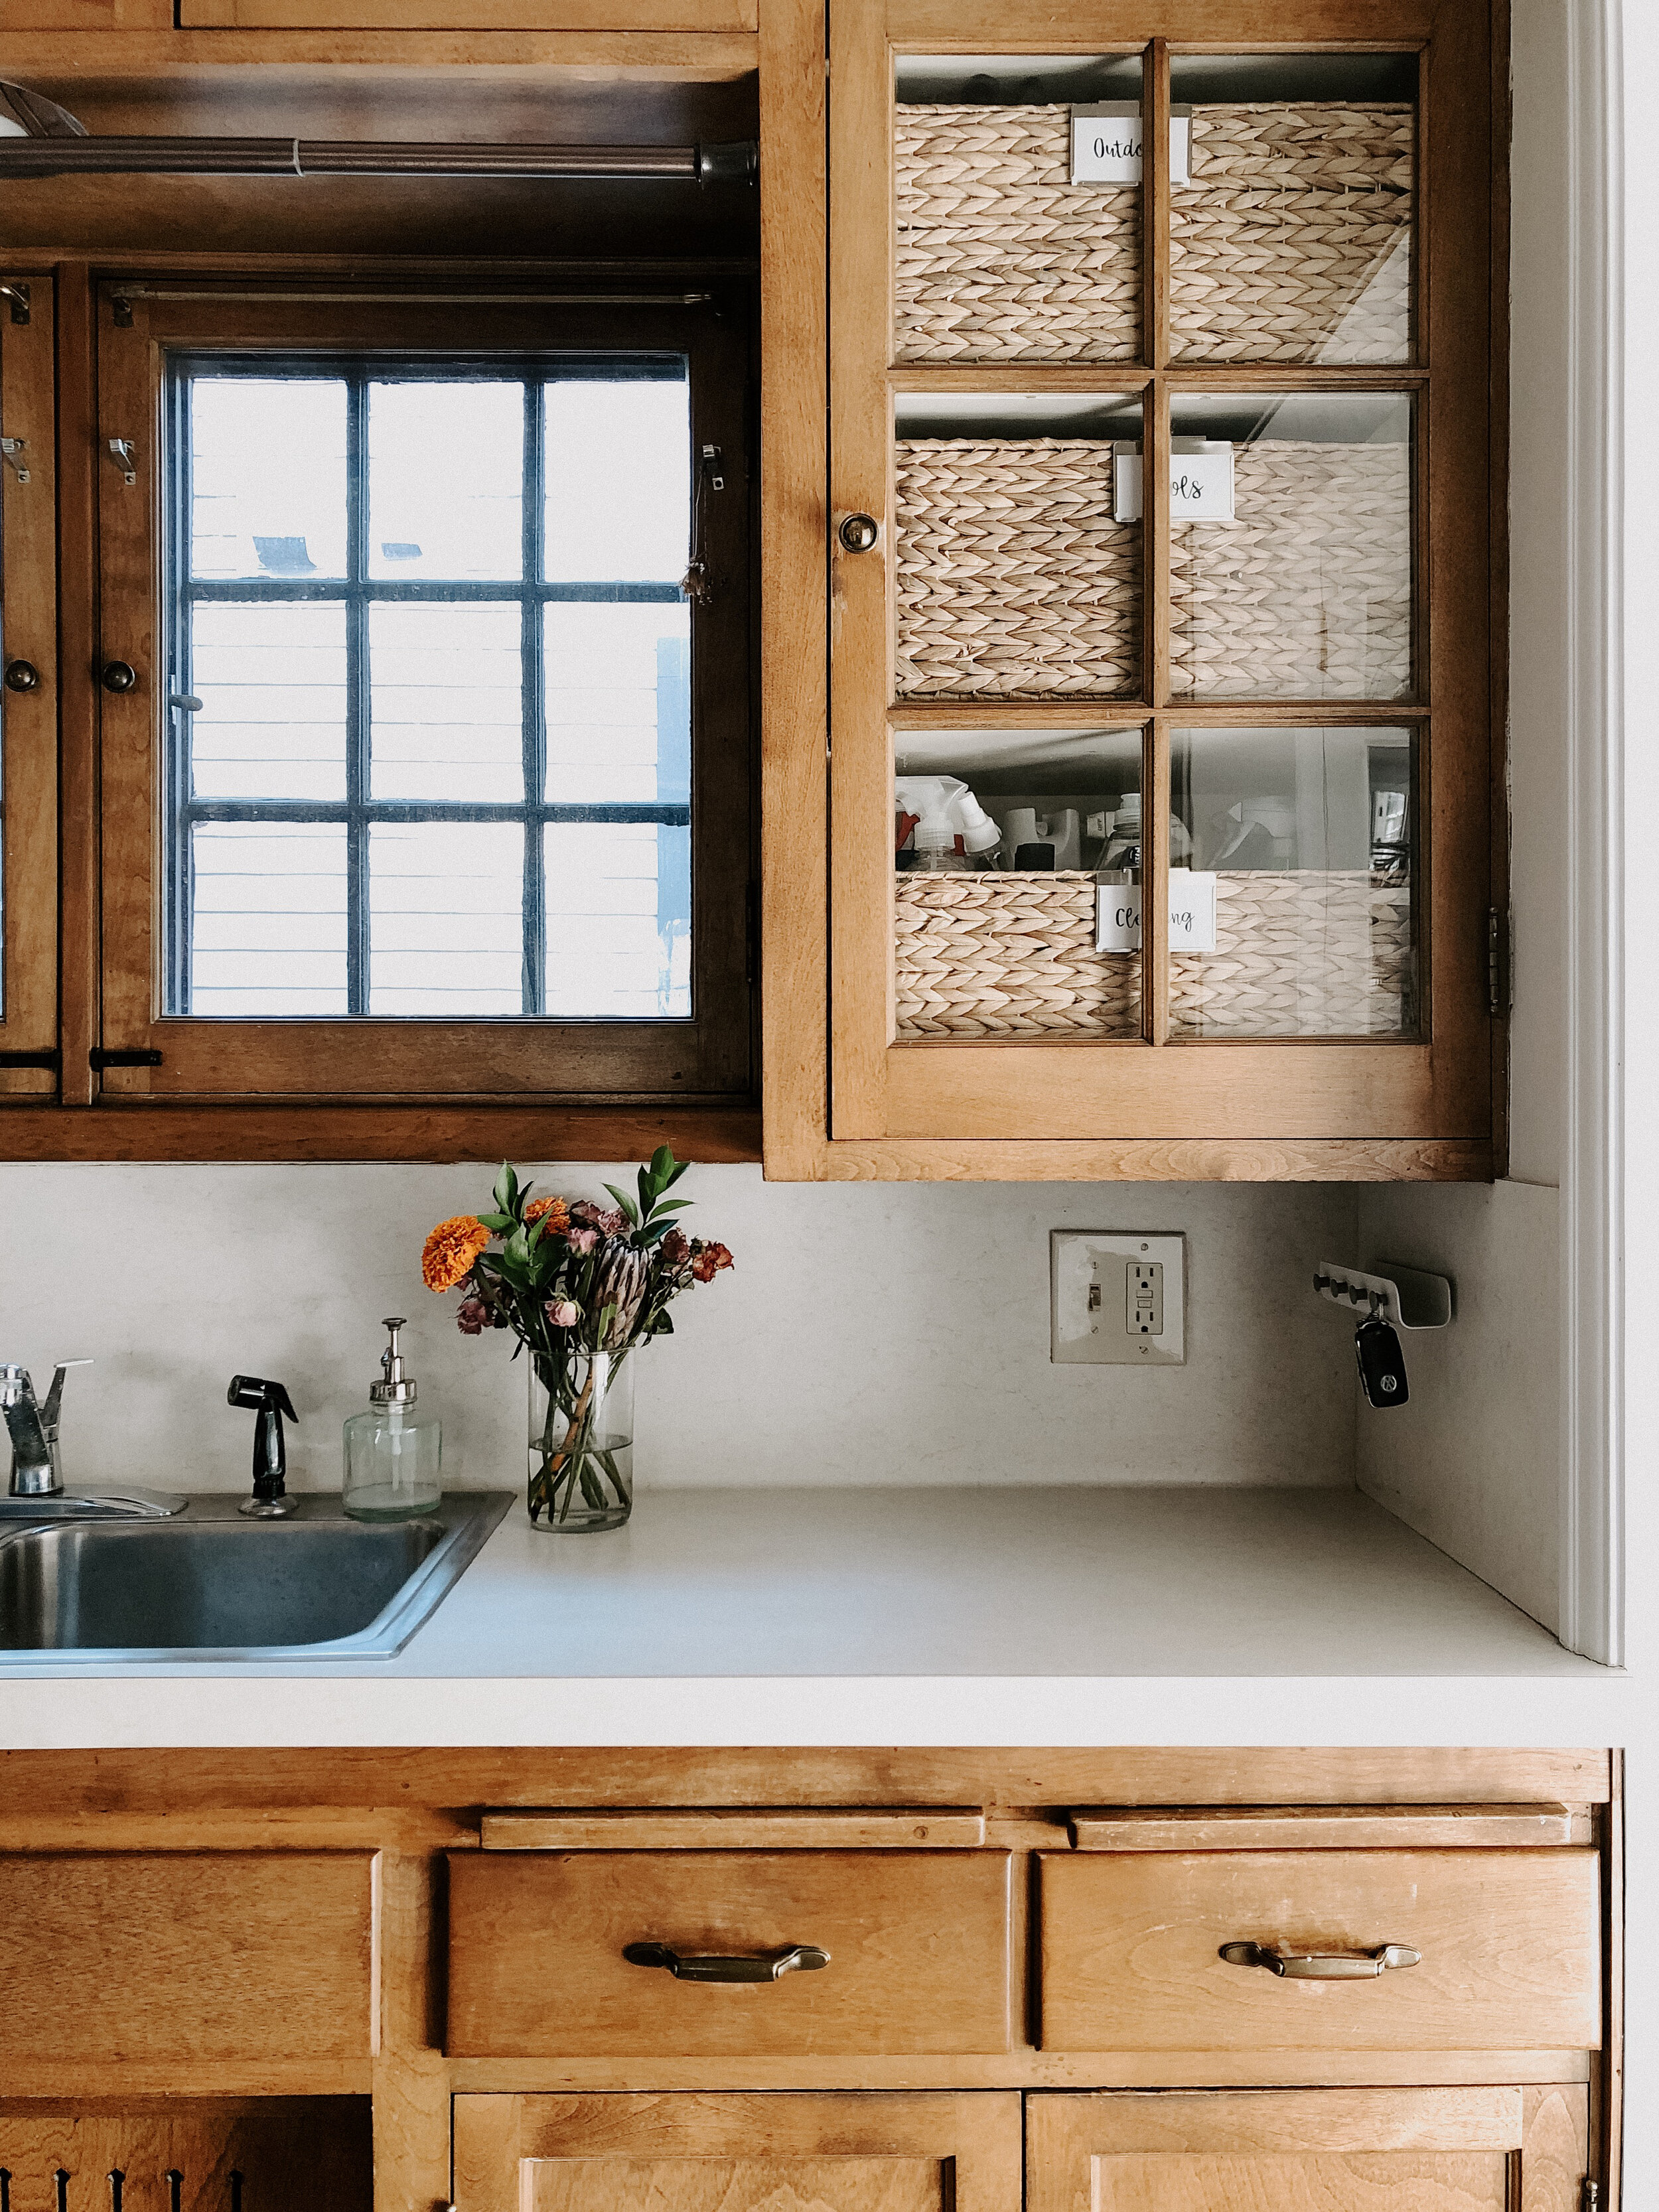
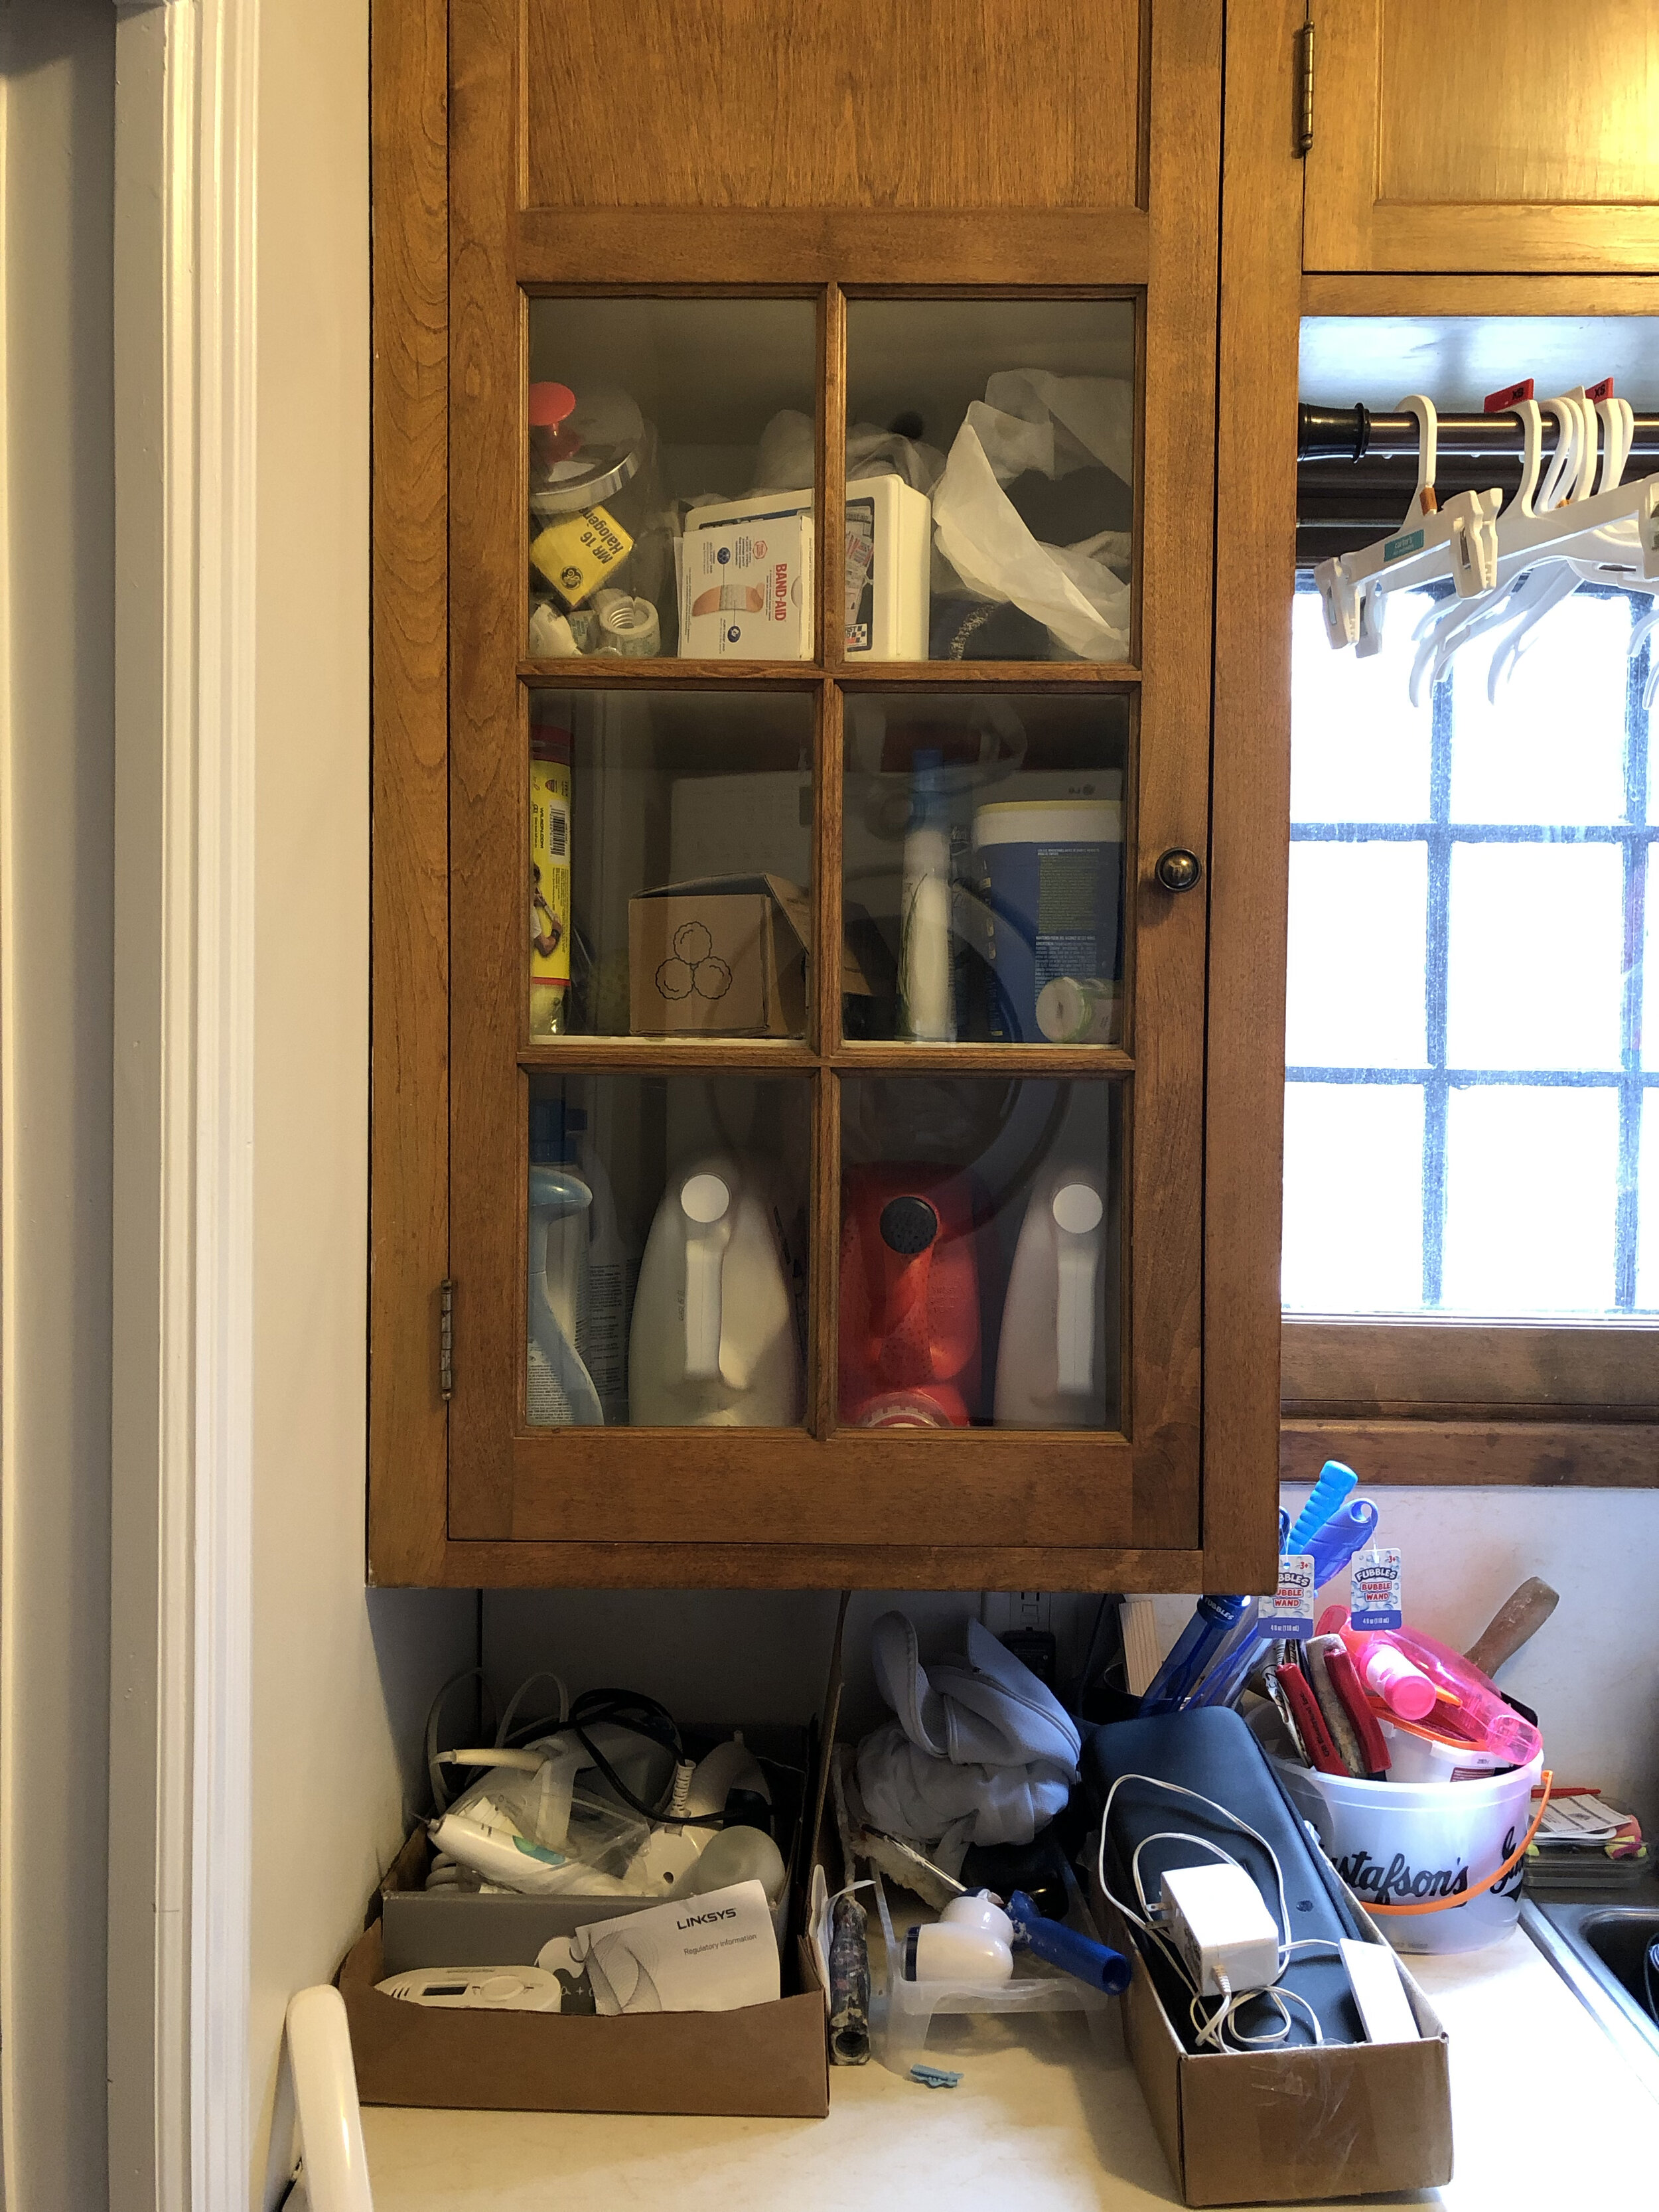
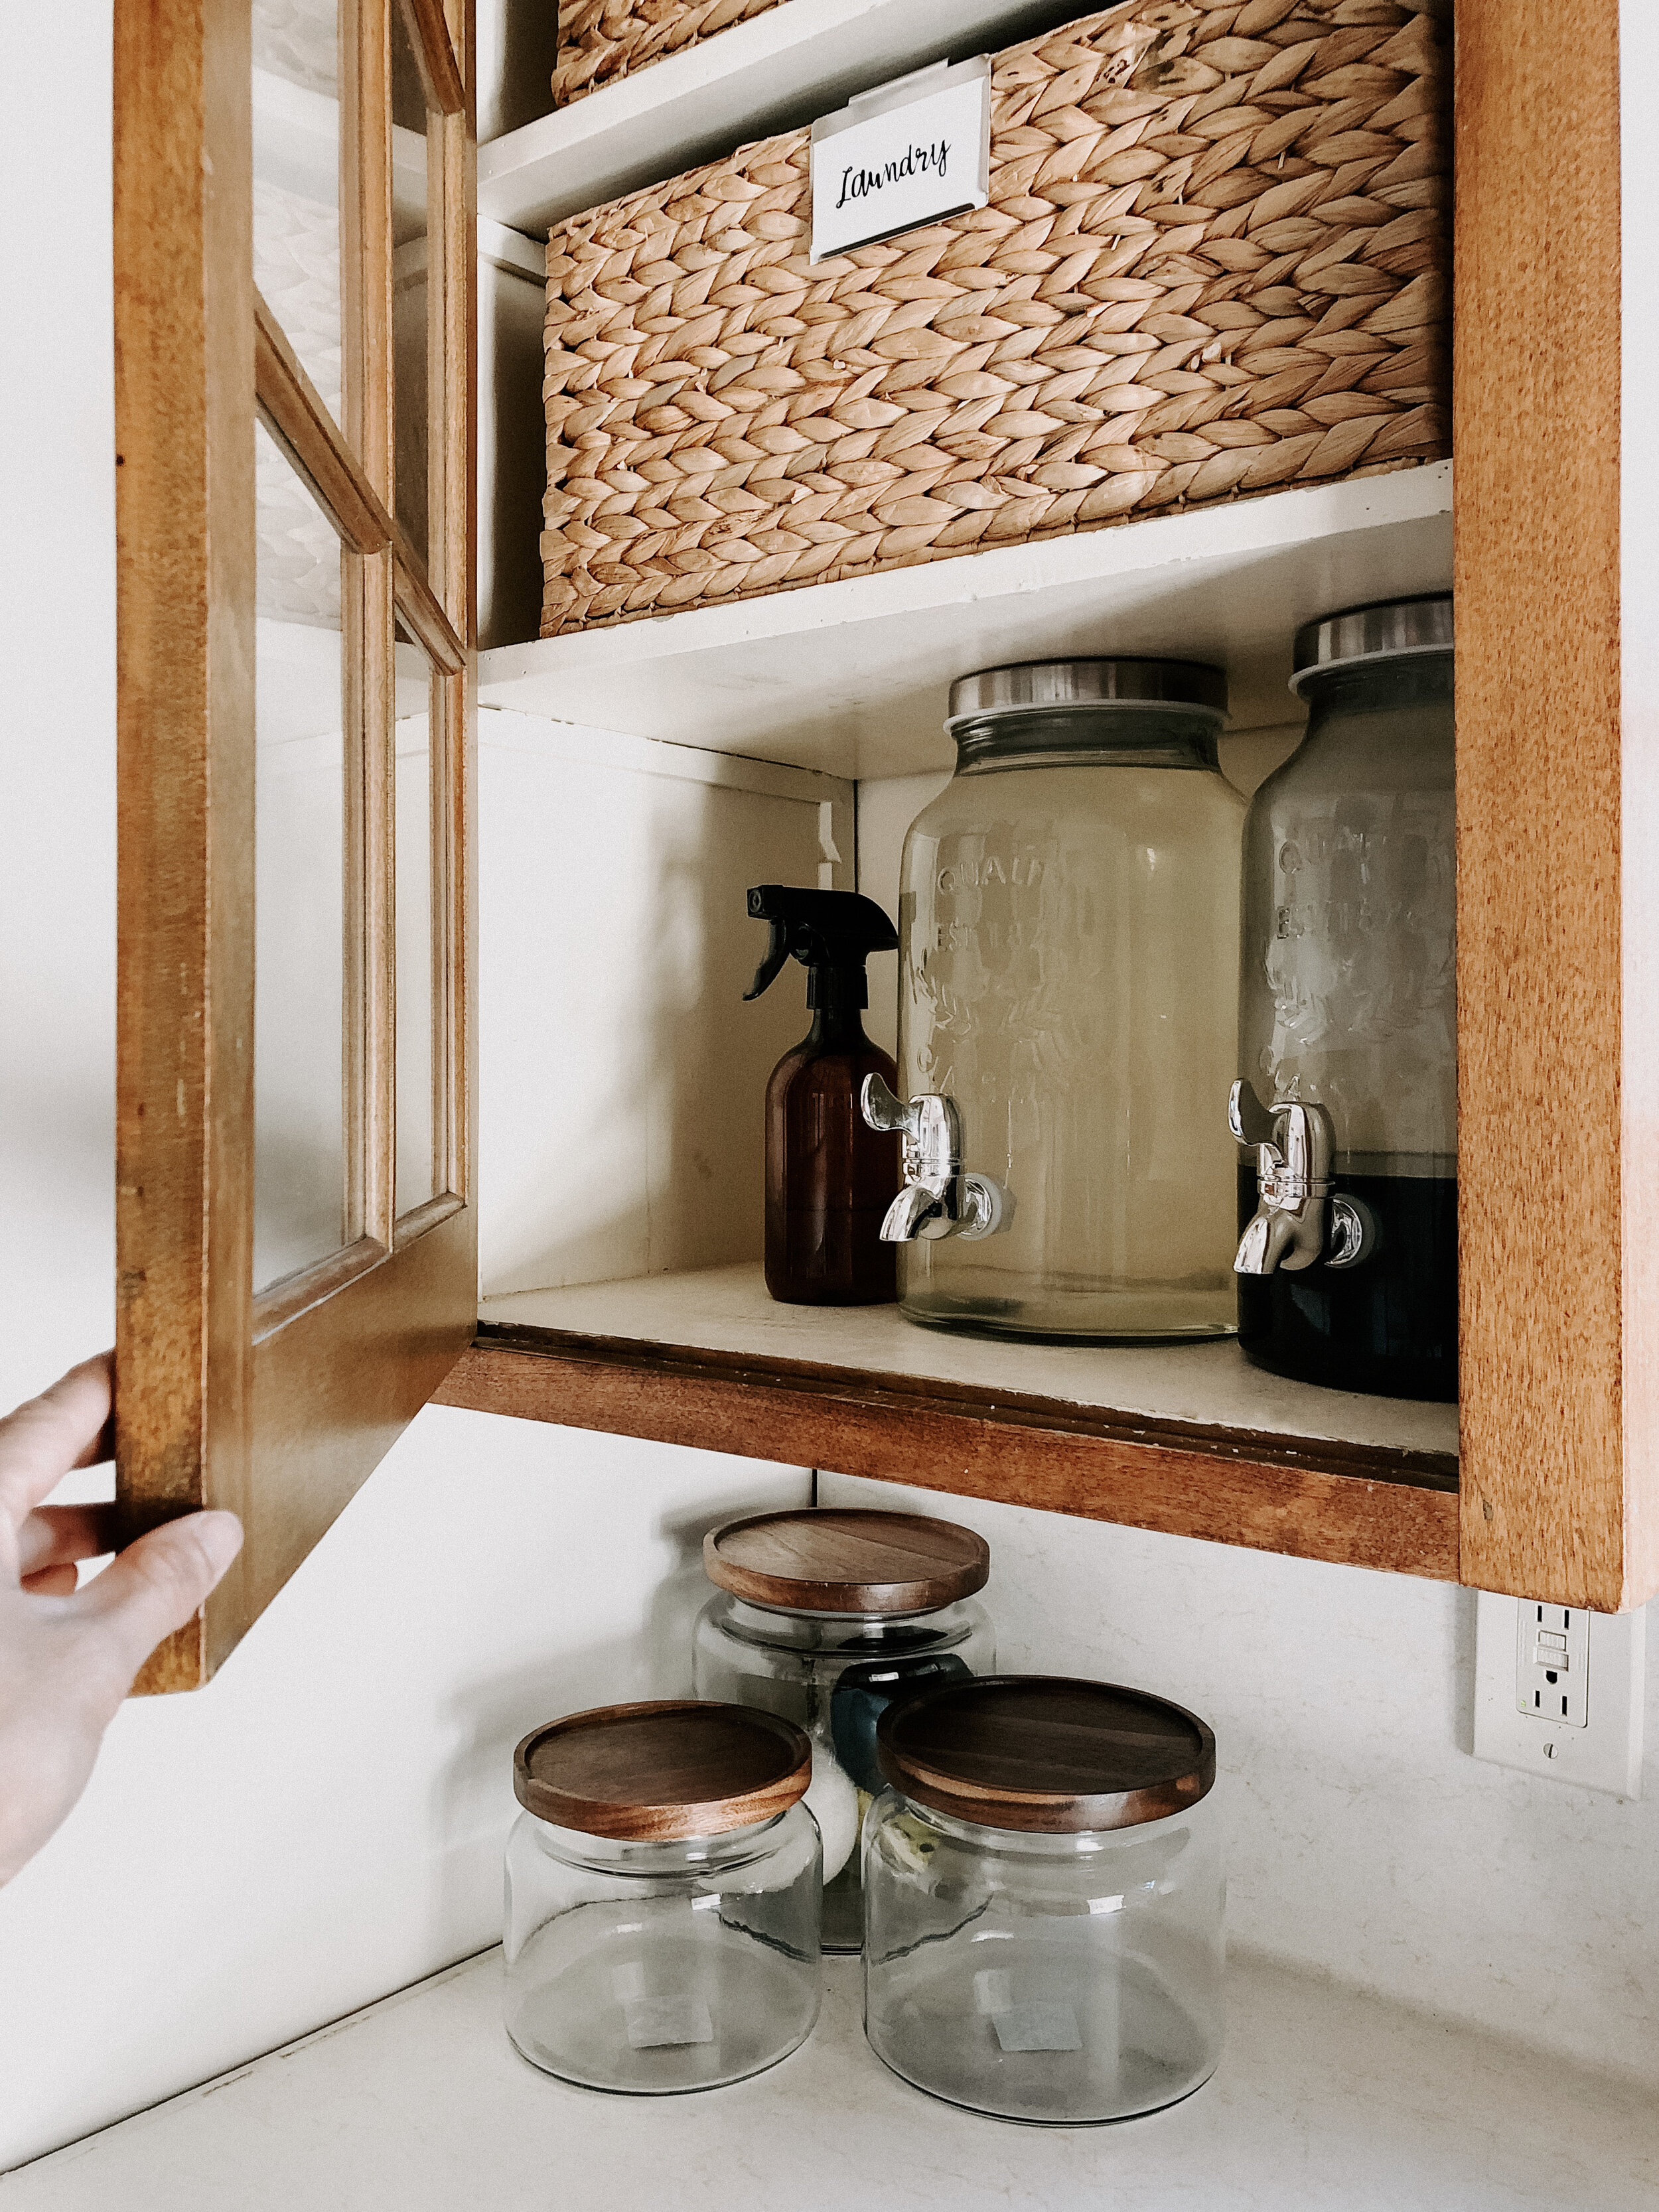
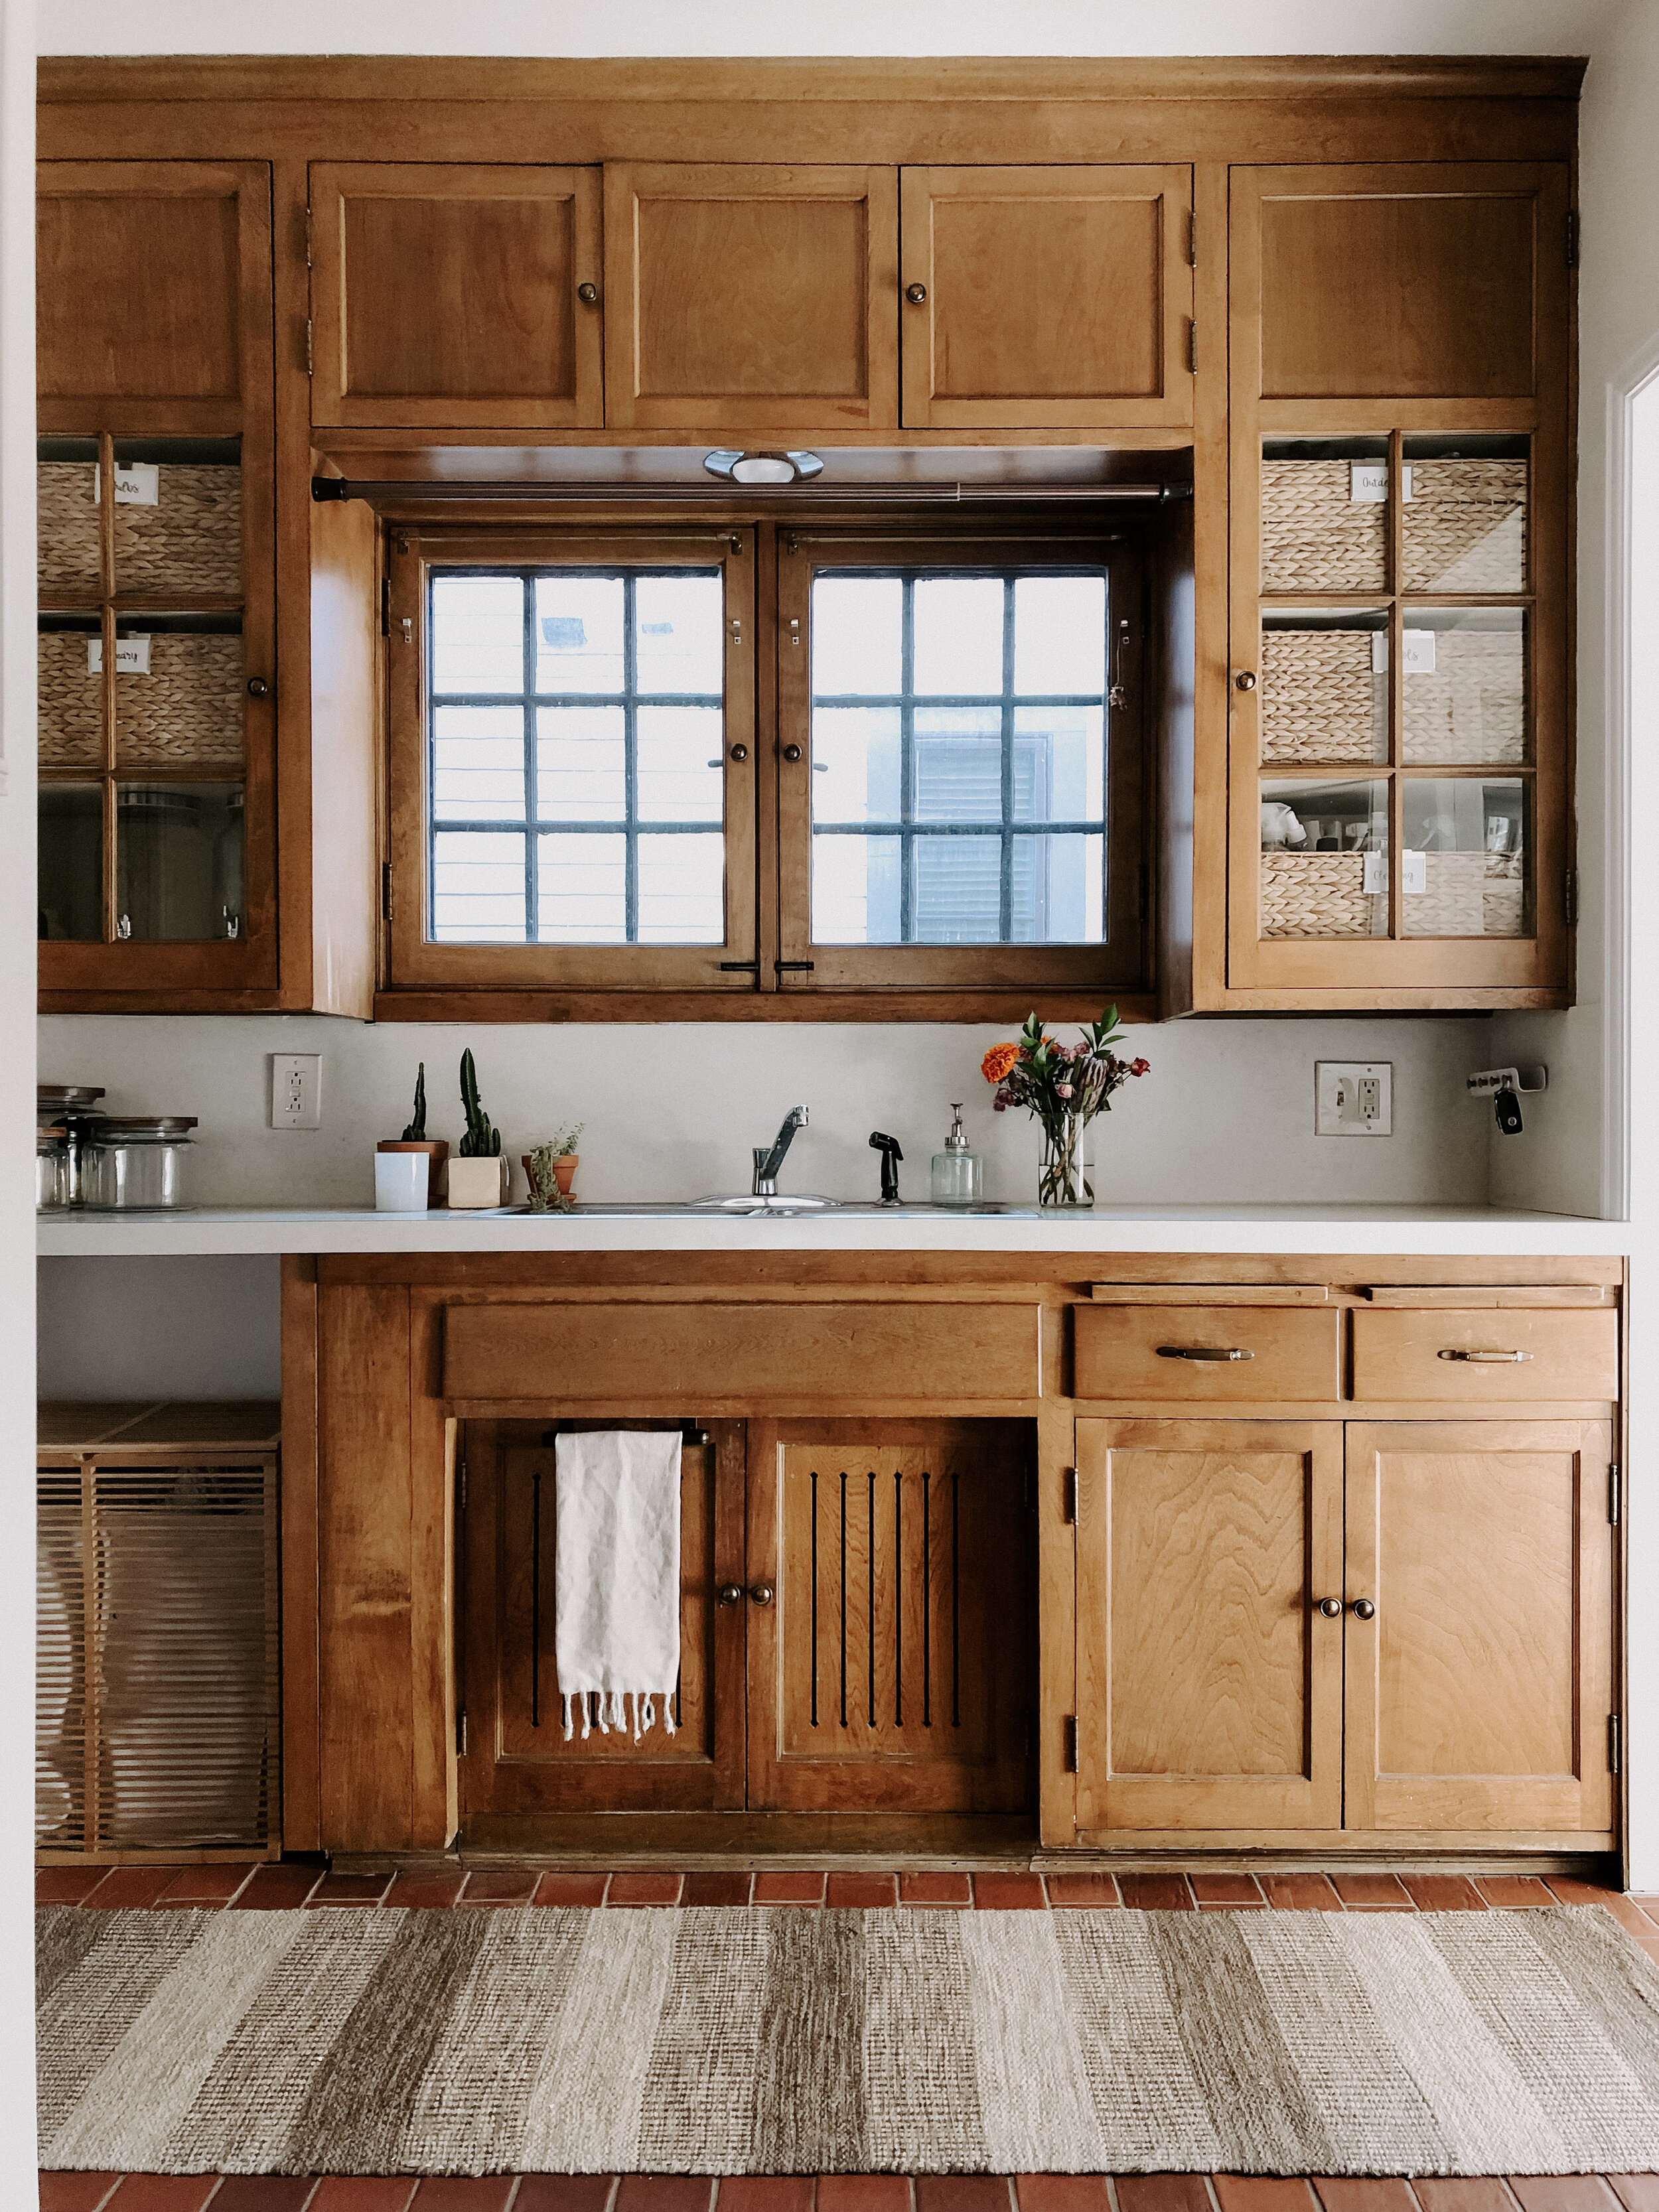
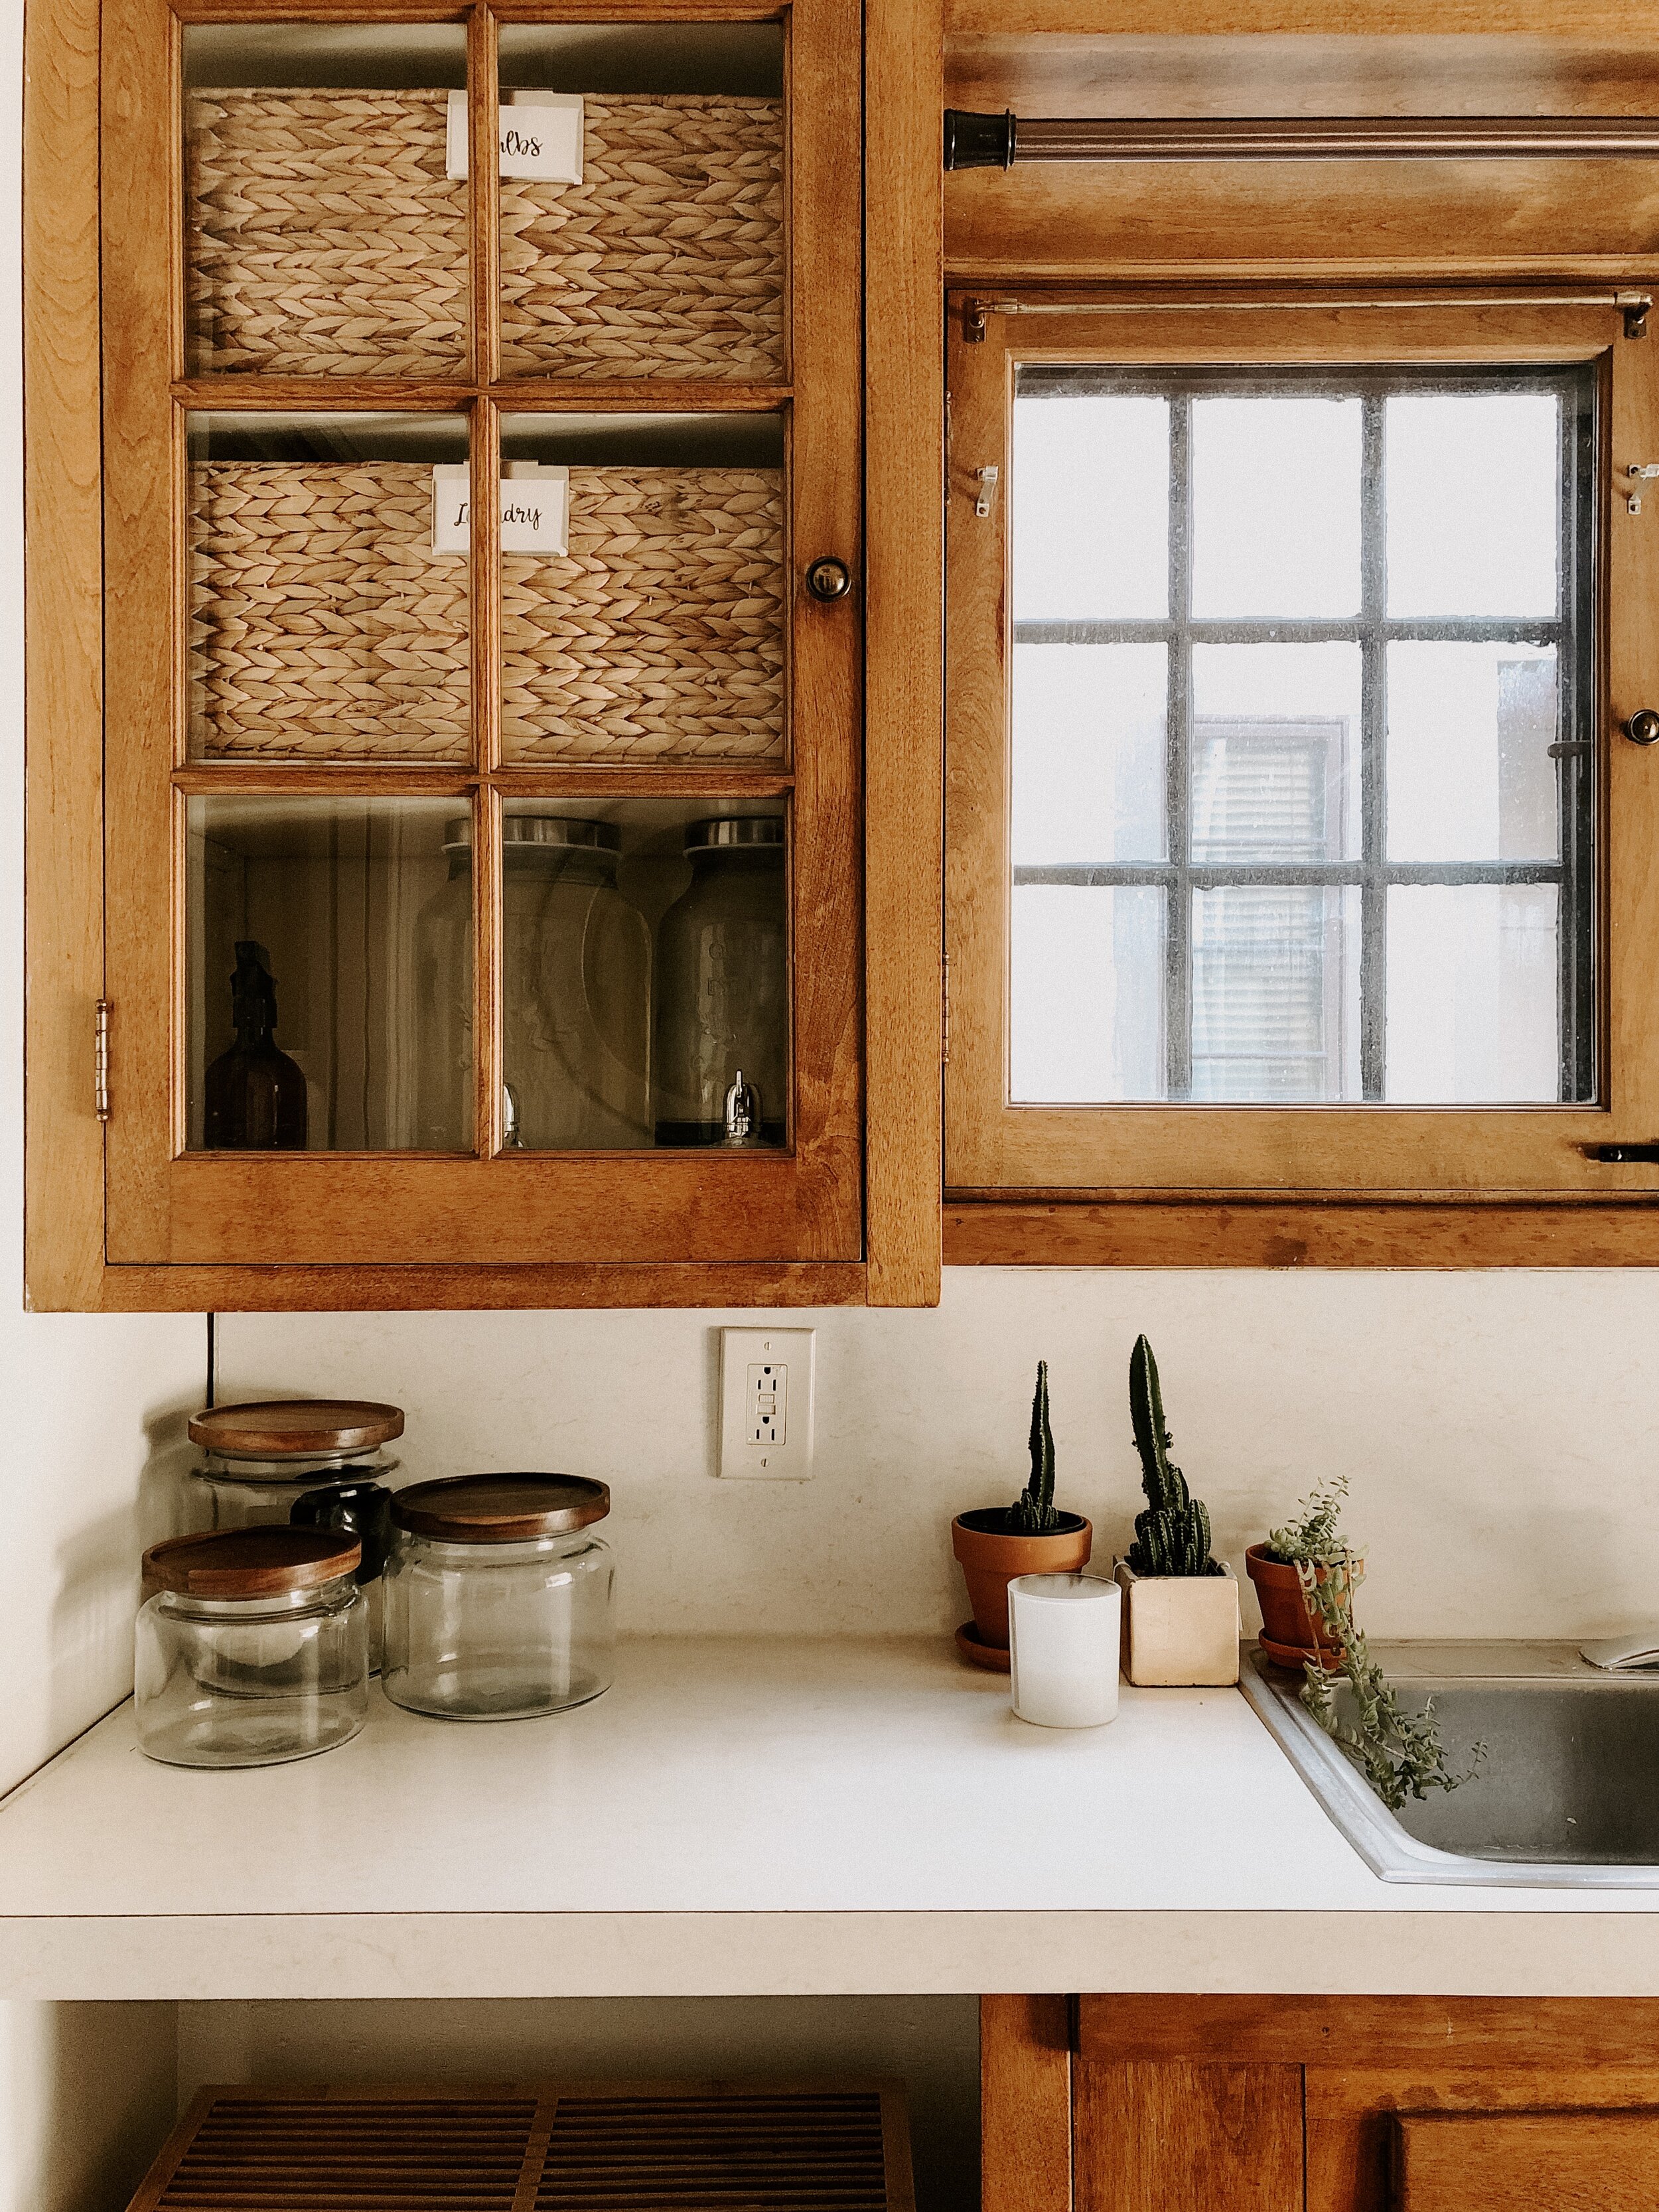
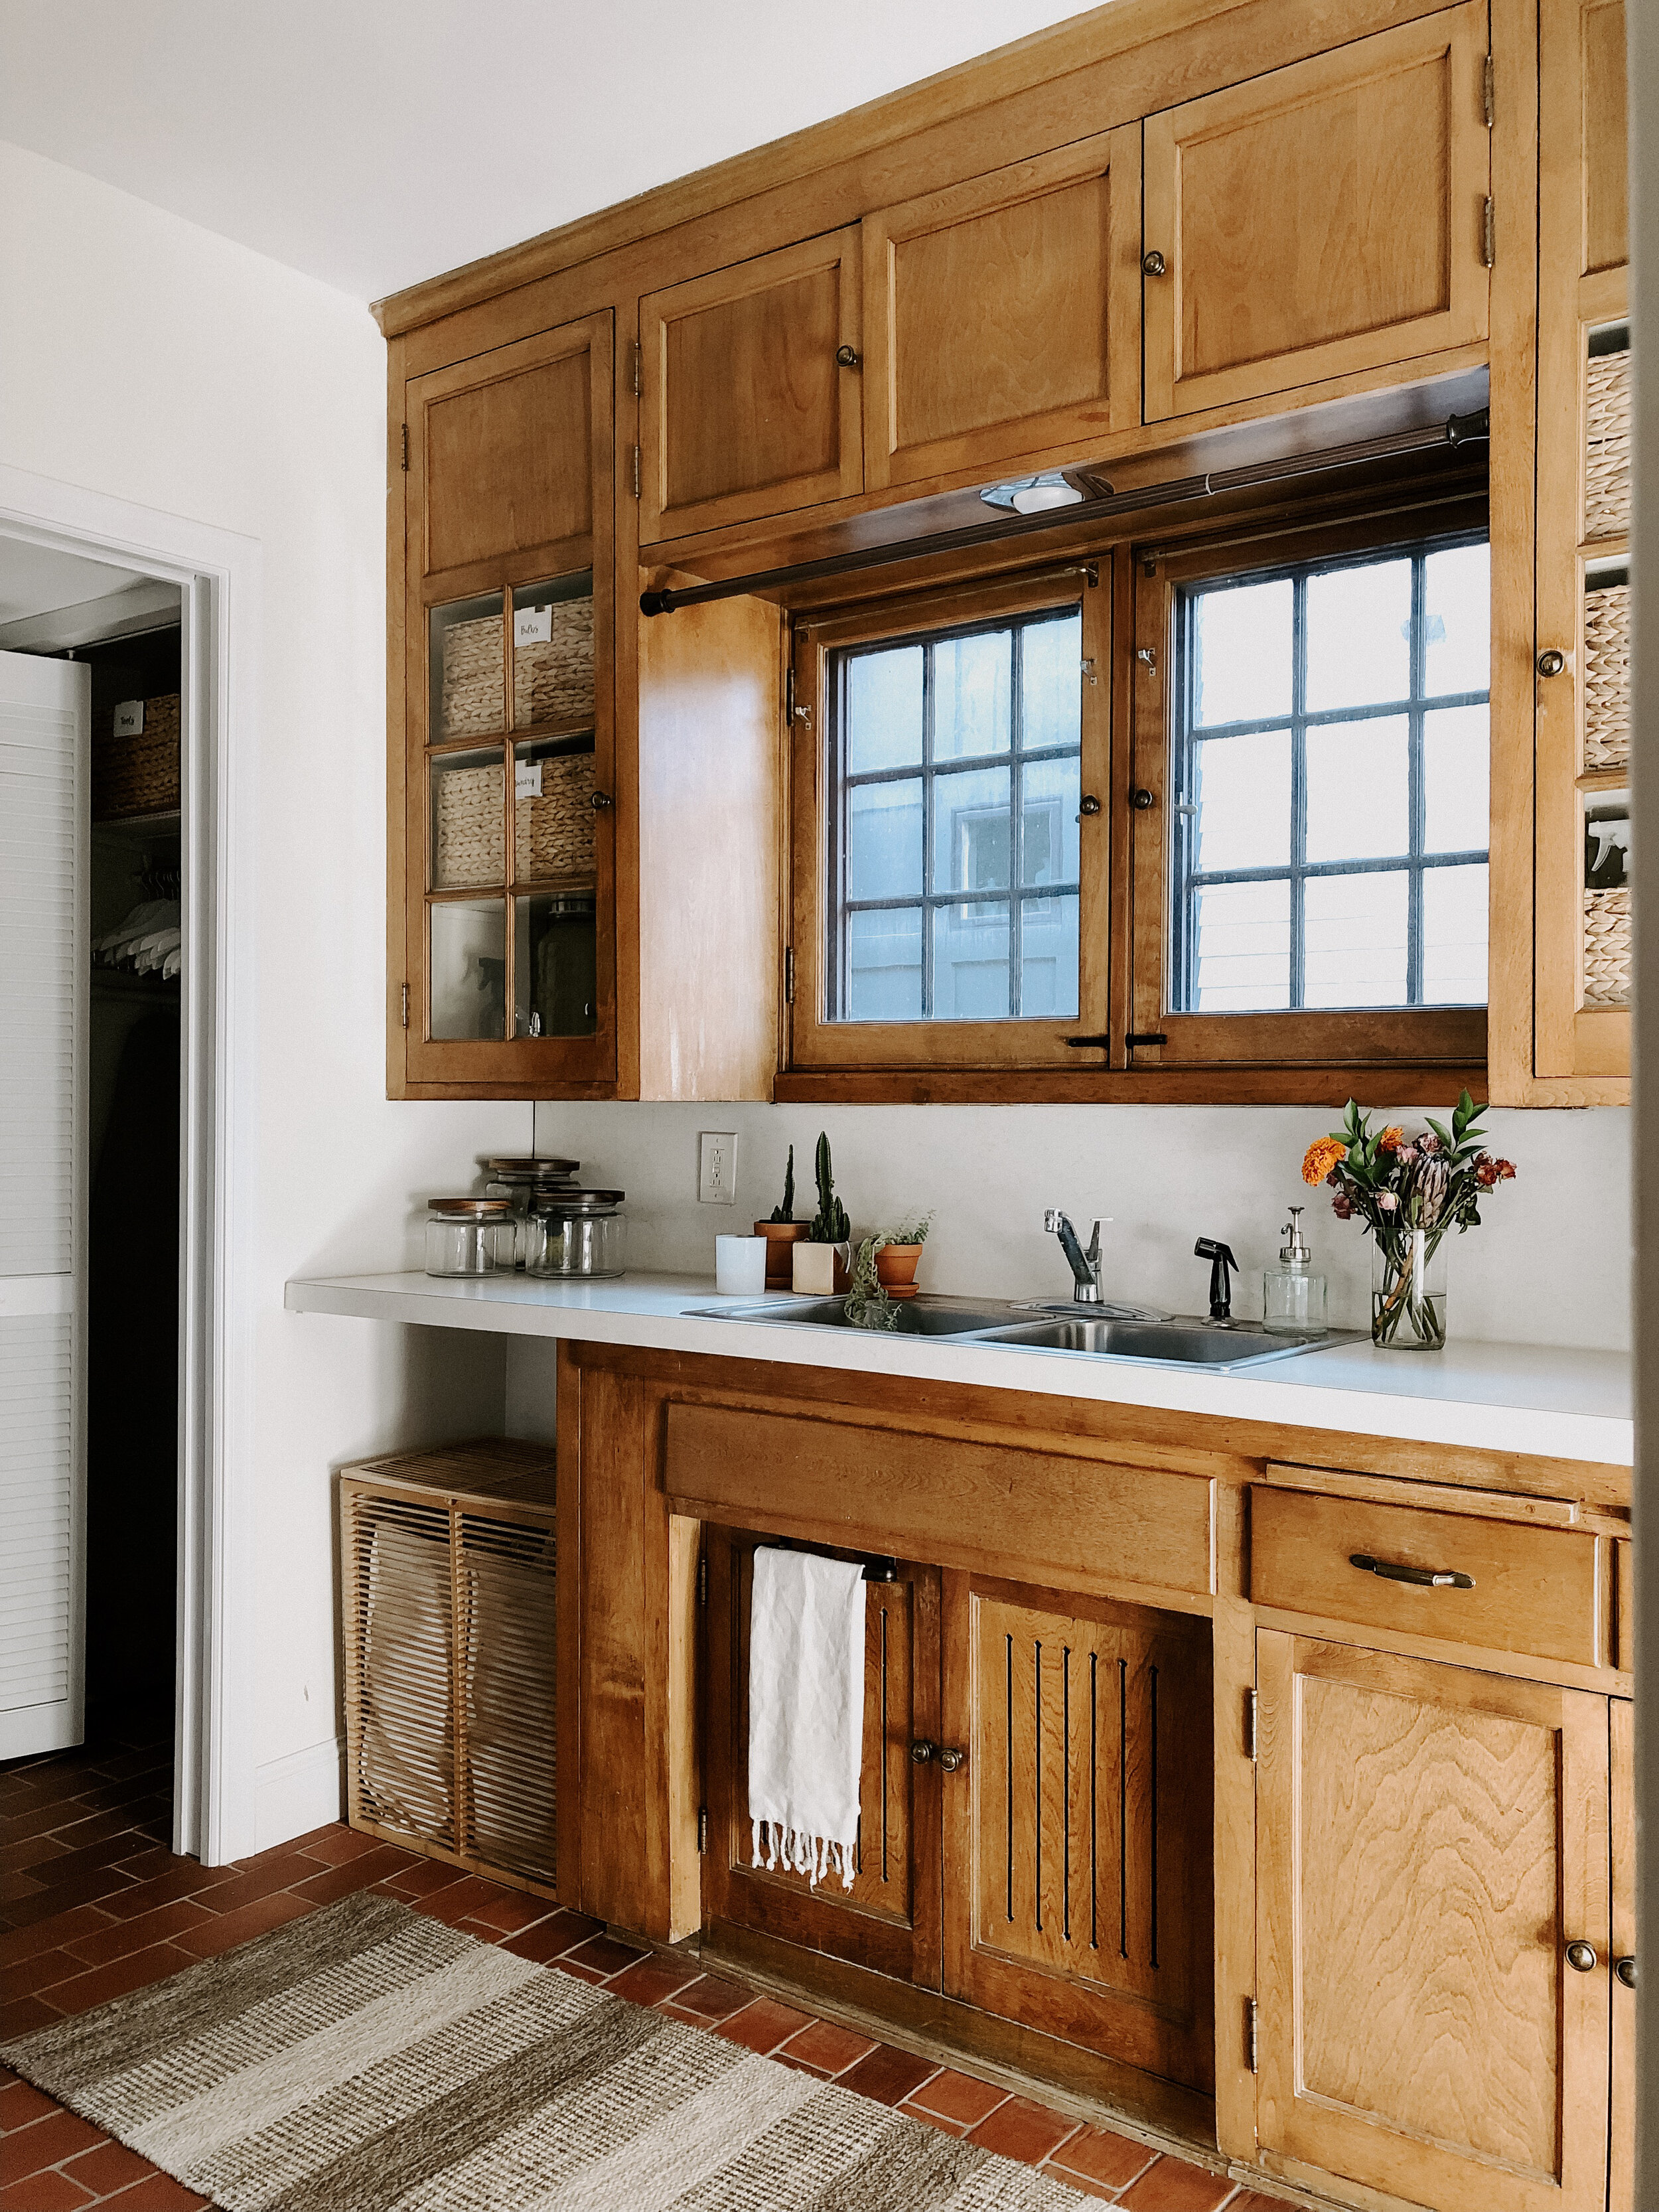
Be intentional and avoid just shuffling things around. Make sure to take everything out of the cabinets, drawers, closets, etc. Then take inventory, categorize and only put back what you know you’ll use. Donate the rest to someone who’ll use it. While I love our cabinet glass panels, the challenge with putting things back in them is that you could see all the clutter. The solution was using these large woven baskets from The Container Store. They fit perfectly in the cabinets and nicely hide the items while still being easy to access. Also, love these labels to help make it easier to identify each basket.
BEFORE
AFTER | baskets, labels, key hook organizer
3. Simplify
Our laundry detergents in their plastic containers, were not aesthetically pleasing. Ashley suggested one way to simplify and be more visually appealing was to decant them. We decided to repurpose my beverage dispensers which I hardly used, to store and dispense the detergents. We also used glass canisters to hold our wool dryer balls.
BEFORE
AFTER | beverage dispensers, glass canisters
4. Declutter – Make Sure Everything Has a Home
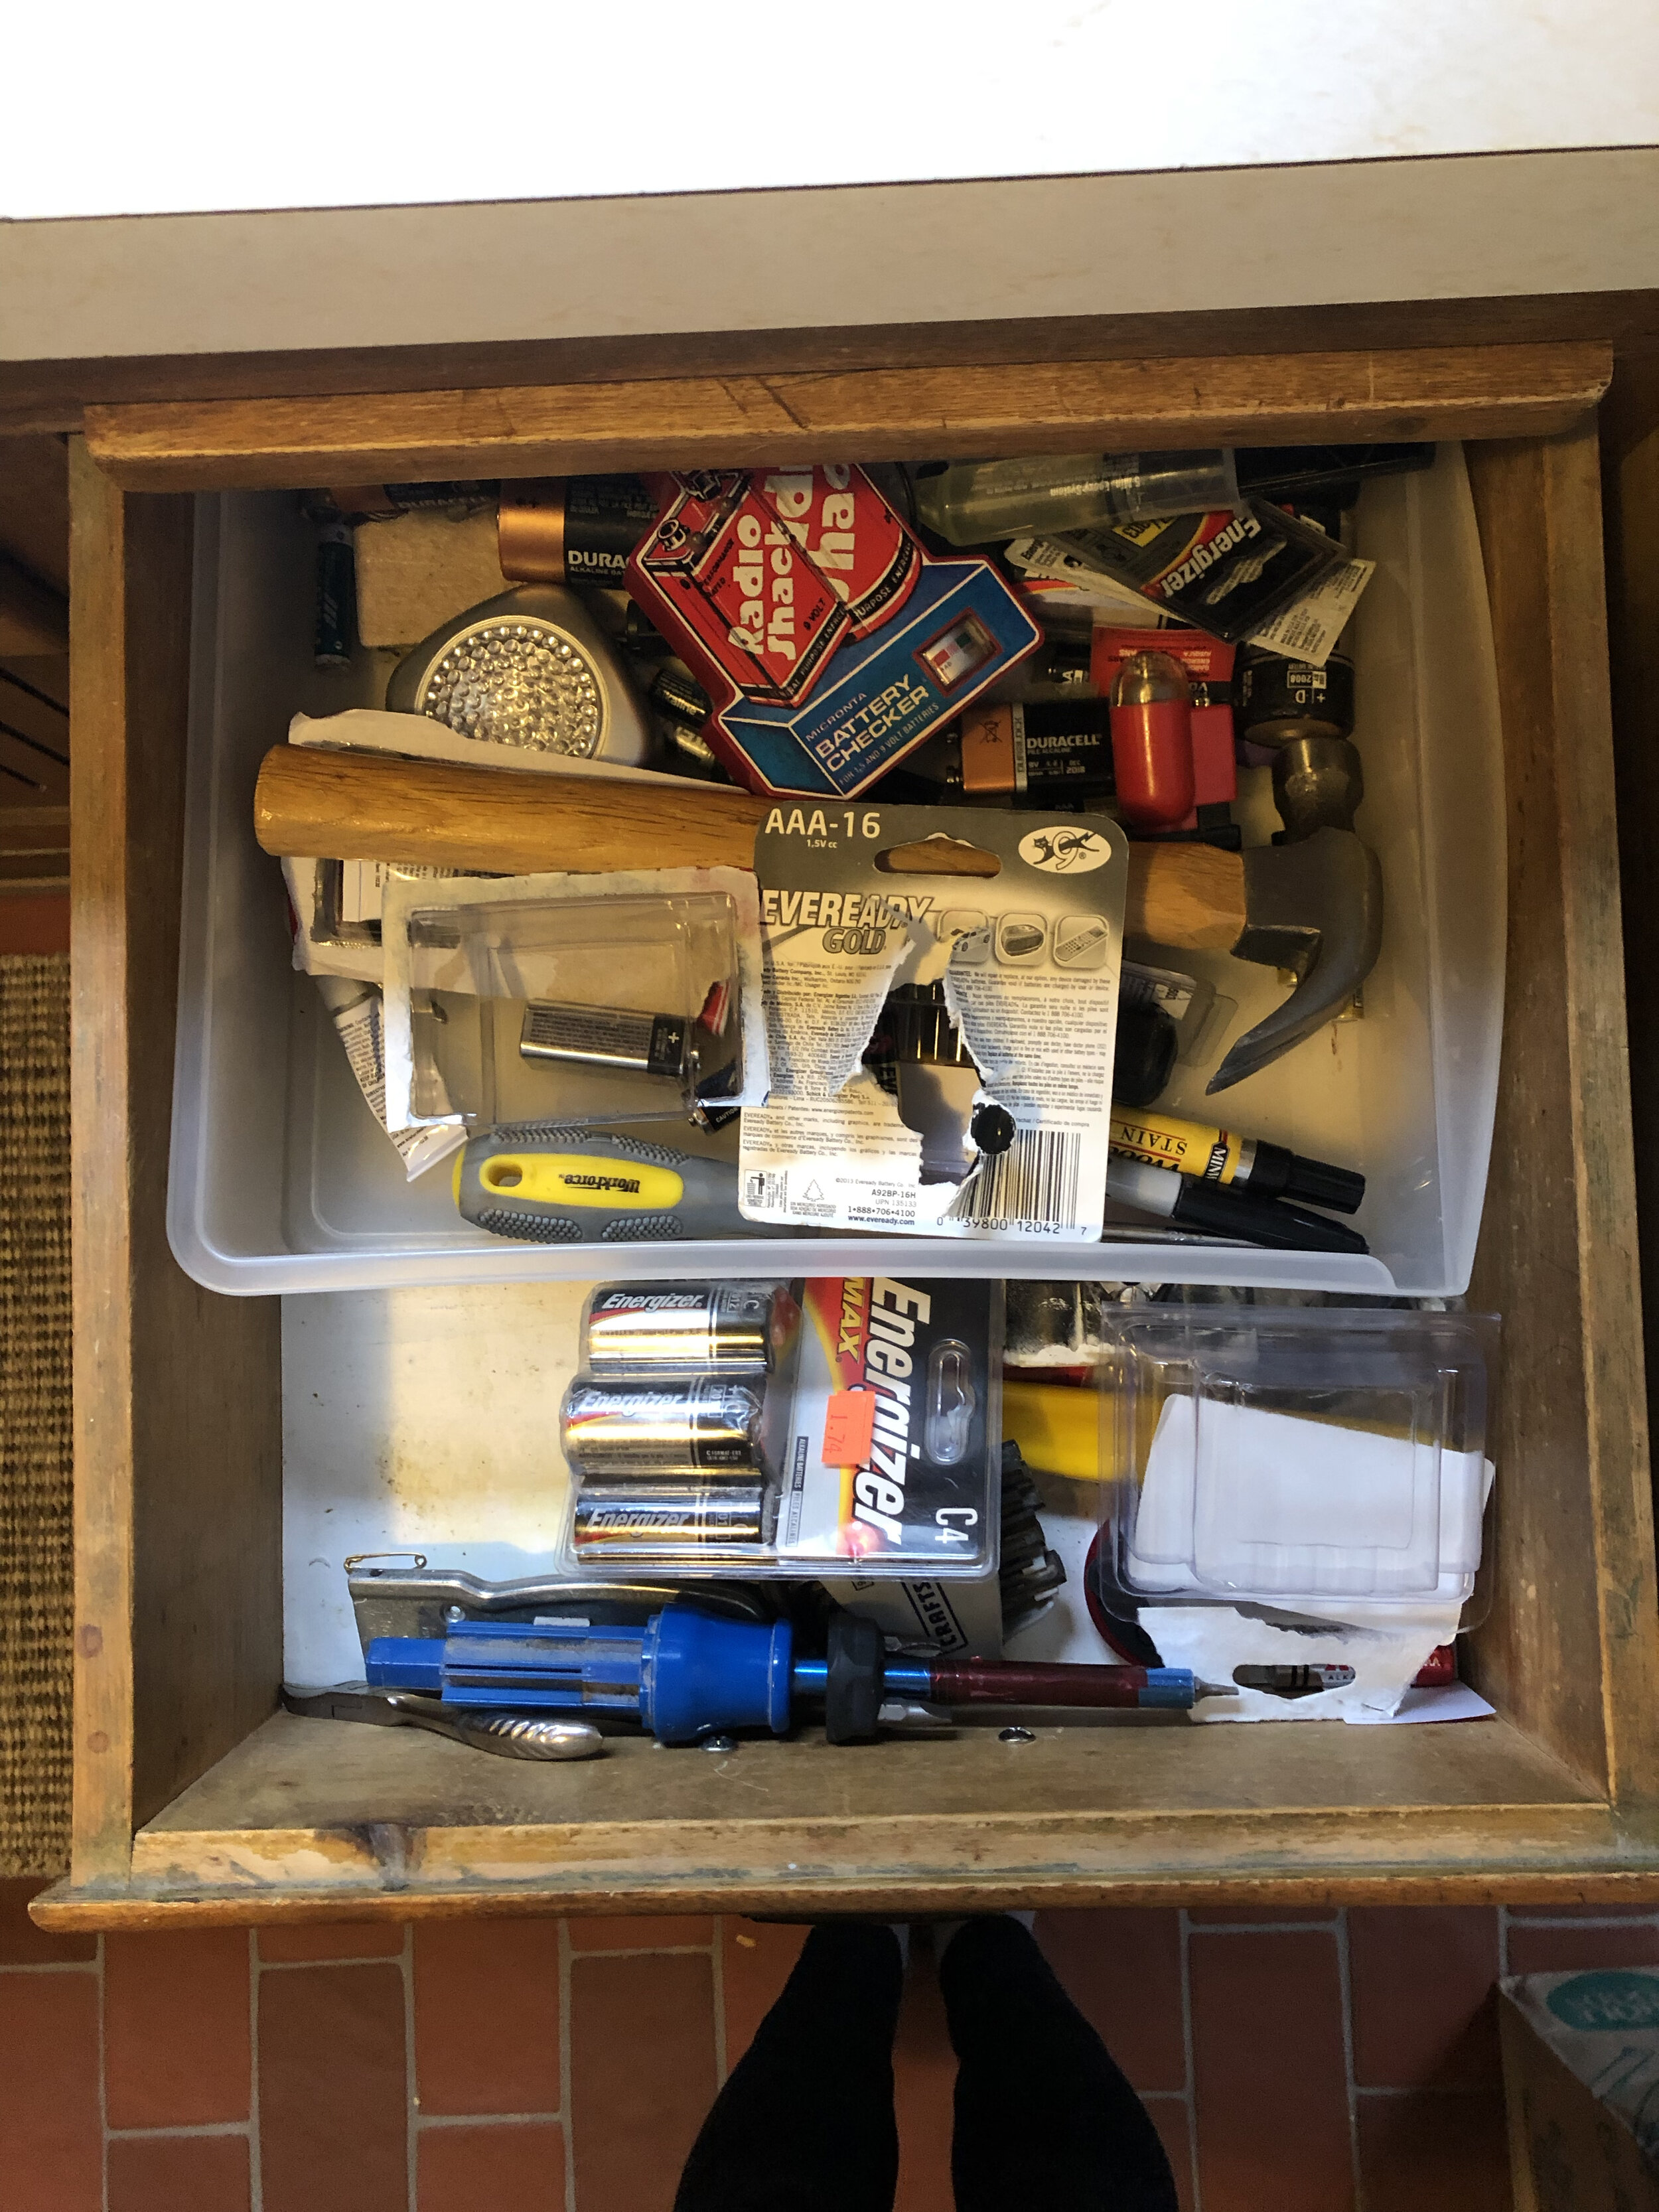
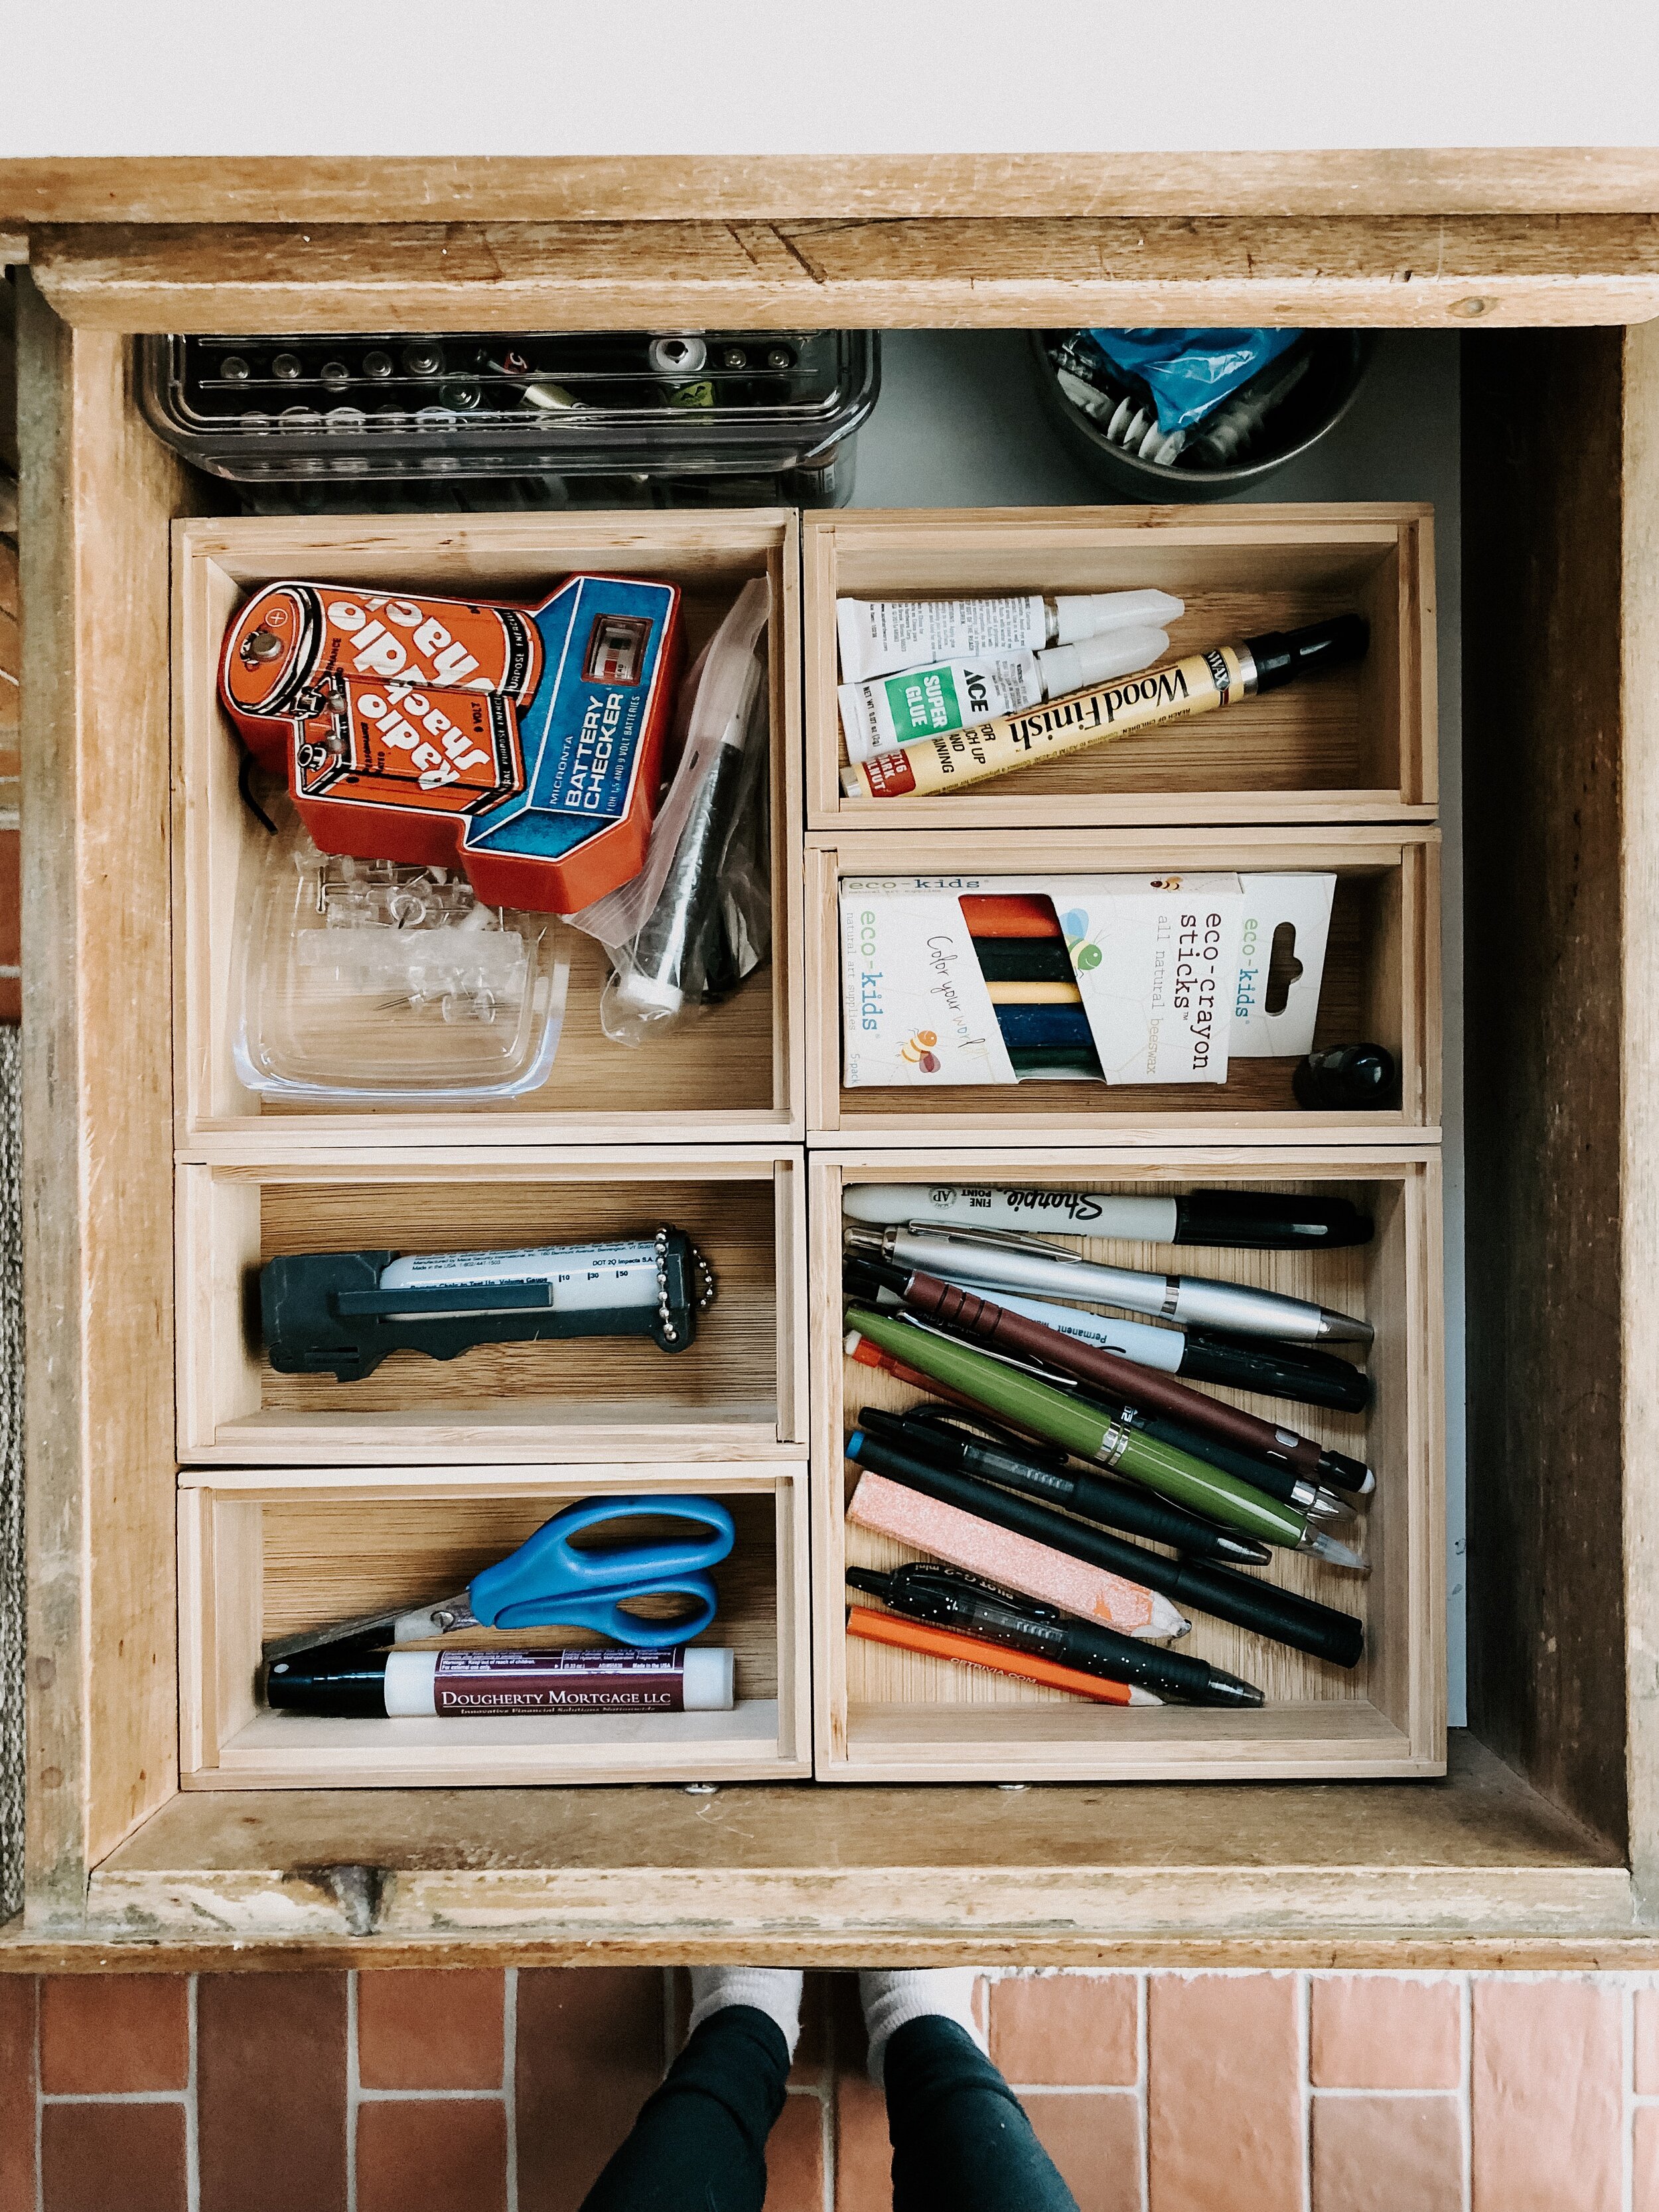
Clutter just adds up over time and it’s easy to unintentionally create junk drawers. Ashley’s advice to avoid this is to “make sure everything has a home”. She suggested these bamboo stackable drawer organizers and it’s been a life changer! She also suggested using a battery organizer because these can really junk up a drawer fast! I had no idea that such a product existed and my mind was blown!
BEFORE
5. Make the Best Use of Any Storage Space
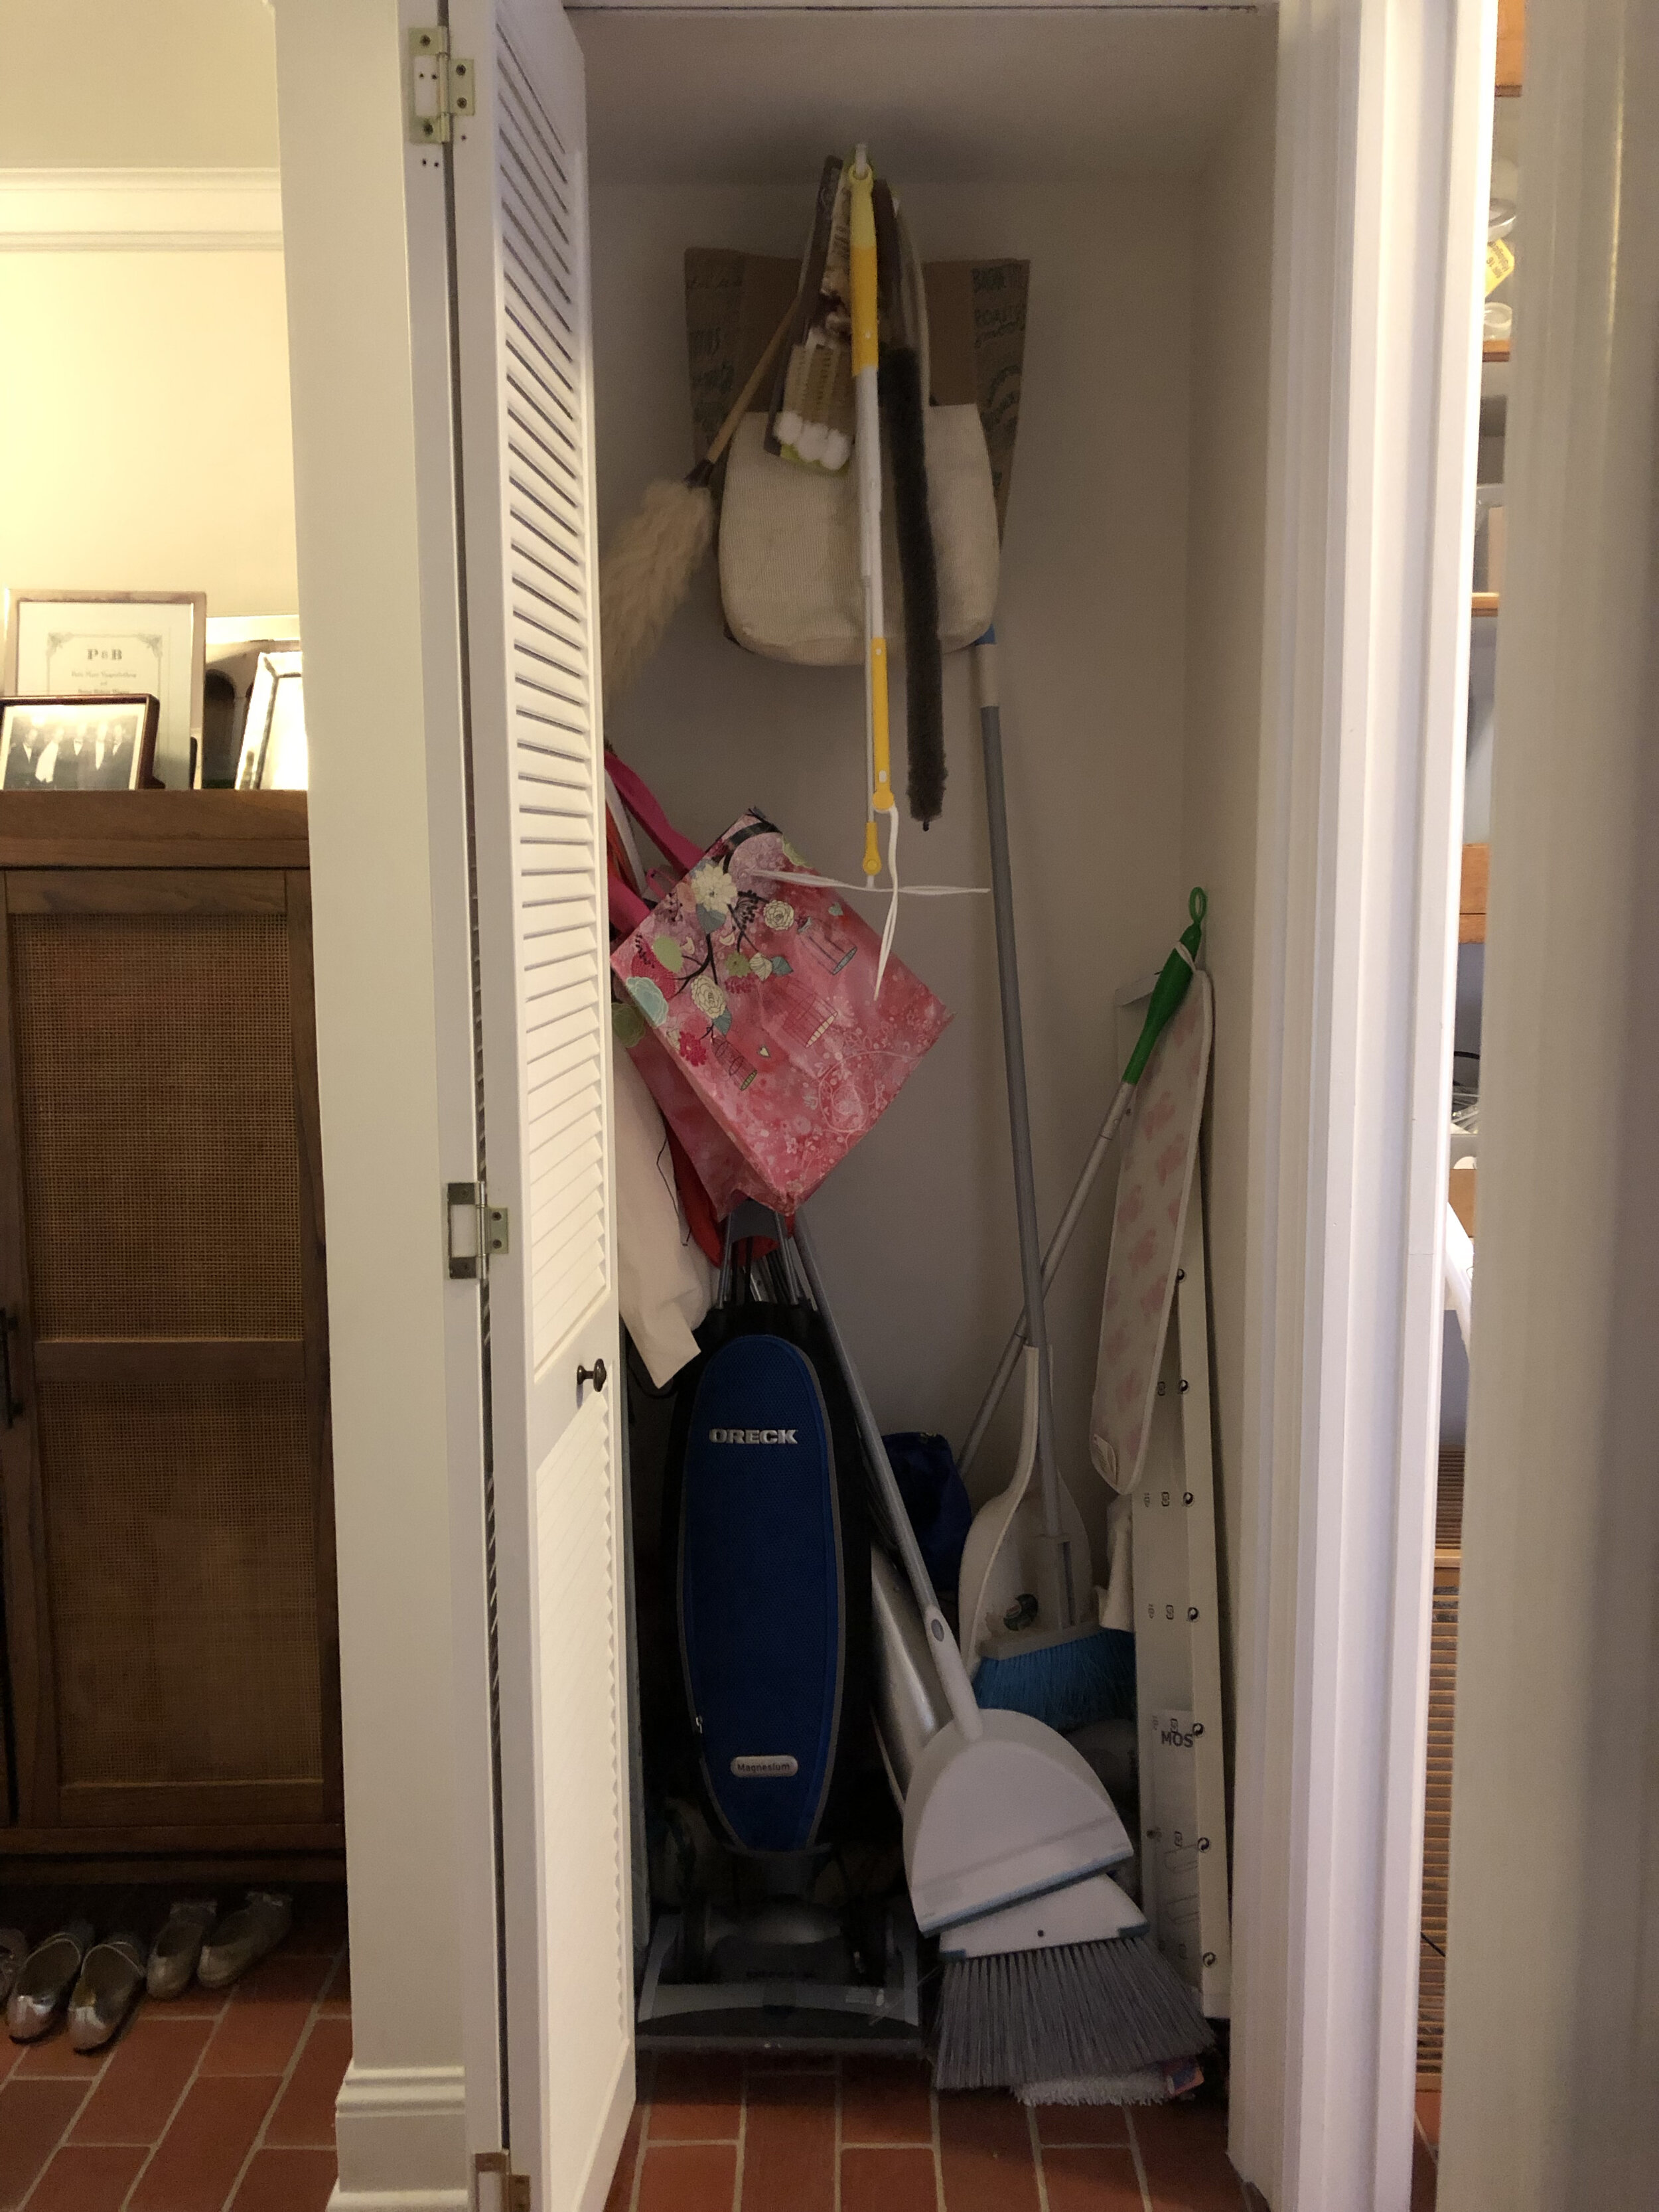
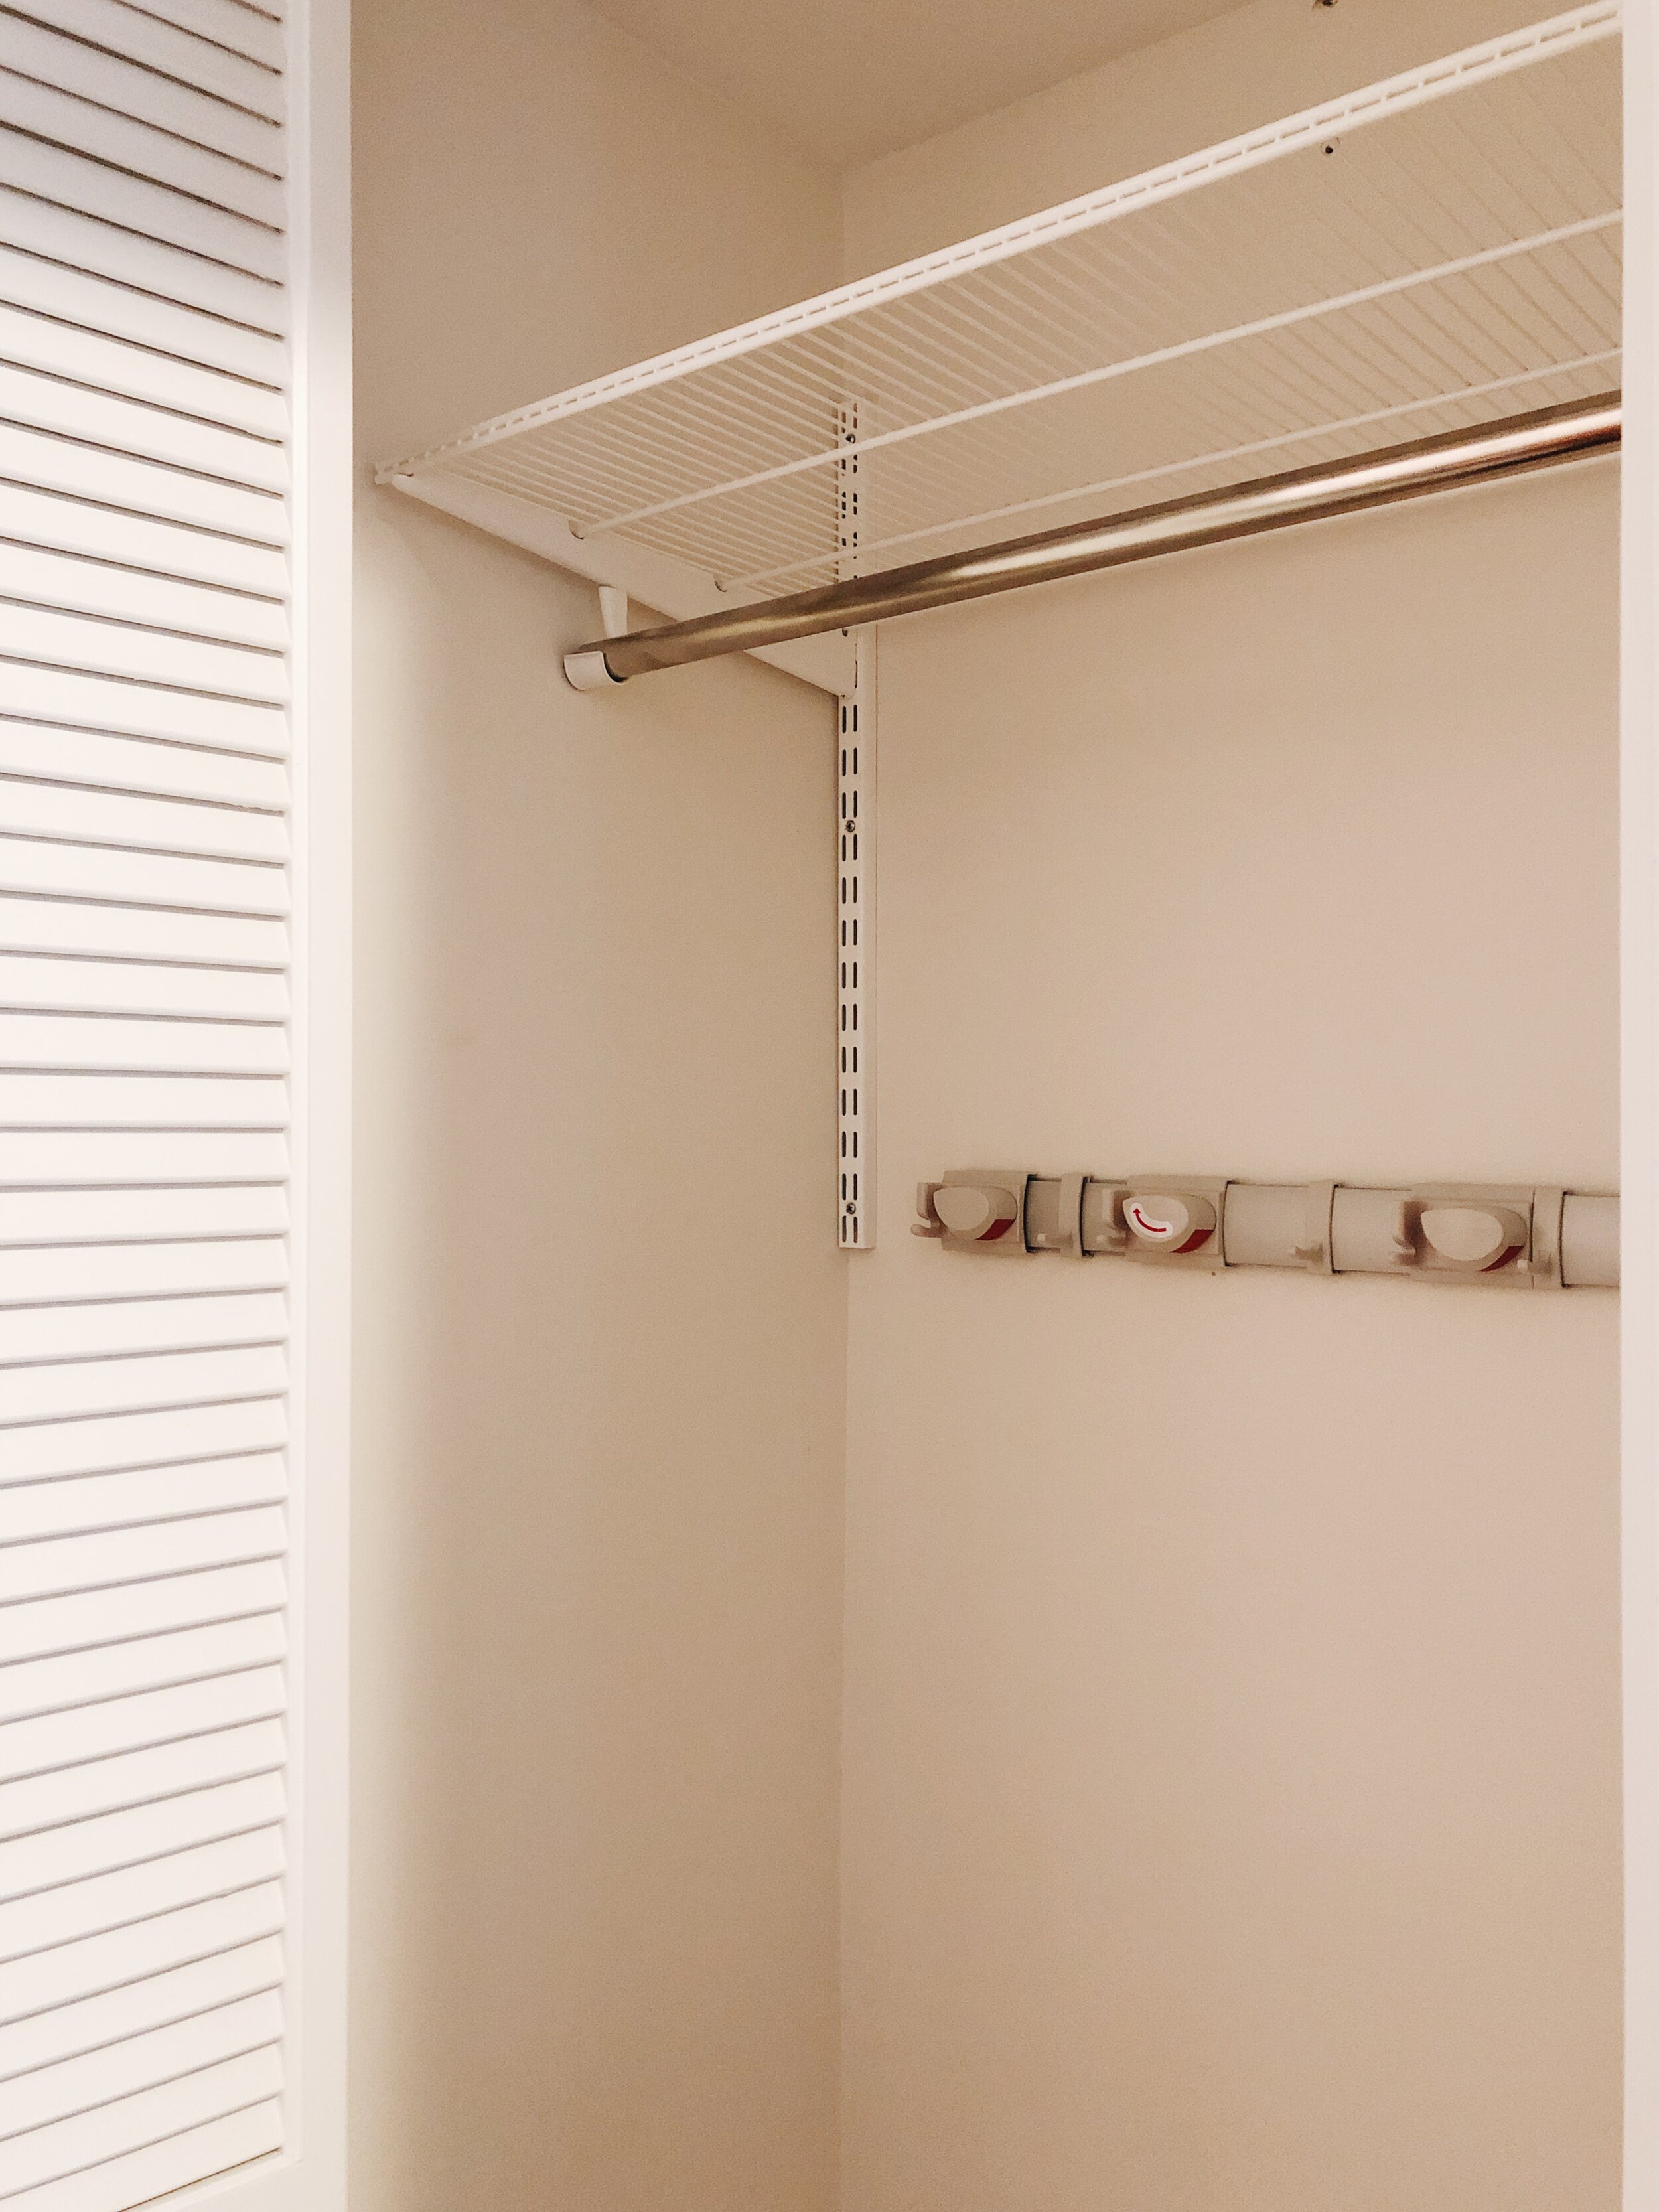
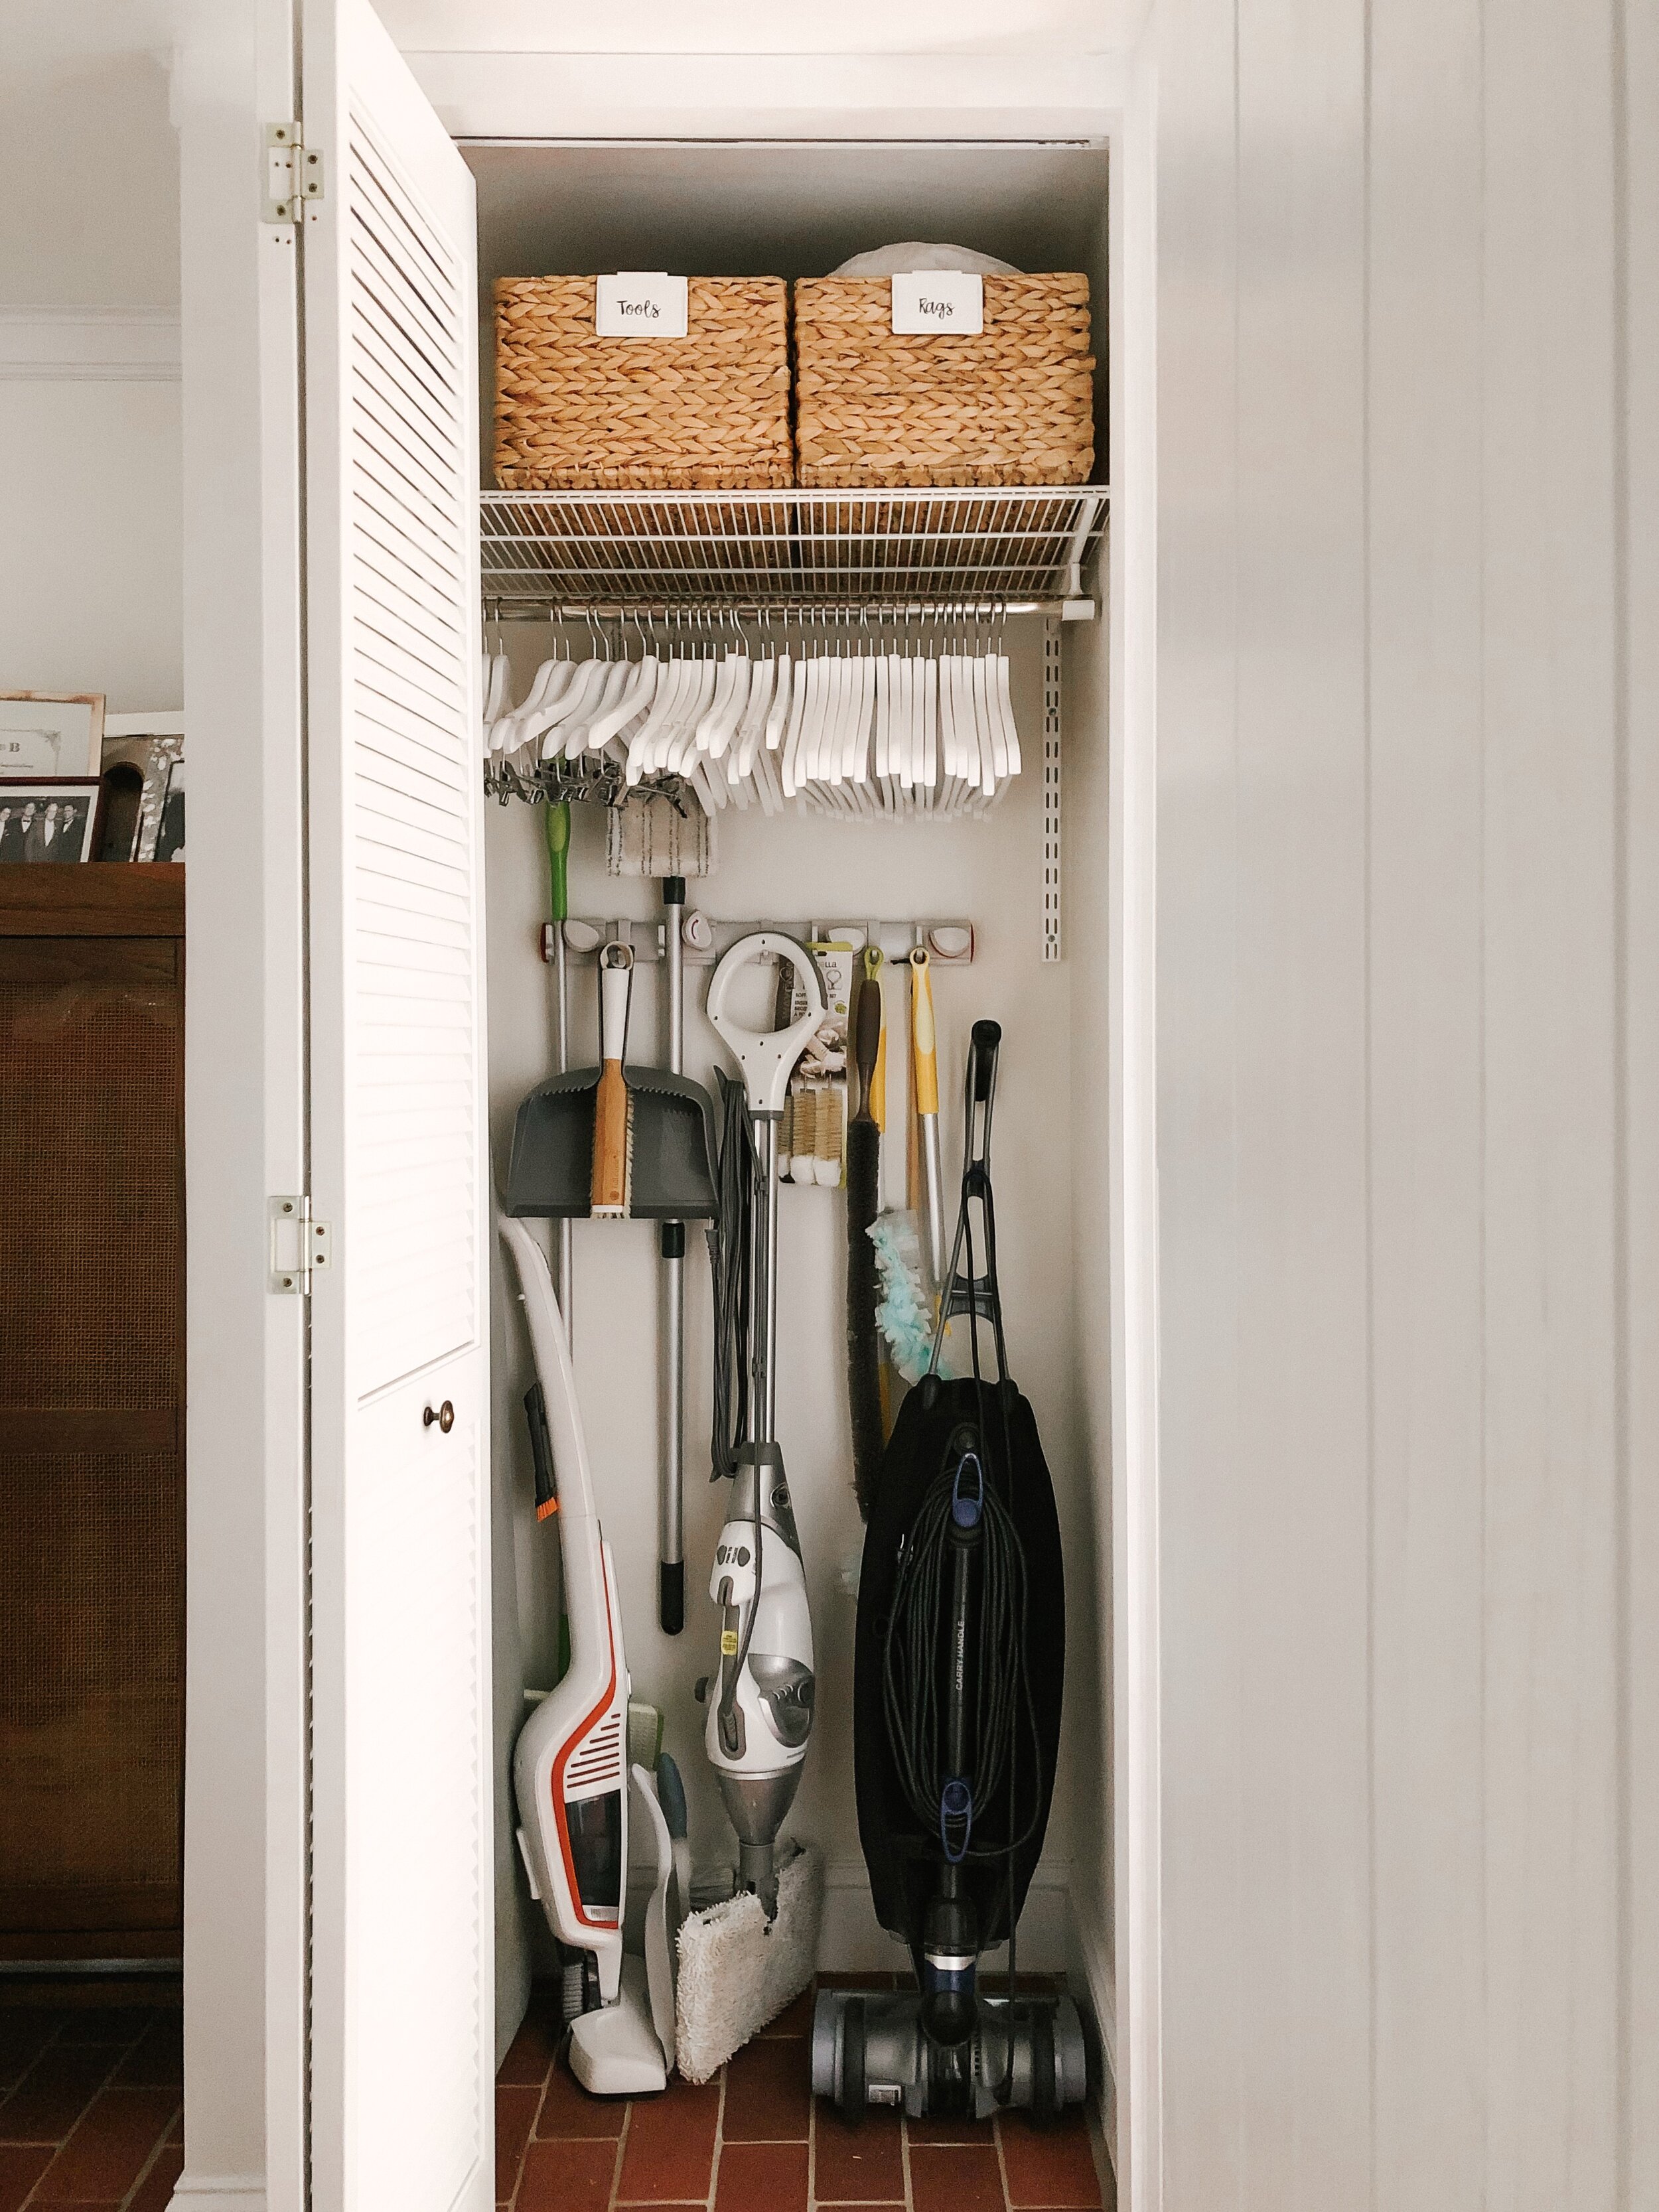
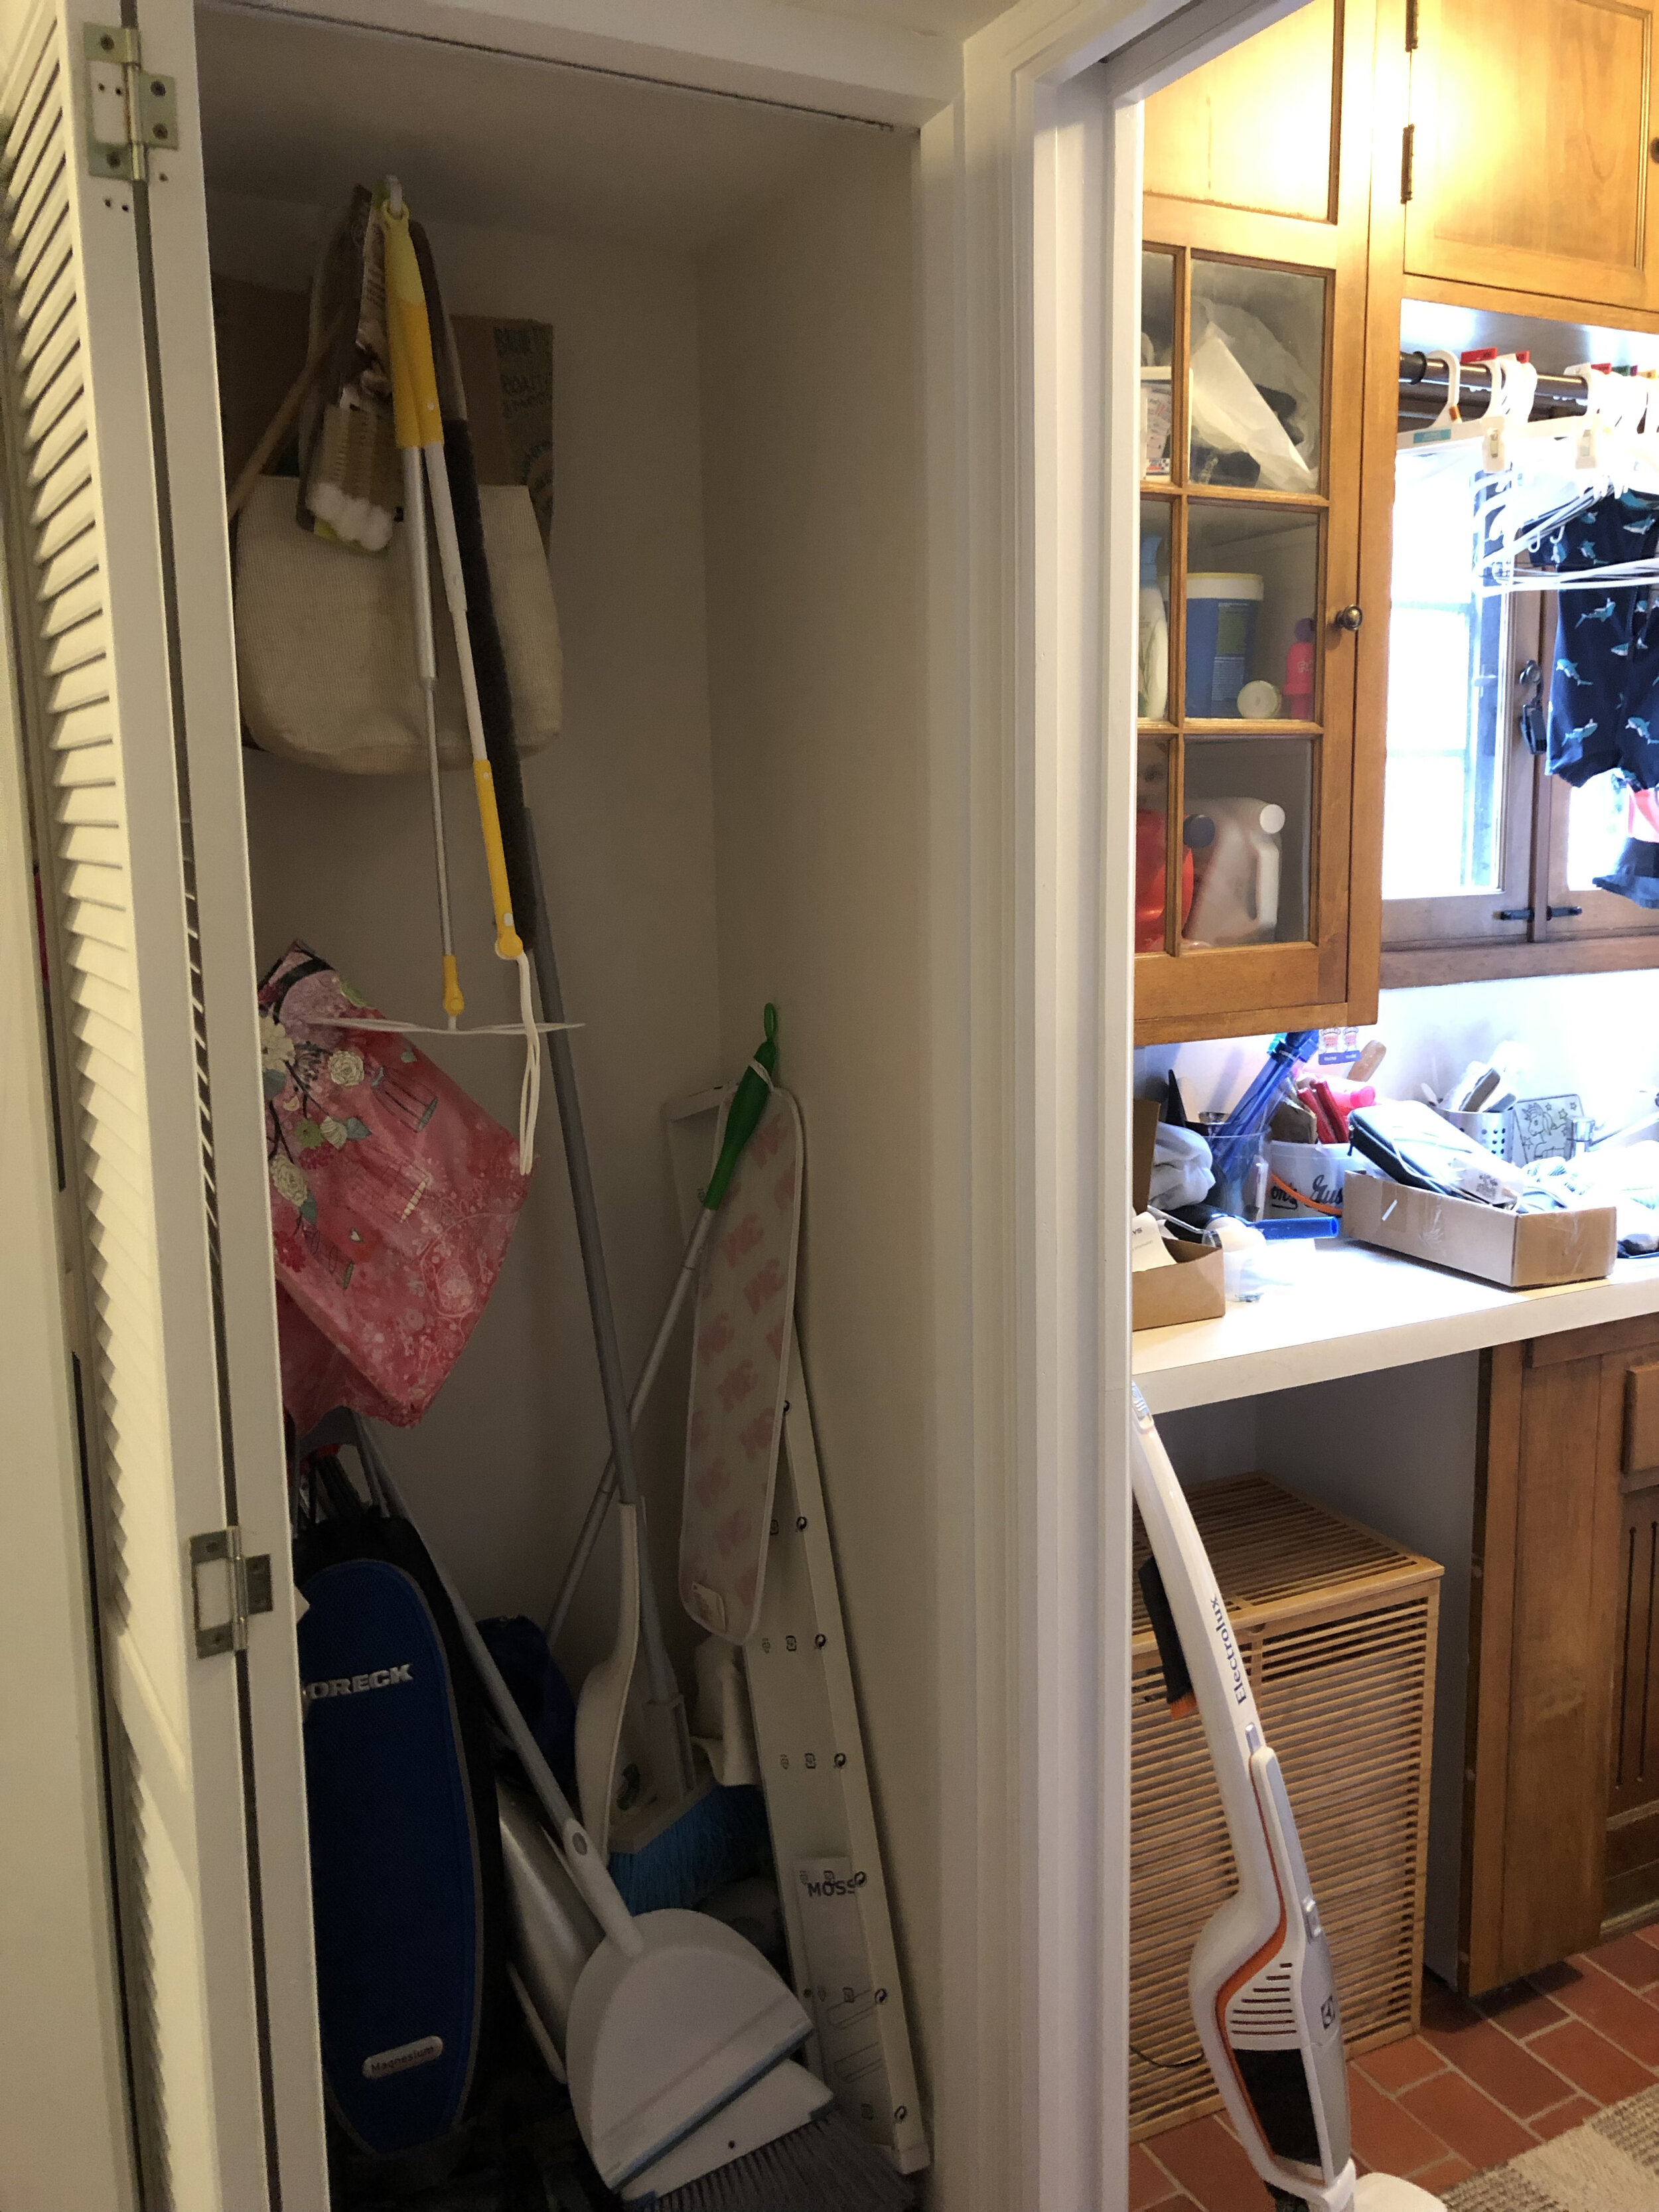
As you can see, we didn’t tap into our cleaning closet’s maximum potential. With some simple shelf and rod installation using the Elfa system from The Container Store and this expandable wall mounted organizer, we totally transformed the storage capability of this closet! Items are no longer leaning on each other taking up floor space.
BEFORE
AFTER | Elfa system (Elfa shelf, Elfa rod, Elfa rod holder, Elfa mounted standards), expandable wall organizer
Tackling this project has lifted a huge weight off my shoulders! I’m so glad to have this done early before our guests visit for the holidays. We no longer need to close the swinging door from the dining room to the laundry room or be embarrassed by the chaos. My favorite part of this process was discovering a new found appreciation for this room. It used to be our old galley kitchen and has beat up cabinets, laminate countertop and dated hardware + fixtures. We repurposed into our laundry room after the new kitchen was built. Sometimes we wait to love a space until we remodel it to our standards but it’s nice finding beauty in what we currently have.
A huge thank you to Ashley and Lindsay from Style and Dwell and The Container Store for gifting the products recommended by Ashley and Lindsay to organize our laundry room! Make sure to stop by their Instagram as well for more tips and tricks to staying organized. And of course, The Container Store is your go-to place to make it happen!
Here are some more before and after photos for inspiration! I hope by sharing this, it can inspire you to get a head start. Sometimes seeing someone else do it can spark the motivation. Thank you for stopping by and let me know if you have any questions!
-Patti
BEFORE | AFTER
BEFORE | AFTER
BEFORE | AFTER
BEFORE | AFTER
Shop all items used in this project below:
*note: affiliate links used and as always, all opinions are my own

