
What You Should Know Before Deep Cleaning & Organizing Your Fridge
The grandparents were coming into town to care for our three kiddos while we took a couple’s vacation. Prior to this, we had not left the kids overnight in almost five years! Bless my in-laws for volunteering to watch them. They are kind, loving and SUPER CLEAN + TIDY kind of people. So as I was picking up the house, I immediately thought about our fridge which had not been deep cleaned in years and panicked.

Took this photo with my remote tripod after deep cleaning and feeling a sense of accomplishment! I shared my process on Instagram and got so many reactions that I decided to write a blog post.
If you’ve been dreading this task, I promise you that you will feel 100% relieved once it’s done! You have no idea what is lurking in there. Expired foods, sticky messes with upside down turned bottles (so you can squeeze that last bit of sauce out) and probably a few spoiled food items forgotten in the back. While we periodically clean our fridge, it’s been a long time since we’ve actually deep cleaned it.
To make this task as efficient as possible, I skimmed through a few articles and rounded up six steps to efficiently and effectively deep clean and organize our fridge. Here’s what you should know before getting started!

Our refrigerator BEFORE the clean out
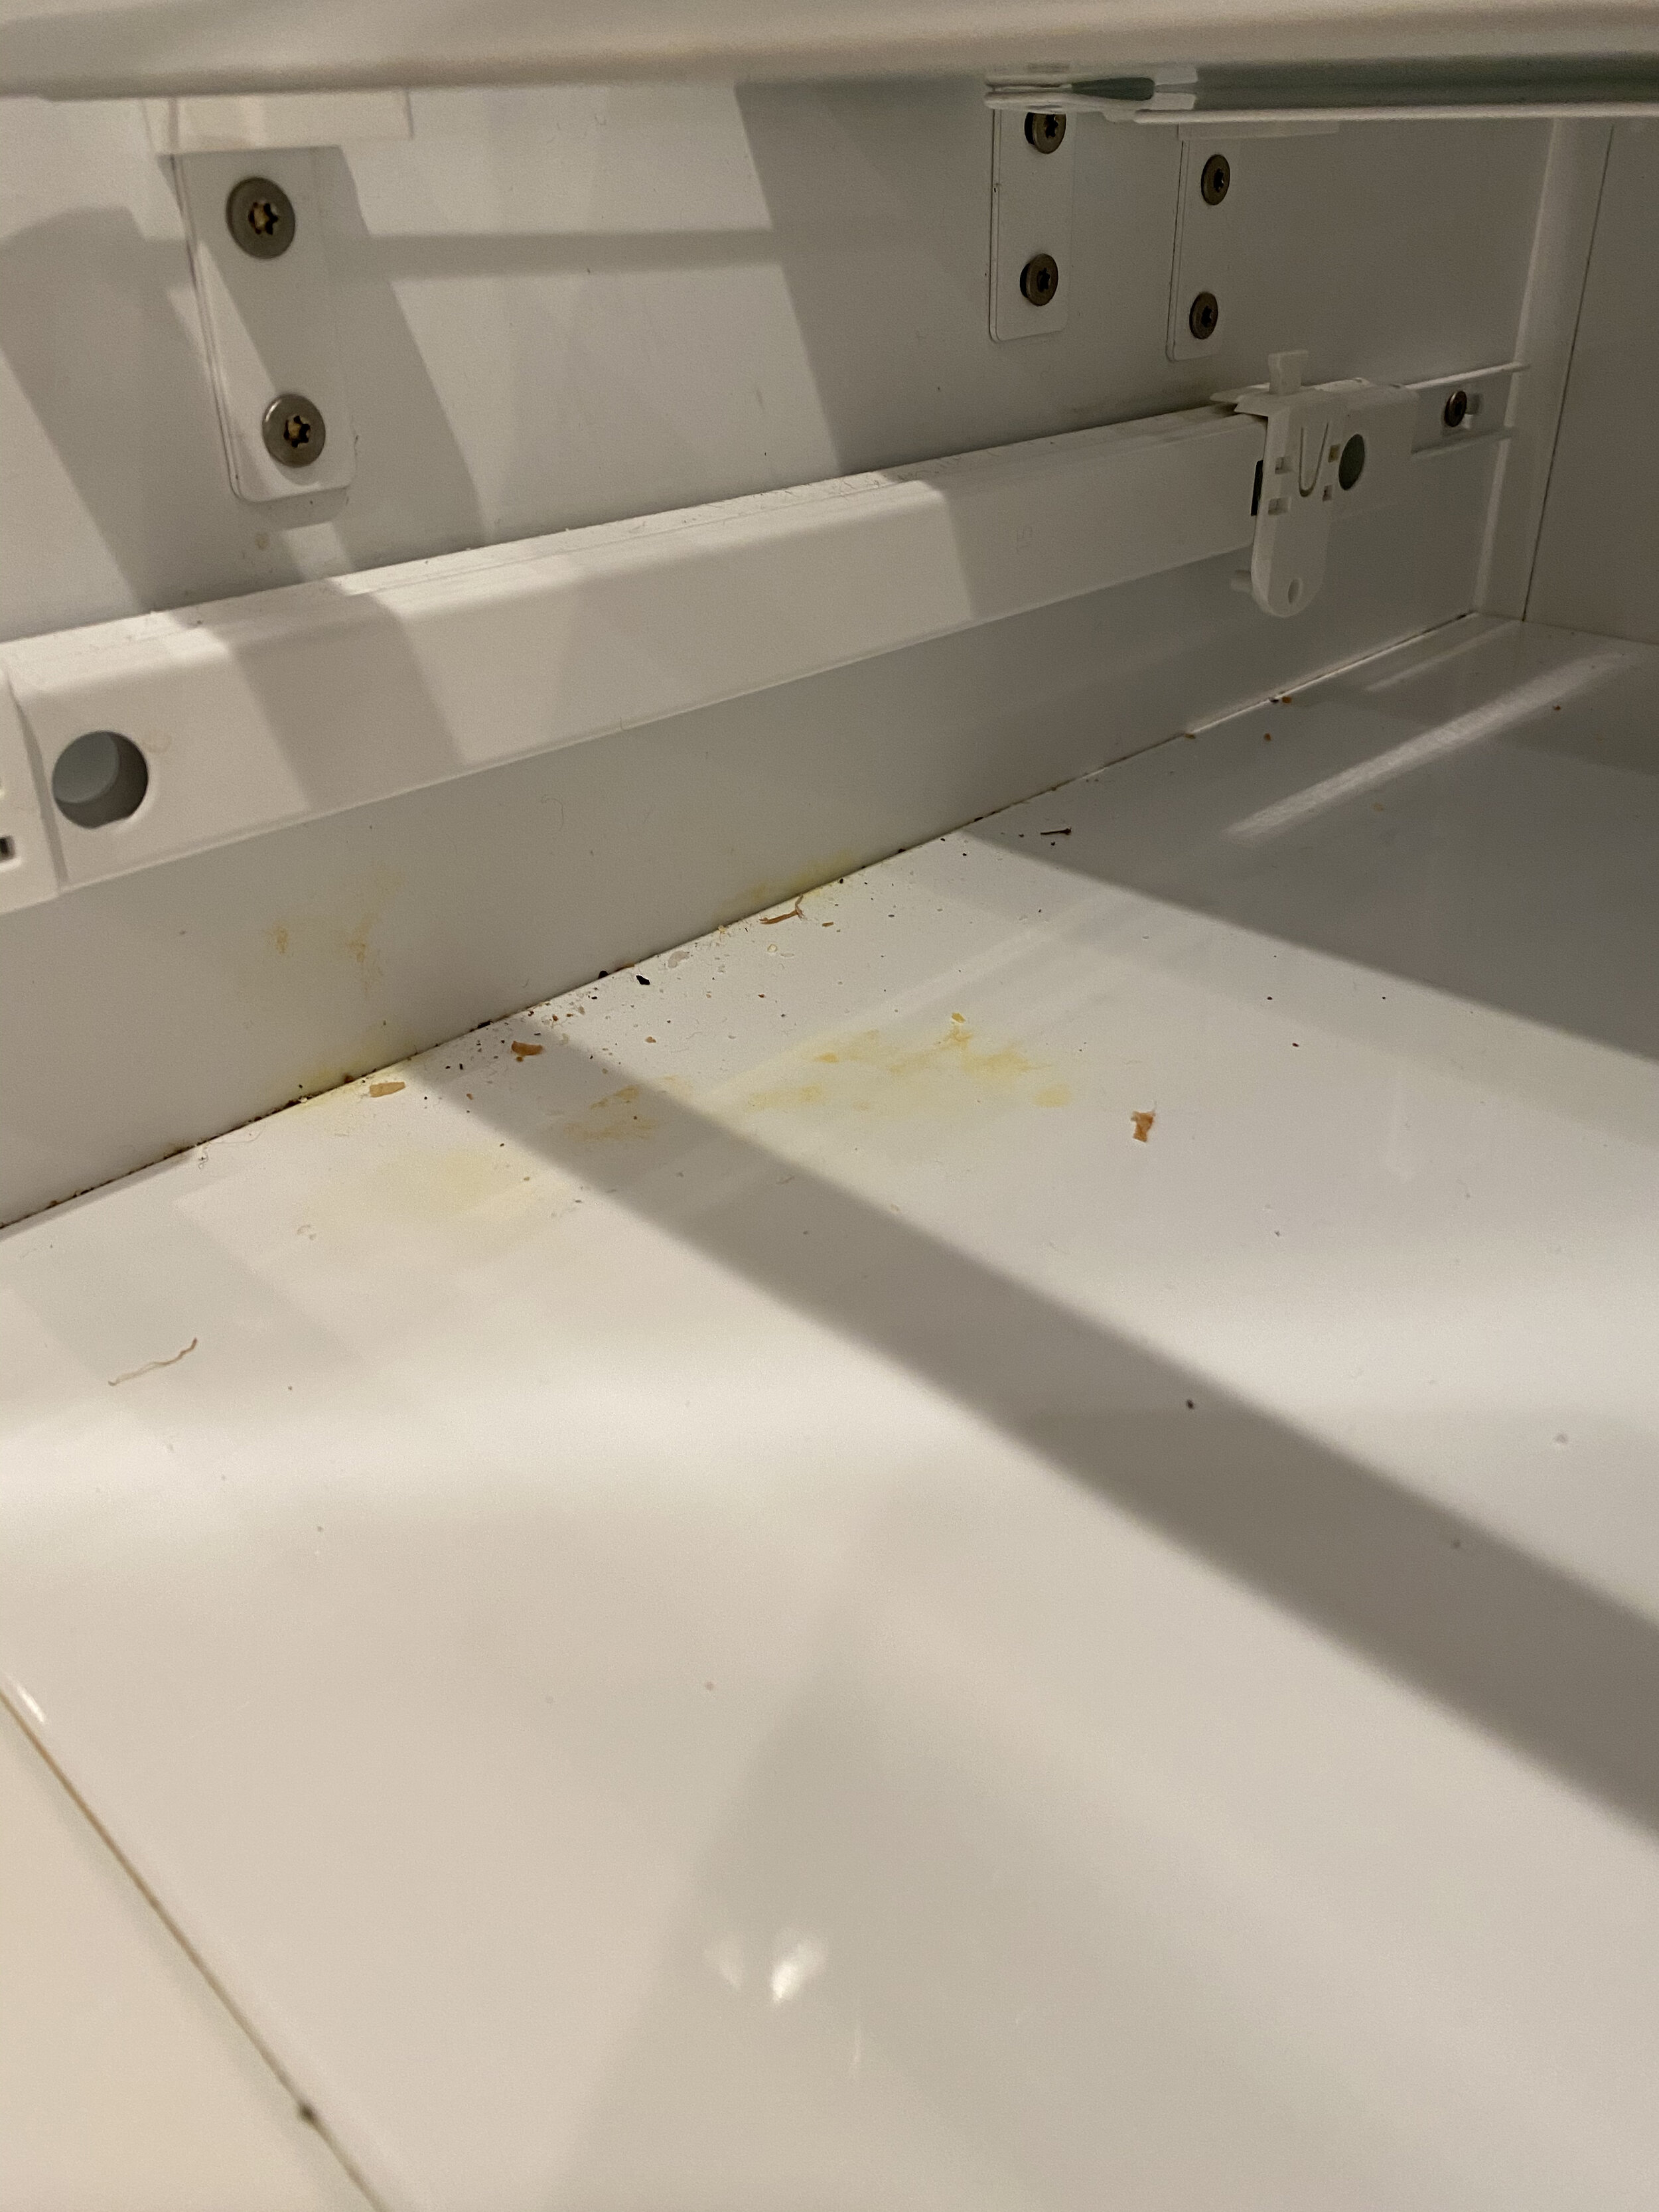
Step 1: Take Everything Out
If you truly want to deep clean, just like any effective organizing project, you’ll need to take everything out. This way you can evaluate each item and identify any that have expired. I did by sections to avoid the food being out for too long. You’ll want to be super fast with this method. If you want to clear the entire fridge at once, you can transfer items to a cooler and unplug it.
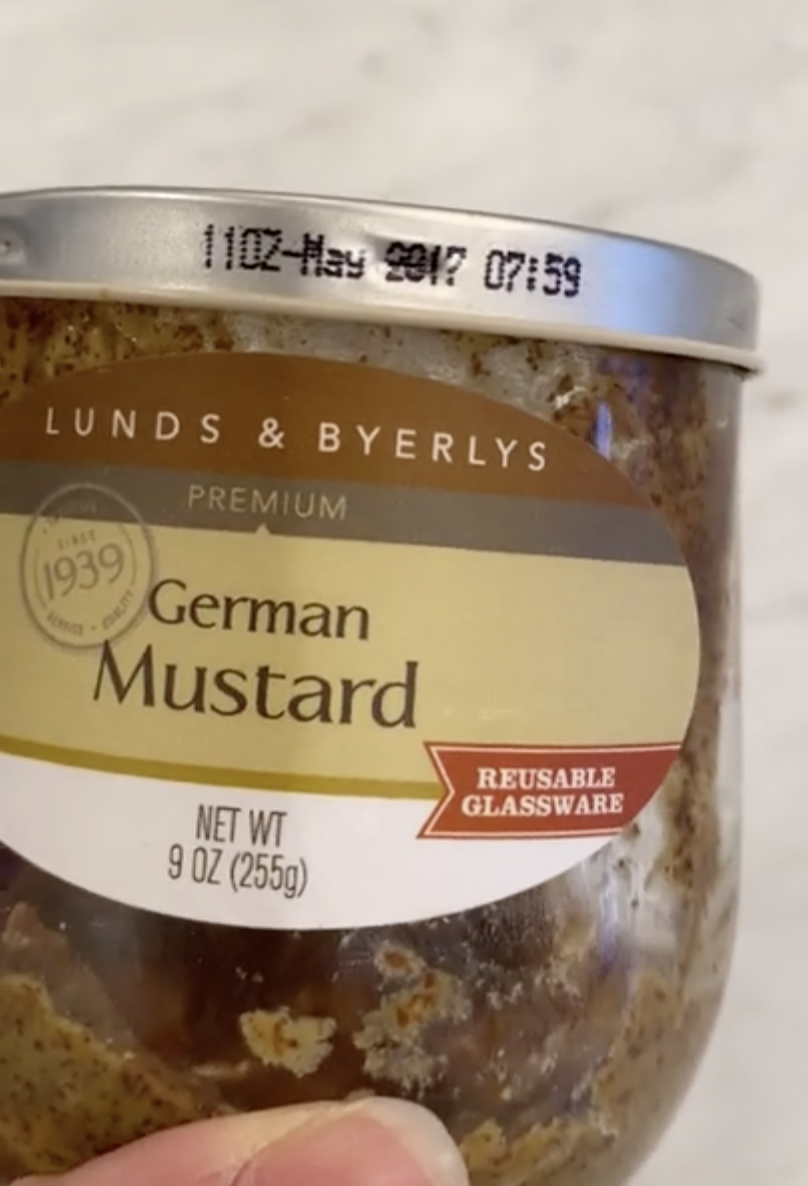
Found this goodness expired almost three years ago!
Step 2: Prepare for the Wipe Down
Use reusable cloth. You may go through a lot of paper towels so it’s best to use a microfiber cloth (If you want more neutral colors and larger pack, I recommend this one here) or a reusable cleaning rag to wipe all the surfaces clean. Also, don’t forget to wipe containers, jars and bottles. If you’re able to remove the bins, pull them out and wash in the sink. Ours were so gross that I felt I couldn’t get it truly cleaned without washing them.

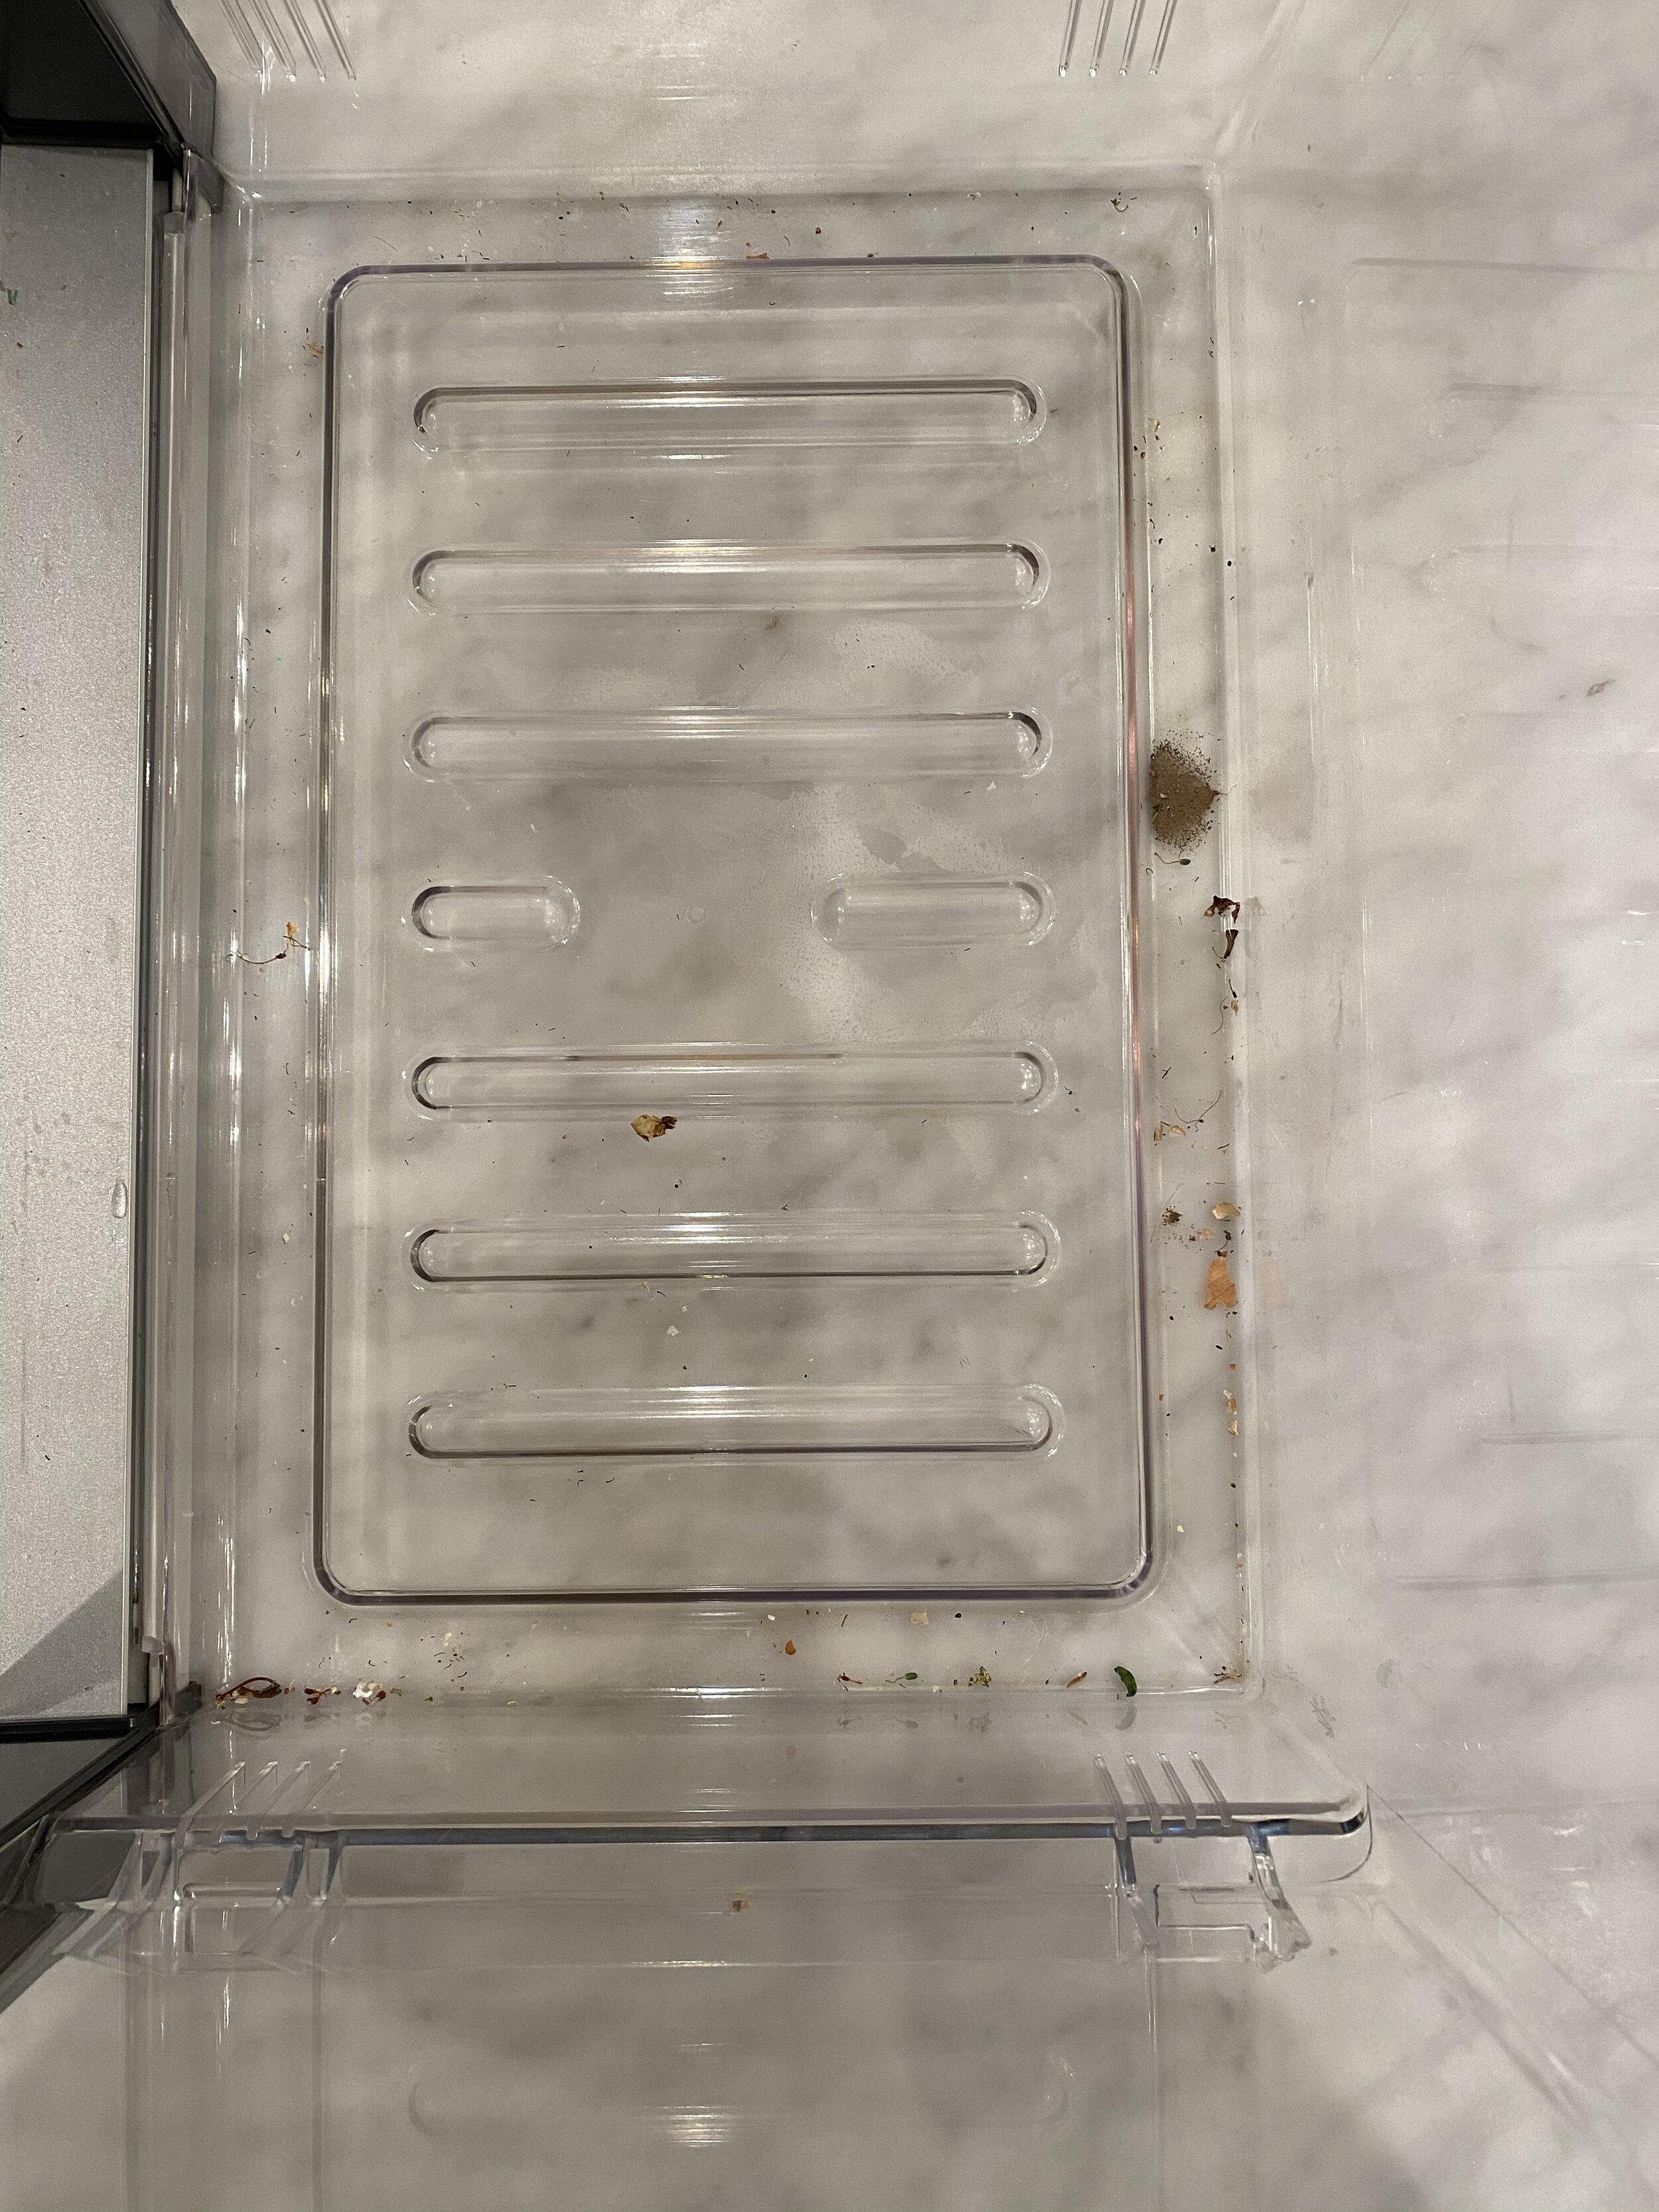
I’m showing the cleanest of the three bins – too embarrassed to post the other ones!
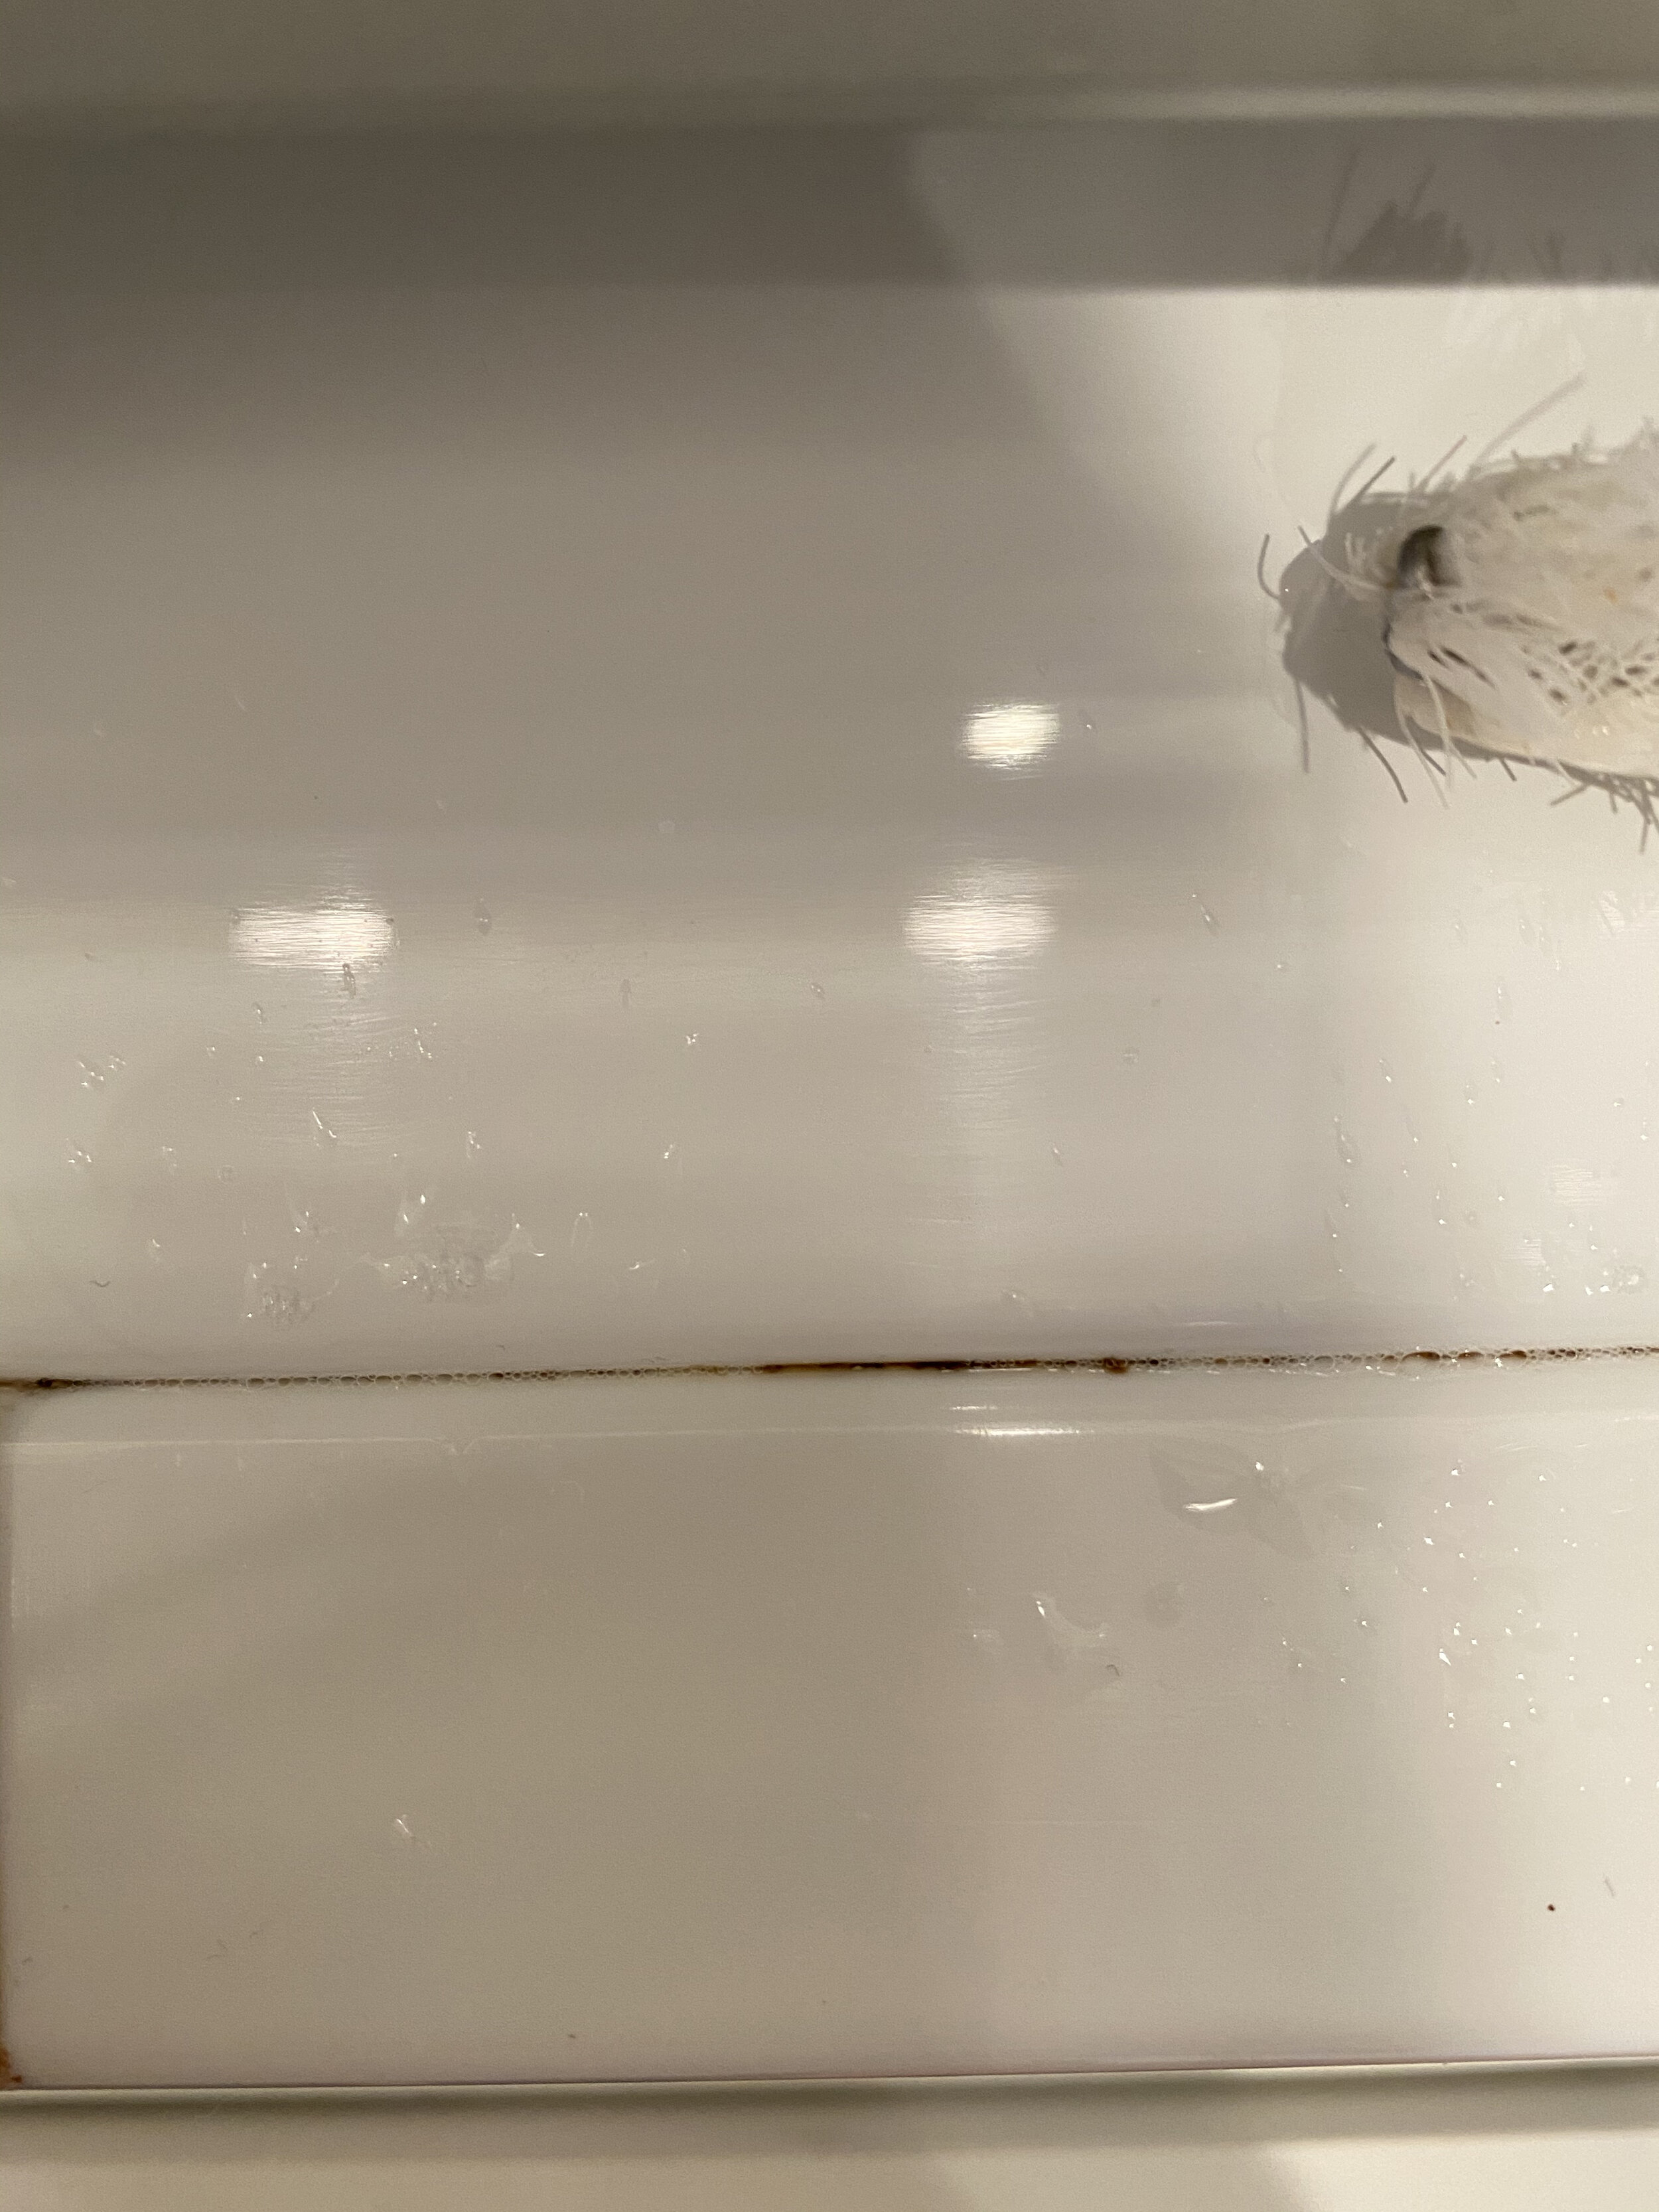
Have small bottle brush or clean toothbrush ready. You’ll need them to tackle those hard to reach crevices.
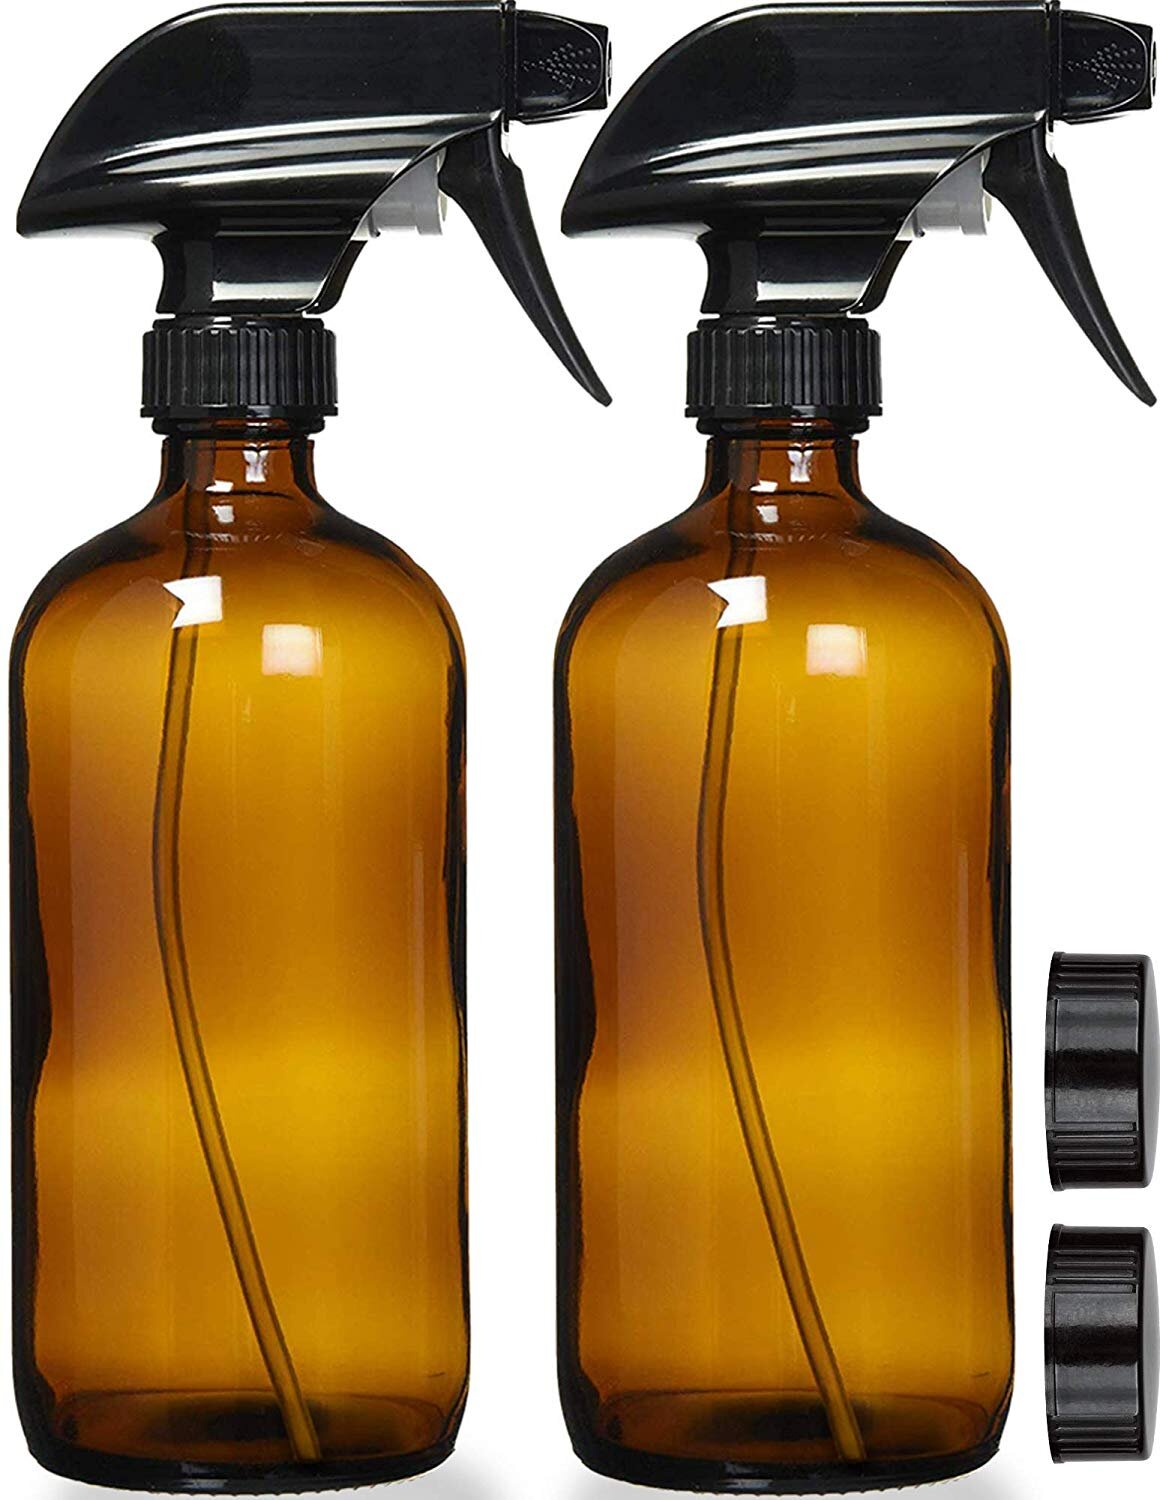
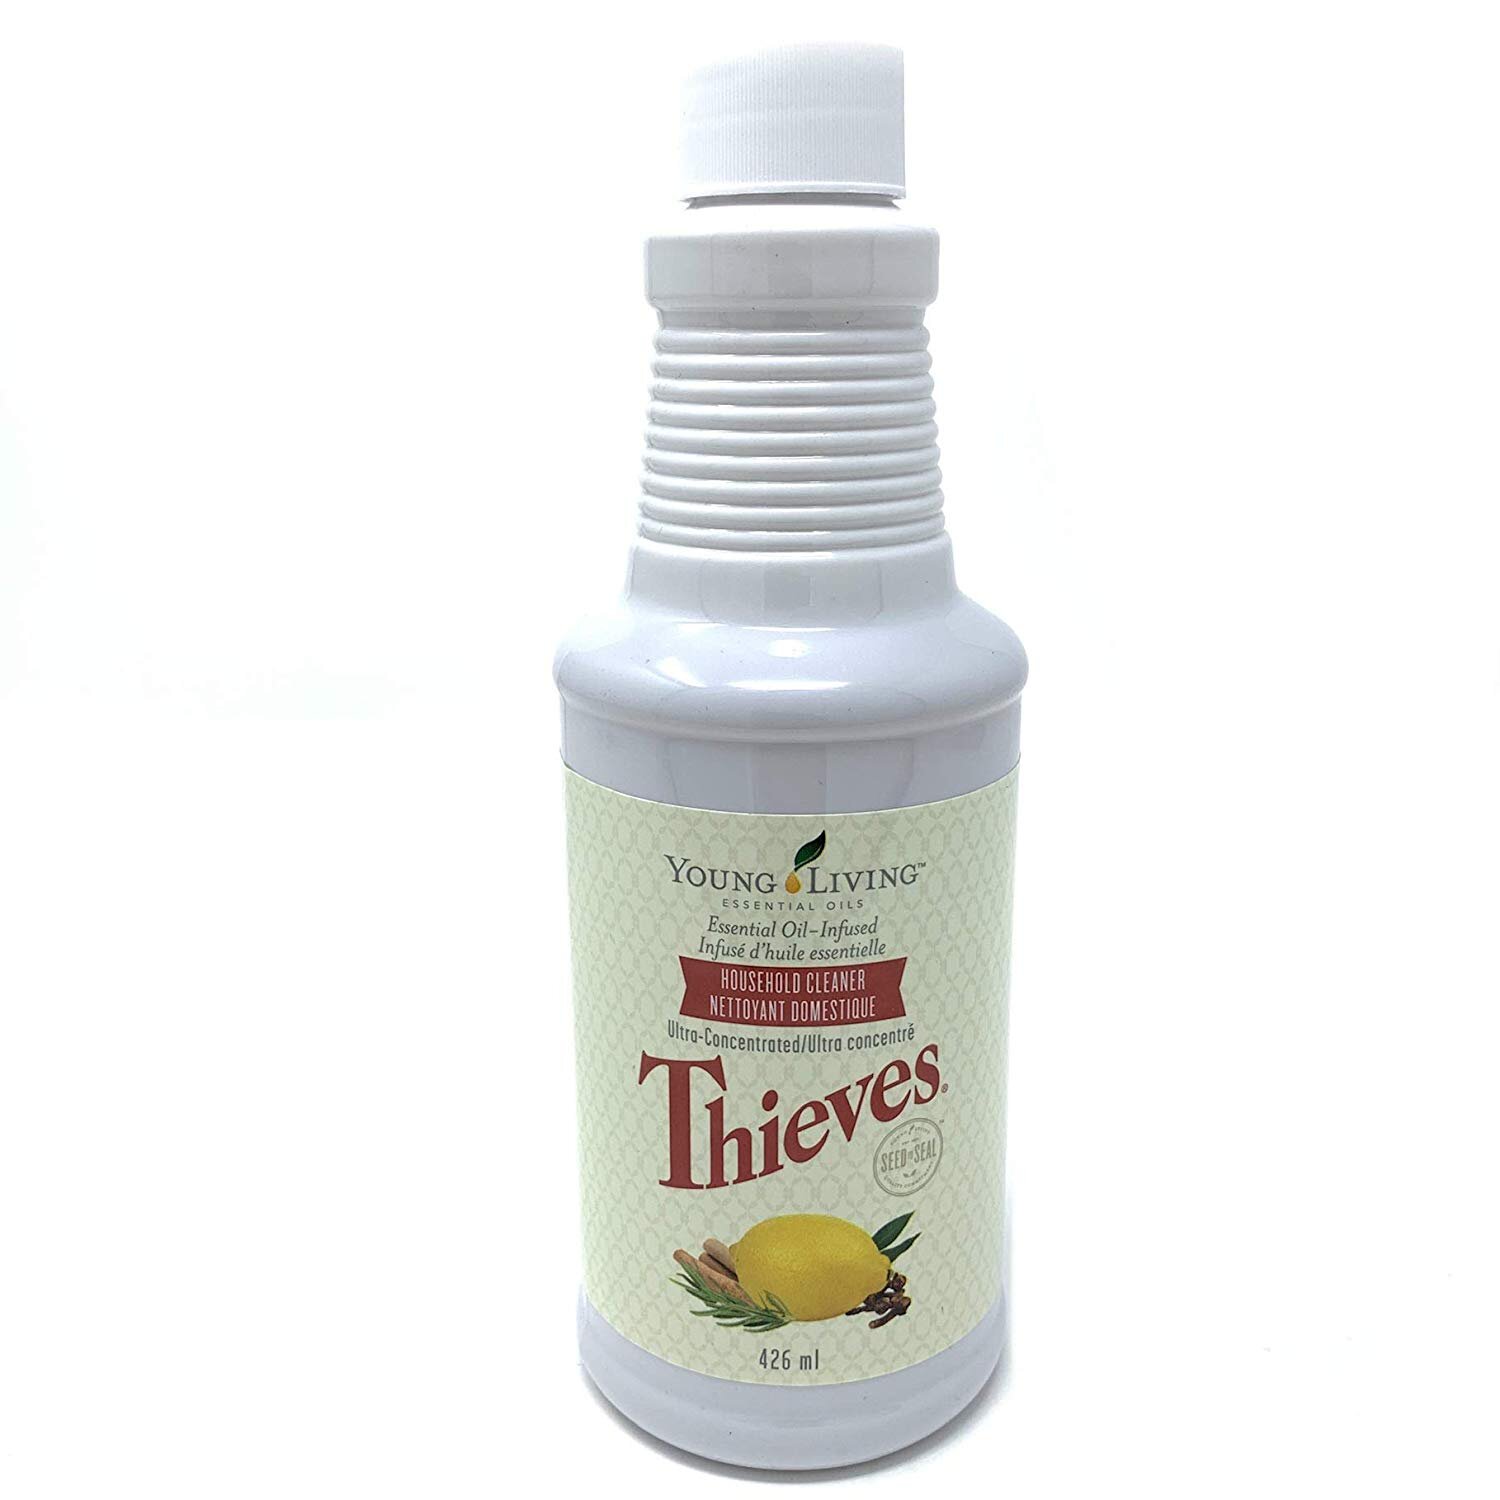
Use food safe cleaner. I used a concentrated Thieves cleaner mixed with water in an amber glass spray bottle. You can also simply use vinegar or baking soda mixed with warm water.
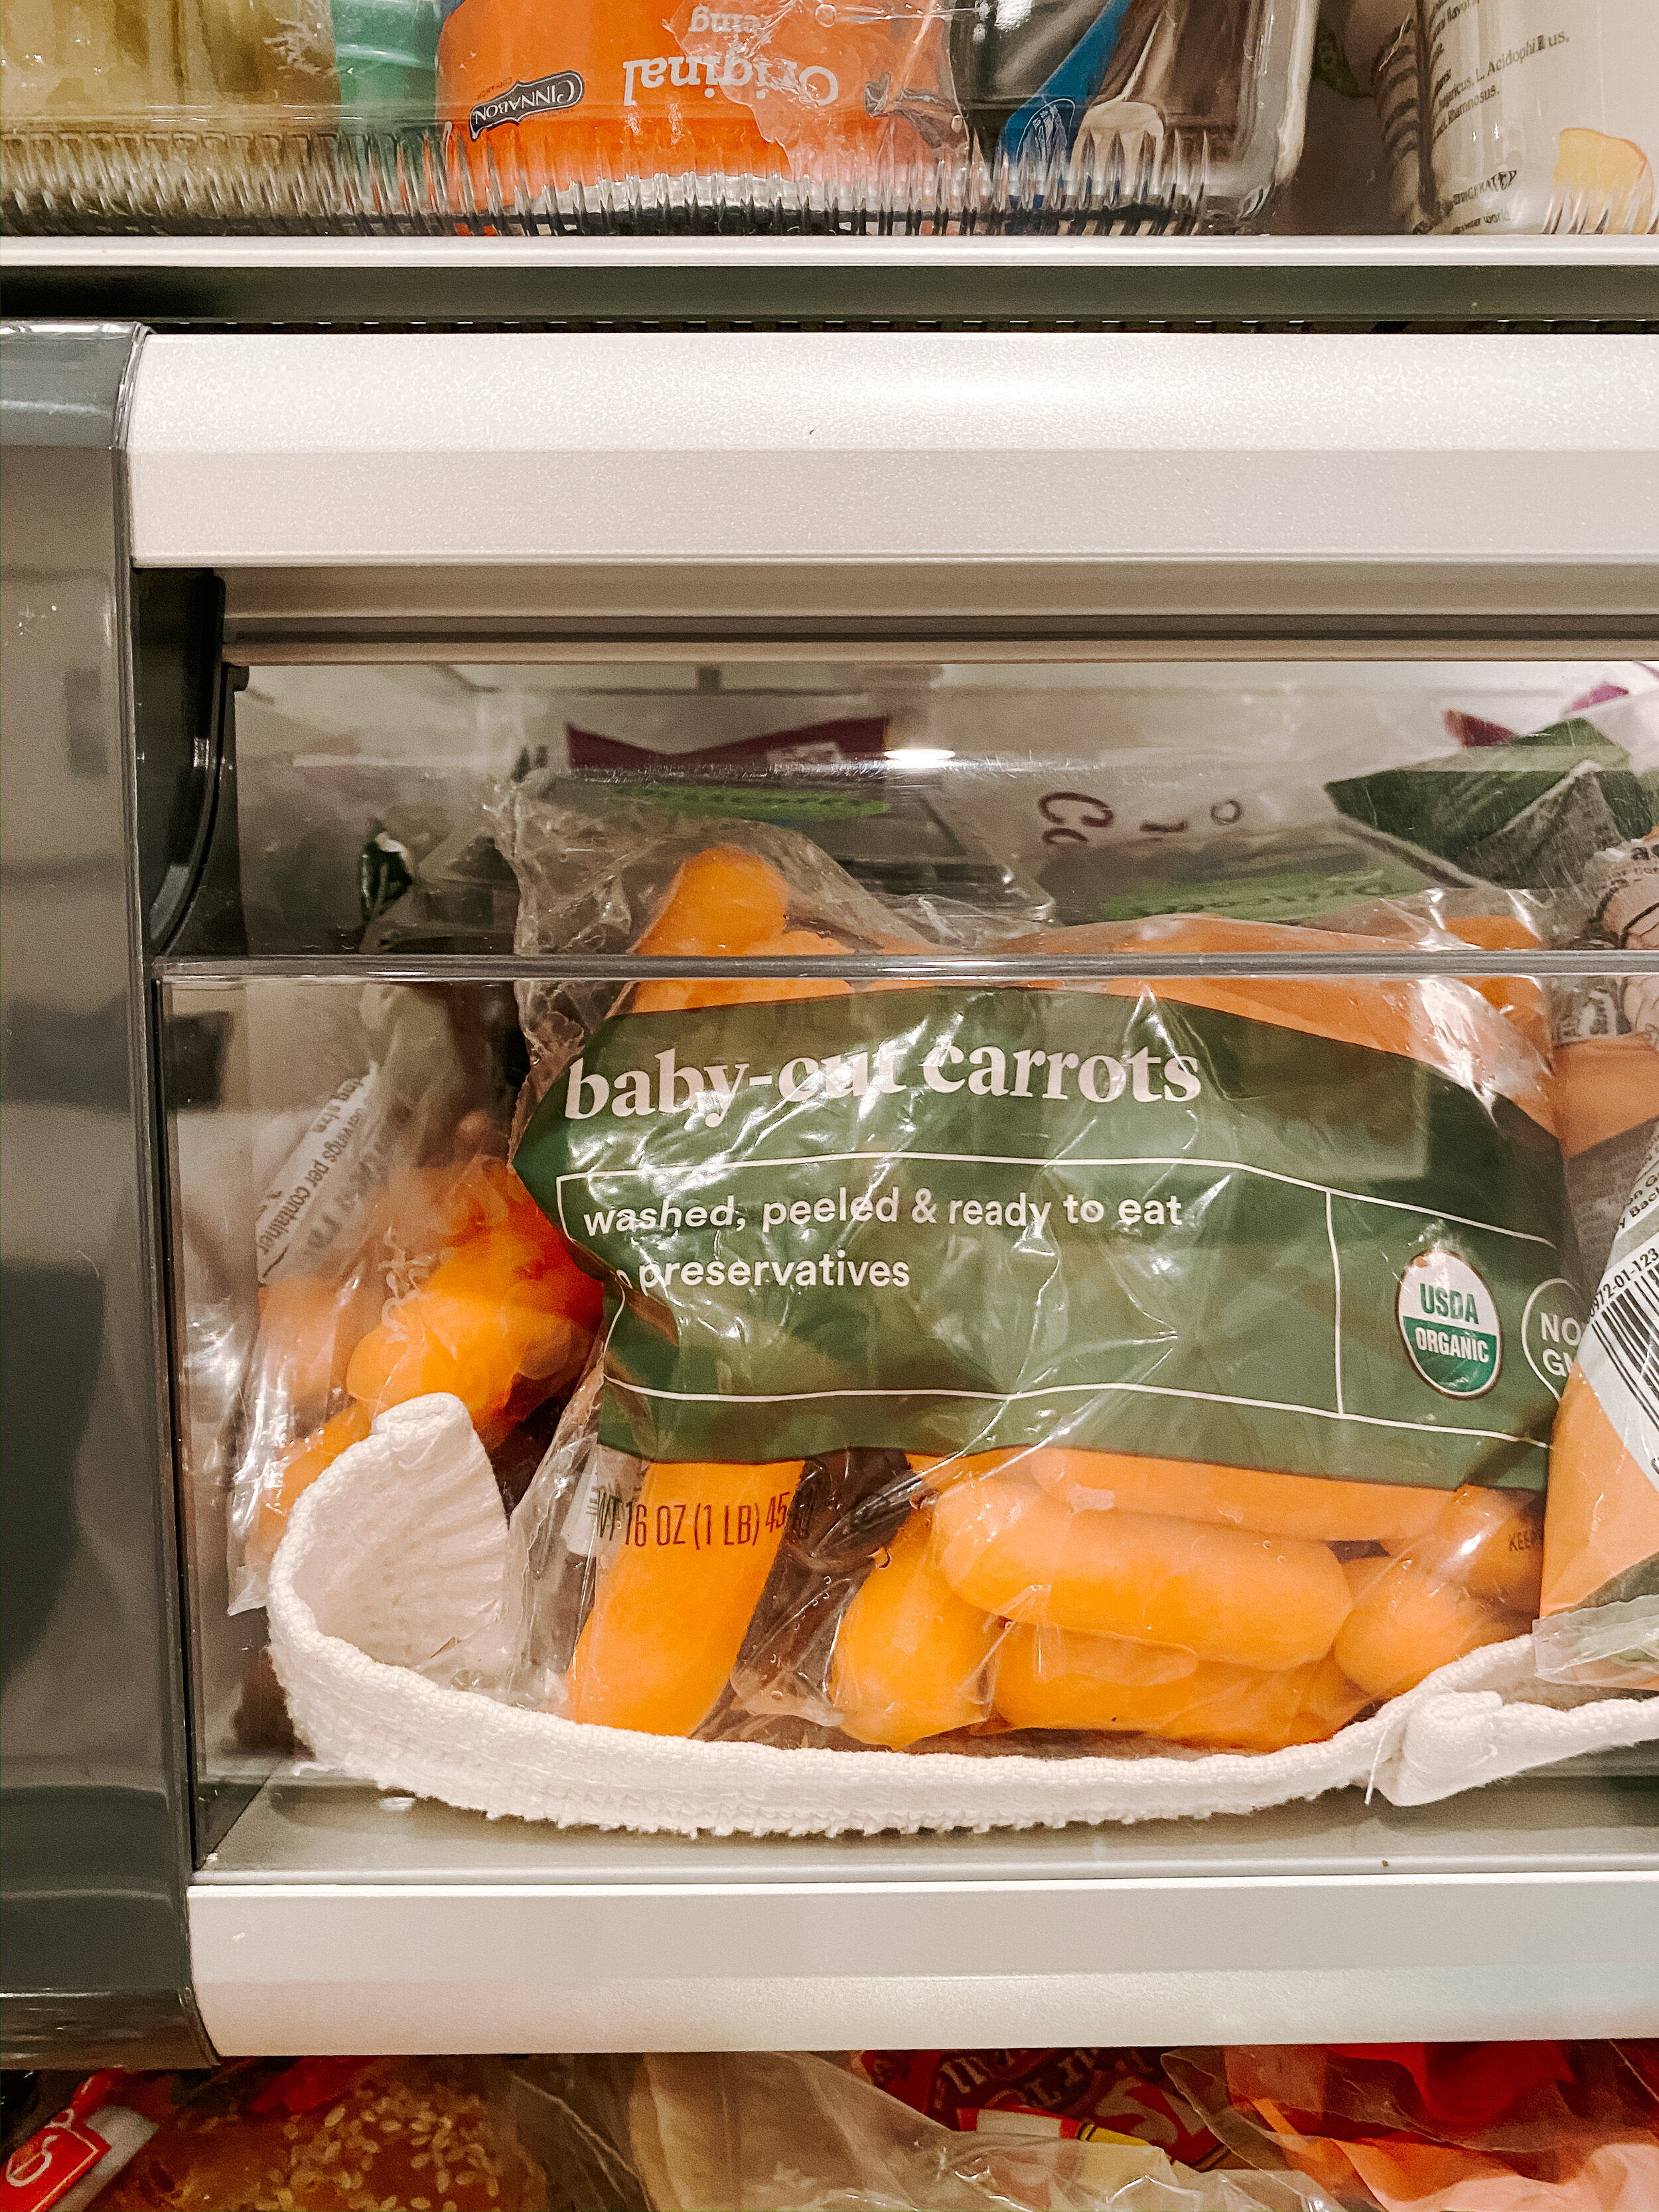
Step 3: Line Veggie Bins and Areas with Condiments to Avoid a Sticky Mess
I read about this on organized-home.com and it made so much sense to me! It will reduce your cleaning time the next time around. I lined our veggie bins with linens and used paper towels to line the doors where we store our jars and bottles of condiments. Just remember to change them out every 2-3 weeks.
Step 4: Use Bins and a Swivel Organizer
I’m not sure why we waited this long to use bins and a swivel organizer! They have made a huge difference with keeping things organized. We originally ordered this set of bins which had great reviews. Except, we forgot that we have a shallow fridge so they didn’t fit but otherwise were great. Don’t make our mistake and make sure to check dimensions first!
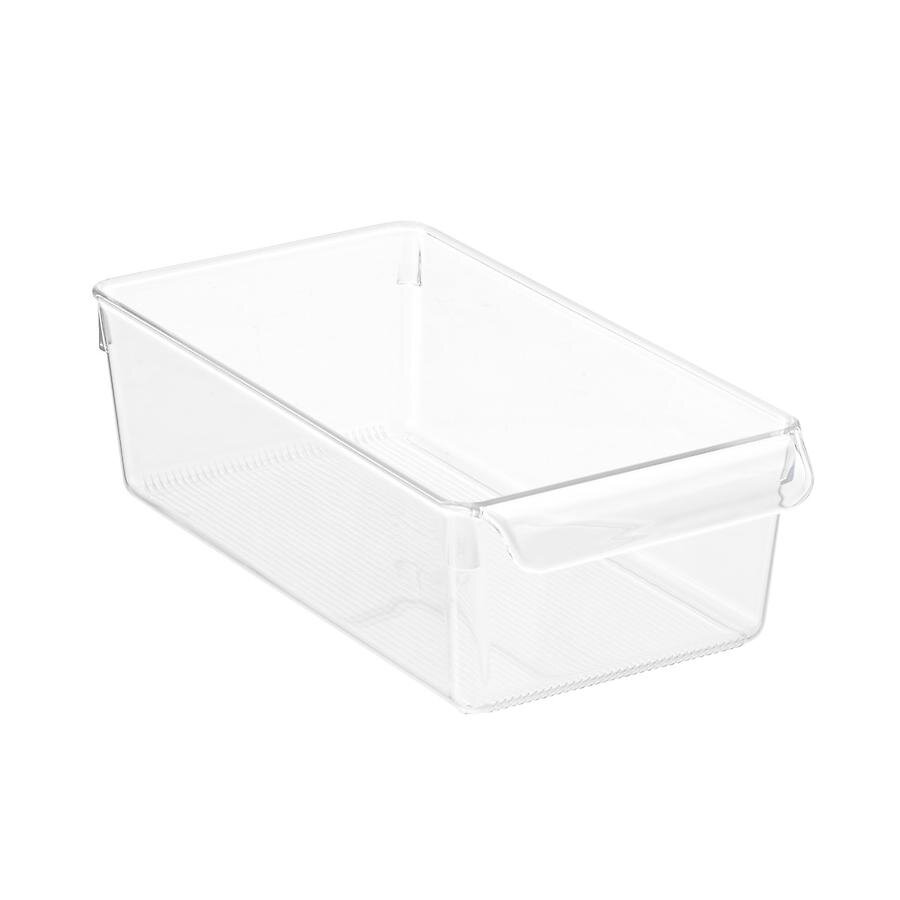
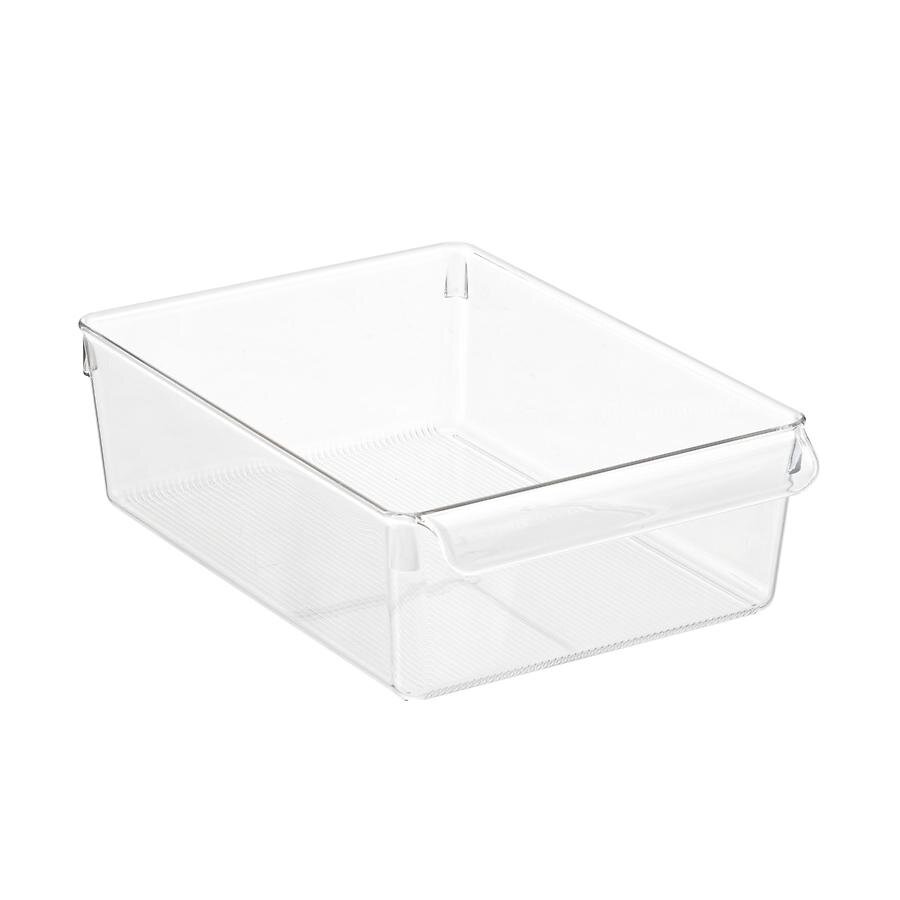
We found a solution with these pantry size bins (below) and they are perfect for our shallow fridge. What I have found to be most helpful with reducing food waste is designating an “Eat Me First” bin, a tip I got from simplyss.com.
Also love this swivel organizer for our smaller jars of condiments! No more knocking things over trying to grab ones way in the back.
Step 5: Organize Accordingly
Knowing where to store certain foods is important. Condiments, sauces, butter and other less-perishable items are perfect candidates for door storage according to simpyss.com. Do not put eggs or milk here! Some fridge have the egg organizer built into the door so it can be misleading. For more tips on where to store certain fruits or vegetables, visit this article from thekitchn.com.

Our refrigerator AFTER the clean out! Click here for all the sources to help you tackle deep cleaning & organizing your fridge.
Step 6: Keep Your Fridge Smelling Fresh
Last, store a small bowl or open container of baking soda inside. I’ve been doing this for years! Just putting a box of baking soda with the flap open isn’t enough to neutralize odors based on this article I read.
If you want to take your deep cleaning to the next level by cleaning the condenser coils and drip pan, check out marthastewart.com.

Fridge is Thermador. It was a floor model and purchased from Craigslist. Check out my Kitchen page for more sources.
I hope this gave you some motivation to not only deep clean your fridge but organize it as well! Good luck!
Product Sources:
*This post contains affiliate links

