
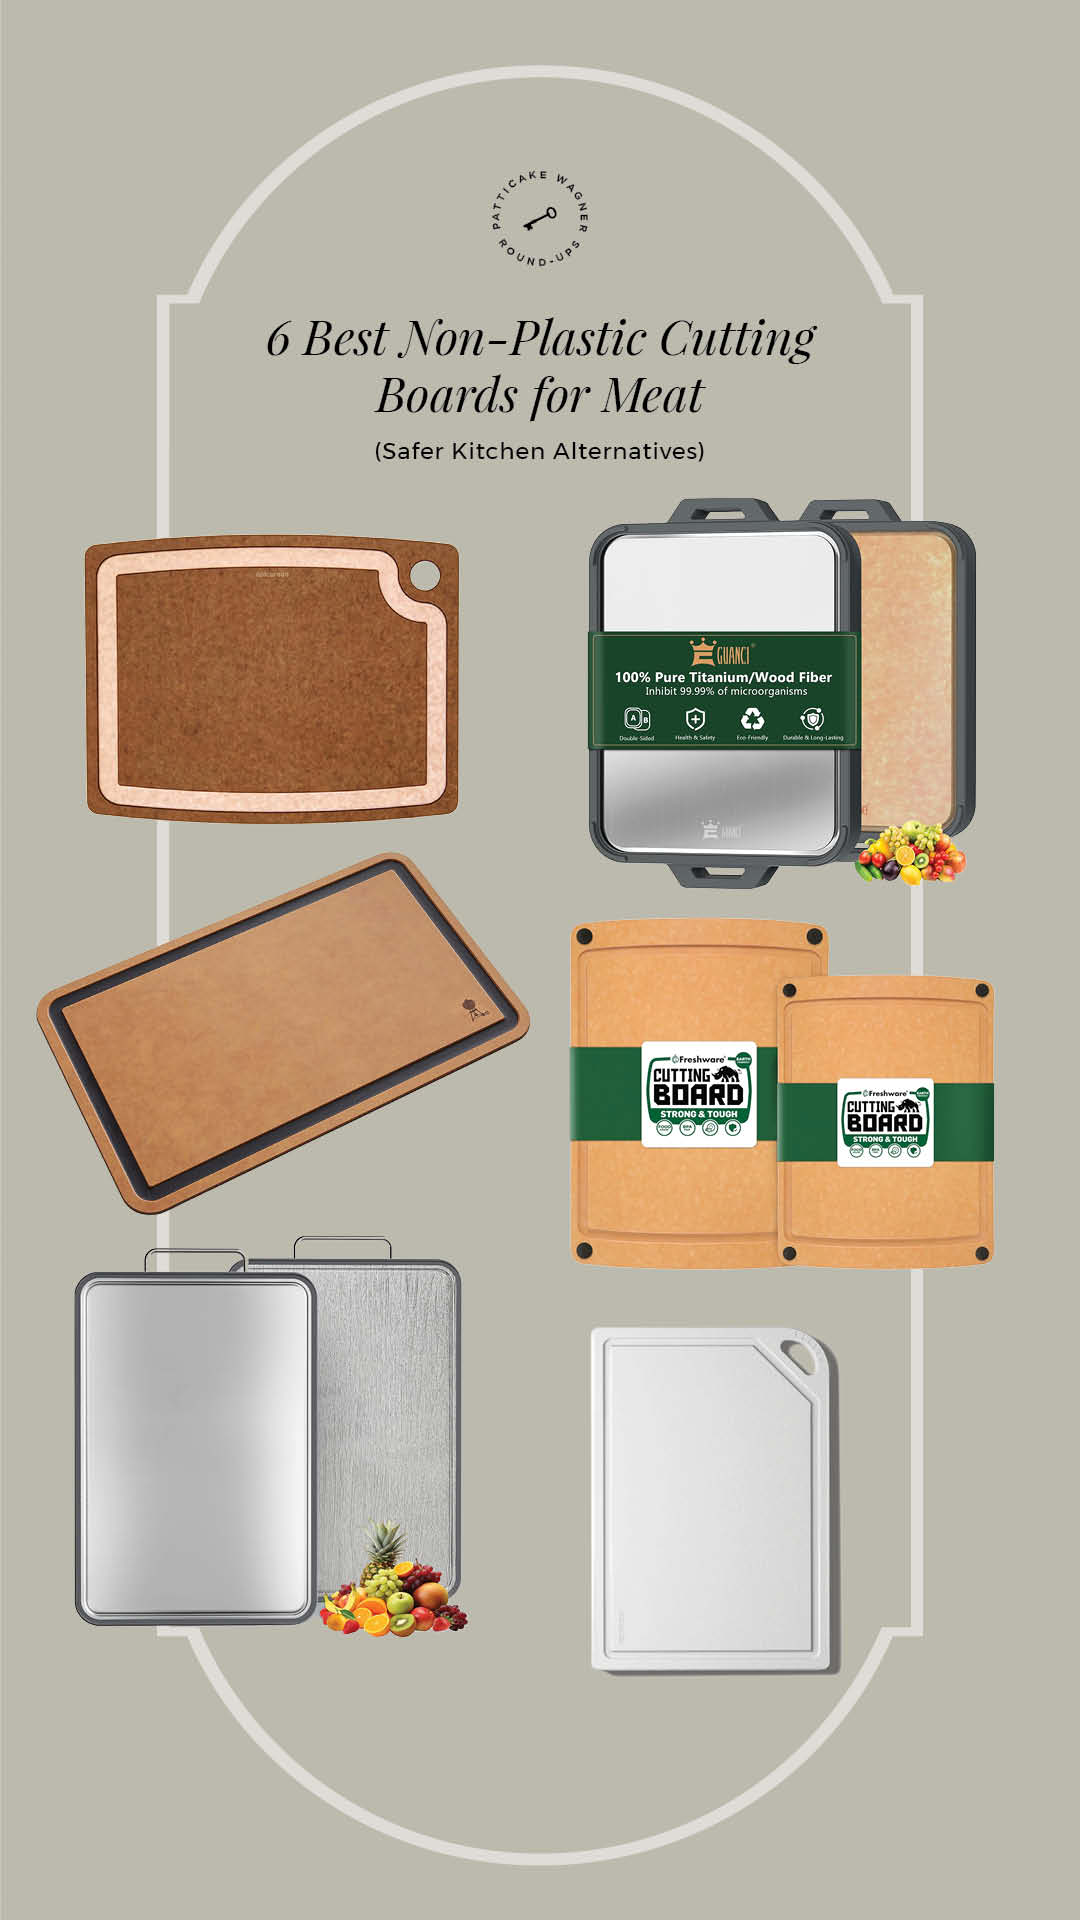
6 Best Non-Plastic Cutting Boards for Meat (Safer Kitchen Alternatives)
We love our wooden cutting boards. They’re classic, durable, and beautiful on the counter. But when it comes to cutting raw meat, wood can be high-maintenance and harder to sanitize properly. For a while, we switched to plastic cutting boards because they’re easy to clean and dishwasher-safe — but the growing concerns around microplastics made us rethink that choice.
So we started looking for non-plastic cutting boards for meat that are easier to clean than wood but don’t rely on traditional plastic surfaces.
Plastic-free cutting boards are gaining popularity as more people try to reduce microplastics and avoid materials that can trap bacteria in deep knife grooves. That said, some commonly recommended options — like wood-fiber composite boards — still contain small amounts of food-safe resin, so they aren’t always 100% plastic-free.
In this guide, I’ve rounded up the best non-plastic and low-plastic cutting boards for meat prep, focusing on materials that avoid traditional plastic surfaces and are practical for everyday kitchen use. Most of these recommendations come directly from my Instagram community, along with highly rated options from trusted reviews.
1. Epicurean Gourmet Series Cutting Board with Juice Groove

Best overall plastic-free cutting board
Material: Wood fiber composite
Price: $61.99–$91.99 depending on size
Description
Epicurean cutting boards are made from compressed wood fiber and food-safe resin, creating a durable surface that behaves similarly to wood but requires far less maintenance. The boards are dishwasher safe, heat resistant up to 350°F, and non-porous, making them ideal for cutting raw meat.
I appreciate the juice groove, which is particularly helpful when carving poultry or steak.
Reviews
Epicurean boards consistently rank among the best cutting boards in professional and home kitchen tests because they resist odors, stains, and bacteria while staying lightweight and knife-friendly.
Reviewers also report these boards lasting 10+ years in home kitchens with minimal maintenance.
Pros
•Dishwasher safe
•Non-porous surface
•Lightweight but durable
•Resistant to odors and stains
Cons
•Shows cosmetic knife marks over time
•Can slide slightly without a towel underneath
Why it ranked #1:
This was by far the most recommended board from my followers and consistently receives top expert reviews online.
2. Material Kitchen MK Free Board
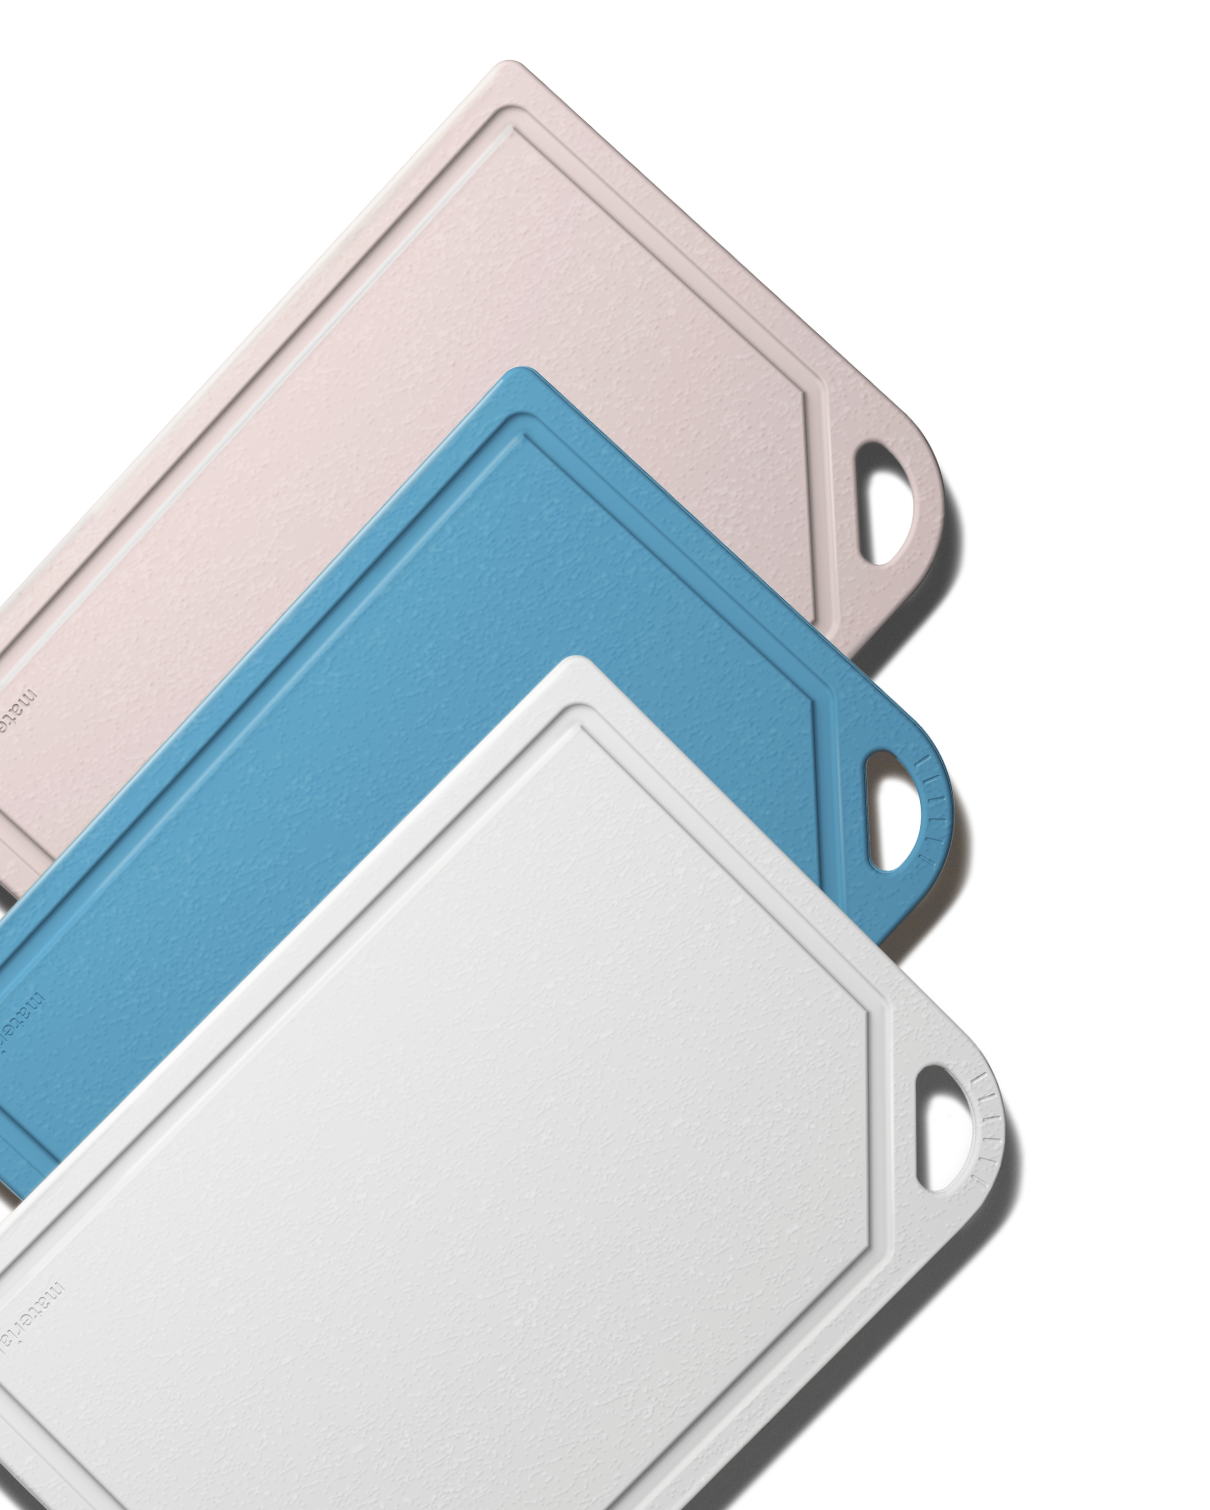
Best modern plastic-free cutting board
Material: 100% plant-based composite
Price: ~$40–$48 depending on size
Description
The MK Free Board from Material Kitchen was designed to replace plastic cutting boards entirely. It looks and feels similar to plastic but according to their site, is made from plant-based materials that don’t release microplastics. I own a few Material Kitchen products and have been very happy with their quality. We have their reBoard cutting boards which are made of 75% recycled plastic, 25% renewable sugarcane. As much as we love them, we will be replacing all of our plastic boards.
It includes:
•A juice groove side for meat and juicy ingredients
•A flat side for everyday prep
•Dishwasher-safe construction
Reviews
The board holds an average 4.8-star rating and is praised for being durable, odor resistant, and easy to clean.
Reviewers also note the large size and double-sided design make it versatile for everyday cooking.
Pros
•Plastic-free plant material
•Dishwasher safe
•Spacious cutting surface
•Minimal scratching compared with plastic boards
Cons
•Slightly more expensive than standard boards
•Can slide on countertops without a towel
3. Weber Cutting Board (Dishwasher Safe)
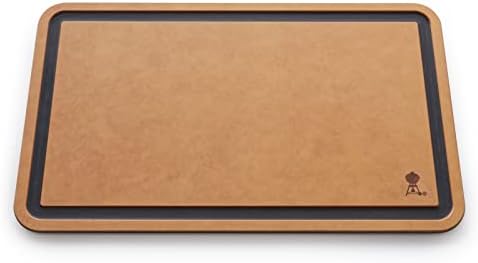
Best cutting board for grilling and meat carving
Material: Natural fiber composite
Price: ~$39.99
Description
Originally designed for grilling prep, this cutting board features deep grooves that catch meat juices and prevent spills when carving steaks, brisket, or poultry.
It’s made from knife-friendly fiber material and can go directly in the dishwasher for easy cleanup.
Reviews
Grilling enthusiasts like the Weber board because of its larger size and juice groove design, which makes it especially useful when carving meat straight from the grill.
Pros
•Excellent juice groove for meat
•Dishwasher safe
•Durable fiber material
•Large prep surface
Cons
•Designed primarily for grill setups
•Not as widely reviewed as Epicurean boards
4. Stainless Steel Cutting Board
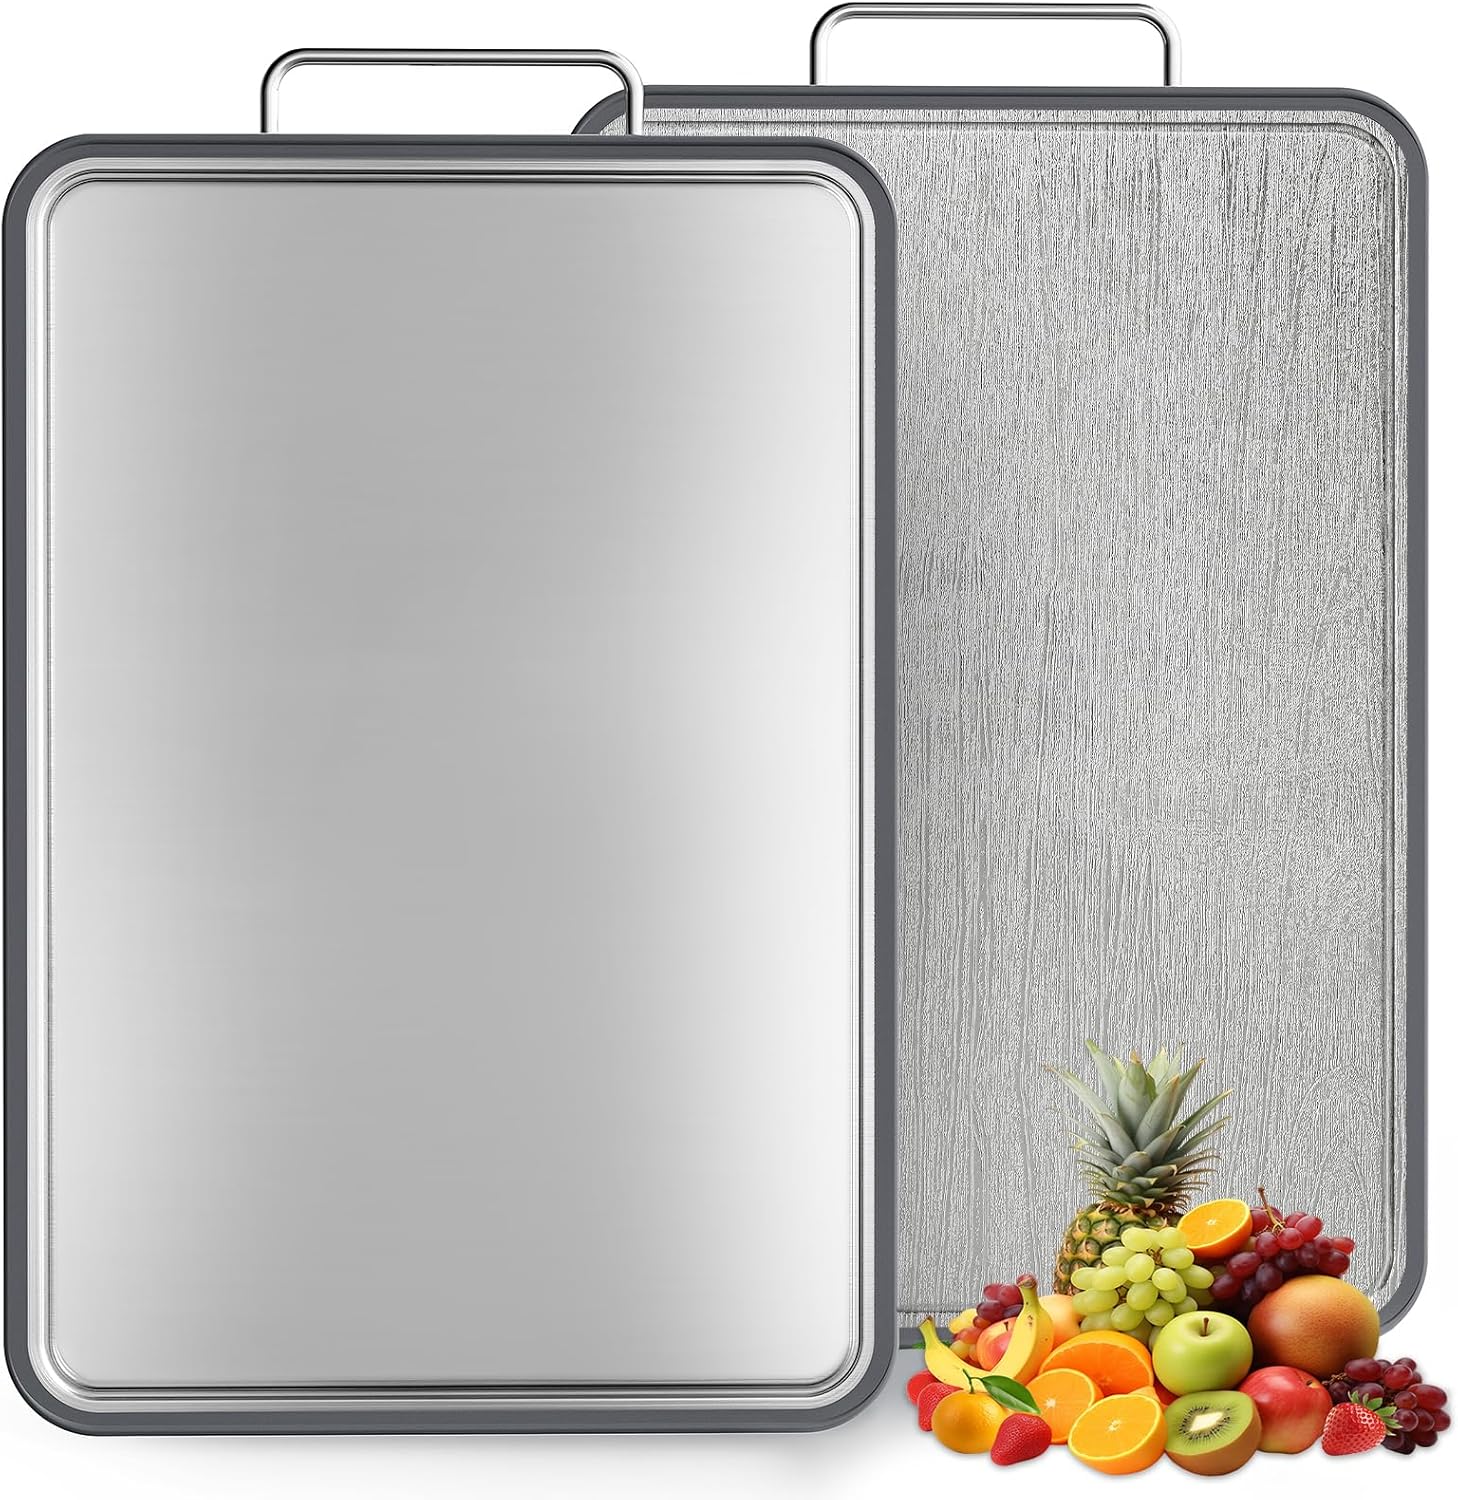
Best for hygiene and raw meat safety
Material: Food-grade stainless steel
Price: $20–$50
Description
Stainless steel cutting boards are becoming more popular because they are completely non-porous and extremely easy to sanitize.
They are especially recommended for raw meat preparation, because the surface does not absorb odors or bacteria.
Reviews
Reviewers appreciate their durability and hygiene — they won’t crack, stain, or retain odors even after heavy use.
Pros
•Extremely hygienic
•Dishwasher safe
•Won’t absorb odors or stains
•Long lasting
Cons
•Can dull knives faster than wood or fiber boards
•Louder when chopping
5. Titanium Cutting Board (Dual-Sided)
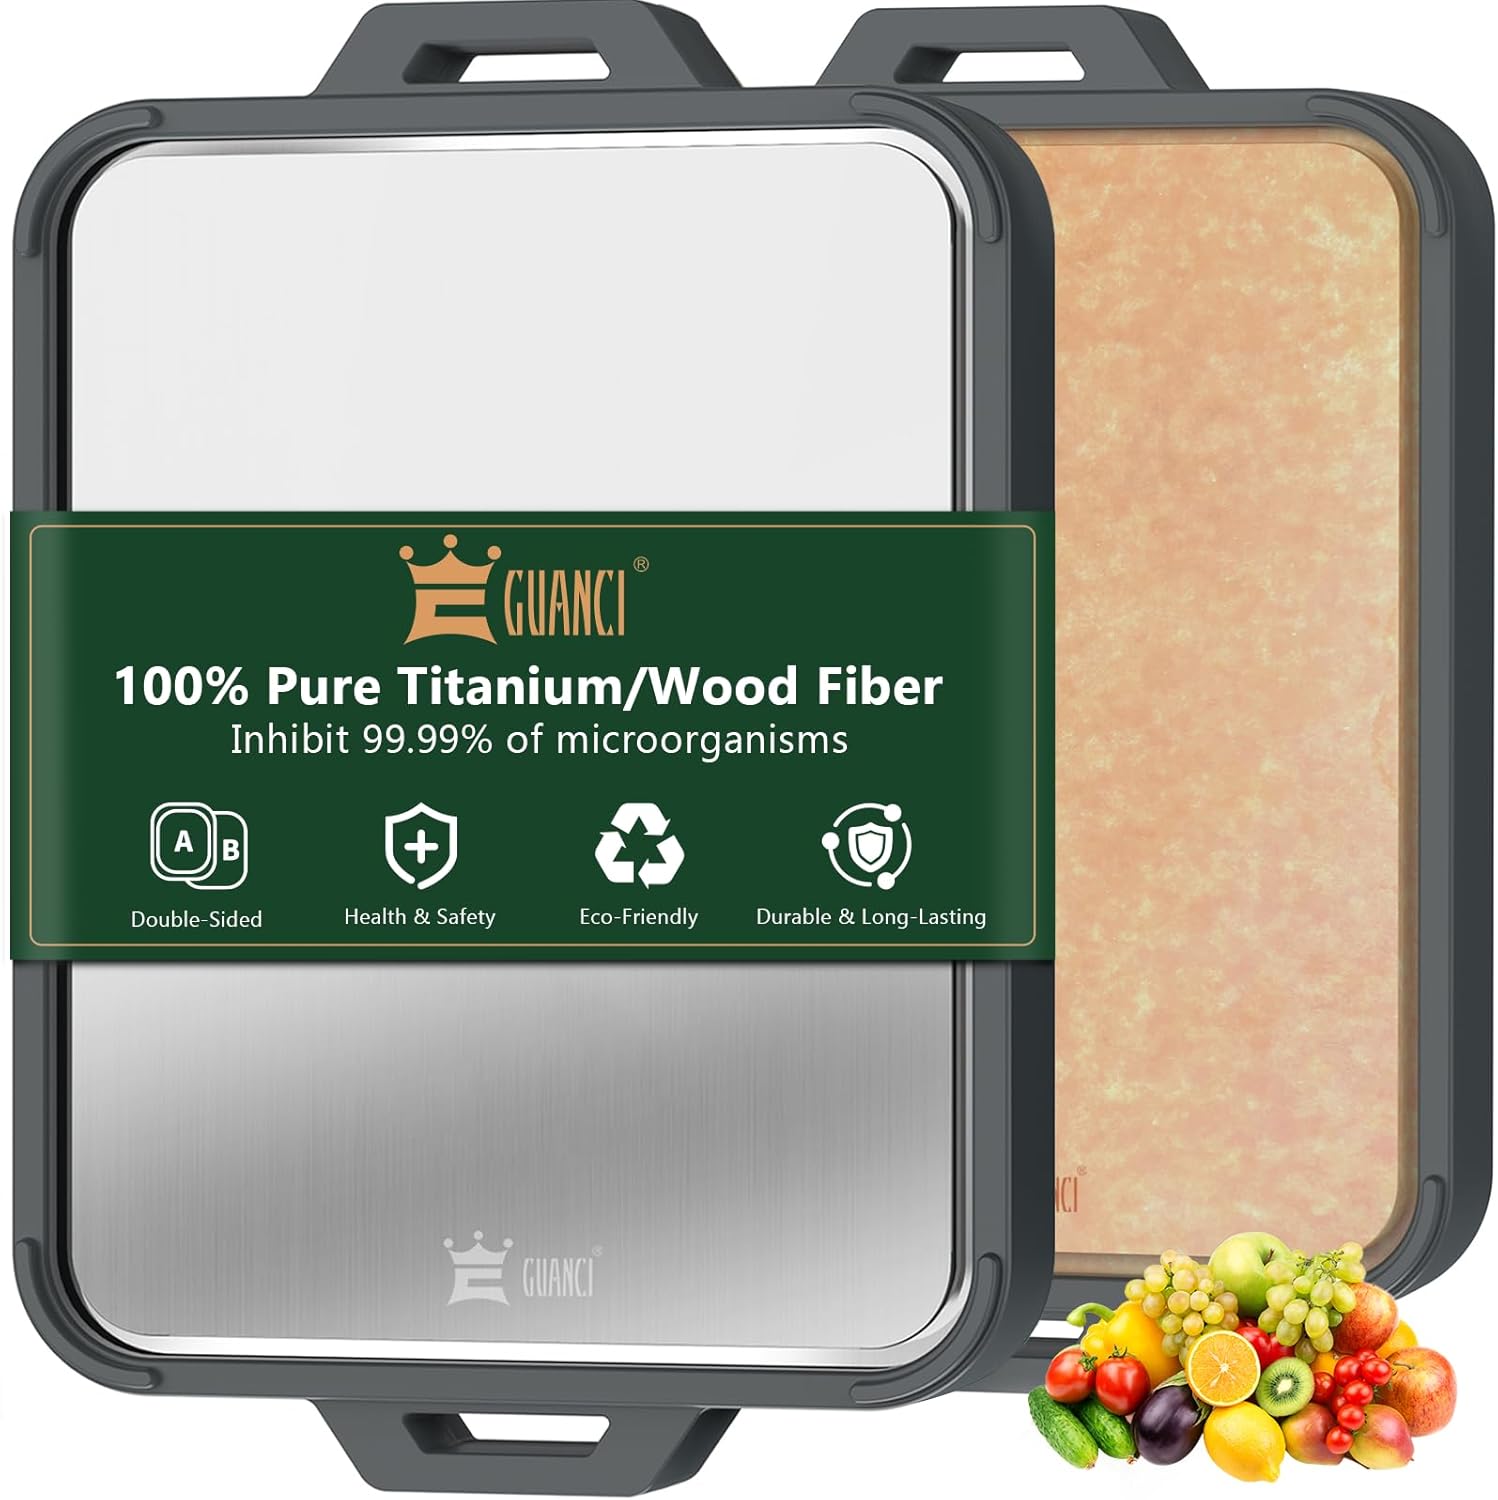
Best innovative plastic-free board
Material: Titanium + high-density wood fiber
Price: $30–$50
Description
Titanium boards are a newer option designed specifically for cutting meat and preventing bacterial buildup. Many models are double-sided, with a titanium surface for meat and a softer surface for produce.
Reviews
Thousands of shoppers praise titanium boards for their durability, odor resistance, and easy cleaning, making them a popular alternative to plastic boards.
Pros
•Non-porous and hygienic
•Extremely durable
•Easy to clean
Cons
•May dull knives faster
•Some inexpensive models have inconsistent quality
6. Natural Wood Fiber Composite Cutting Board
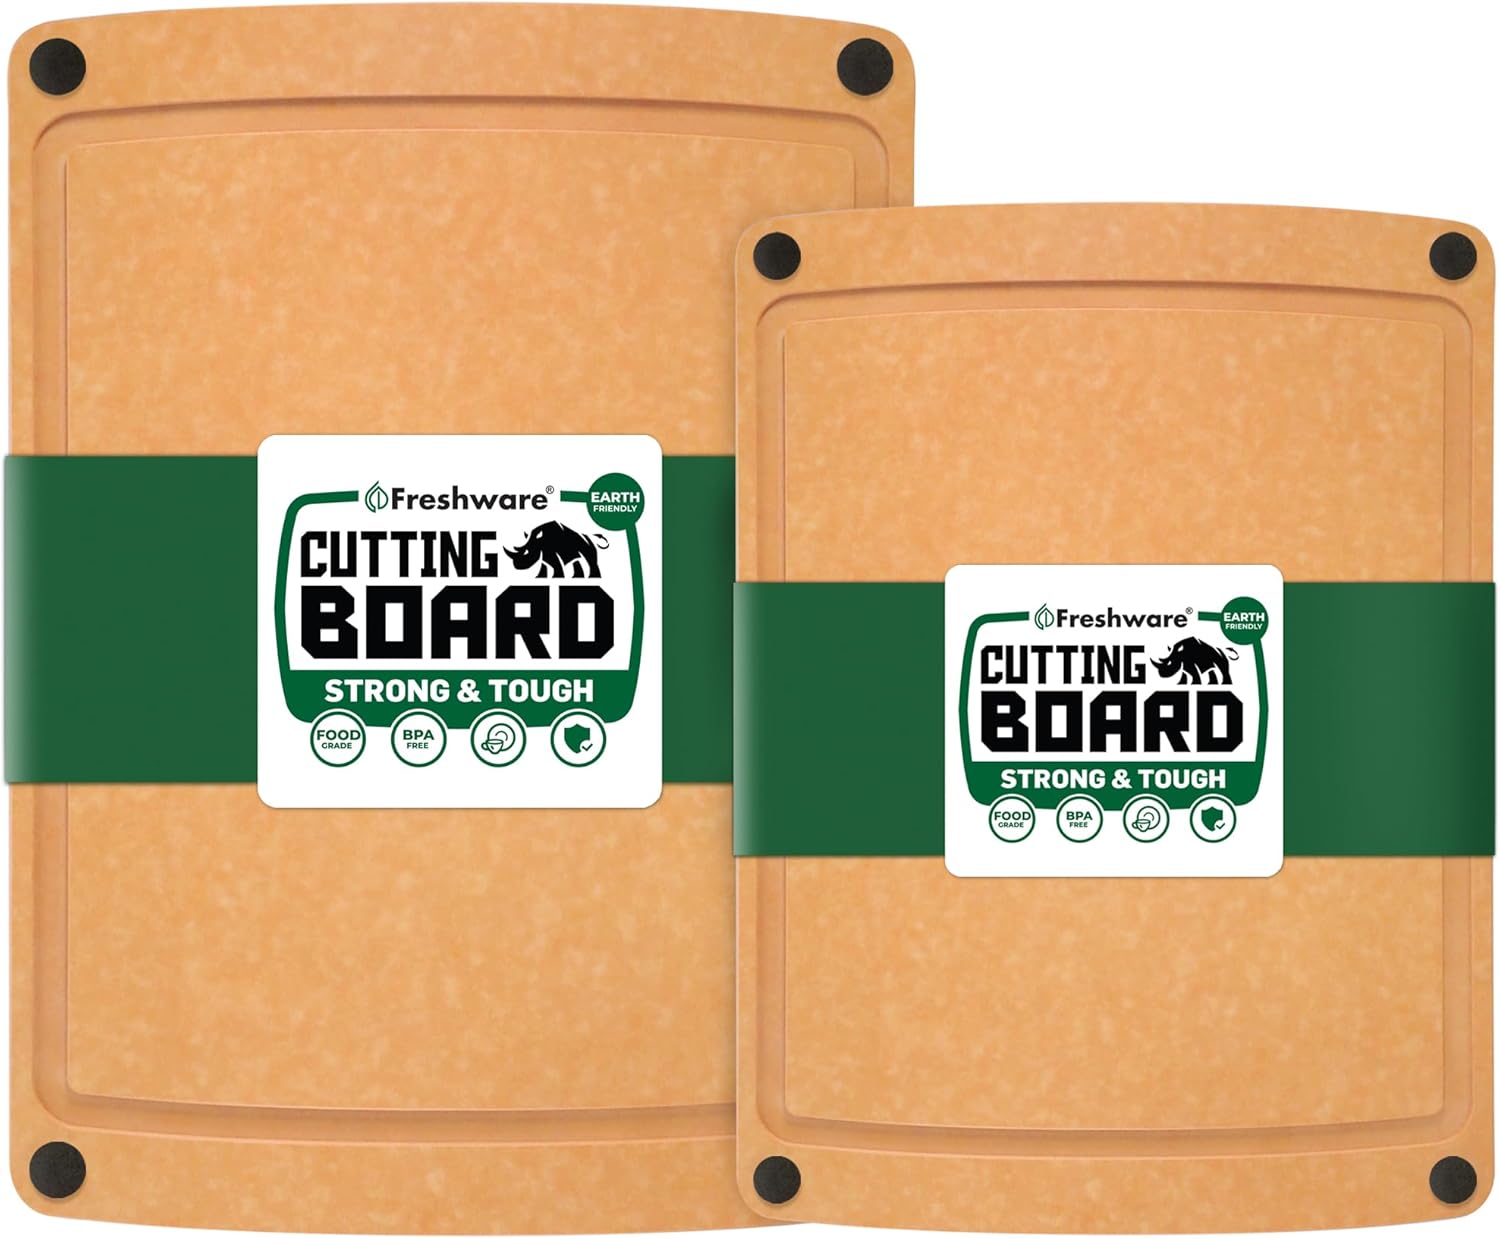
Best budget alternative to Epicurean
Material: Compressed wood fiber
Price: $16–$49 depending on size
Description
Wood fiber composite boards are made from compressed paper or wood fibers, creating a durable and lightweight cutting surface that behaves like wood but requires little maintenance.
Many versions, like this one, include juice grooves for carving meat.
Reviews
These boards are praised for being dishwasher safe, stain resistant, and knife friendly, making them a practical alternative to plastic boards.
Pros
•Affordable
•Dishwasher safe
•Durable and lightweight
Cons
•Not as thick as wooden butcher blocks
•Cosmetic knife marks over time
Final Thoughts
Based on all the options I pulled together for non-plastic and low-plastic cutting boards for meat prep, I’m debating between the Epicurean or Material Kitchen The MK Free Board. While these are my recommendations, I always suggest you do your own research and I hope this is a good starting point.


